 by
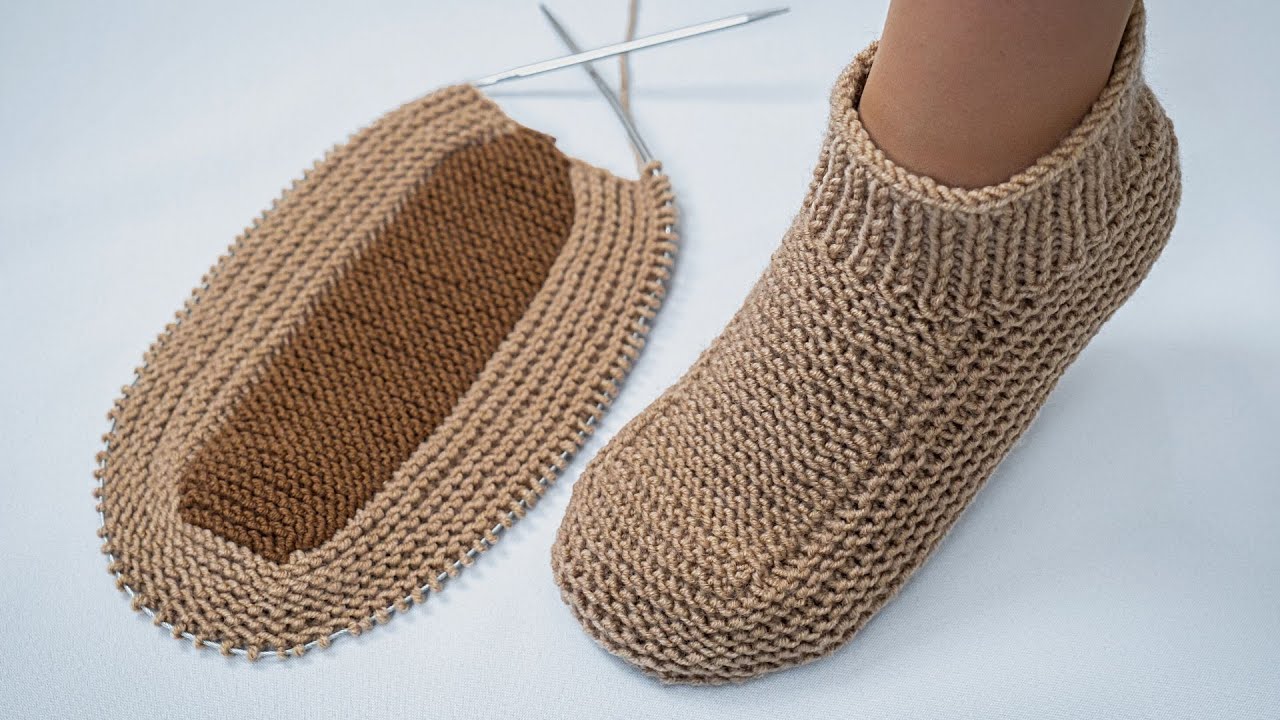
by Below is a clear, beginner-friendly step-by-step guide to knitting seamless-sole slippers using only 4 stitches. This method is popular because it’s quick, clever, and creates a stretchy, comfortable slipper with no seam on the bottom.
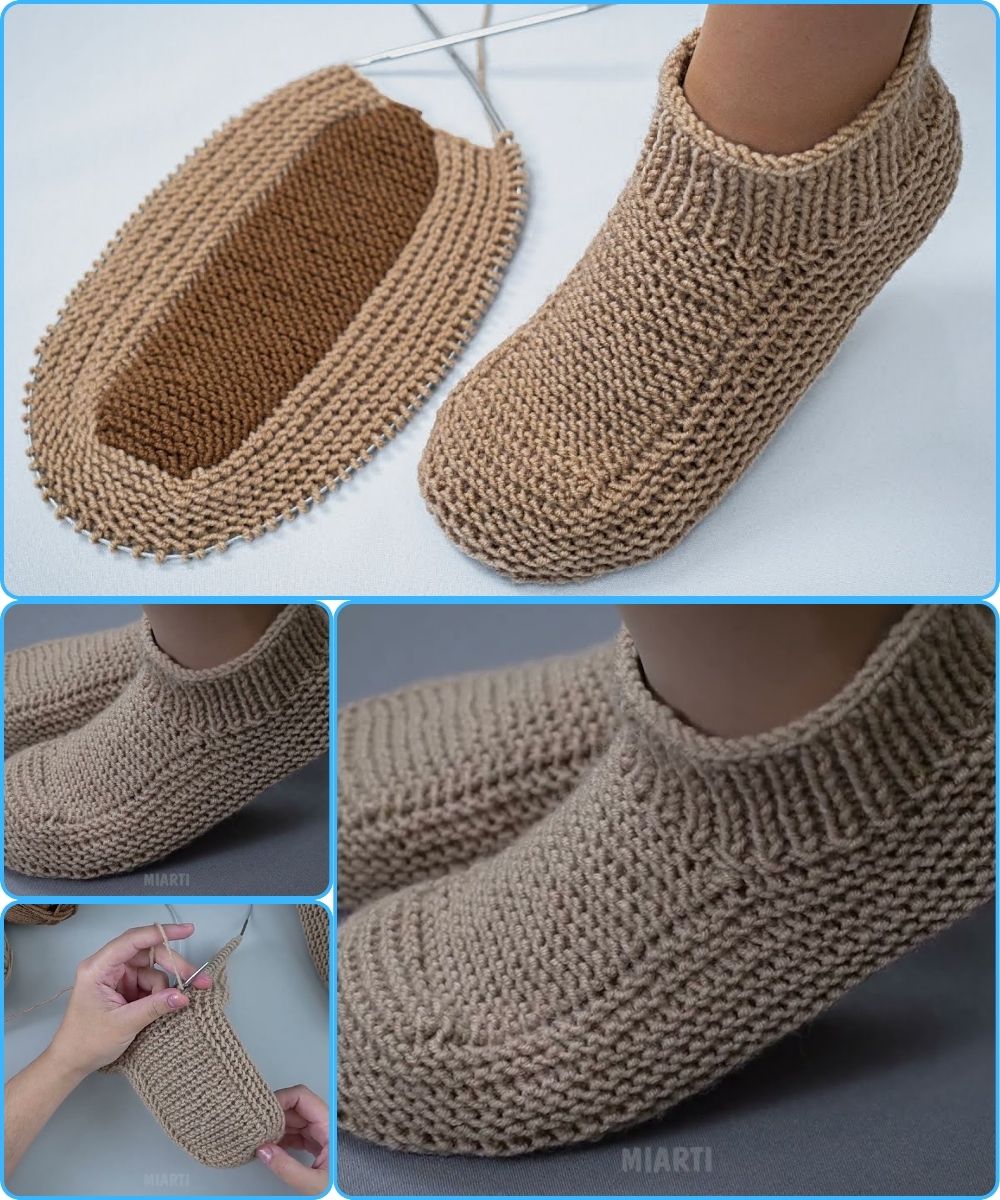
🧶 How to Knit Slippers Without a Sole Seam Using Only 4 Stitches
Easy • Fast • Beginner-Friendly
These slippers are worked using a 4-stitch i-cord style construction, gradually increasing width until you form the sole and upper in one continuous piece. You then fold, do a short seam at the heel, and you’re done!
⭐ What You Need
-
Yarn: Worsted or chunky weight (depending on how thick you want the slippers)
-
Needles: Double-pointed needles (DPNs) or circulars for knitting flat i-cord (4–6 mm works well)
-
Tapestry needle for weaving ends
-
Scissors
-
Stitch markers (optional)
🧶 THE METHOD
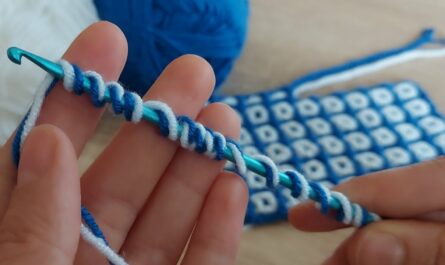
1. Start With Only 4 Stitches
Cast on 4 stitches using your preferred method.
These 4 stitches will form the center sole “spine” of the slipper.

2. Begin the I-Cord Base (No Seam!)
You will work this entire slipper similarly to an i-cord, but with increases that expand the fabric outward.
Row 1 (set-up):
Knit 4. Do NOT turn your work.
Slide the stitches back to the left needle (like an i-cord).
Row 2 and onward (increase rows):
-
Knit 4.
-
Pick up 1 stitch along the left side of the growing strip.
-
Turn your work.
-
Knit across all stitches.
-
Pick up 1 stitch along the right side.
-
Slide the stitches to the left needle and repeat.
➡️ This grows the fabric outward from the 4-stitch core, forming a flat, seamless panel that becomes the sole.
Continue until the piece is long enough to fit from your toes to your instep (around 13–18 cm depending on size).
3. Form the Toe and Upper
Once your sole is long enough:
Toe Increases
Every right-side row:
-
Knit to last stitch
-
KFB (knit front/back) of last stitch
Turn and repeat on the other side.
Continue increasing until the width matches the ball of the foot.
Work Even
Knit flat (sliding like before) without increases for several rows to build height over the toes.
4. Shape the Top of the Foot
To begin making the opening:
-
Split your stitches into three groups:
-
Left side
-
Center 4 stitches (the original core)
-
Right side
-
-
Work only the center 4 stitches as i-cord, picking up 1 stitch alternately from the left and right panels to shape the upper.
This draws the sides up over the foot until they meet the ankle.
Continue until the slipper opening fits comfortably around the foot.
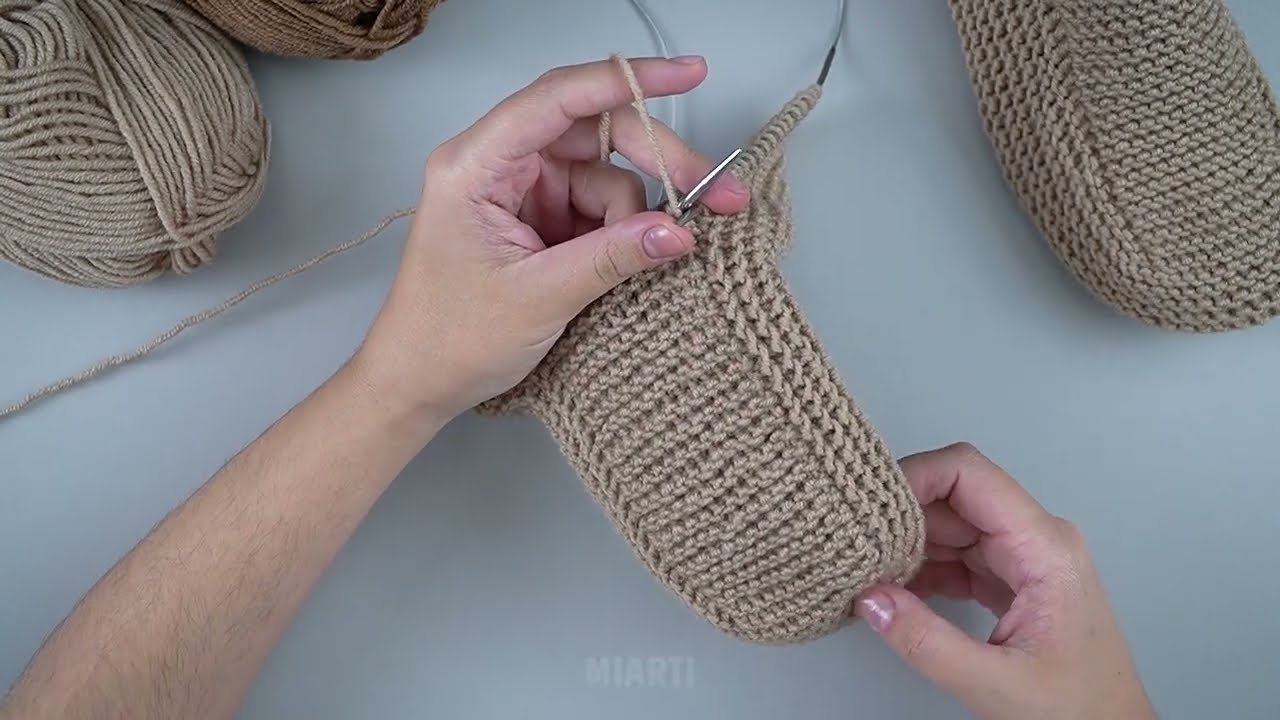
5. Finish the Heel
When the upper reaches the back of the heel:
-
Knit all stitches together.
-
Bind off loosely.
-
Fold the heel flap and sew only a small back seam (not on the sole!).
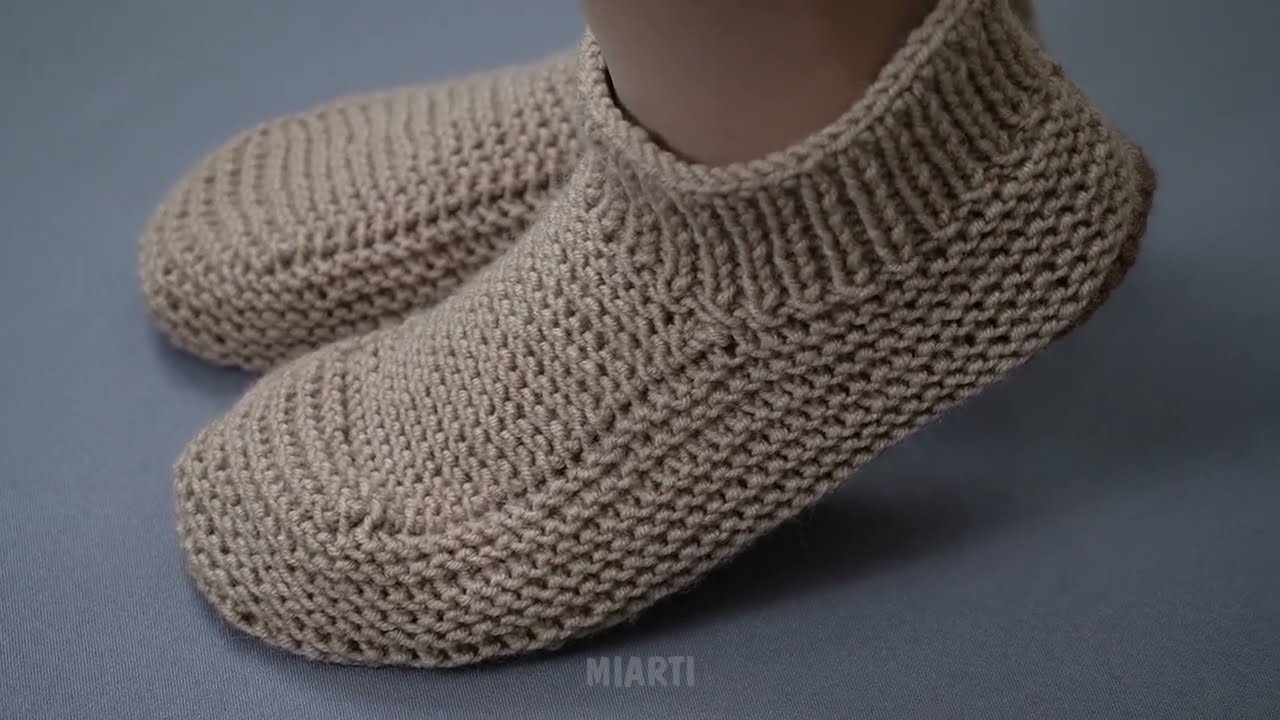
🎉 That’s it! You’ve made a slipper with:
✔ No seam on the sole
✔ Only 4 stitches to begin
✔ A stretchy, form-fitting shape
✔ Fast finish (often under 2 hours)
🧦 Optional Enhancements
-
Add ribbing around the ankle (pick up stitches around the opening and work 1×1 or 2×2 rib).
-
Use two colors for stripes.
-
Hold two strands for extra-thick slippers.
-
Add suede or silicone dots to the bottom for grip.
If you’d like, I can also provide:
👉 a printable pattern version
👉 step-by-step illustrations
👉 sizing instructions for kids, women, and men
👉 a video-style walkthrough
Watch video: