 by
by Below is a clear, beginner-friendly, step-by-step guide for making simple knitted slippers. These slippers are often called “grandma slippers” or “easy fold slippers” because they’re made from a single rectangle and require almost no shaping. Perfect for first-time knitters!
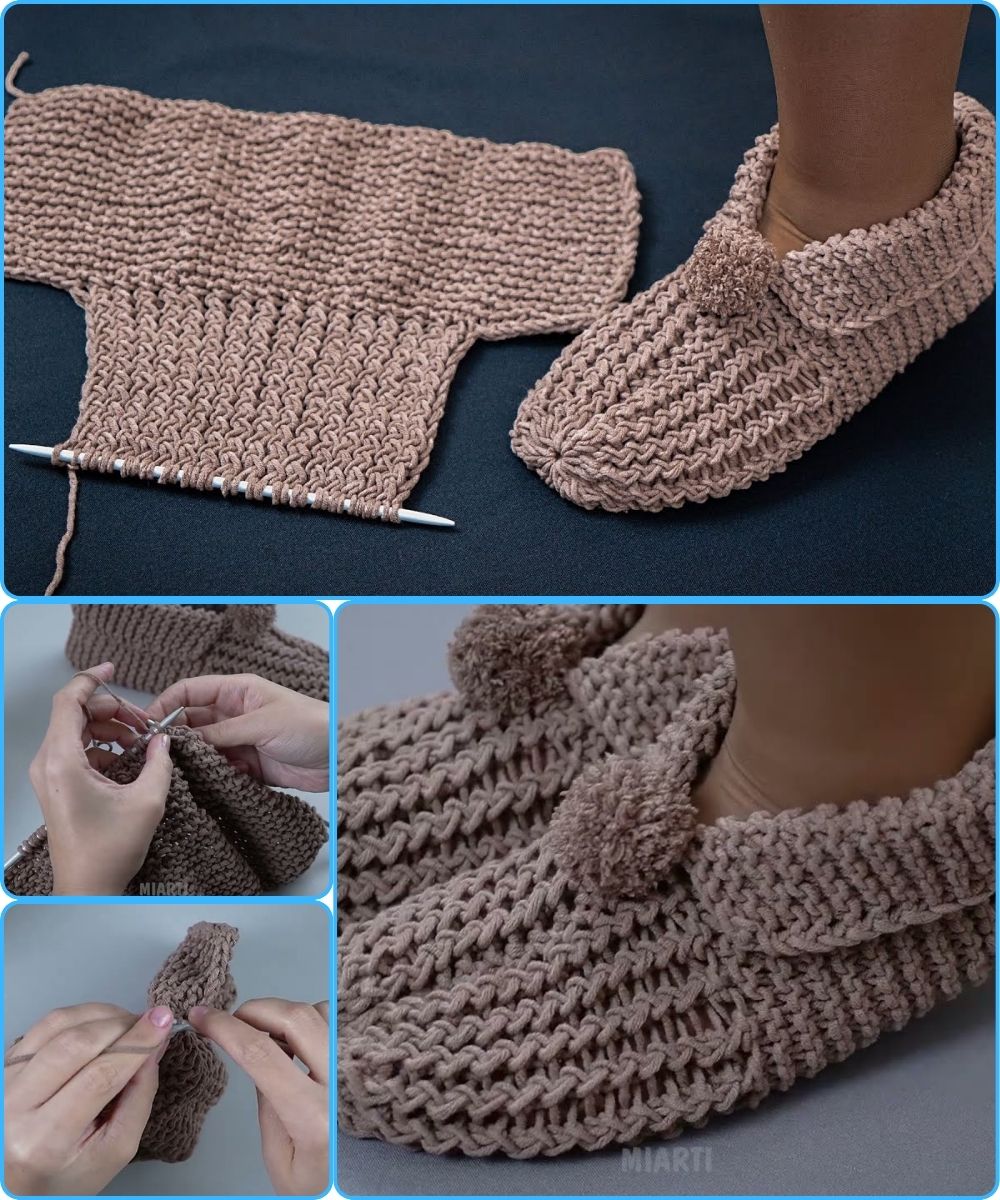
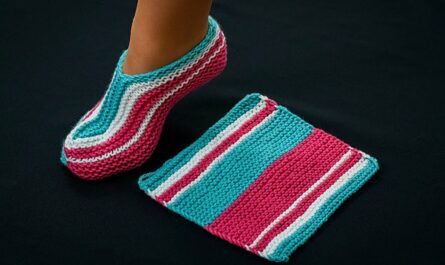
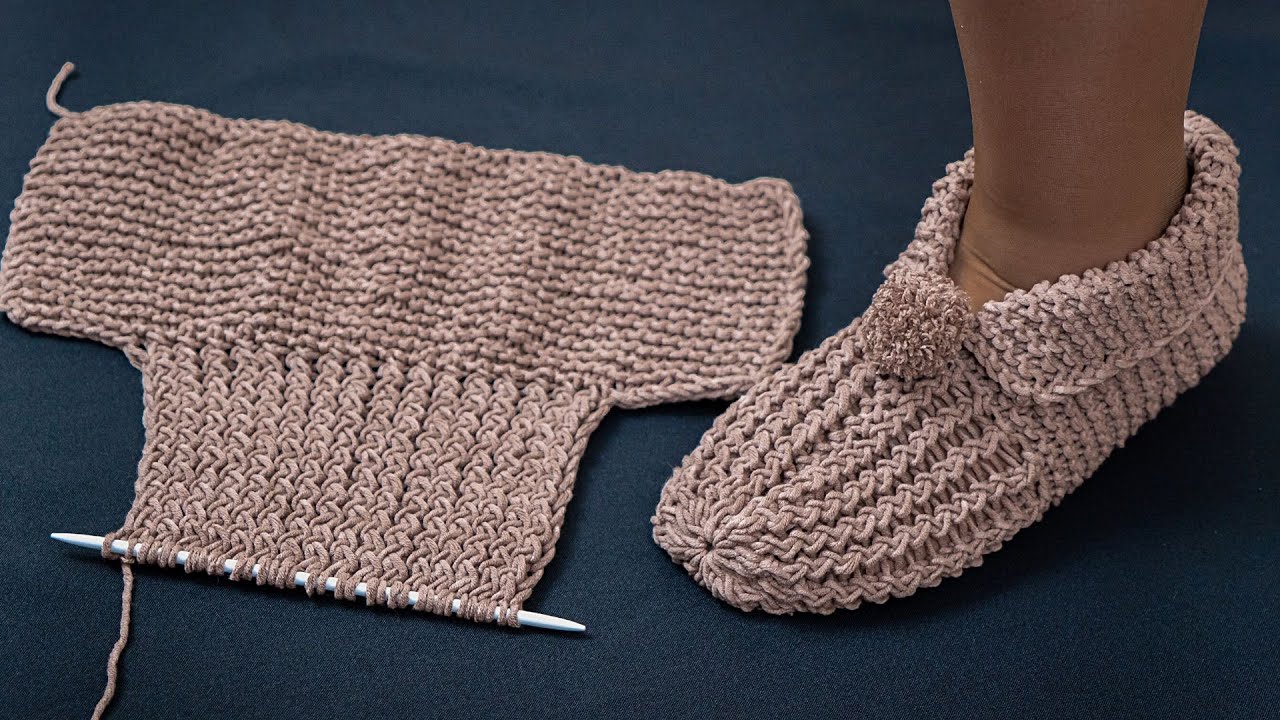
🧶 How to Make Knitted Slippers Easily and Simply (Beginner Friendly!)
These slippers are worked flat as a single rectangle, folded, and sewn. If you can knit the basic knit stitch (and optionally the purl stitch), you can make them!
✅ Materials You Need
-
Yarn: Medium weight (Category 4) acrylic or wool blend
-
Needles: US size 8 (5 mm) straight needles (or size needed for your yarn)
-
Tapestry needle (for sewing seams)
-
Scissors
-
Optional: Stitch marker, buttons, pom-poms for decoration
🧵 Size Guide (Length of Rectangle)
Measure the length of your foot and use this as the length of your knitted rectangle:
-
Small: 8.5–9 in (22–23 cm)
-
Medium: 9.5–10 in (24–25.5 cm)
-
Large: 10.5–11 in (26.5–28 cm)
The width is created automatically by the stitch count.
🪡 Pattern (Super Simple Beginner Version)
This version uses ONLY the knit stitch.
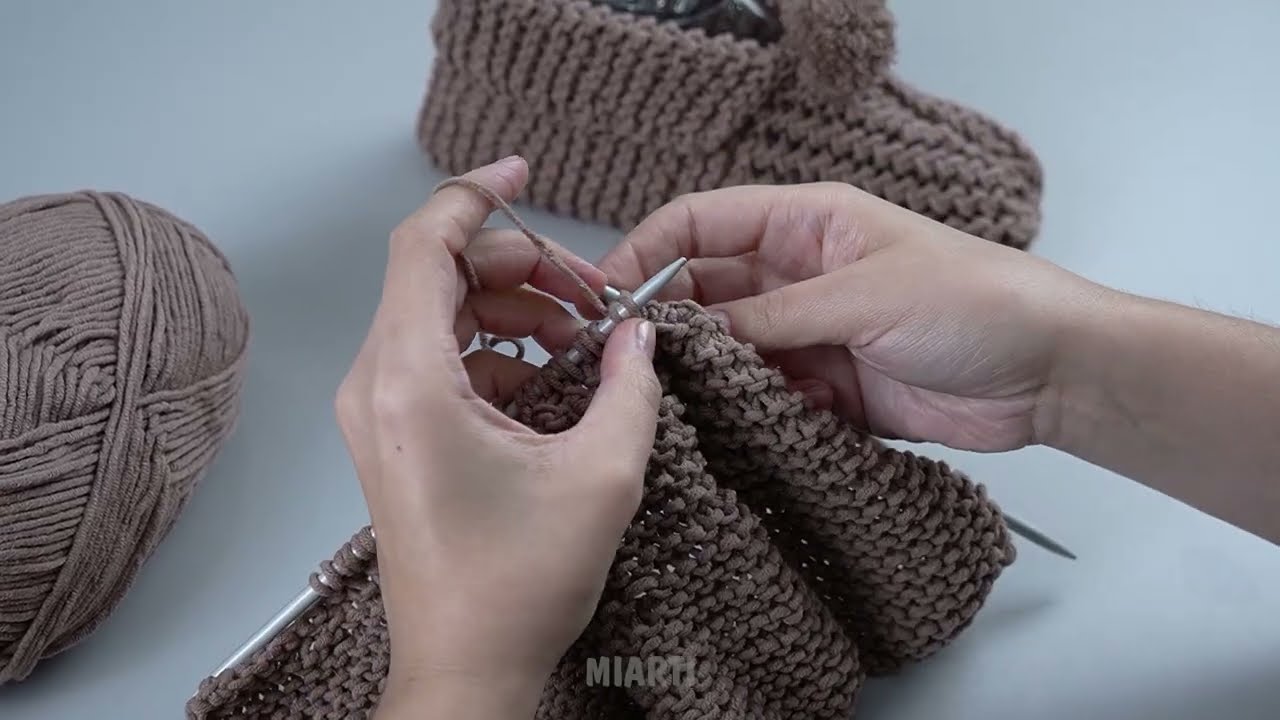
Step 1 — Cast On
Cast on 32 stitches (for adult medium).
-
For smaller feet: 28–30 stitches
-
For bigger feet: 34–36 stitches
Step 2 — Knit the Rectangle
Knit every row (garter stitch) until your piece measures the length of your foot (see size guide above).
This will form a soft, stretchy fabric that molds nicely to the foot.
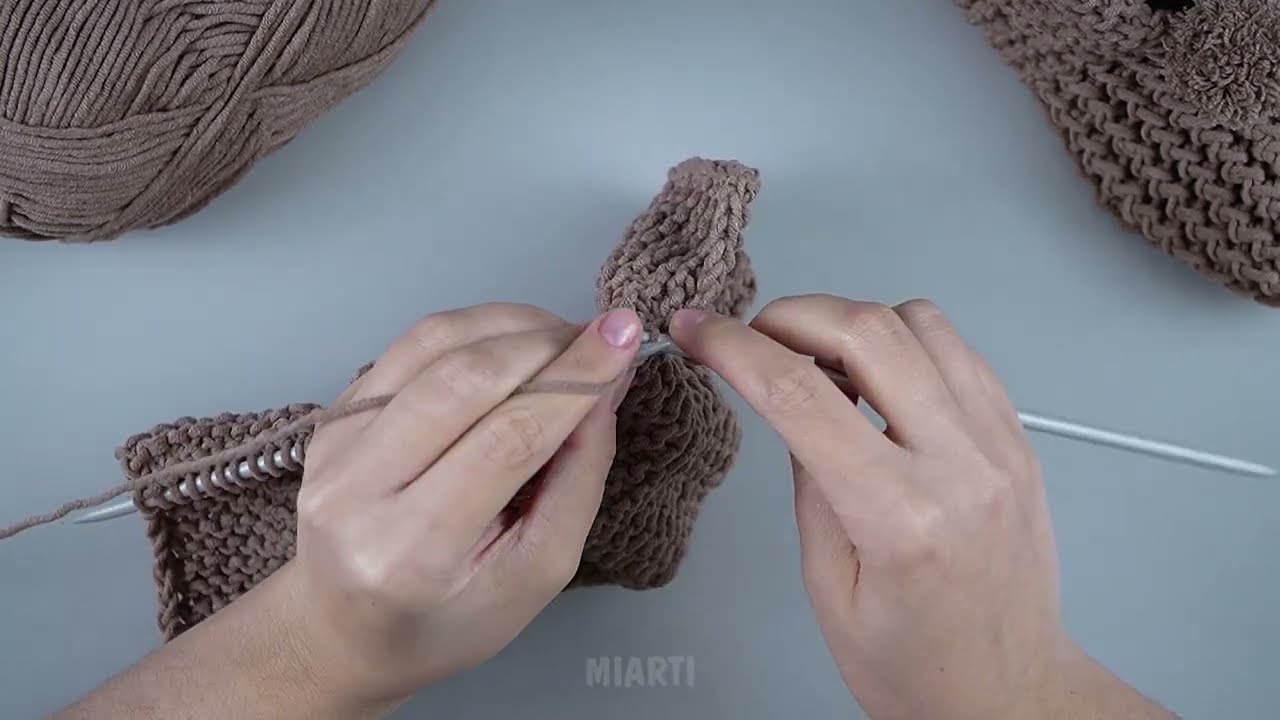
Step 3 — Bind Off
Bind off all stitches loosely so the edge isn’t tight.
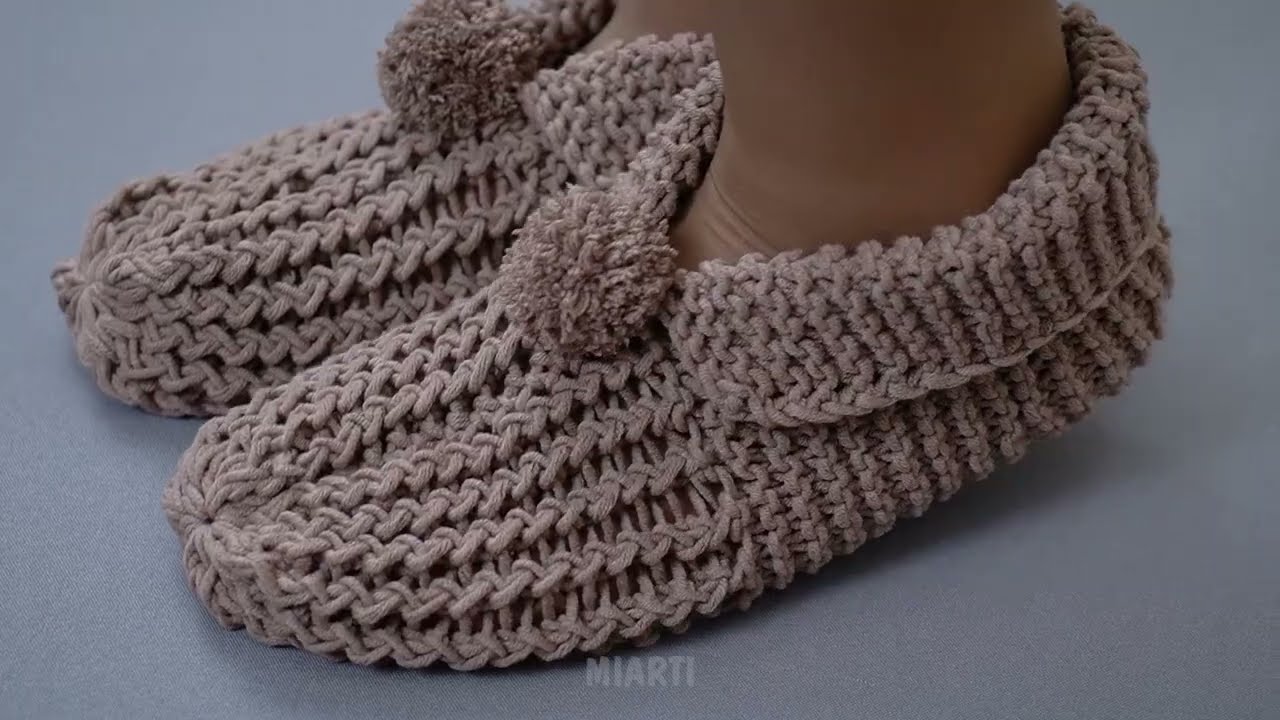
🪡 Step 4 — Assembly (The “Magic Folding” Part!)
Your knitted piece is now a rectangle. Here’s how to fold and sew it into a slipper:
1. Fold the piece in half lengthwise
So the cast-on edge touches the bind-off edge.
2. Sew the toe (front) seam
Sew about ⅓ of the length from one end.
This closed end becomes the toe.
3. Sew the heel seam
On the opposite end, sew about 2–3 inches closed to form the heel cup.
You should now have a slipper-shaped pocket!
👣 Try On and Adjust
Slip it onto your foot:
-
If the slipper is loose → sew a bit farther down the toe seam.
-
If it’s tight → undo a bit of the seam for more room.
✨ Optional Stitch Variation (Ribbed Slippers)
If you know how to purl, try this texture:
Row 1: K2, P2 to end
Repeat for entire piece
Makes a stretchy ribbed slipper.
🎀 Decorations (Optional but Fun!)
You can add:
-
Pom-poms to the toes
-
Buttons
-
A contrasting colored cuff
-
A crochet border
-
Embroidery designs
🔧 Tips for Absolute Beginners
-
Use thick yarn—the project goes faster!
-
Choose wooden needles—less slippery for new knitters.
-
Don’t worry about mistakes—slippers stretch and hide imperfections.
-
Make a matching pair by knitting two rectangles the same size.
🧦 Finished!
You’ve just made your first pair of knitted slippers using the simplest method possible. This is a perfect beginner project and a great handmade gift.
If you want, I can also create:
✔ a printable PDF version
✔ a version with step-by-step photos
✔ a version using circular needles
✔ a customizable pattern by foot size and yarn type
Would you like that?
Watch video: