 by
by Here is a detailed, beginner-friendly guide you can use for a blog post, class handout, or video description.
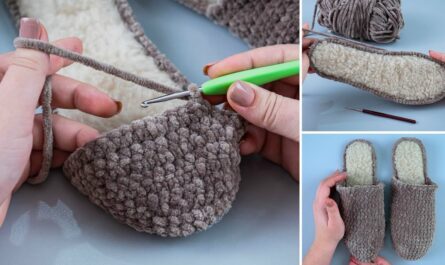
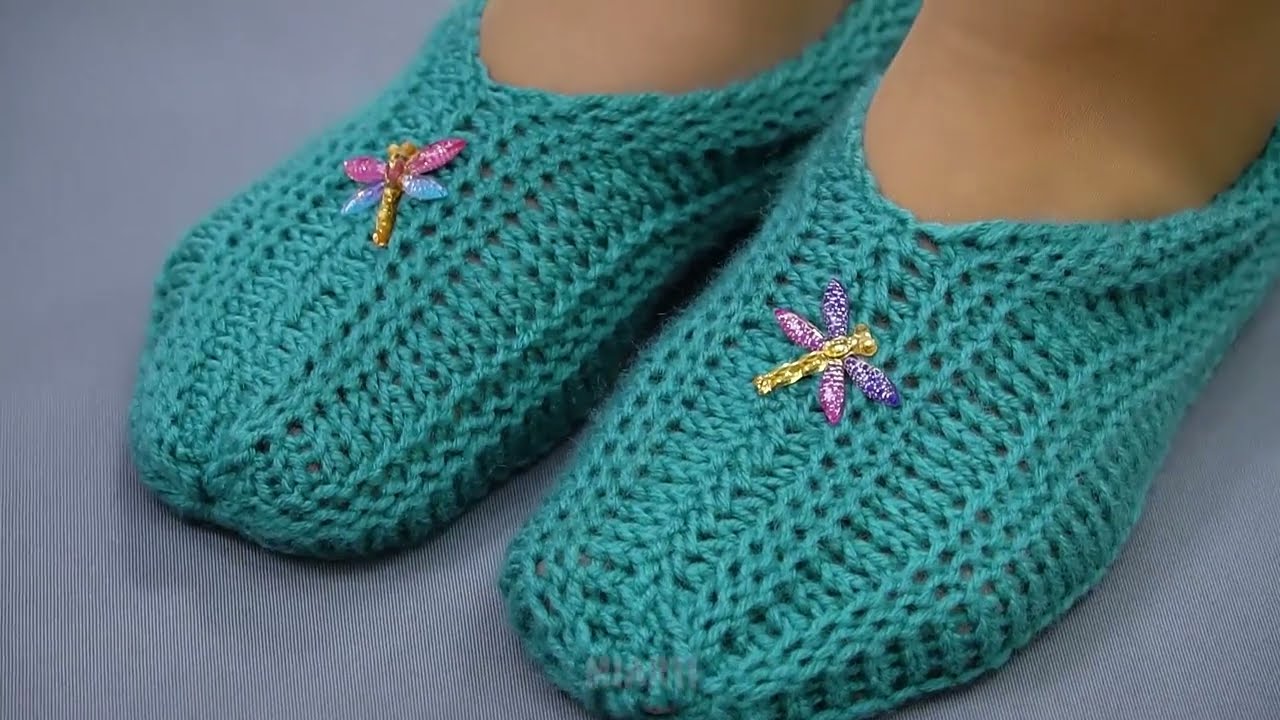
How to Make Easy Knitted Slippers with Knitting Needles
Beginner-friendly | Very quick | No complicated shaping
Knitted slippers are one of the easiest and fastest knitting projects, perfect for beginners and also great for making cozy gifts. With just basic knitting stitches and simple construction, you can create warm, comfortable slippers in a short time.
Materials Needed
-
Yarn:
Medium weight (worsted / Aran) yarn
Approx. 100–150 grams for one pair
Wool or wool-blend yarn works best for warmth and durability -
Knitting Needles:
Size 5 mm – 6 mm (US 8–10), straight needles -
Other Supplies:
Yarn needle (for sewing seams)
Scissors
Measuring tape (optional)
Skills Required
This slipper pattern is suitable for beginners and uses only basic techniques:
-
Casting on
-
Knit stitch
-
Purl stitch
-
Binding off
-
Simple sewing
No increasing, decreasing, or complicated shaping is required.
Slipper Construction Overview
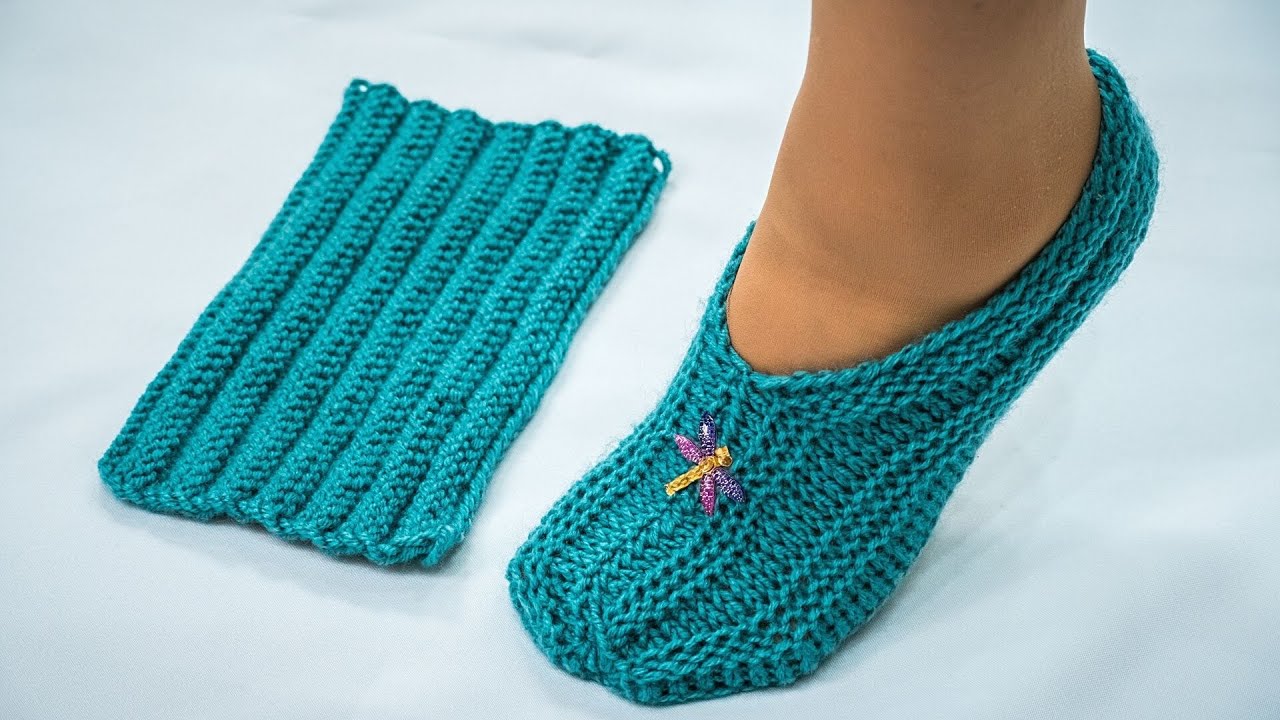
These slippers are knitted flat and then folded and sewn to form the slipper shape. Each slipper is made from one rectangular piece, making the process fast and simple.
Step-by-Step Instructions
Step 1: Cast On Stitches
Cast on 36–44 stitches, depending on foot size and yarn thickness.
-
Small (EU 36–38): 36 stitches
-
Medium (EU 39–41): 40 stitches
-
Large (EU 42–44): 44 stitches
Use a loose cast-on to keep the slipper comfortable.
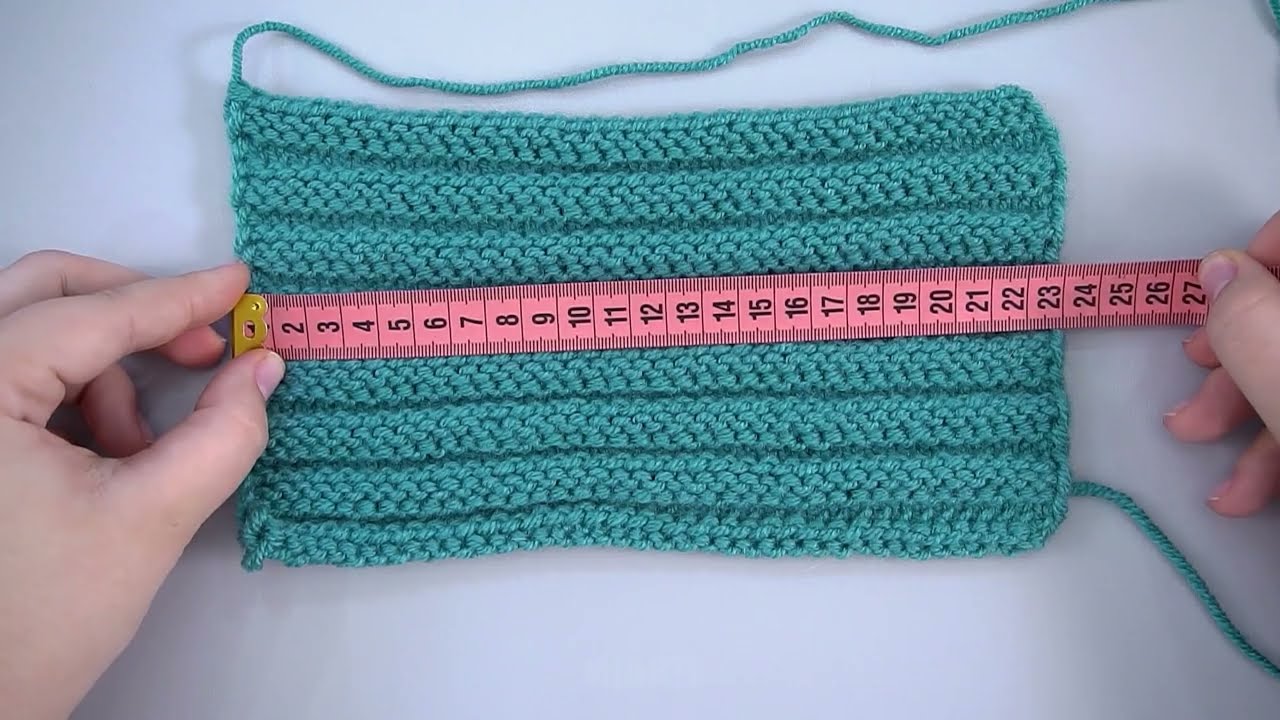
Step 2: Knit the Sole
Work in garter stitch (knit every row).
-
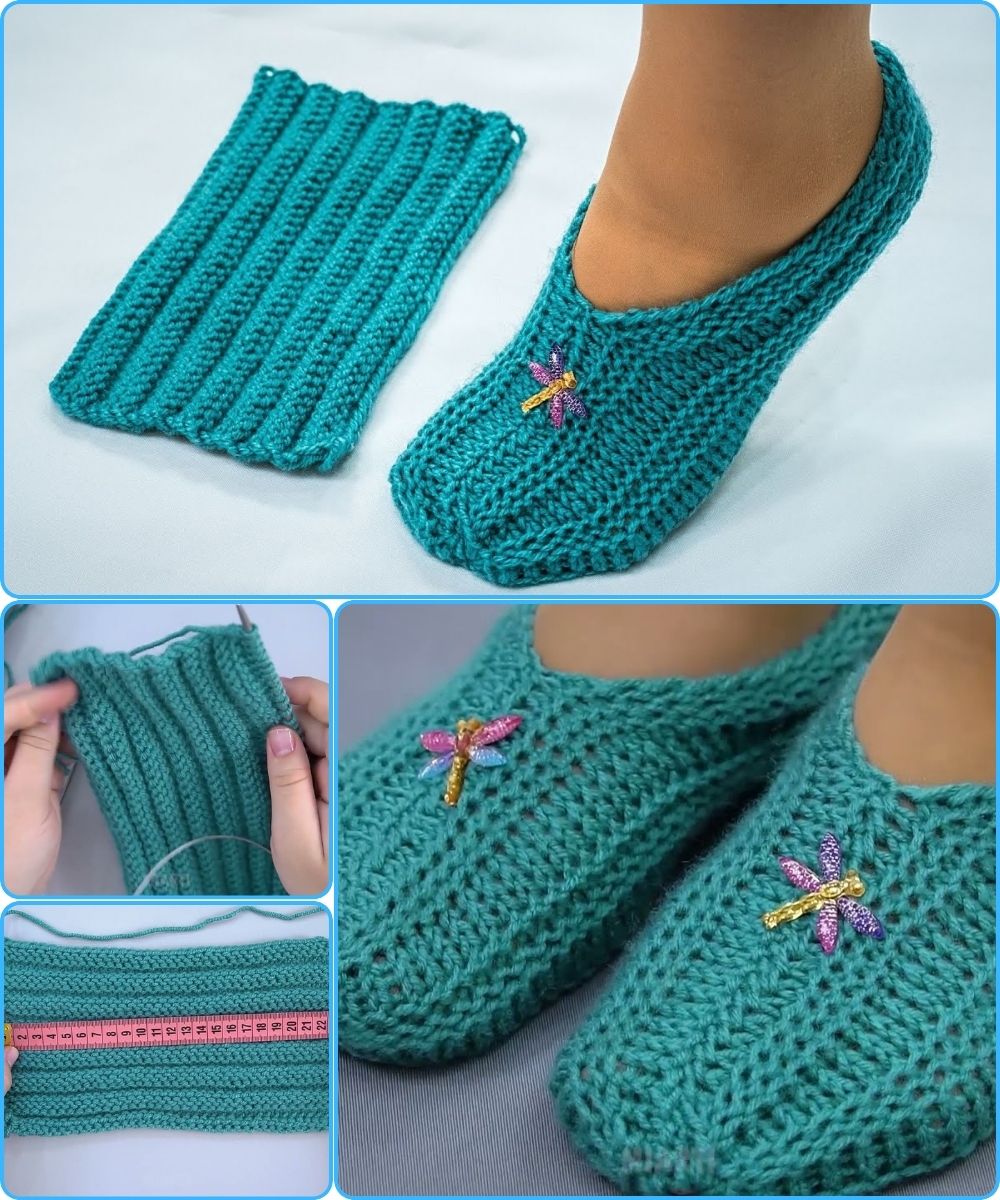
Knit every row until the piece measures approximately:
-
20 cm (8 inches) for small
-
22 cm (8.5 inches) for medium
-
24 cm (9.5 inches) for large
-
This section forms the sole of the slipper.
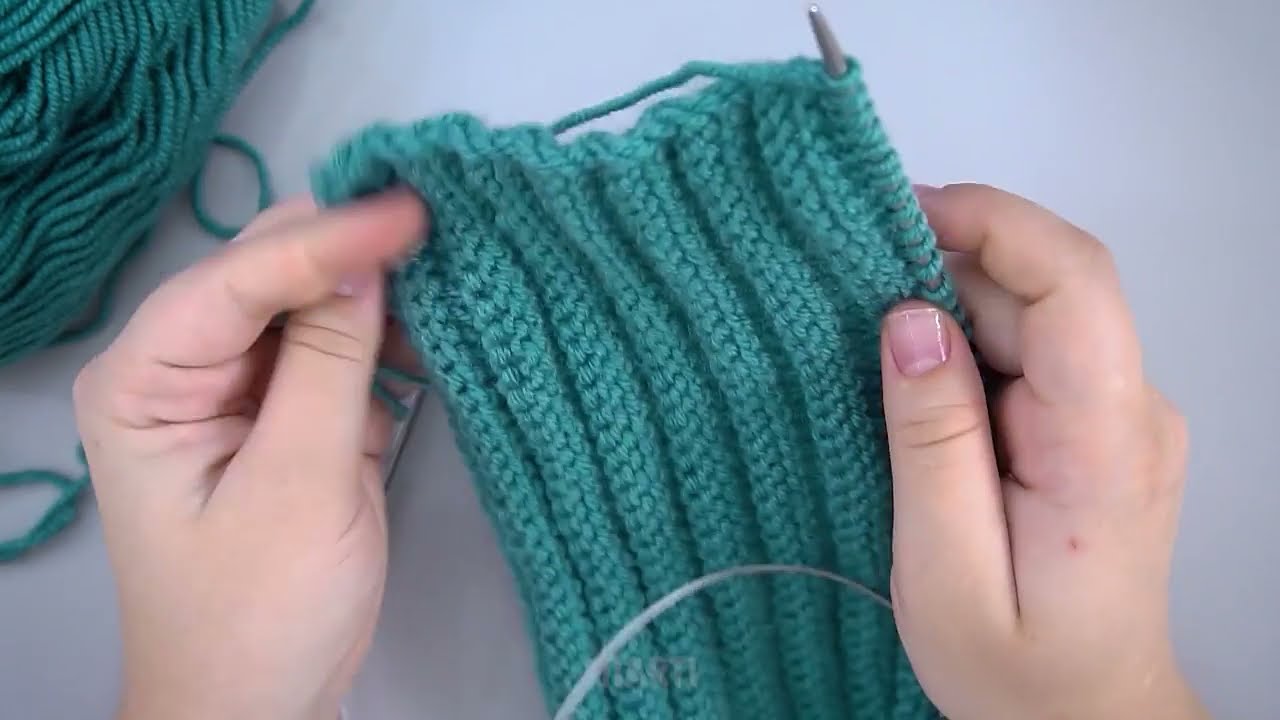
Step 3: Knit the Upper Part
Switch to stockinette stitch:
-
Row 1: Knit
-
Row 2: Purl
Continue in stockinette stitch for 8–10 cm (3–4 inches).
This section will fold over the foot.
Step 4: Bind Off
Bind off all stitches loosely to keep the opening flexible and comfortable.
Step 5: Fold and Sew the Slipper
-
Fold the knitted piece in half lengthwise.
-
Sew the back seam from the heel up using a yarn needle.
-
Fold the top flap over to create the slipper shape.
-
Sew the front edges lightly if needed to secure the top.
Turn the slipper right side out.
Step 6: Make the Second Slipper
Repeat all steps to make the second slipper.
Tips for Best Results
-
Use thicker yarn for extra warmth and quicker results.
-
Knit tightly for slippers that hold their shape better.
-
Add a non-slip sole using fabric paint or stitched suede patches.
-
Decorate with pom-poms, buttons, or crocheted flowers.
Why This Slipper Pattern Is Great
-
Very quick to knit (often under 2 hours)
-
Perfect for beginners
-
Minimal sewing
-
Customizable for any foot size
-
Great handmade gift idea
If you’d like, I can also:
-
Simplify this into a short pattern
-
Rewrite it for a YouTube video script
-
Adjust it for children or men’s sizes
-
Convert it into a PDF pattern
Just tell me! 😊
Watch tutorial: