 by
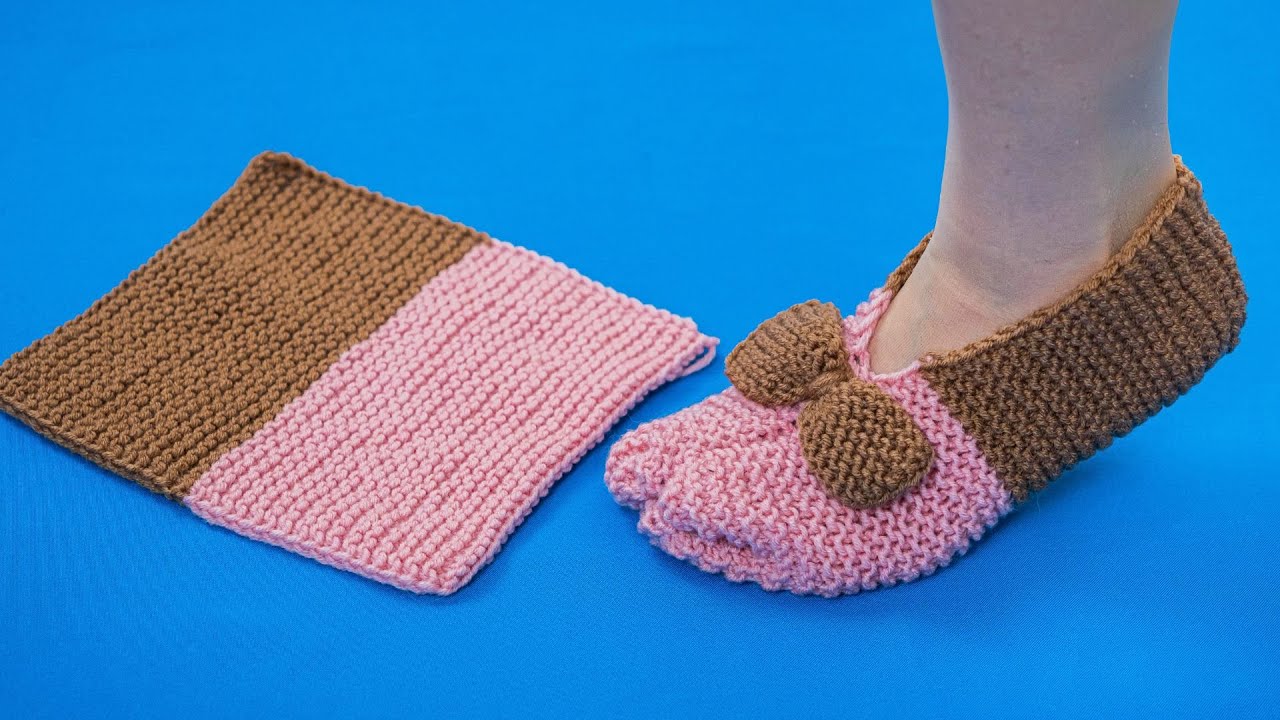
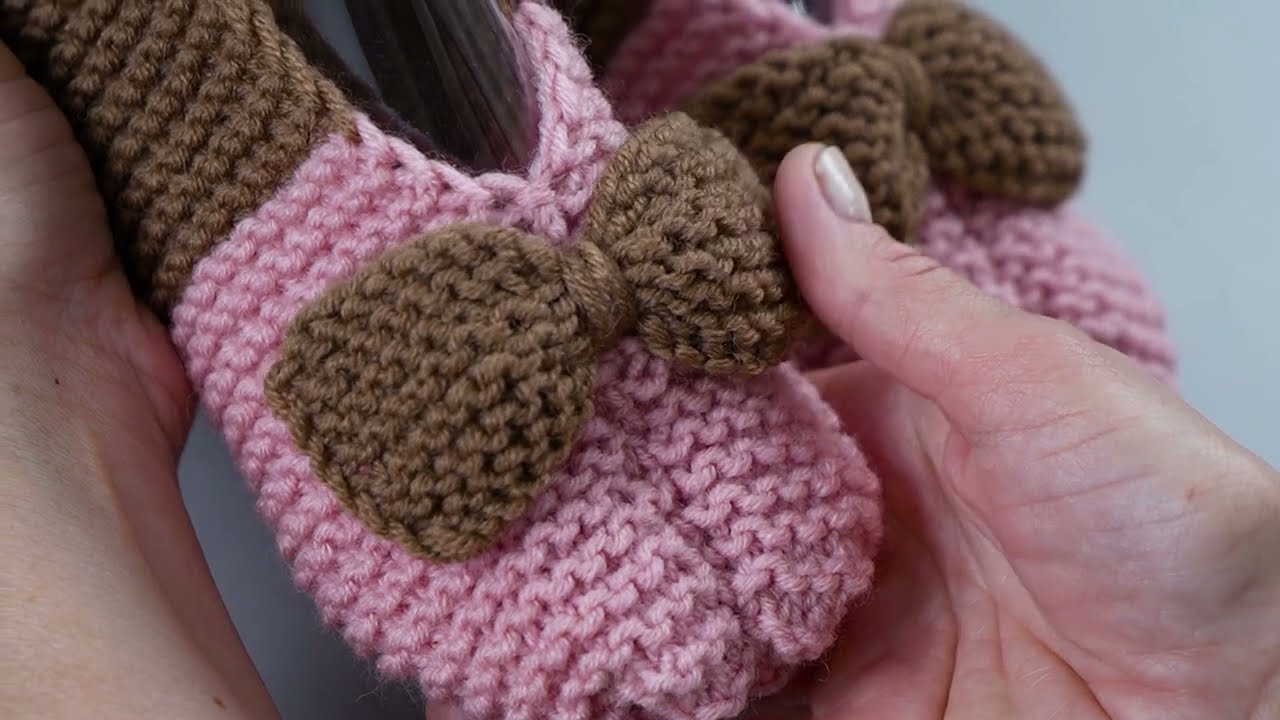
by Here is a clear, detailed, and beginner-friendly tutorial for making simple knitted slippers without a seam on the sole, perfect for using leftover yarn.
This method keeps the sole smooth and comfortable and is easy enough for beginners 🧶👣
How to Make Simple Knitted Slippers Without a Seam on the Sole
(Perfect for Leftover Yarn)
Skill Level
Beginner
Finished Size
Adult medium (easy to adjust for any foot size)
Why This Method Is Great
✔ No seam on the sole → more comfortable to walk in
✔ Uses scraps or leftover yarn
✔ Simple construction
✔ Can be made on 2 needles
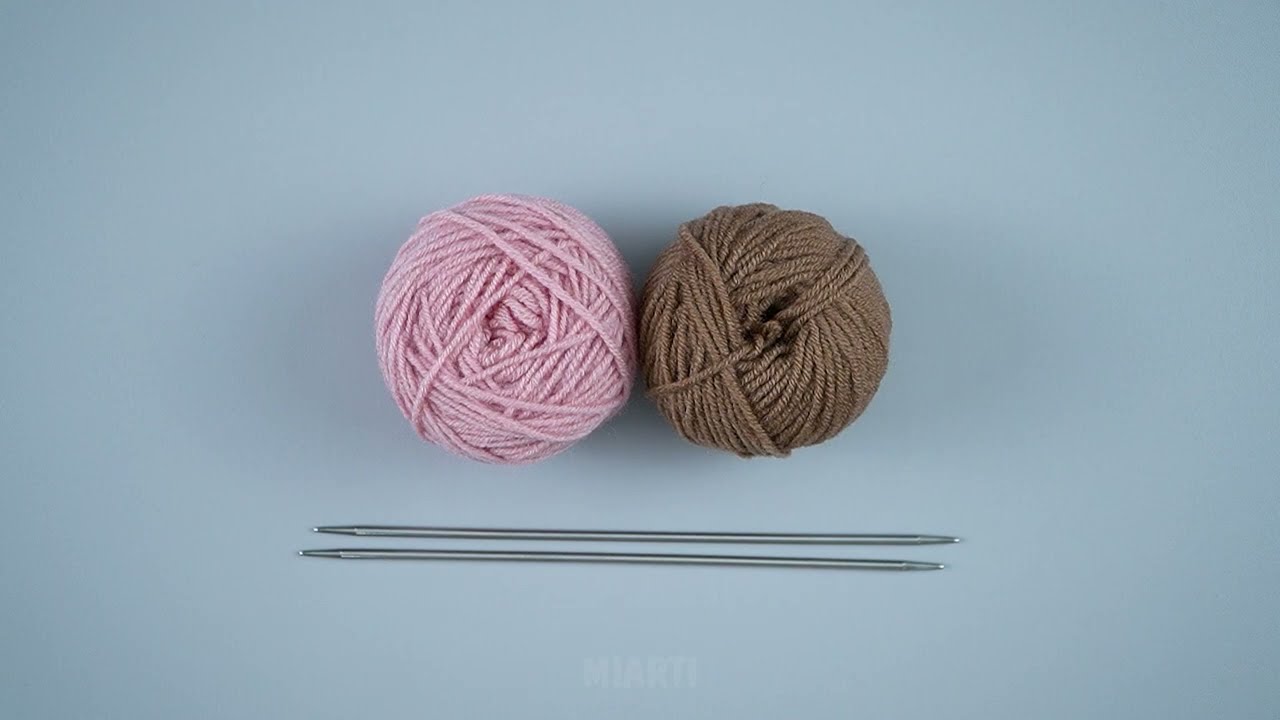
Materials Needed
-
Yarn: Leftover medium-weight yarn (Category 4)
-
You can mix colors for a fun, scrappy look
-
-
Knitting needles: Two straight needles, US 7–8 (4.5–5 mm)
-
Yarn needle
-
Scissors
Basic Knitting Skills Used
-
Cast on
-
Knit stitch (k)
-
Purl stitch (p)
-
Knit two together (k2tog)
-
Pick up stitches
-
Bind off
Stitch Pattern
-
Sole: Garter stitch (knit every row)
-
Upper: Stockinette or garter stitch
Step-by-Step Instructions
Step 1: Knit the Sole (No Seam!)
The sole is knit in one piece, so no sewing is needed later.
-
Cast on 24 stitches
-
Knit every row (garter stitch)
-
Continue until the sole measures the length of your foot
-
Approx. 9 inches (23 cm) for adult medium
-
Adjust length for your foot—this is the most important step.
Step 2: Pick Up Stitches Around the Sole
-
Do not bind off
-
Knit across the top edge
-
Pick up stitches evenly along both long sides and the cast-on edge
-
You should have about 60–70 stitches total
This creates the slipper walls without sewing the sole.
Step 3: Knit the Foot Upper
-
Knit 2 rows in garter stitch
-
Switch to stockinette stitch (knit one row, purl one row)
-
Knit until the piece reaches the top of your foot
Step 4: Shape the Toe
-
On a knit row:
-
K2tog, knit to last 2 stitches, k2tog
-
-
Purl the next row normally
-
Repeat until 20 stitches remain
Step 5: Finish the Top
-
Knit 2 more garter stitch rows
-
Bind off loosely
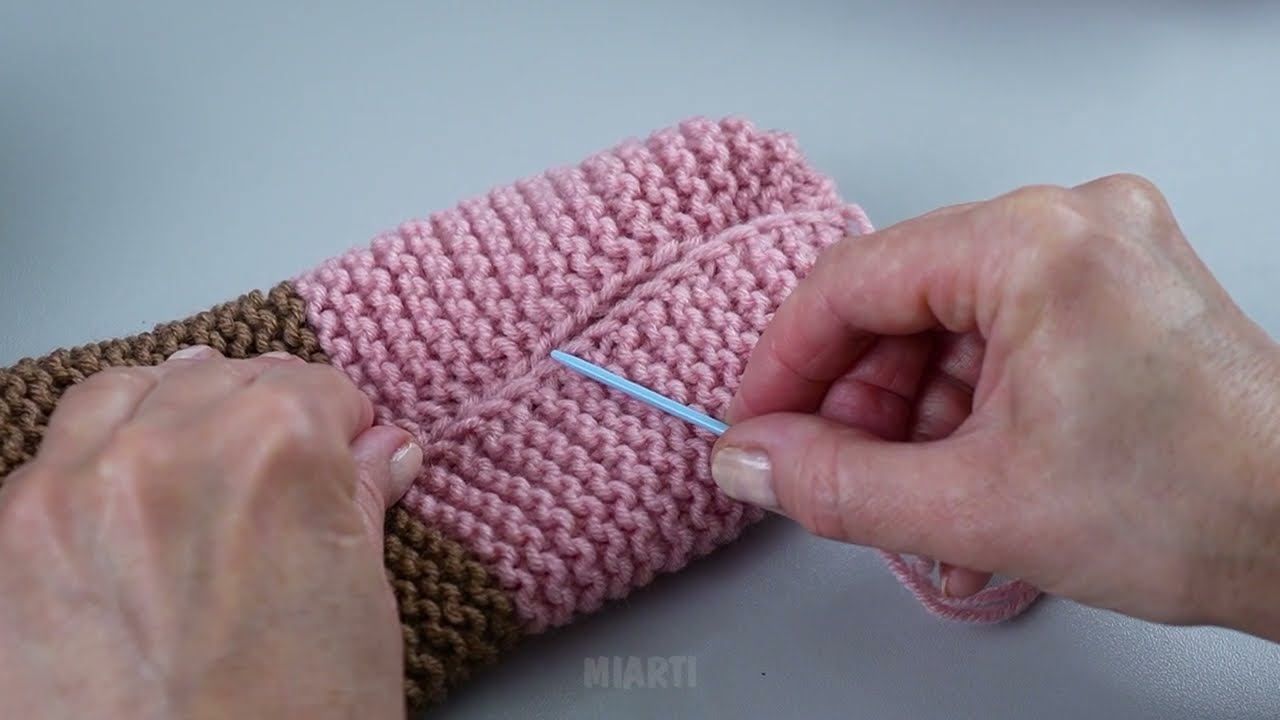
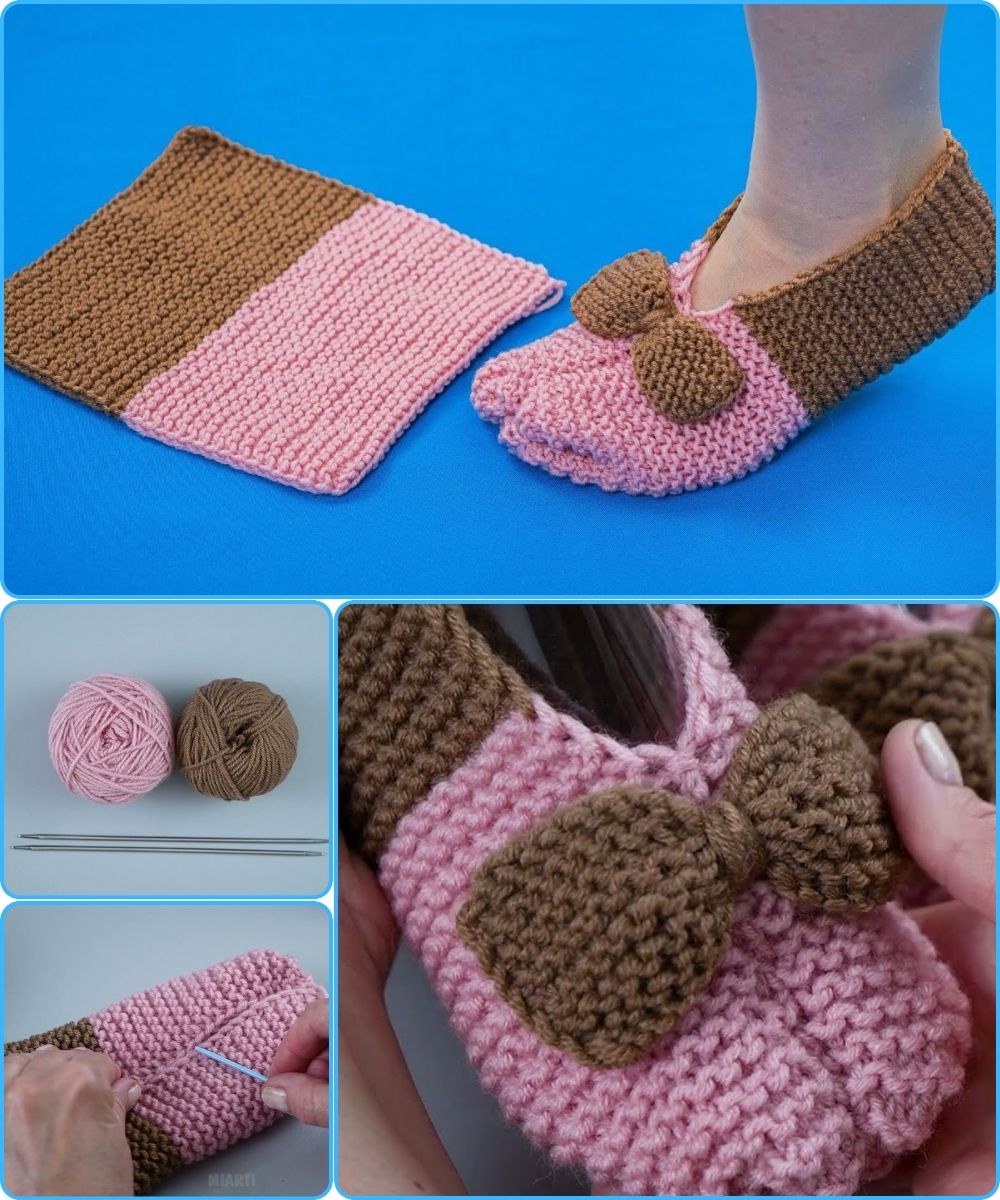
Step 6: Sew Only the Back Seam
-
Fold the slipper at the heel
-
Sew only the back seam
✔ No seam on the sole
✔ Very comfortable fit
Using Leftover Yarn
-
Change colors every few rows
-
Use darker yarn for the sole
-
Join yarns with simple knots and hide ends inside
Optional Finishing Touches
-
Pick up stitches around the opening and knit a cuff
-
Add non-slip fabric paint to the sole
-
Add a pom-pom or button
Size Adjustments
-
Smaller feet: Cast on fewer sole stitches
-
Larger feet: Cast on more stitches
-
Always adjust the sole length, not just stitch count
Beginner Tips
✔ Try the sole on as you knit
✔ Use tight stitches for durability
✔ Weave in ends as you go
✔ Slippers are forgiving—don’t worry about mistakes
🎉 Congratulations!
You’ve made comfortable, seam-free knitted slippers using leftover yarn—perfect for cozy home wear or thoughtful handmade gifts.
If you’d like, I can:
-
Turn this into a 1-page printable pattern
-
Make a kids or baby version
-
Create a no-purl version
-
Add step-by-step diagrams
Watch video: