by
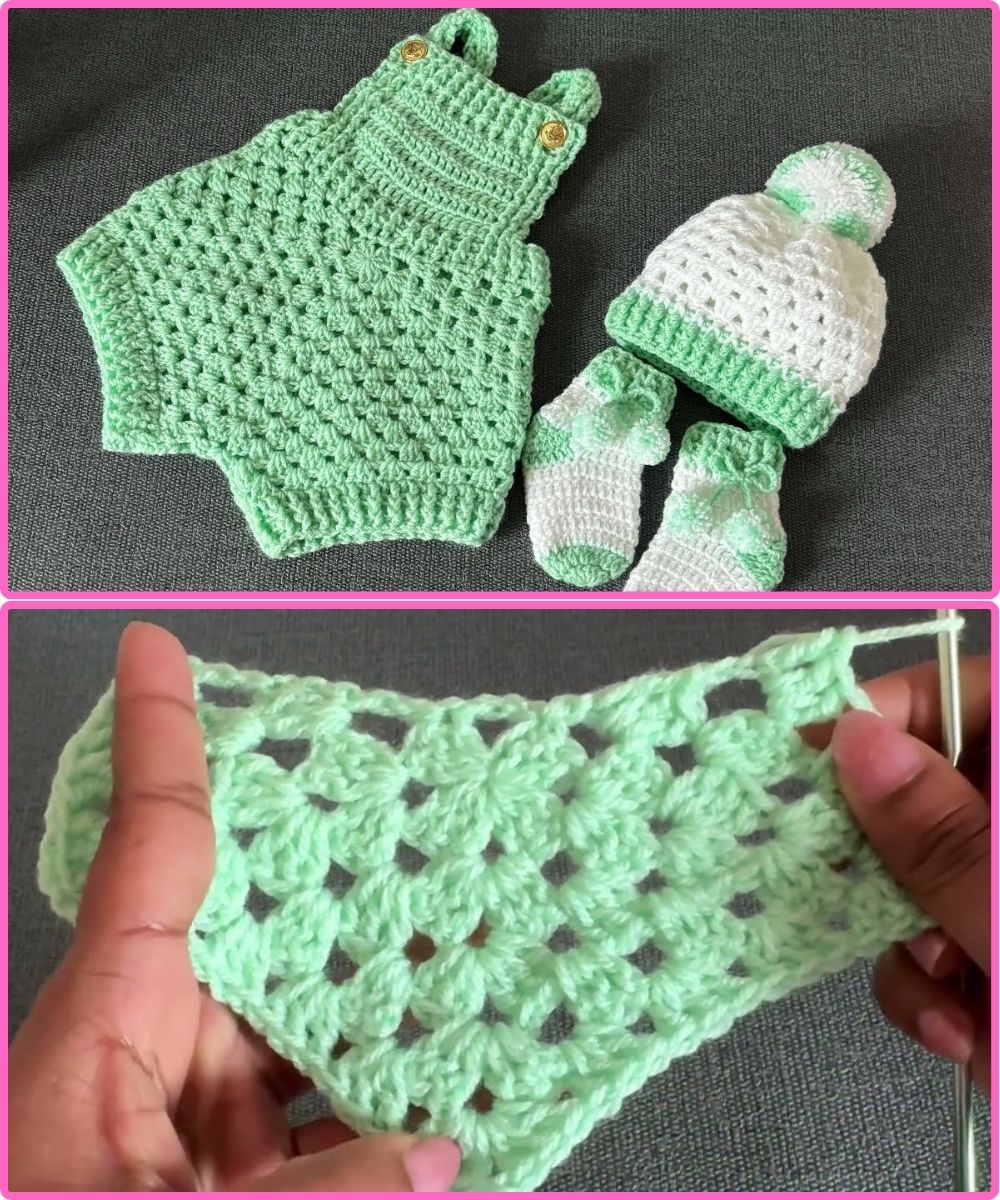
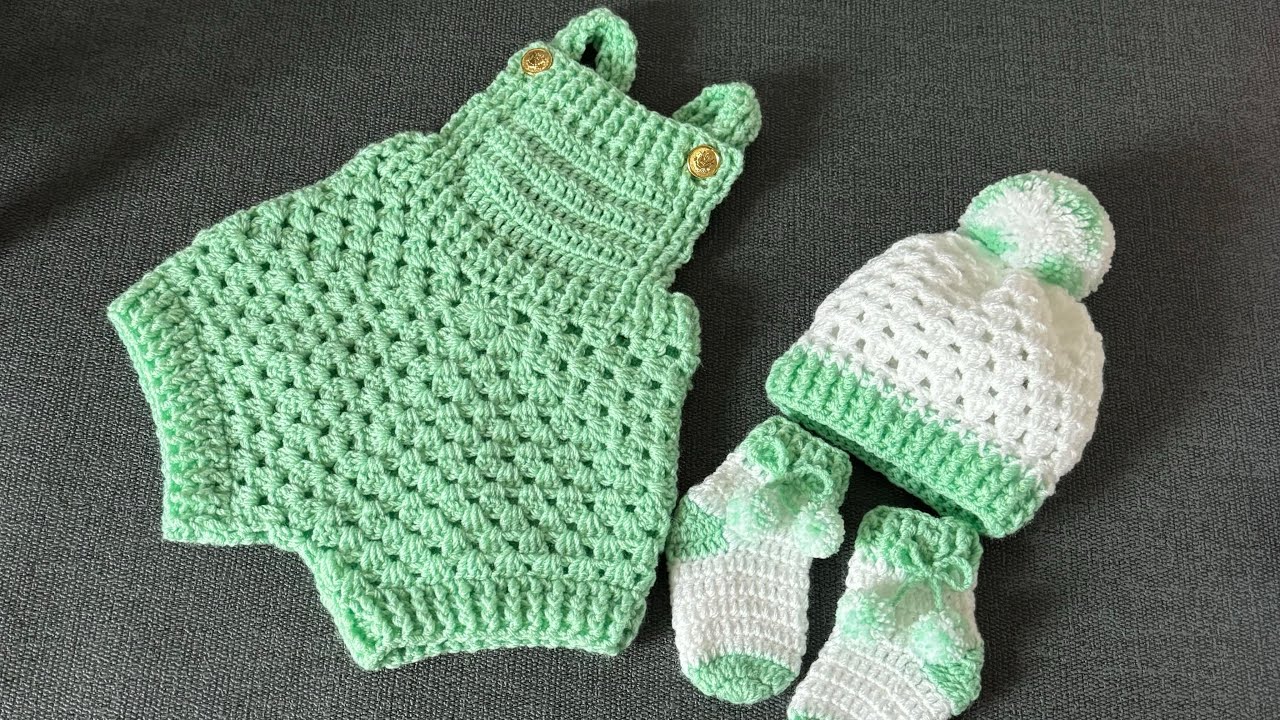
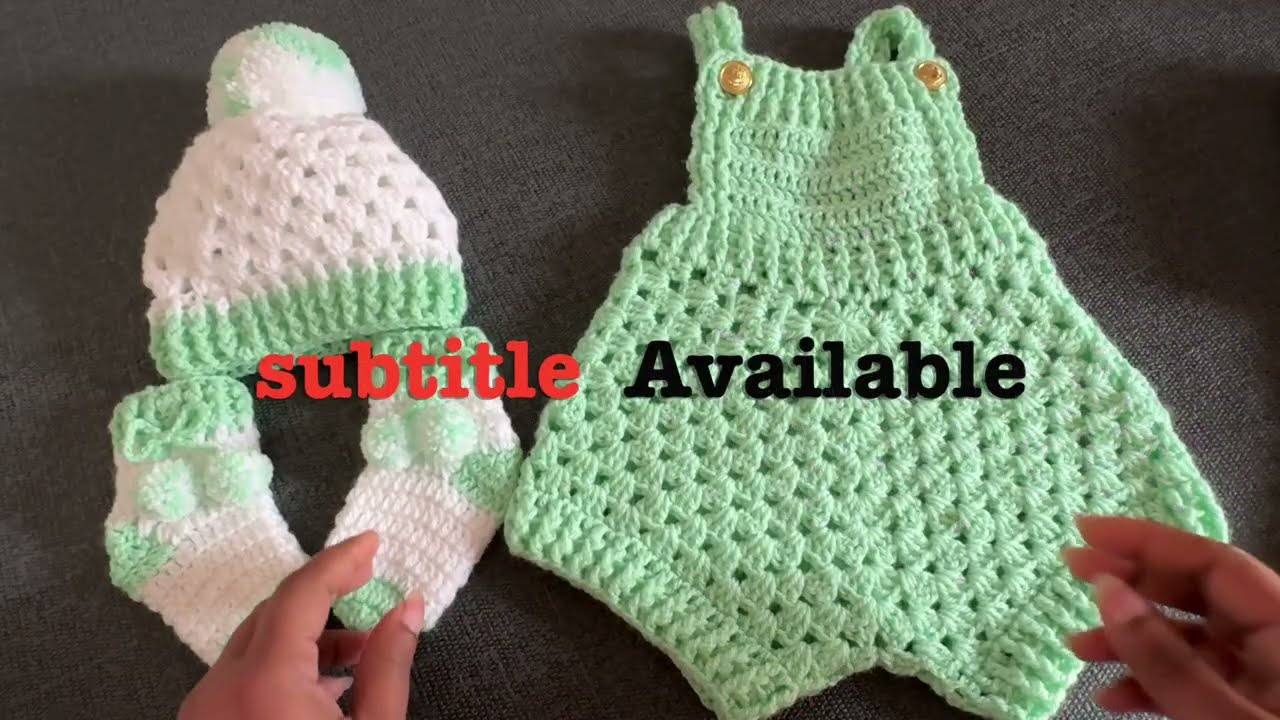
by Sure! Here’s a detailed guide on how to crochet an easy baby romper (or baby overall). This guide will take you step-by-step through the process, from the yarn selection to the final touches. If you’re a beginner, don’t worry — I’ll break down the process in a way that’s simple to follow.
Materials Needed:
-
Yarn: Choose a soft, baby-friendly yarn like cotton or acrylic (make sure it’s soft and washable). For a 0-3 month size romper, you will need around 250-300 grams of yarn.
-
Crochet Hook: A 3.5mm or 4mm hook (depending on your tension and the yarn’s thickness).
-
Stitch Markers: These are helpful for marking the beginning of rounds.
-
Tapestry Needle: To weave in loose ends.
-
Scissors: To cut your yarn when you’re done.
-
Buttons or Snap Fasteners: For fastening the romper.
-
Measuring Tape: To check your work as you go.
Crochet Stitches You’ll Need:
-
Chain (ch): The foundation of most crochet projects.
-
Slip Stitch (sl st): Used to join rounds.
-
Single Crochet (sc): Common stitch in crochet.
-
Double Crochet (dc): Slightly taller stitch than single crochet.
-
Half Double Crochet (hdc): Between single and double crochet in height.
-
Half Double Crochet in Back Loop Only (hdc-blo): Creates a ribbed effect (used for the leg cuffs).
Sizing:
This pattern is for a 0-3 month baby, but you can easily adjust it by adding or removing rows or stitches. Common measurements for a baby romper in this size are:
-
Chest: 16 inches (41 cm)
-
Length: 12-14 inches (30-36 cm) from shoulder to bottom
For other sizes, you can use a baby size chart and adjust the stitch count or number of rows.
Steps to Crochet a Baby Romper (Overall):
Step 1: Crochet the Body (Main Piece)
-
Start with the Bottom (Legs):
-
Begin with a foundation chain of around 50-60 chains (depending on the size you want).
-
Join with a slip stitch to form a ring, being careful not to twist the chain.
-
Work in rounds around the chain. For the first round, you’ll want to crochet single crochet (sc) in each chain until the end.
-
Continue working in rounds for the leg openings, depending on how long you want the body part to be.
-
-
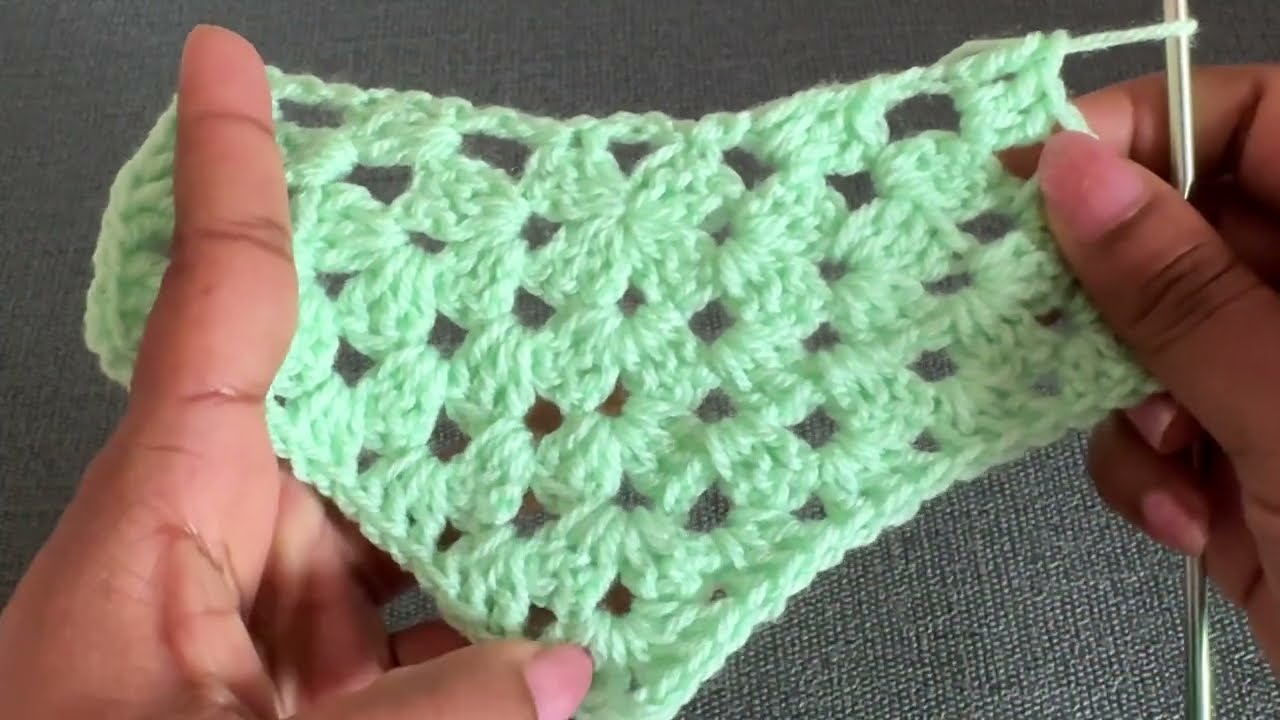
Create the Front and Back Pieces:
-
After working a few rows (typically about 4-6), you will split the work into the front and back parts. This means leaving stitches for the armholes and starting to work each part separately.
-
Crochet rows of sc or hdc for the front and back until you’ve reached the desired body length (typically 7-8 inches from the bottom).
-
-
Shape Armholes:
-
When you’ve reached the chest area, you will need to create armholes.
-
For the armholes, either:
-
Leave a few stitches unworked on each side for the armhole space.
-
Or, decrease stitches gradually in each row to create a clean edge.
-
-
-
Join Front and Back Pieces at the Shoulders:
-
Once the front and back pieces are long enough and you’ve created the armhole gaps, it’s time to join them at the shoulders.
-
Use a slip stitch or a whip stitch to seam the shoulder edges together, or you can crochet the pieces together if you prefer.
-
Step 2: Crochet the Legs
-
Create Leg Openings:
-
Work in the round to crochet the legs. If you left a gap, now you’ll work a few rounds in a circular pattern for each leg opening. You can use single crochet (sc) or half double crochet (hdc).
-
Crochet for a few rows to create a cuffed look at the bottom of each leg. You can make a ribbed effect by working in the back loop only (hdc-blo).
-
-
Fasten Off:
-
When the legs are the right length, finish the work with a slip stitch and cut the yarn.
-
Leave a long tail of yarn for weaving in at the end.
-
Step 3: Crochet the Top (Straps)
-
Crochet the Straps:
-
After completing the body and legs, you’ll crochet the shoulder straps.
-
For each strap, chain a length of about 20-25 chains, depending on the size and how long you want the straps to be.
-
Work in sc or hdc along the chain until the strap reaches the desired length.
-
You’ll need to crochet two straps — one for each shoulder.
-
-
Attach the Straps:
-
Attach the straps at the front and back of the romper.
-
Use a slip stitch or a whip stitch to sew them securely onto the back and front.
-
Be sure the straps are positioned symmetrically.
-
Step 4: Add Finishing Touches
-
Buttons or Snaps:
-
You can sew buttons or snap fasteners along the crotch area for easy diaper changes.
-
If you’re using buttons, sew them on the top part of the romper, making sure they’re securely attached and positioned at equal distances.
-
Alternatively, you can use snap fasteners for a more professional finish.
-
-
Edging (Optional):
-
To make the romper look more polished, you can add a decorative border or edging around the neck, armholes, and legs.
-
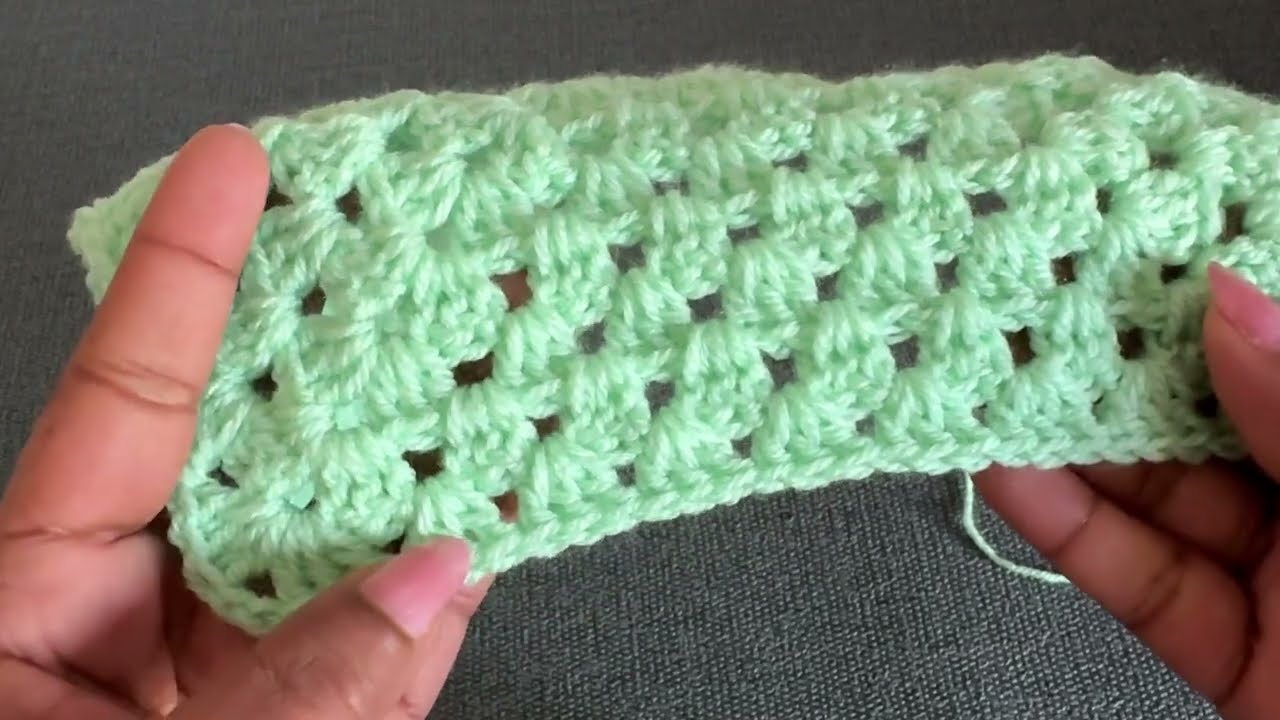
For this, you can use a simple single crochet (sc) or shell stitch.
-
Work around the armholes, neck, and legs for a neat finish.
-
Tips for Making Your Baby Romper:
-
Keep it soft: Make sure to use yarn that is soft and gentle against a baby’s skin.
-
Check your gauge: It’s always a good idea to check your gauge before you start so your baby romper fits correctly. Test it with a swatch to match your tension.
-
Use stitch markers: These help you keep track of your rows and round beginnings.
-
Add a bow or flower: For extra cuteness, add a little decorative bow or flower on the front.
Final Thoughts:
Making a crochet baby romper is a fun and rewarding project, especially for a new mom or as a thoughtful gift. Once you get the hang of it, you can experiment with different colors, stitch patterns, and embellishments.
Watch video: