 by
by Sure! Here’s a detailed and beginner-friendly guide on How to Make a 🕊️ Crochet Vest in a Couple of Evenings 🤍 — perfect for a cozy, handmade wardrobe addition:
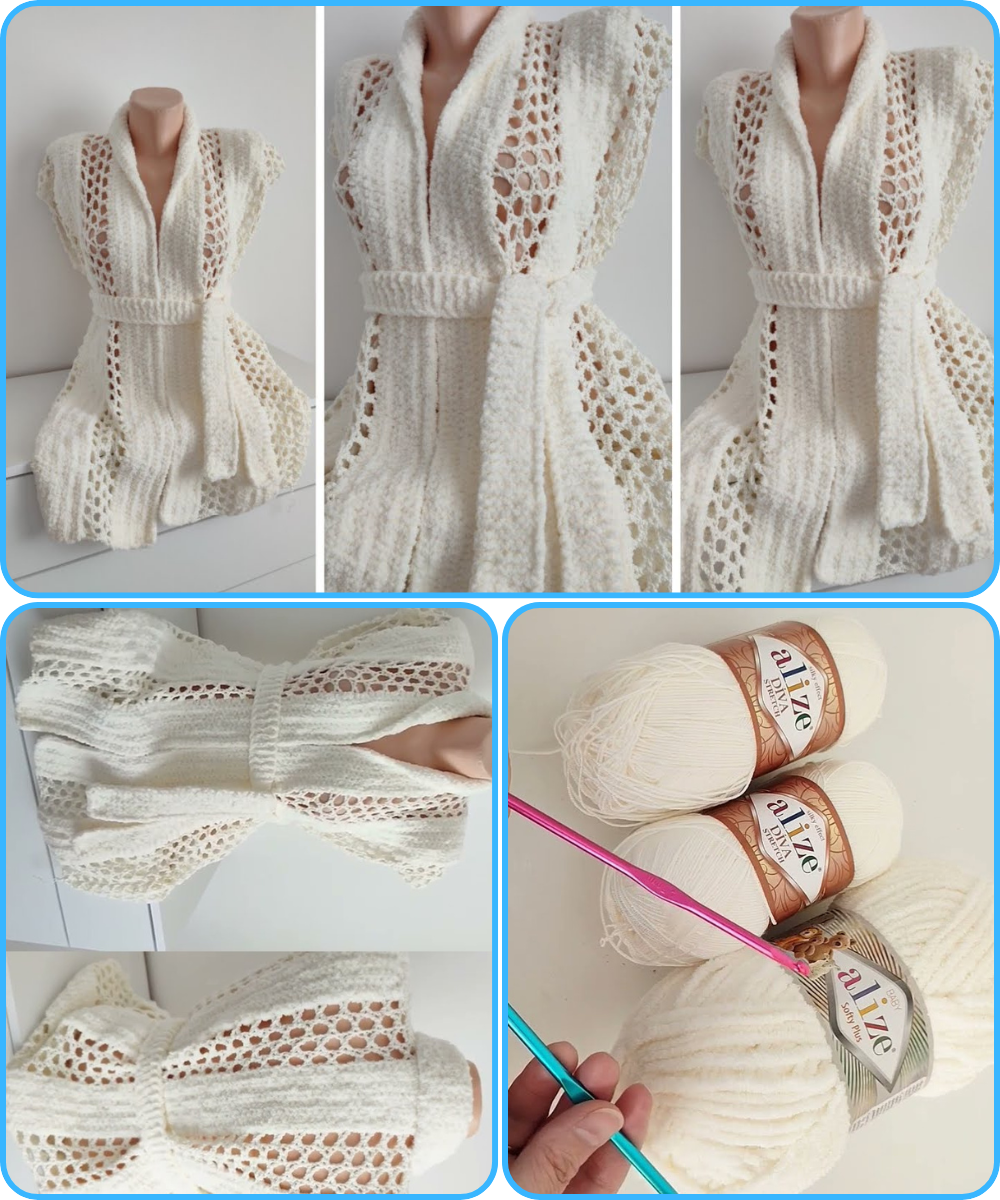
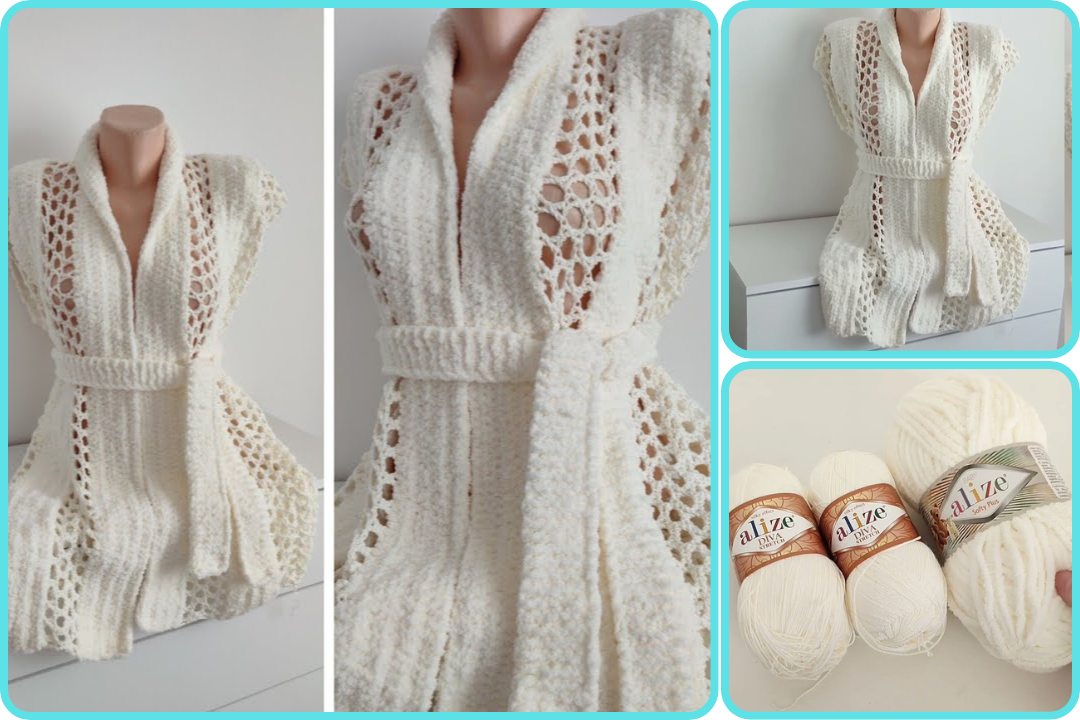
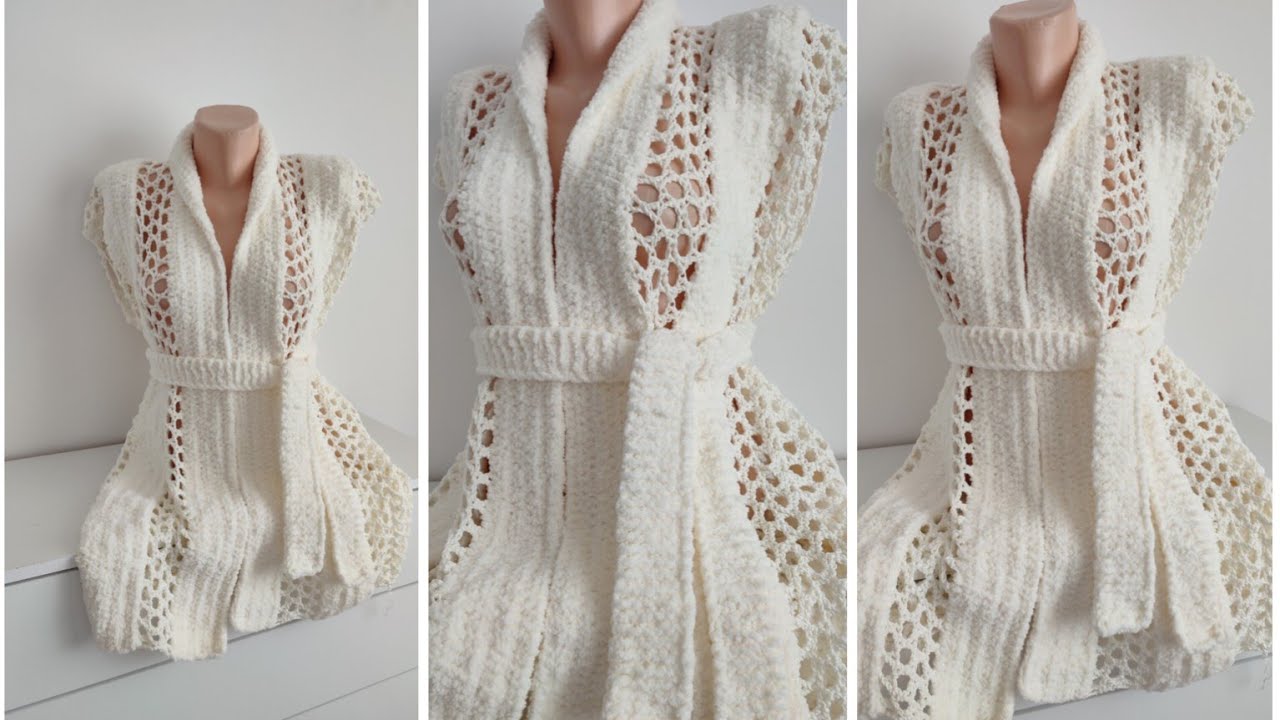
🧶 How to Make a 🕊️ Crochet Vest in a Couple of Evenings 🤍
A crochet vest is the perfect blend of style and comfort. This guide is designed for a beginner to intermediate crocheter who wants to complete a project in just a couple of relaxing evenings. Let’s dive into everything you need!
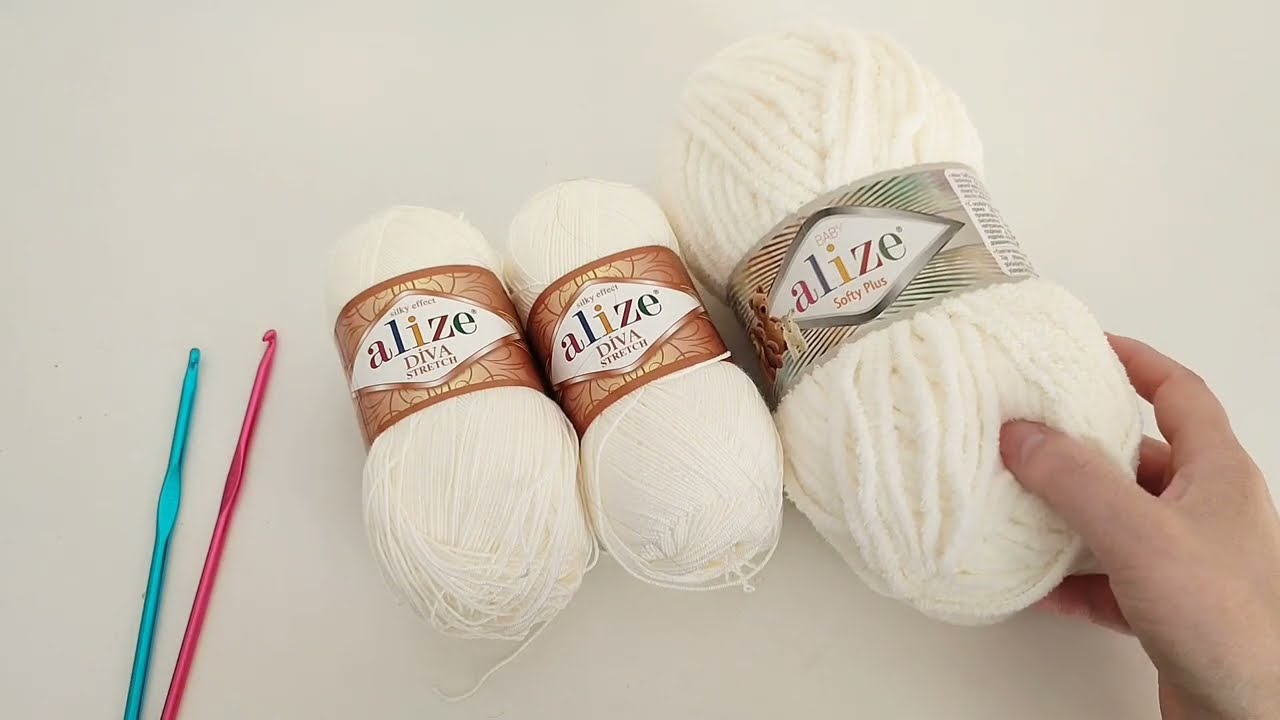
🧵 Materials You’ll Need:
-
Yarn: Medium weight (Worsted weight #4) yarn – approx. 400-600 yards depending on size
-
Cotton or cotton blend for a breathable vest
-
Acrylic for warmth and affordability
-
-
Hook: Size H-8 (5.0 mm) or as recommended for your yarn
-
Scissors
-
Measuring tape
-
Yarn needle (for weaving in ends)
-
Stitch markers (optional but helpful)
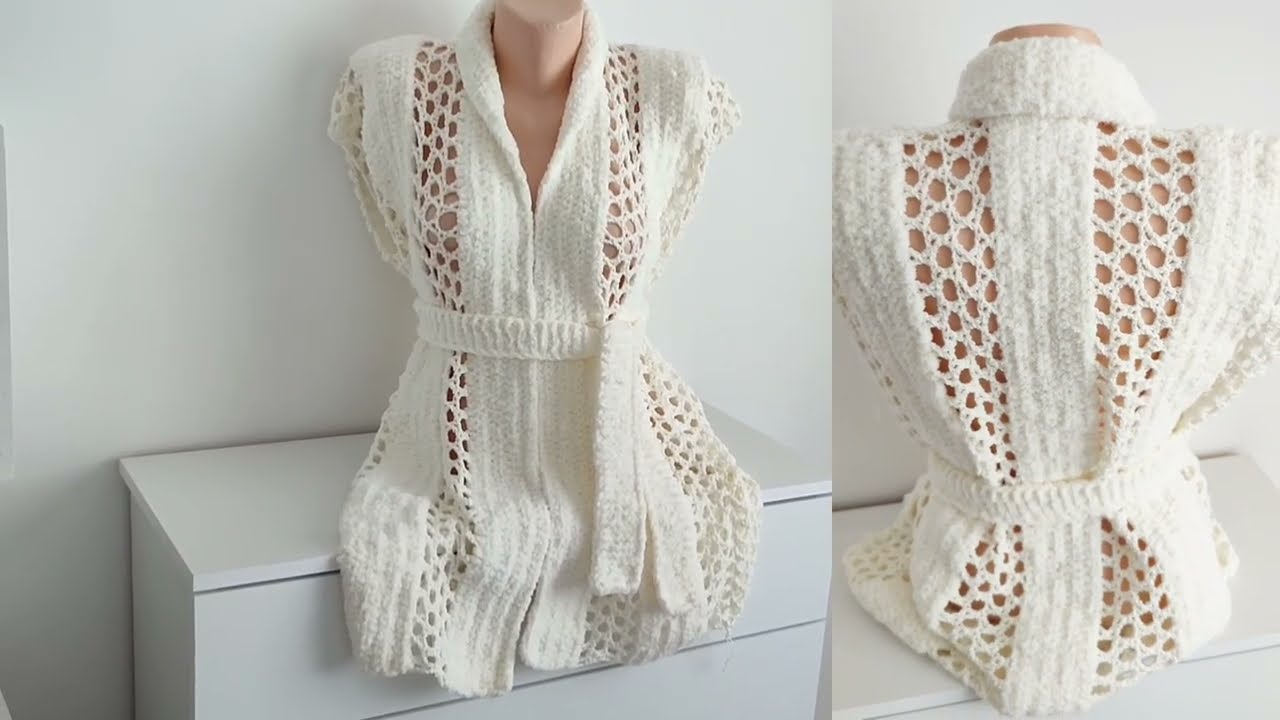
📏 Sizing & Fit:
Measure across the bust and from shoulder to desired vest length. This pattern is designed with 2 rectangles (front and back) and seamed at the sides and shoulders. Very beginner-friendly!
🧩 Stitches Used:
-
Chain (ch)
-
Slip Stitch (sl st)
-
Single Crochet (sc)
-
Double Crochet (dc)
You can customize with granny stitch, moss stitch, or shell stitch for texture.
🧷 Pattern Overview (Rectangular Vest)
Step 1: Crochet Two Rectangles
These make up the front and back of the vest.
Foundation Row:
Ch a number that equals the desired length of your vest (shoulder to hem). Example: ch 60 (approx. 18” for a cropped vest)
Body:
Row 1: In the 3rd ch from hook, dc across row. Turn.
Row 2: Ch 2 (counts as first dc), dc across. Turn.
Repeat Row 2 until the rectangle is wide enough to wrap around half your bust.
Approx. 30-50 rows, depending on size.
TIP: For texture, alternate rows of dc and sc, or use a moss stitch (sc, ch 1, skip 1).
Step 2: Assembly
-
Lay both rectangles flat.
-
Seam the top 2-4 inches of both pieces on each side for the shoulders.
-
Seam the sides, leaving armholes (7–9 inches) for comfort.
Step 3: Optional Ribbing
Add ribbed edges around the armholes or bottom hem:
-
Attach yarn to edge.
-
Work single crochet evenly around.
-
You can also work front post/back post dc for a stretchy ribbed effect.
⏱️ Time Estimate:
-
Evening 1: Crochet both rectangles
-
Evening 2: Assemble & add finishing touches
(Adjust based on your speed and stitch complexity)
✨ Customization Ideas:
-
Add pockets with small squares
-
Colorblock with two or more yarn colors
-
Use granny squares instead of solid rectangles for a boho look
-
Add buttons or ties for closure
-
Make it cropped or long-line
🧼 Care Tips:
Handwash in cold water or machine wash gently depending on the yarn. Lay flat to dry to keep the shape.
Watch video: