by
by Sure! Here’s a detailed and beginner-friendly guide on how to make a large crochet bag the easy way. This project is great for those with basic crochet skills but can also be customized for advanced crafters.
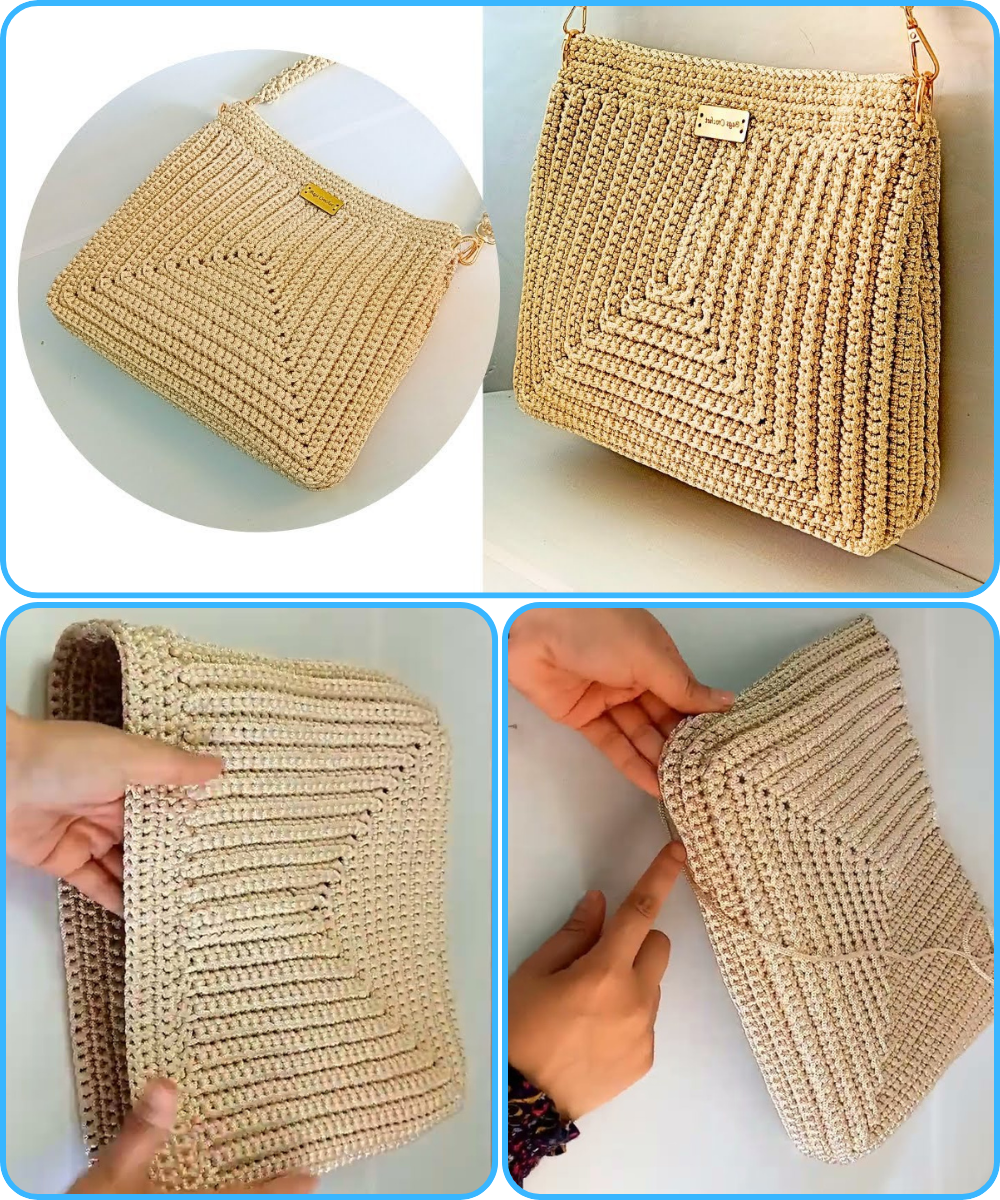
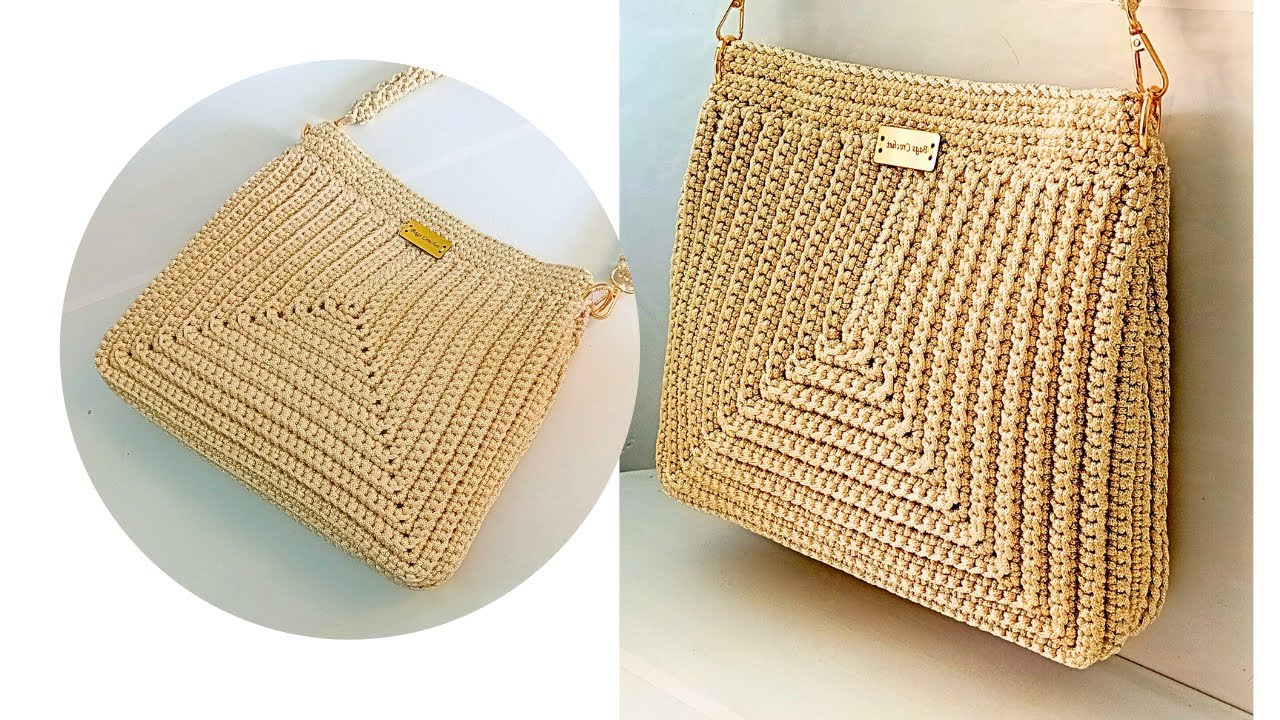
🧶 How to Make a Large Crochet Bag – Made Easy
✨ Overview
This is a step-by-step guide to making a large tote-style crochet bag that’s perfect for groceries, beach days, or everyday use. We’ll use basic stitches and a simple rectangle base that grows into a roomy, durable bag.
🧵 Materials Needed
| Item | Notes |
|---|---|
| Yarn | 3–5 skeins of bulky cotton or t-shirt yarn |
| Crochet hook | Size 6.0mm – 8.0mm (depending on yarn) |
| Scissors | For cutting yarn |
| Tapestry needle | For weaving in ends |
| Stitch markers | Optional but helpful |
| Handles (optional) | Leather, wooden, or crochet your own |
🧷 Crochet Skills You’ll Use
-
Chain stitch (ch)
-
Single crochet (sc)
-
Half double crochet (hdc) or double crochet (dc)
-
Slip stitch (sl st)
-
Increasing and working in the round
🧣 Pattern: Easy Large Crochet Bag
✅ Step 1: Make the Base
-
Chain 30–40 (depending on desired width).
-
Row 1: Sc in the 2nd chain from hook, and in each stitch across. Ch 1, turn.
-
Repeat sc rows until the base is the size you like (e.g., 30 ch wide × 10 rows = a good tote base).
-
Optional: You can sc around the rectangle one time to form a nice edge.
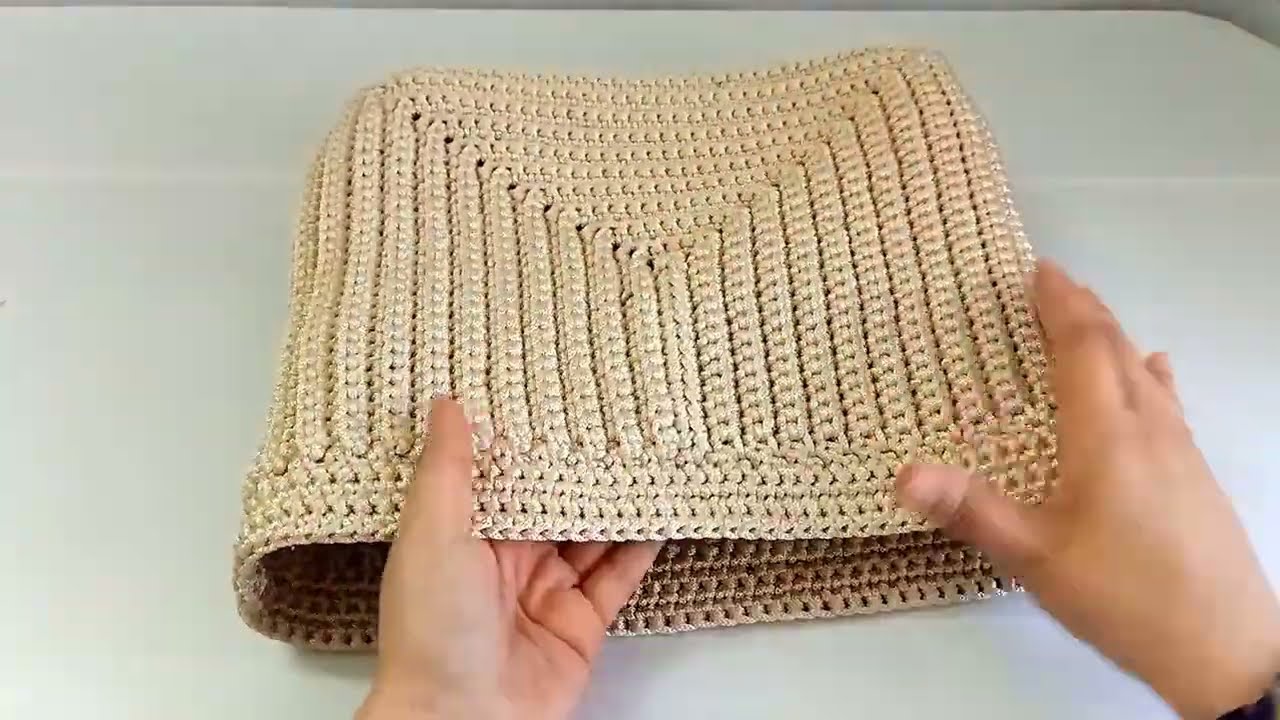
✅ Step 2: Build the Body
-
Once the base is done, don’t turn your work—start working in the round around the rectangle.
-
Round 1: Sc evenly around all four sides of the rectangle. Join with a sl st to first sc.
-
Round 2–20+: Use hdc (or sc/dc depending on preference) in each stitch around.
-
Continue building rounds until the bag reaches your desired height (e.g., 14–16 inches).
-
Use stitch markers at the beginning of each round if needed.
-
TIP: If you want a more rigid structure, use single crochet. For a slouchier bag, use hdc or dc.
✅ Step 3: Add Handles
You have several options:
-
Crochet Handles:
-
Chain 30–50 (depending on strap length).
-
Skip 10–15 stitches and reattach to the bag using sc.
-
Do the same on the opposite side.
-
Reinforce by working 2–3 rows over the chains.
-
-
Pre-made Handles:
-
Sew or rivet them into place using a strong needle and yarn/thread.
-
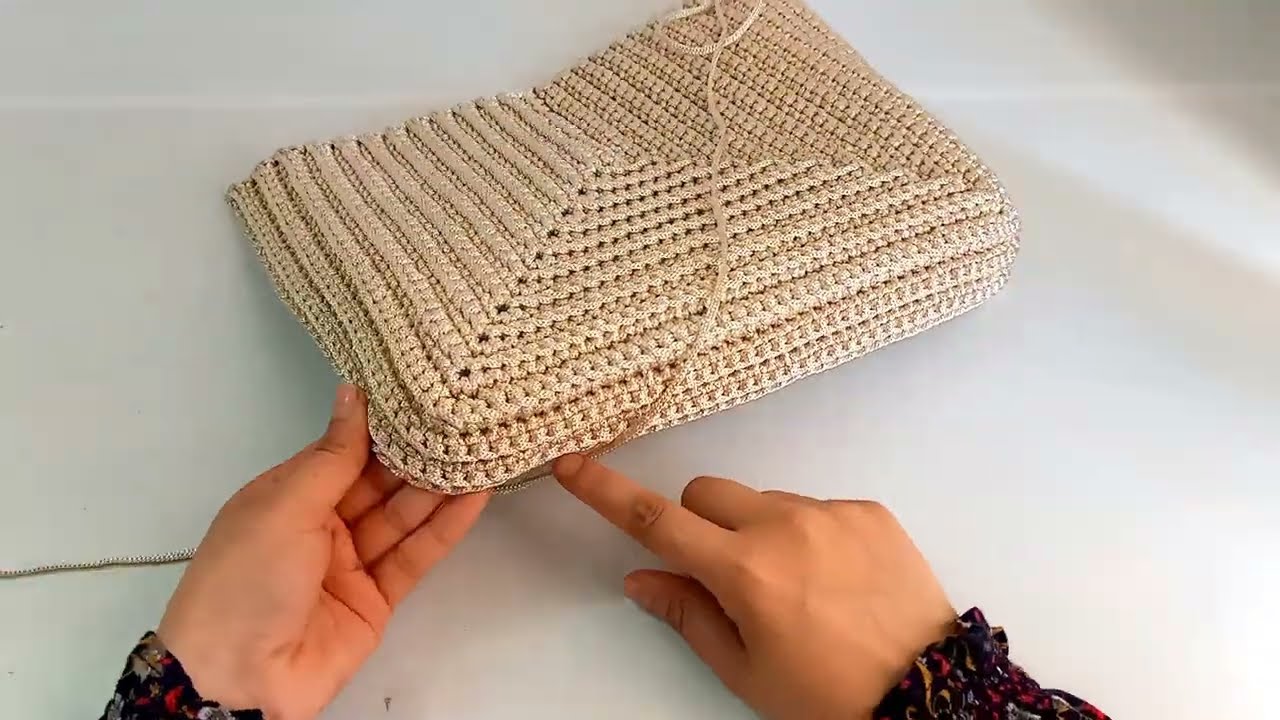
✅ Step 4: Finishing Touches
-
Weave in all ends with the tapestry needle.
-
Block the bag (lightly steam or shape) if needed.
-
Optional: Add a lining, snap, zipper, or button for closure.
🪄 Optional Customizations
-
Stripes or Color Blocks: Change yarn colors every few rows.
-
Add a pocket: Crochet a small rectangle and sew it inside.
-
Tassels or fringe: Add flair to the sides or handles.
-
Lining: Sew a fabric lining for structure and durability.
📏 Rough Finished Size (Adjustable)
-
Width: ~16–20 inches
-
Height: ~14–16 inches
-
Depth: ~4–6 inches
-
Handle drop: ~8–12 inches
🎥 Bonus Help (Optional)
If you’d like, I can find a simple video tutorial that matches this pattern to help you follow along visually.
Would you like a printable PDF version or a video link to go with this guide?
Let me know!
Watch video: