 by
by Here’s a clear, beginner-friendly, detailed guide you can use as a blog post, assignment, or craft instructions 😊
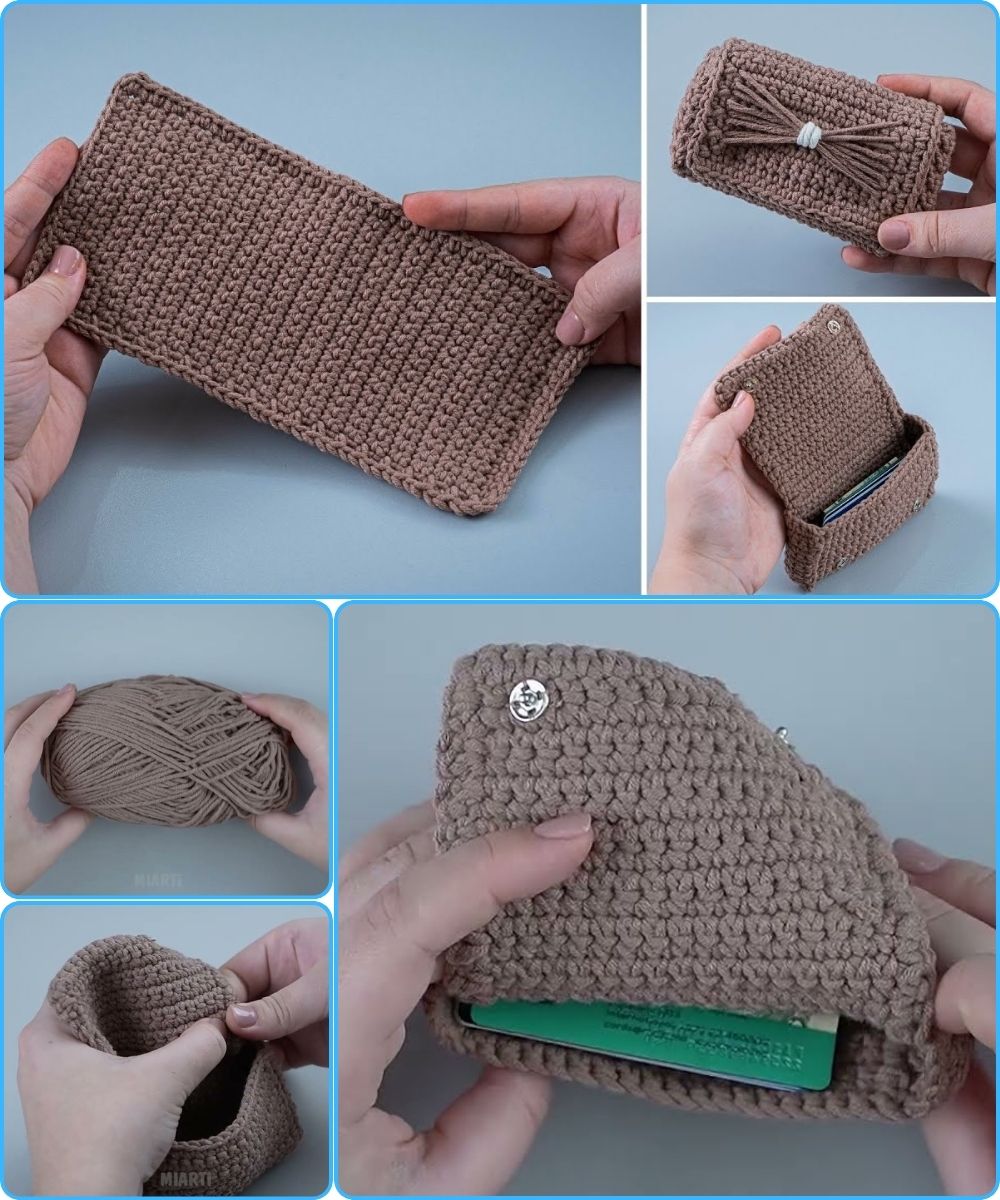
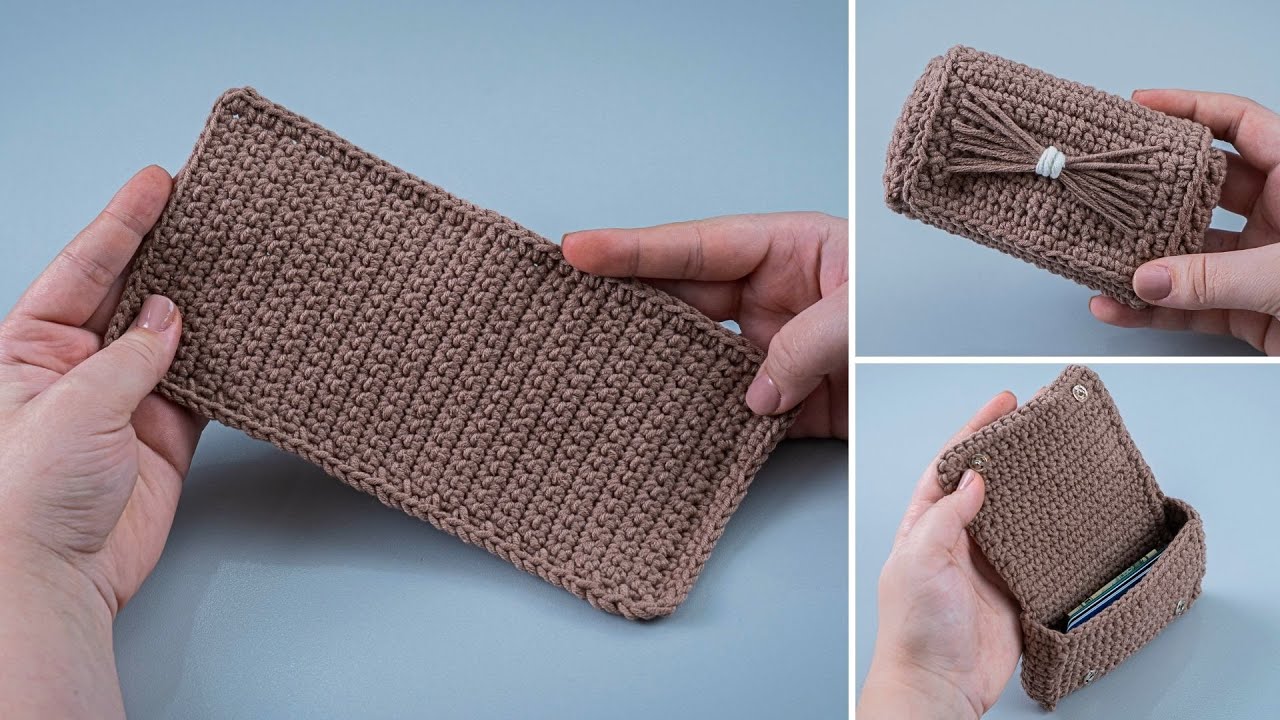
How to Make a Beautiful Crochet Wallet – Even a Beginner Can Handle It!
Crocheting your own wallet is a fun and rewarding project, even if you’re just starting out. It doesn’t require advanced skills, expensive tools, or a lot of time. With a few basic stitches and some patience, you can create a stylish, handmade wallet that’s perfect for daily use or as a thoughtful gift.
Why Crochet a Wallet?
-
It’s beginner-friendly
-
Small project = quick results
-
Uses basic crochet stitches
-
Customizable in color, size, and style
-
Great for gifts or personal use
Materials You Will Need
Don’t worry—these are easy to find and affordable.
-
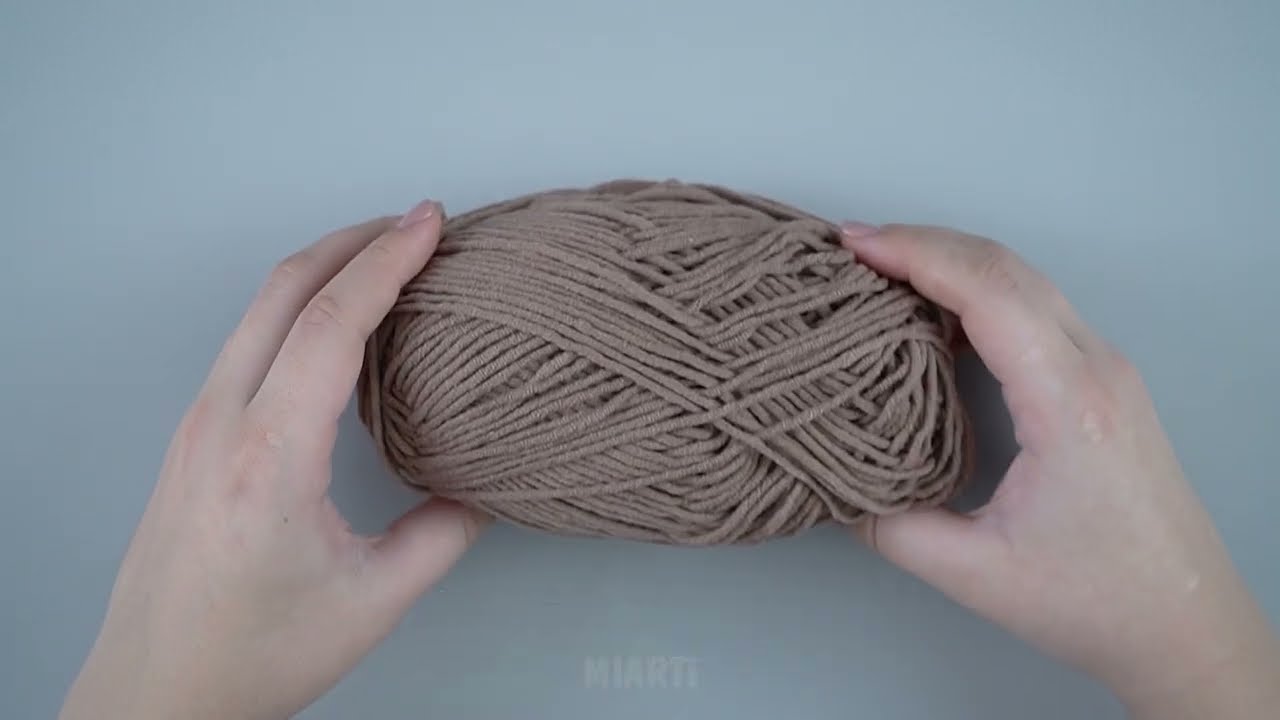
Yarn: Medium-weight (cotton yarn is best for wallets because it’s sturdy)
-
Crochet hook: Usually size 4–5 mm (check your yarn label)
-
Scissors
-
Yarn needle (for sewing ends)
-
Button, snap, or zipper (optional, for closure)
-
Stitch marker (optional, but helpful)
Basic Crochet Skills Required
Even beginners can do this project if they know:
-
Chain stitch (ch)
-
Single crochet (sc)
-
Slip stitch (sl st)
If you can do these, you’re ready to start!
Step-by-Step Instructions
Step 1: Make the Foundation Chain
Start by making a chain that matches the width you want for your wallet.
For a standard wallet size, chain about 25–30 stitches.
Tip: Keep your chain loose so the wallet doesn’t curl.
Step 2: Crochet the Main Rectangle
-
Single crochet into the second chain from the hook.
-
Continue single crochet across the row.
-
Chain 1, turn your work.
-
Repeat this process row by row.
Keep crocheting until the rectangle is long enough to fold into three sections (back, pocket, and flap).
This usually takes 20–25 rows, depending on your tension.
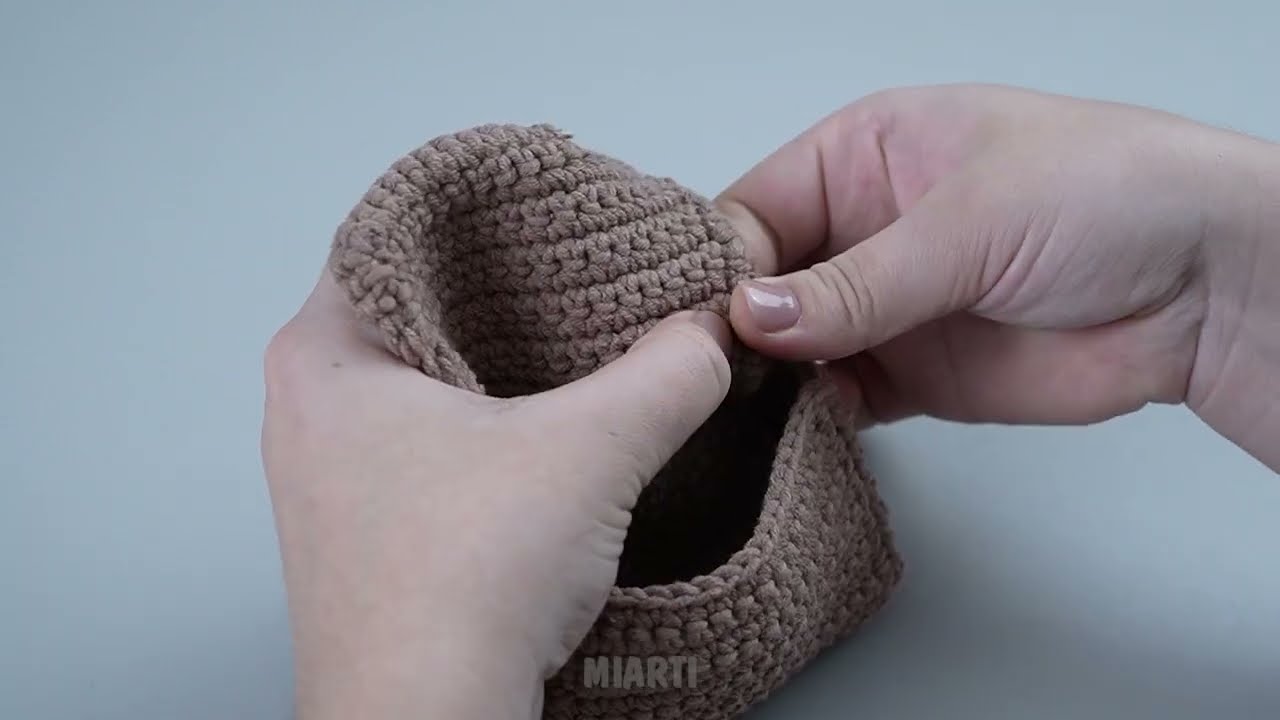
Step 3: Fold the Wallet Shape
Lay your rectangle flat:
-
Fold the bottom up to form the pocket
-
Fold the top down to make the flap
Make sure cards or cash can fit comfortably inside.
Step 4: Sew the Sides
Using a yarn needle and the same yarn:
-
Sew both sides of the pocket securely
-
Leave the flap open
This creates the wallet shape.
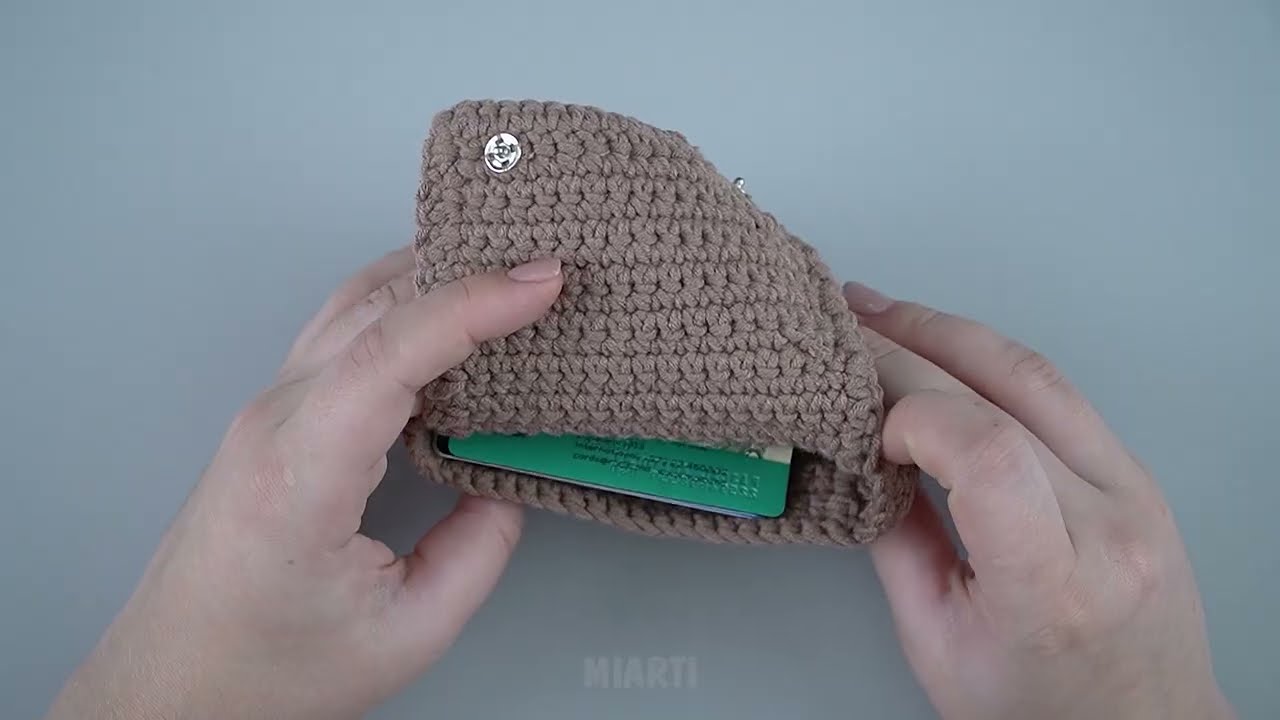
Step 5: Add a Closure (Optional but Recommended)
You can choose:
-
Button: Sew it onto the pocket and make a small chain loop on the flap
-
Snap: Attach carefully with needle and thread
-
Zipper: Sew along the top edge for extra security
Step 6: Finish and Decorate
-
Weave in all loose ends
-
Add decorations like:
-
Crochet flowers
-
Color stripes
-
Simple embroidery
-
Tassels or charms
-
This is where you can make your wallet truly unique!
Tips for Beginners
-
Practice stitches before starting
-
Use light-colored yarn so stitches are easy to see
-
Don’t rush—crochet is about relaxing
-
Slight imperfections make handmade items special
Final Thoughts
Making a crochet wallet is a perfect beginner project that builds confidence and creativity. It’s small, practical, and fun, and the result is something you can actually use or gift with pride. With just a little yarn and effort, you can create a beautiful handmade accessory that shows off your skills.
Happy crocheting! 🧶✨
If you want, I can also:
-
Simplify this for a school project
-
Turn it into a blog post
-
Add pictures ideas or diagrams
-
Rewrite it in a more casual or more professional style
Watch video: