 by
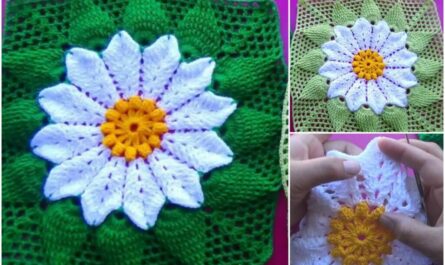
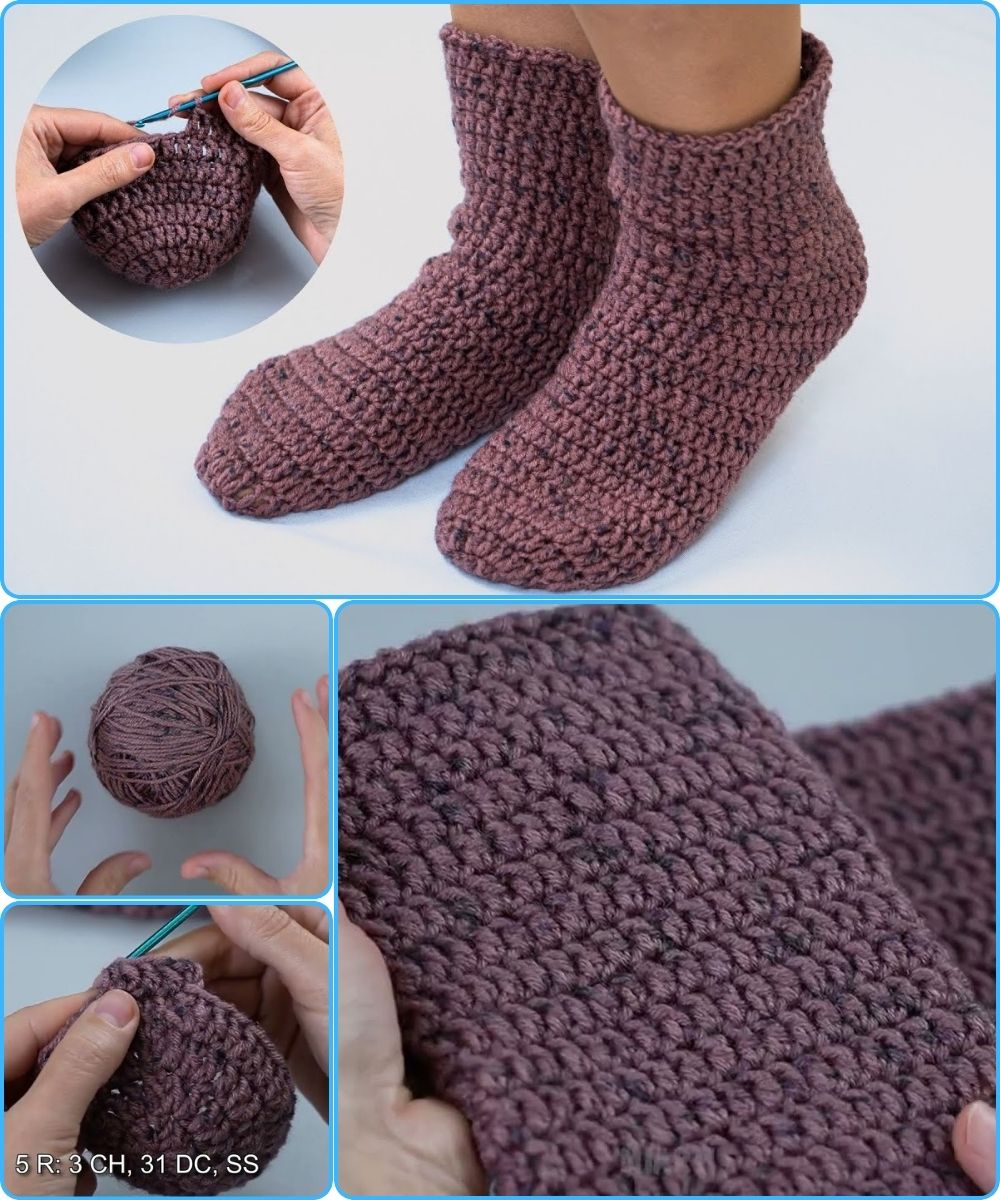
by Absolutely! Let’s break this down into a beginner-friendly, simple, and quick guide to making crochet slippers. I’ll make it clear, step-by-step, so even if you’re new to crochet, you can follow along.
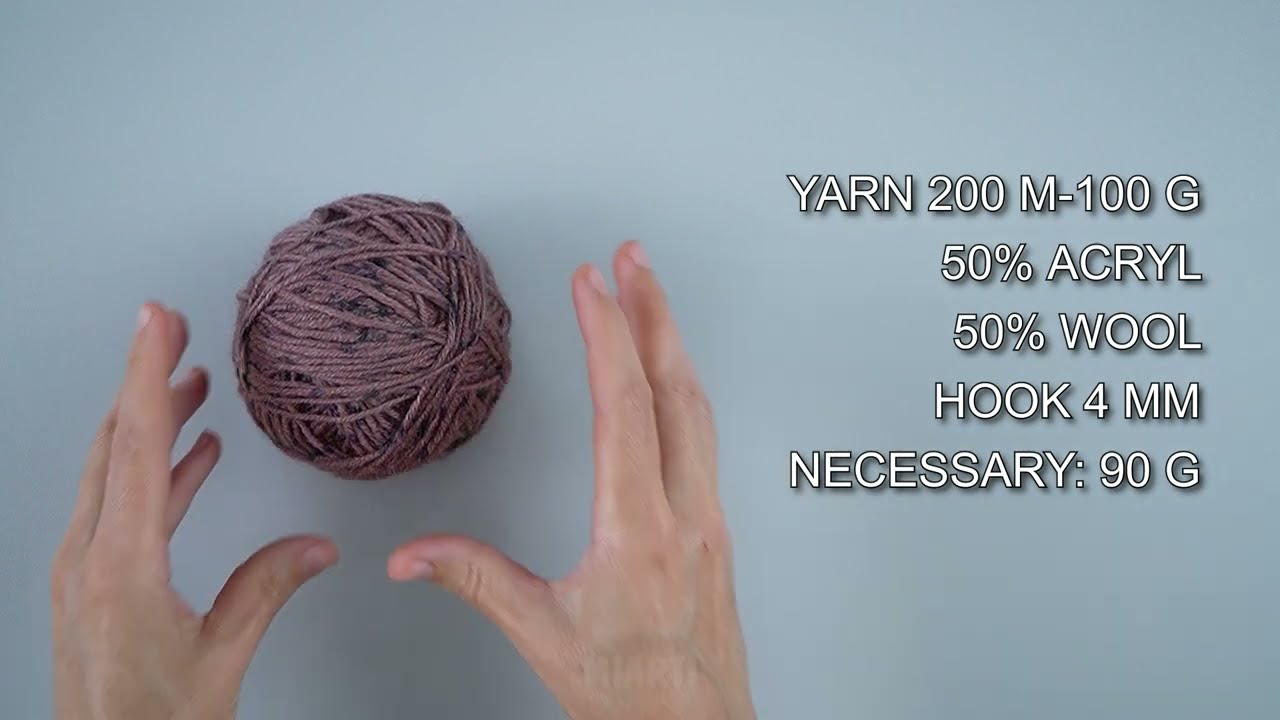
Materials You’ll Need
-
Yarn: Medium weight (#4) yarn works well. Acrylic yarn is easy to care for.
-
Crochet hook: Size H/8 (5mm) or as recommended on your yarn label.
-
Scissors
-
Yarn needle (for weaving in ends)
-
Optional: stitch markers
Basic Stitches You Should Know
-
Chain (ch) – the foundation stitch.
-
Slip stitch (sl st) – to join or move stitches.
-
Single crochet (sc) – basic stitch.
-
Half double crochet (hdc) – optional, gives slightly taller stitches.
Step-by-Step Instructions
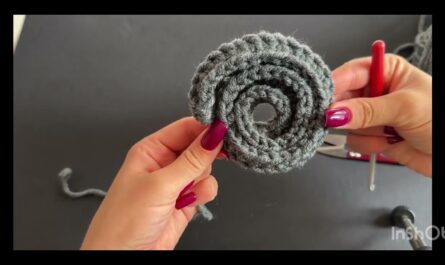
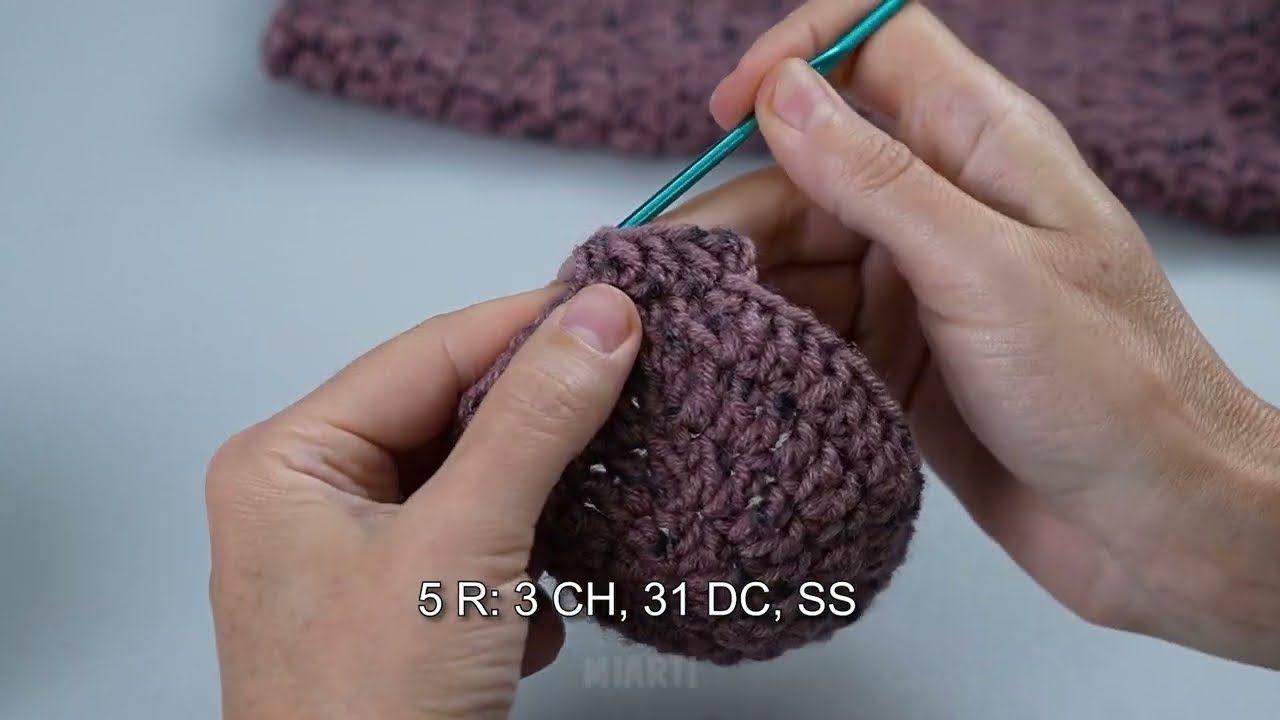
Step 1: Make the Sole
-
Start by chaining 10–12 stitches (adjust based on slipper size; more chains = bigger feet).
-
Row 1: Single crochet (sc) into the second chain from hook, then sc across.
-
Row 2: Chain 1, turn, sc in each stitch across. Repeat until your piece is long enough to match the length of your foot.
-
Optional: To make the sole rounded, you can increase 1 stitch at each end of the first few rows. Example: 2 sc in the first and last stitch.
Tip: Lay your foot on the piece to check length as you go.
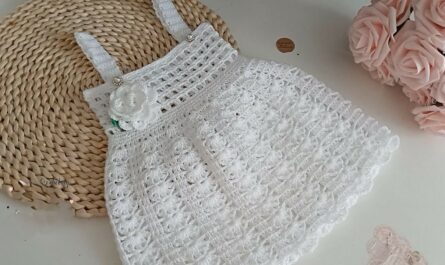
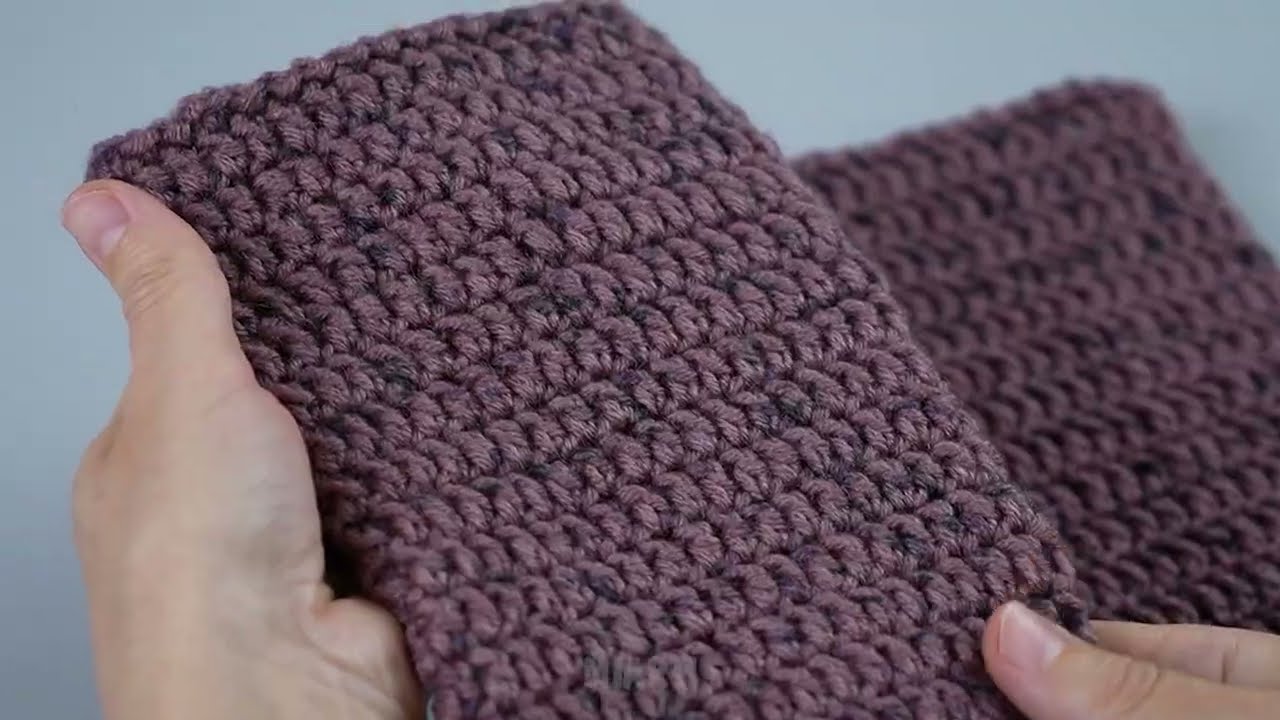
Step 2: Make the Top of the Slipper
-
Find the middle of your sole and mark the center.
-
Attach yarn at the center front of the sole.
-
Row 1: Single crochet across the middle portion of the sole, leaving the sides free.
-
Row 2–5 (or until it covers your foot): Chain 1, turn, sc in each stitch across.
-
Optional: Switch to half double crochet (hdc) for a softer, stretchier top.
-
-
You can adjust the height by adding more rows for taller slippers (like booties) or fewer rows for short slippers.
Step 3: Shape the Back (Heel)
-
Fold the slipper so the top meets the back.
-
Slip stitch along the back seam to close the heel.
-
Make sure it’s snug but not too tight.
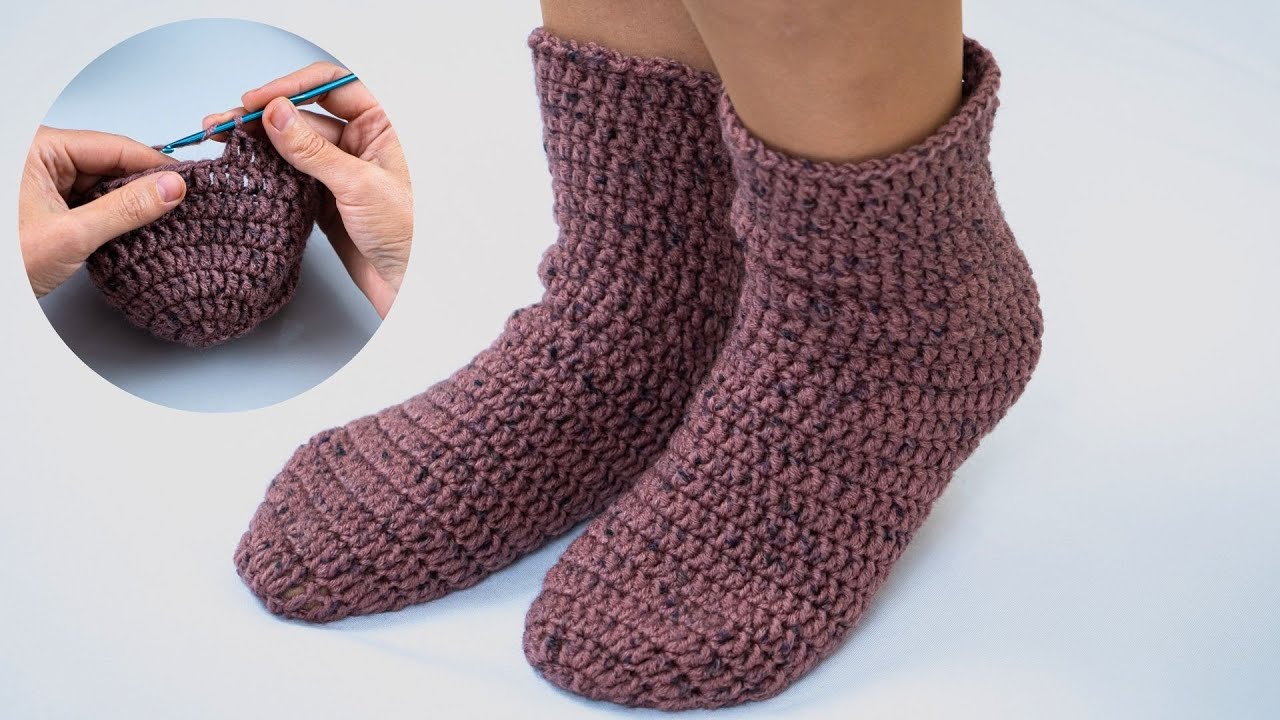
Step 4: Add the Finishing Touches
-
Edge trim: Sc around the opening for a neat finish.
-
Optional: Add a pom-pom or small bow for decoration.
-
Weave in all yarn ends using a yarn needle.
Tips for Quick & Easy Slippers
-
Use chunky yarn for faster results.
-
Work in continuous rounds rather than rows to avoid joining at the end of each row.
-
If your slippers feel loose, use smaller hook; if too tight, use larger hook.
-
You can make these without a pattern by measuring your foot and adjusting stitches as you go.
These slippers are soft, customizable, and perfect for gifts or a cozy treat. You can even make a pair in an hour or two with practice!
If you want, I can also make a super simple crochet slipper pattern with stitch counts for small, medium, and large sizes that’s ready to follow step by step. That would make it even faster to start.
Watch video: