 by
by Here’s a clear, beginner-friendly, detailed guide you can use for a project, blog post, or school assignment.
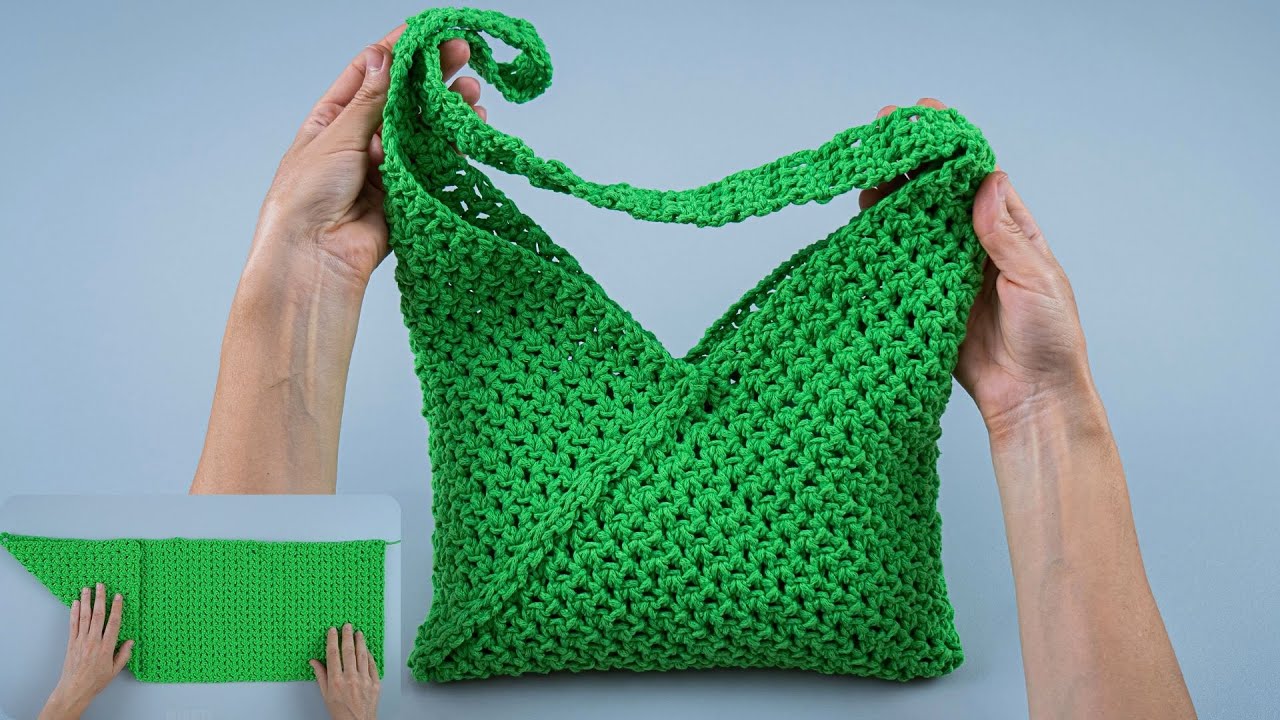
How to Make a Simple Crochet Bag Out of a Rectangle (Beginner Friendly)
Crocheting a bag from a simple rectangle is one of the easiest and best projects for beginners. It only uses basic stitches, simple shaping, and minimal sewing. This project helps beginners practice consistency, tension, and finishing techniques while creating a useful item.
Materials Needed
-
Yarn: Medium-weight yarn (worsted weight) is best for beginners
-
Crochet hook: Size recommended on your yarn label (usually 5–6 mm)
-
Scissors
-
Yarn needle (for sewing and weaving in ends)
-
Stitch markers (optional but helpful)
Basic Crochet Skills Required
This project only needs a few beginner stitches:
-
Slip knot
-
Chain (ch)
-
Single crochet (sc) or Double crochet (dc)
-
Slip stitch (sl st)
If you know how to make straight rows, you’re ready to make this bag.
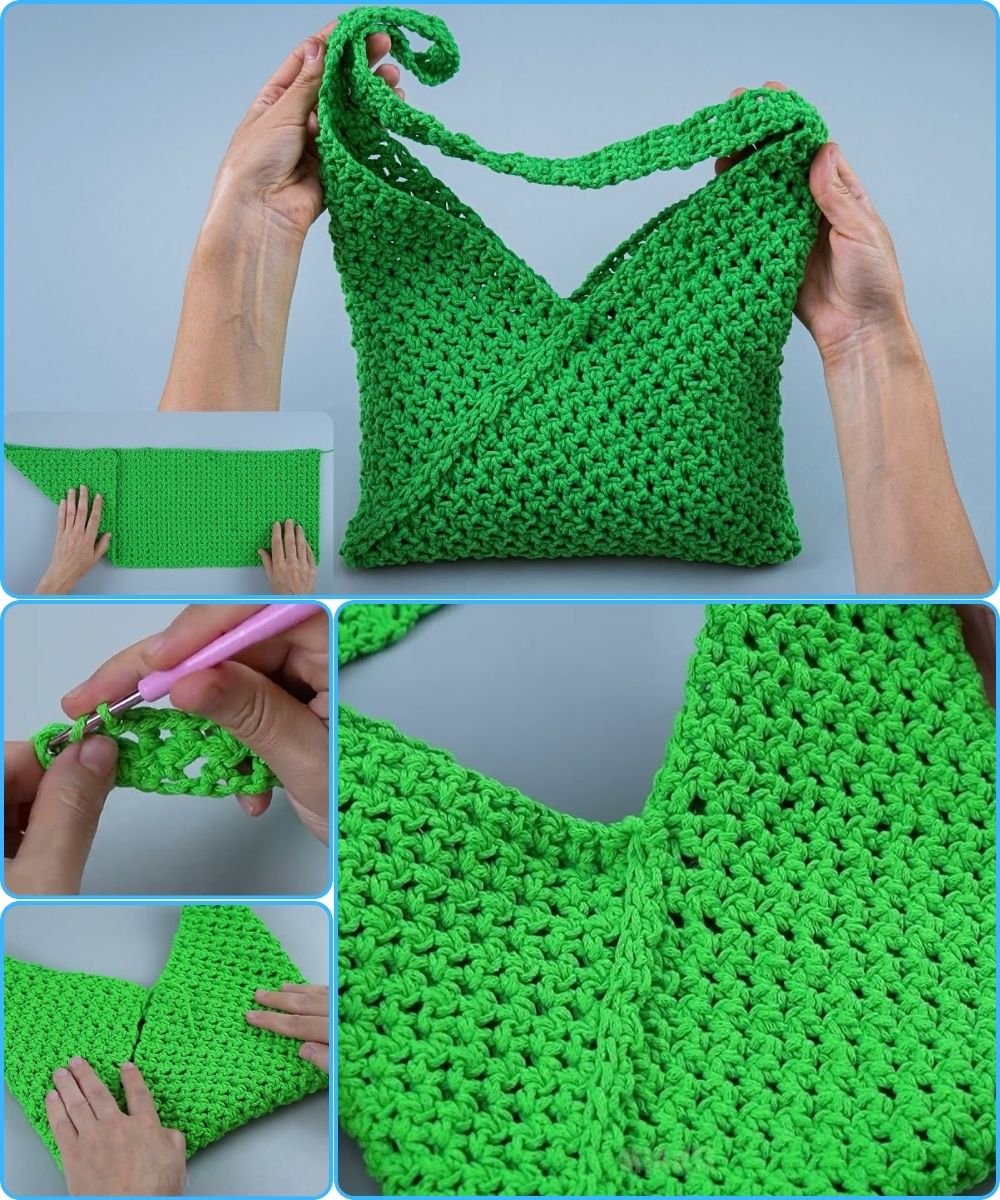
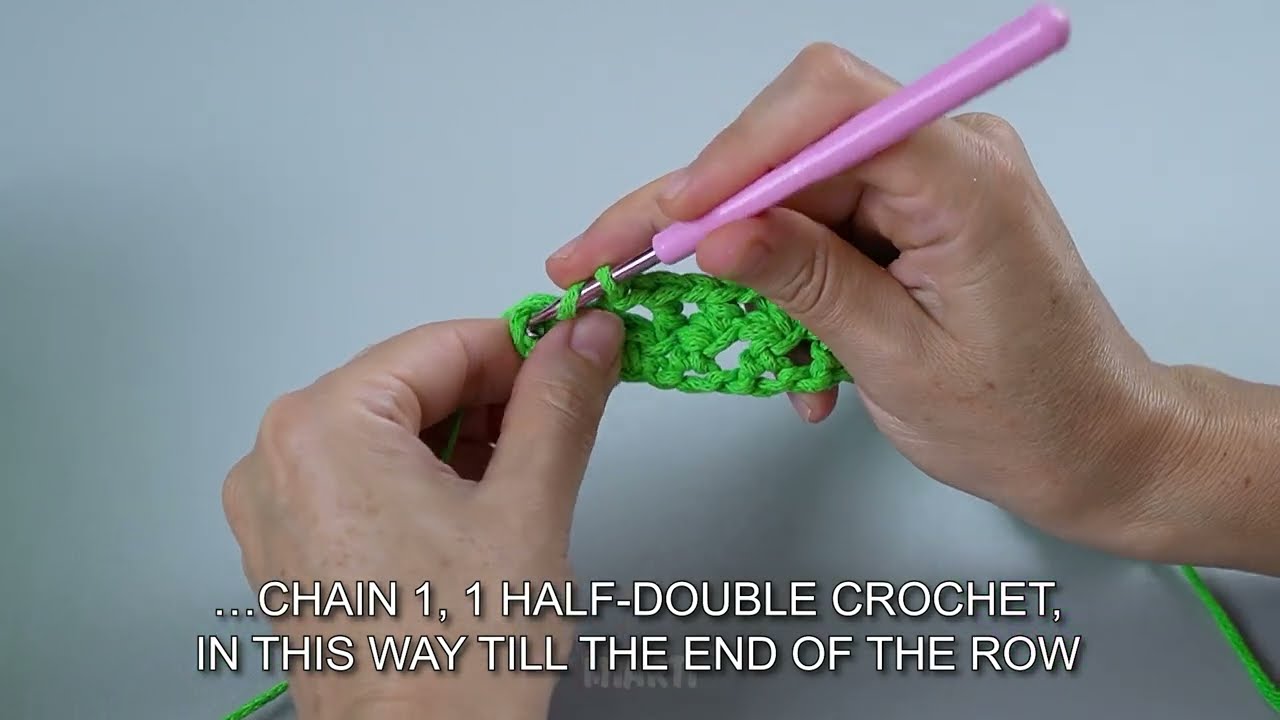
Step 1: Crochet the Rectangle
-
Start by making a slip knot and chaining enough stitches to reach the desired width of your bag.
-
Example: 30–40 chains for a small to medium bag.
-
-
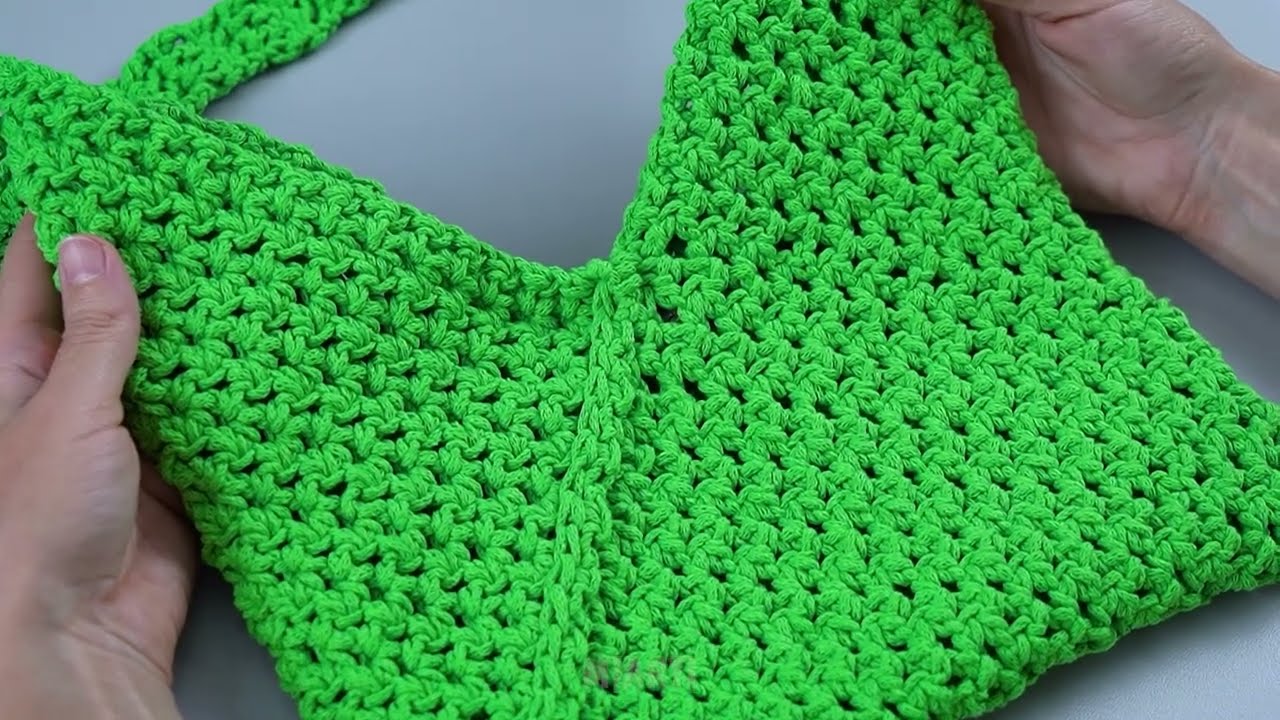
Crochet across the chain using single crochet or double crochet.
-
Chain 1 (for sc) or chain 2 (for dc), then turn your work.
-
Continue crocheting back and forth in rows until the rectangle is about twice as long as the height of the bag you want.
-
Example: If you want a 10-inch tall bag, make a 20-inch-long rectangle.
-
This rectangle will be folded to form the bag.
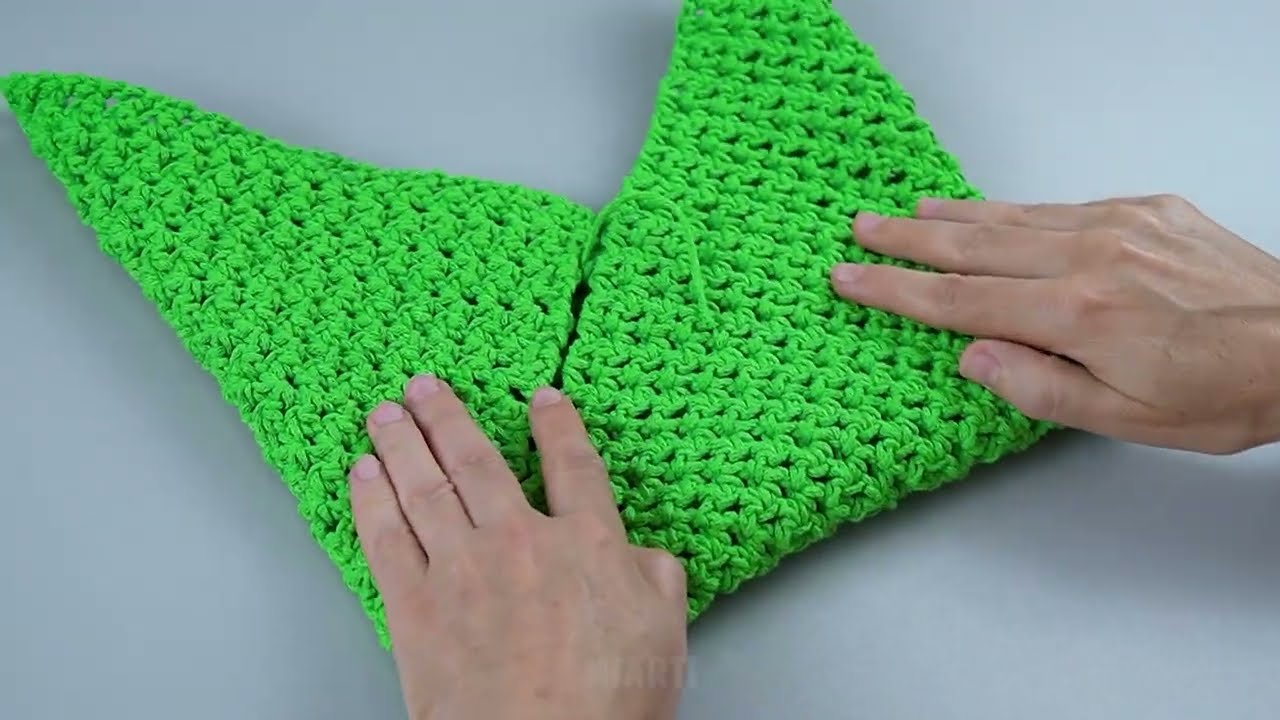
Step 2: Fold the Rectangle
-
Lay the rectangle flat.
-
Fold it in half, bringing the short ends together.
-
The fold becomes the bottom of the bag, and the open edges will be sewn to create the sides.
Step 3: Sew the Sides
-
Thread your yarn needle with matching yarn.
-
Sew up both side edges using a whip stitch or mattress stitch.
-
Make sure your stitches are tight and even.
-
Fasten off and weave in the yarn ends.
Now you have the basic bag shape!
Step 4: Create the Bag Opening
-
Attach yarn to one corner of the bag opening.
-
Crochet single crochet stitches evenly around the top edge.
-
Join with a slip stitch and fasten off.
This step helps strengthen the opening and gives the bag a clean finish.
Step 5: Add Handles (Optional)
Simple Handle Option:
-
Attach yarn to one side of the bag opening.
-
Chain 30–50 stitches (depending on handle length).
-
Attach the chain to the opposite side with a slip stitch.
-
Crochet single crochet stitches across the chain for strength.
-
Repeat for the second handle if desired.
Step 6: Final Touches
-
Weave in all loose ends.
-
Stretch and shape the bag gently.
-
Optional: Add buttons, tassels, or lining for decoration.
Tips for Beginners
-
Use light-colored yarn so stitches are easier to see.
-
Keep your stitches loose and even.
-
Count stitches to keep the rectangle straight.
-
Practice with scrap yarn before starting the final bag.
Why This Project Is Great for Beginners
-
Uses only basic stitches
-
No complicated patterns
-
Minimal shaping
-
Creates a useful, reusable item
This simple crochet rectangle bag is perfect for shopping, books, or everyday use—and it’s a great confidence booster for new crocheters. 🧶✨
Watch video: