by
by Here is a detailed, simple, and beginner-friendly guide you can use for an article, blog post, or school project.
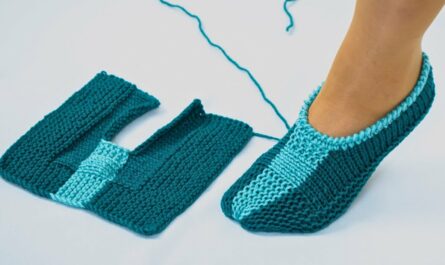
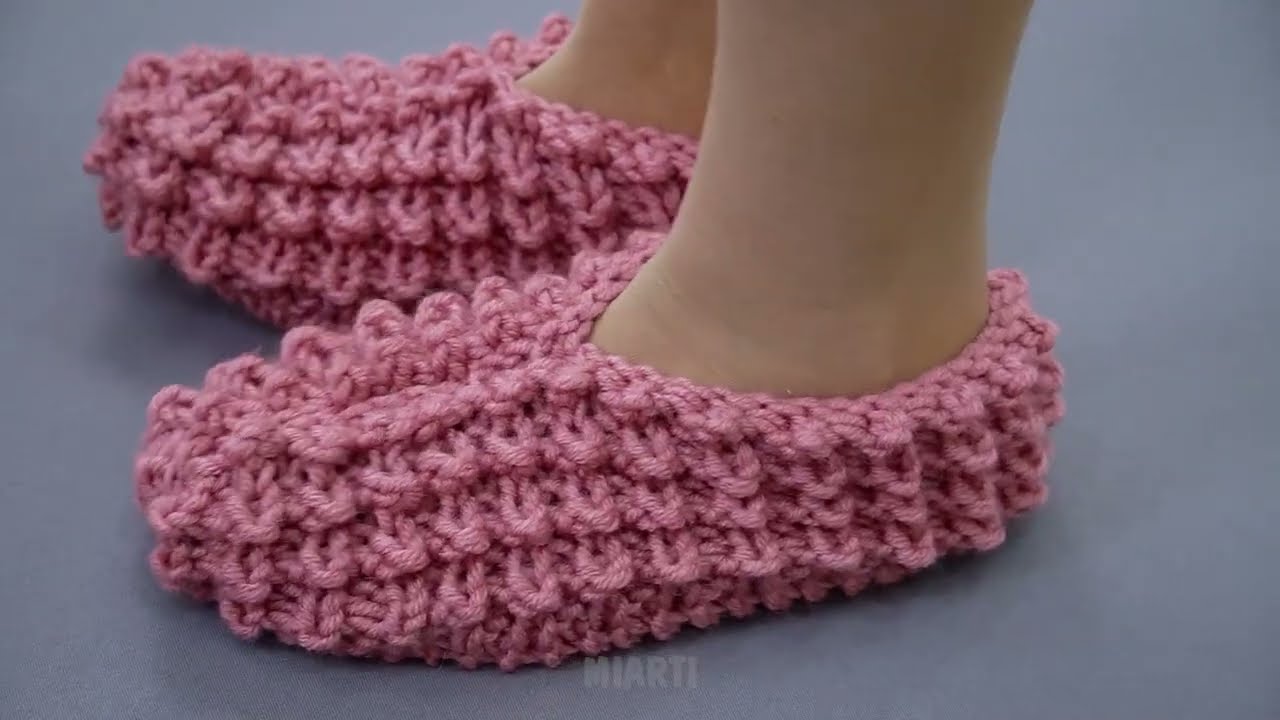
How to Make Warm Knitted Slippers “Hedgehogs” Without Seams on the Sole (Simple & Easy)
Warm knitted slippers are perfect for keeping feet cozy at home, especially during cold seasons. Hedgehog slippers are a popular design because they are cute, comfortable, and practical. One of the best features of this pattern is that it is knitted without seams on the sole, making the slippers softer, more durable, and more comfortable to wear.
This guide explains a simple and easy method, suitable even for beginners.
Materials You Will Need
Before starting, prepare the following:
-
Medium-weight yarn (wool or wool-blend works best for warmth)
-
Knitting needles (size recommended on your yarn label, usually 4–5 mm)
-
Yarn needle (for minimal finishing)
-
Scissors
-
Stitch markers (optional)
You may also choose a contrasting yarn color if you want to decorate the slippers later.
Why “Hedgehog” Slippers?
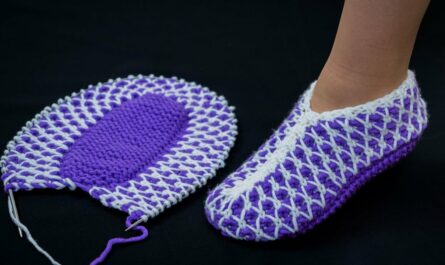
These slippers are called “Hedgehogs” because their textured knitting creates a slightly raised, cozy surface that resembles tiny hedgehog spines. This texture adds warmth and prevents slipping, making the slippers both cute and functional.
Knitting Method Overview
The slippers are knitted in one piece, starting from the toe and working toward the heel. The sole is formed directly during knitting, so no seam is needed on the bottom, which increases comfort and durability.
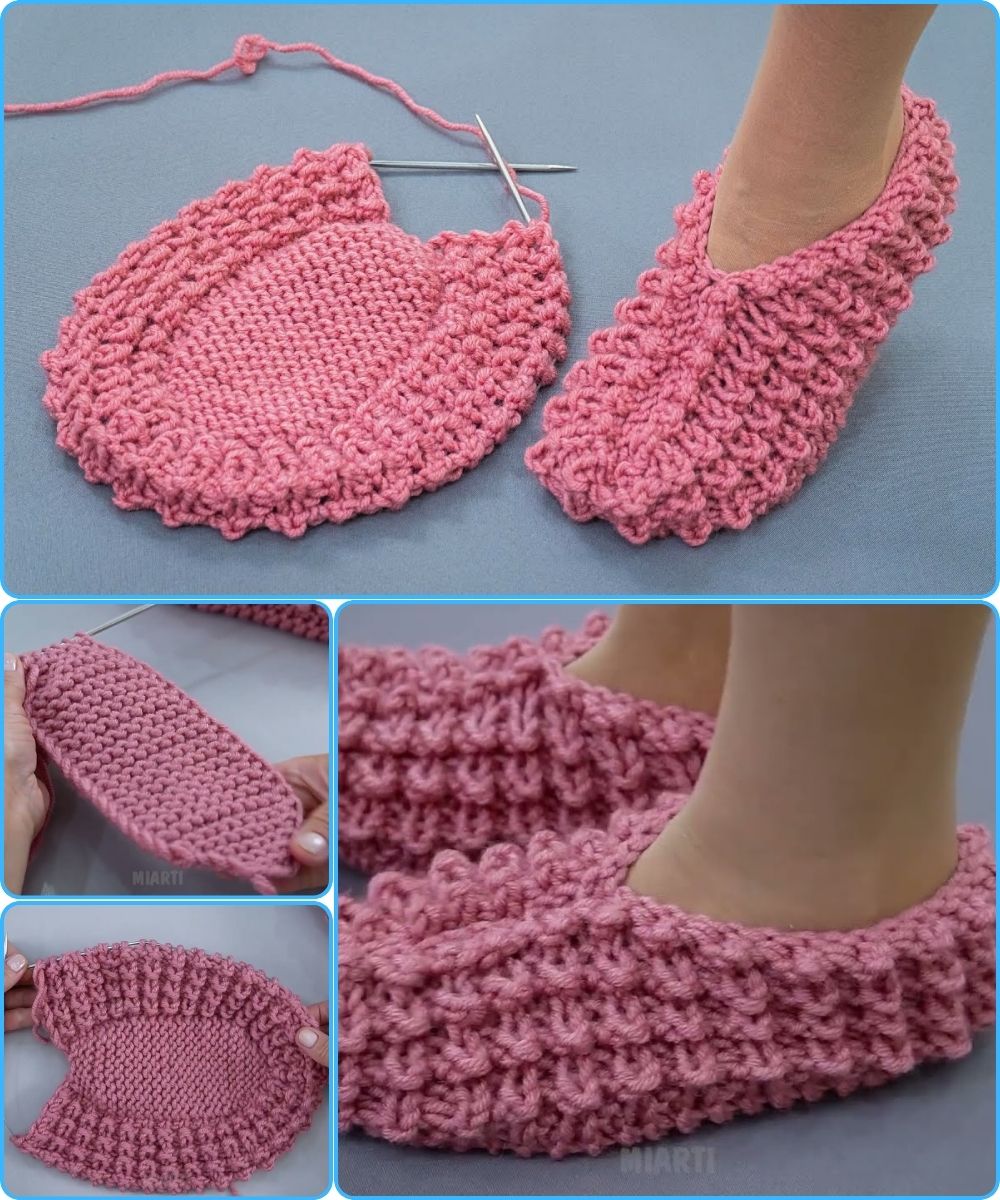
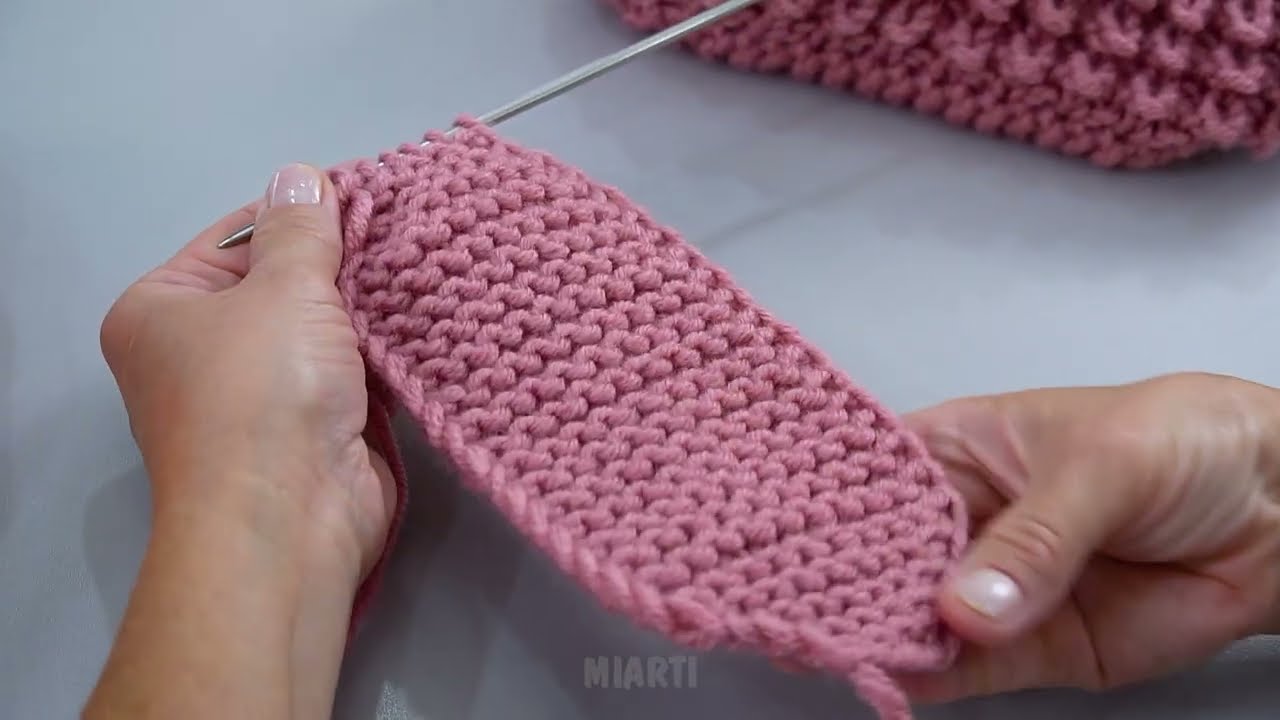
Step 1: Knitting the Toe
-
Cast on a small number of stitches (usually 8–12, depending on size).
-
Knit in the round or back and forth (depending on your preference).
-
Gradually increase stitches evenly on both sides to shape the toe.
-
Continue increasing until the width matches the front of the foot.
This creates a rounded, comfortable toe area.
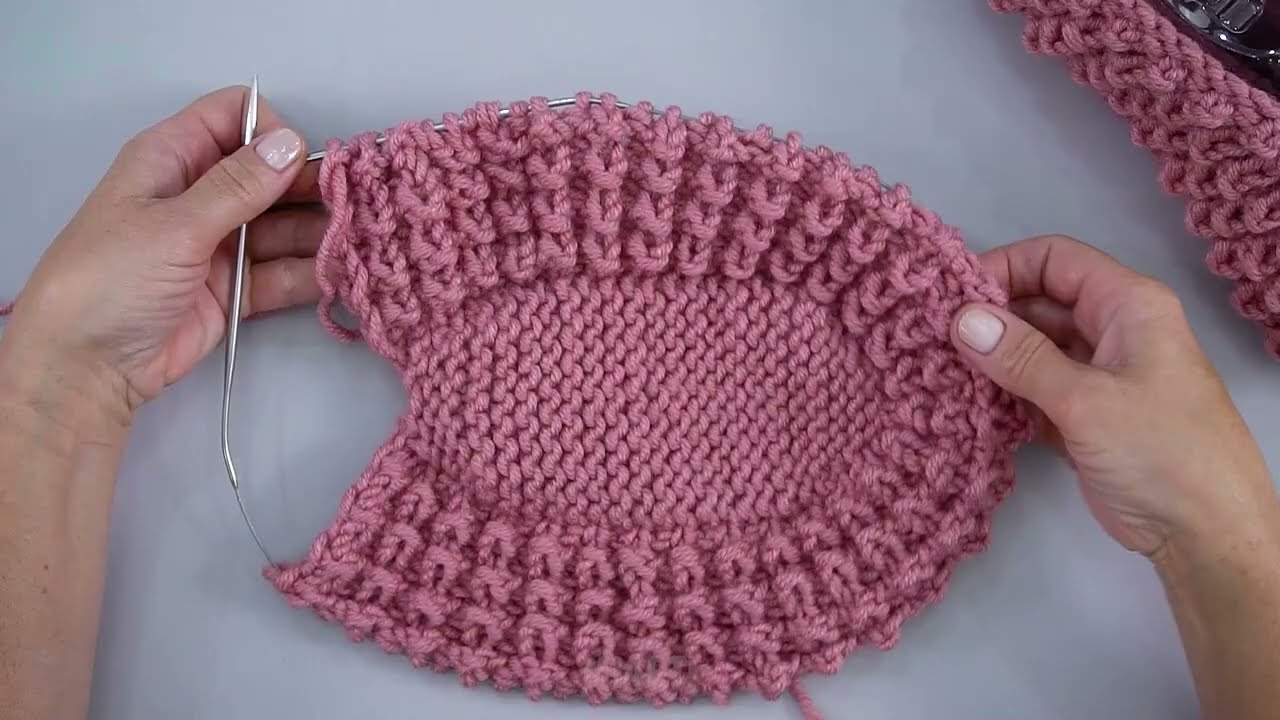
Step 2: Forming the Sole and Upper Part
-
Once the toe is wide enough, stop increasing.
-
Knit straight rows to form the sole and upper at the same time.
-
Use a textured stitch (such as garter stitch, seed stitch, or simple loops) to create the “hedgehog” effect.
-
Keep knitting until the piece reaches the desired foot length.
Because the sole is knitted as part of the same piece, there is no seam underneath the foot, which prevents discomfort.
Step 3: Shaping the Heel
-
Divide stitches into two sections: heel and upper.
-
Use short rows or simple decreases to shape the heel.
-
Gradually reduce stitches until the heel fits snugly.
-
Secure the stitches and fasten off.
The heel shaping requires only minimal sewing, usually at the back of the slipper.
Step 4: Finishing Touches
-
Weave in all loose yarn ends.
-
Lightly stretch and shape the slippers by hand.
-
If desired, add small knitted details, embroidery, or pom-poms for decoration.
Repeat the same steps for the second slipper.
Tips for Beginners
-
Choose soft yarn that is easy to work with.
-
Try the slipper on as you knit to ensure a good fit.
-
Keep stitches loose for extra comfort.
-
Practice the textured stitch on a small sample before starting.
Final Result
Your finished Hedgehog slippers will be:
-
Warm and cozy
-
Seam-free on the sole
-
Soft and comfortable to walk in
-
Cute and handmade with care
This simple method makes these slippers perfect for beginners, gifts, or cozy home wear.
If you want, I can also:
-
Simplify this into step-by-step bullet instructions
-
Adapt it for kids’ or adult sizes
-
Turn it into a school-level essay or blog post
-
Add knitting abbreviations and stitch counts
Watch video: