 by
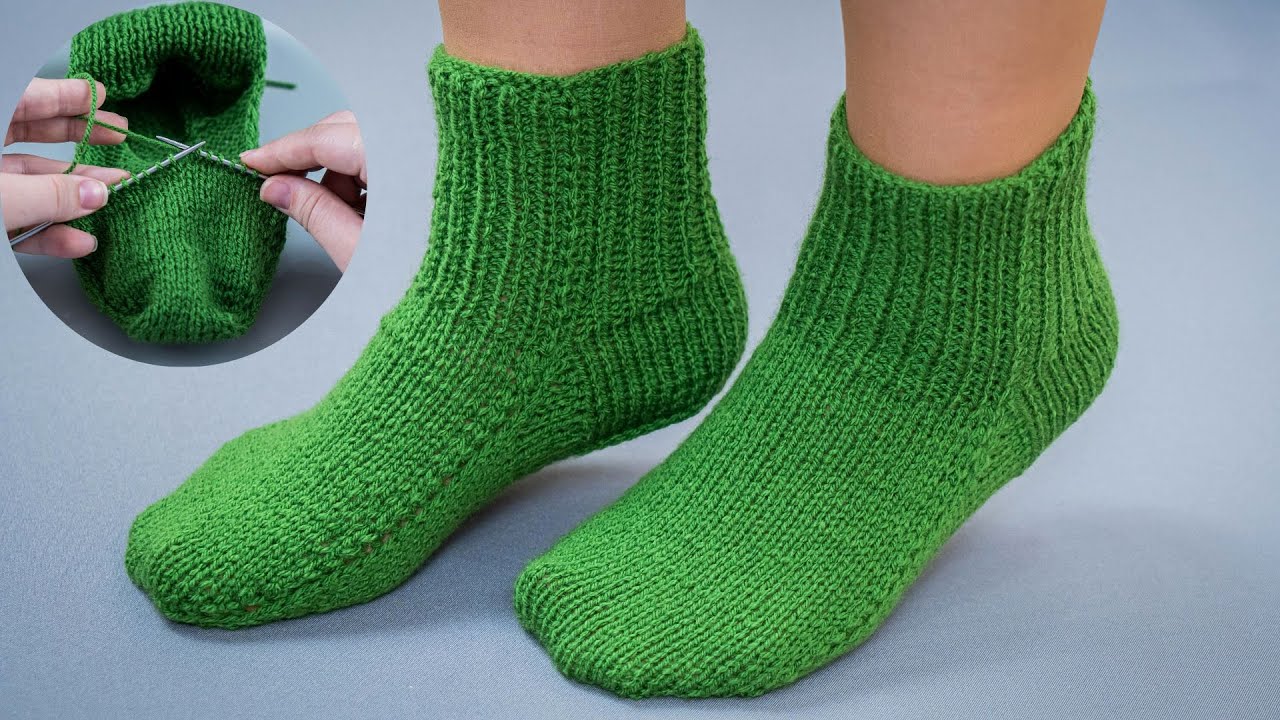
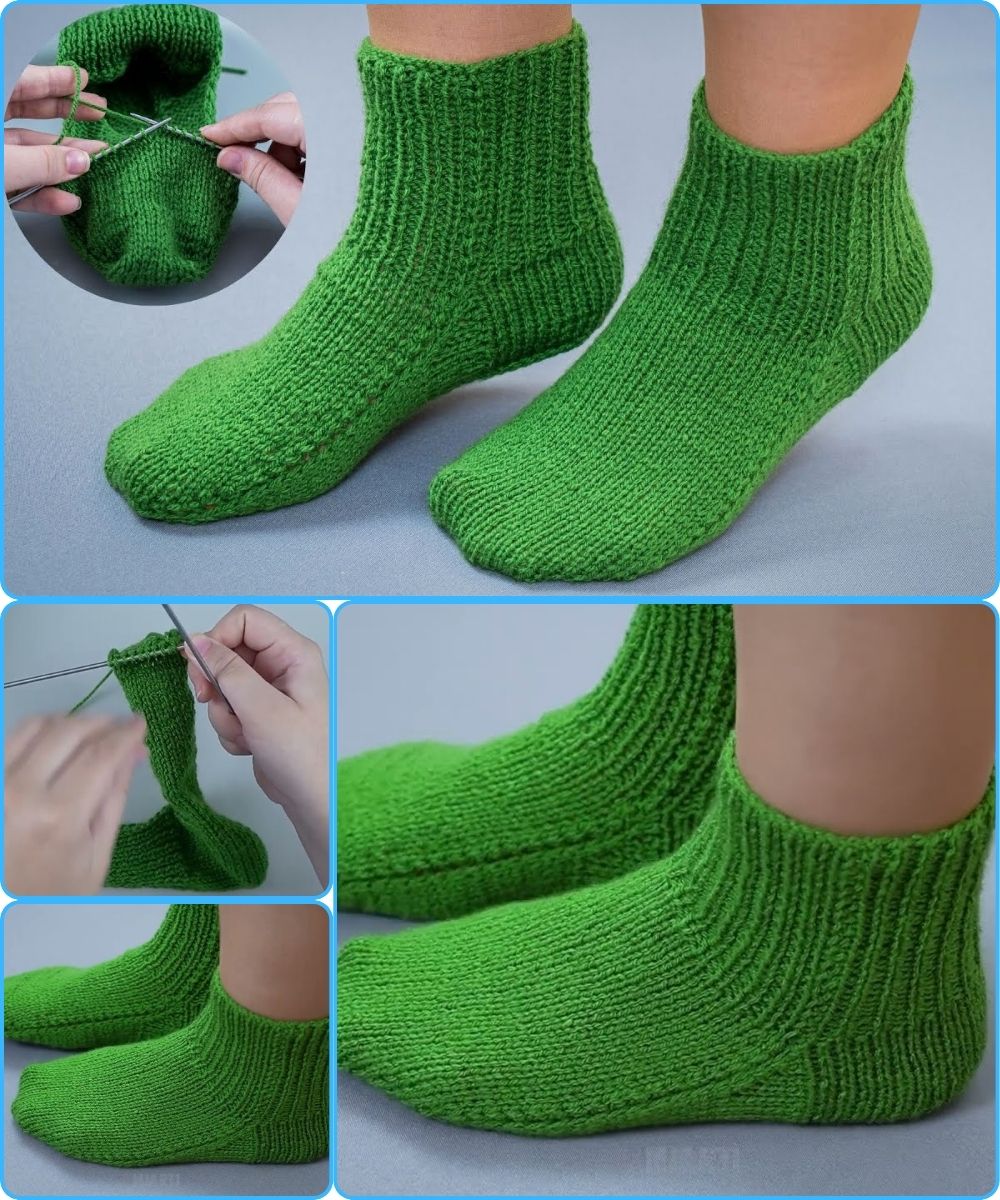
by Absolutely! Here’s a detailed, beginner-friendly guide on how to make knitted socks using 2 knitting needles. I’ll break it down step by step, and keep it easy to follow. 🧦
Materials Needed
-
Yarn: Worsted weight or sock yarn (choose soft, washable yarn). About 100g is usually enough for one pair of adult socks.
-
Knitting needles: 2 straight needles, size suitable for your yarn (often US 6–8 / 4–5 mm).
-
Tapestry needle: For weaving in ends.
-
Scissors
-
Stitch markers (optional, but helpful).
Step 1: Measure & Cast On
-
Measure your foot circumference and length to get a good fit.
-
Use the long-tail cast-on method (or any stretchy cast-on) to cast on the number of stitches for your sock.
-
Example: For a medium adult sock, 48–60 stitches is common.
-
-
Divide stitches in half: You’ll work half on one needle, half on the other.
Step 2: Work the Cuff
-
Knit in ribbing (K1, P1 or K2, P2) for about 1–2 inches (2.5–5 cm).
-
Ribbing makes the cuff stretchy so it stays on your ankle.
-
Step 3: Knit the Leg
-
After the cuff, switch to stockinette stitch (knit every row if working flat on 2 needles) to make the leg.
-
Continue until the leg is your desired length (usually 6–8 inches for crew socks).
Tip: You can try patterns like stripes or simple textures, but stockinette is easiest.
Step 4: Work the Heel
There are many heel techniques; here’s the simple flap and turn method:
-
Divide stitches for the heel flap: Usually half of your stitches (e.g., 24 of 48).
-
Work back and forth in slip 1, knit 1 or stockinette stitch for 2–3 inches, creating a rectangular flap.
-
Turn the heel: Knit short rows, gradually decreasing stitches at the center to create a curve.
It sounds tricky, but basically you knit partway, turn the work, and purl/knit back, gradually shortening rows to form the cup of the heel.
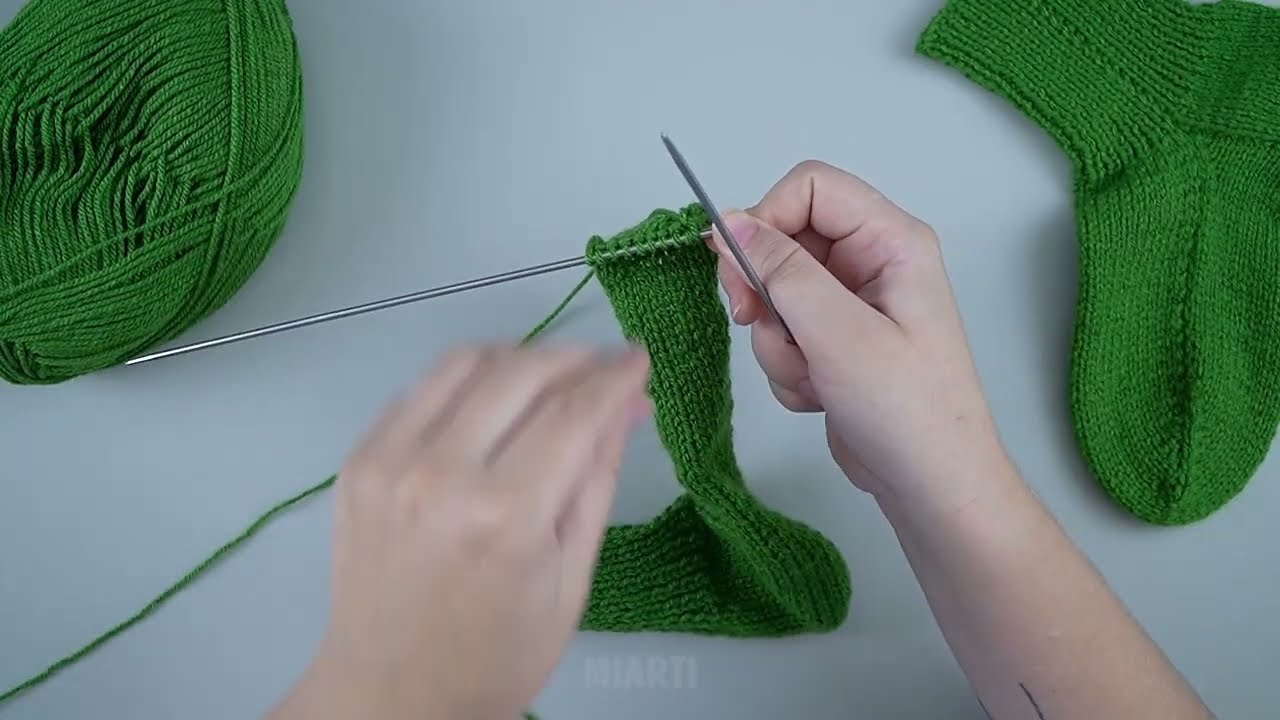
Step 5: Pick Up Stitches & Knit the Foot
-
Pick up stitches along the sides of the heel flap to create a round opening.
-
Resume knitting in the round or flat (back-and-forth) until the foot is 2 inches shorter than your total foot length.
Step 6: Shape the Toe
-
Decrease gradually:
-
On every other row, knit 2 together (k2tog) at the edges of the foot.
-
-
Continue decreasing until you have 8–12 stitches left.
-
Cut yarn, leaving a long tail, and thread through remaining stitches, pulling tight to close the toe.
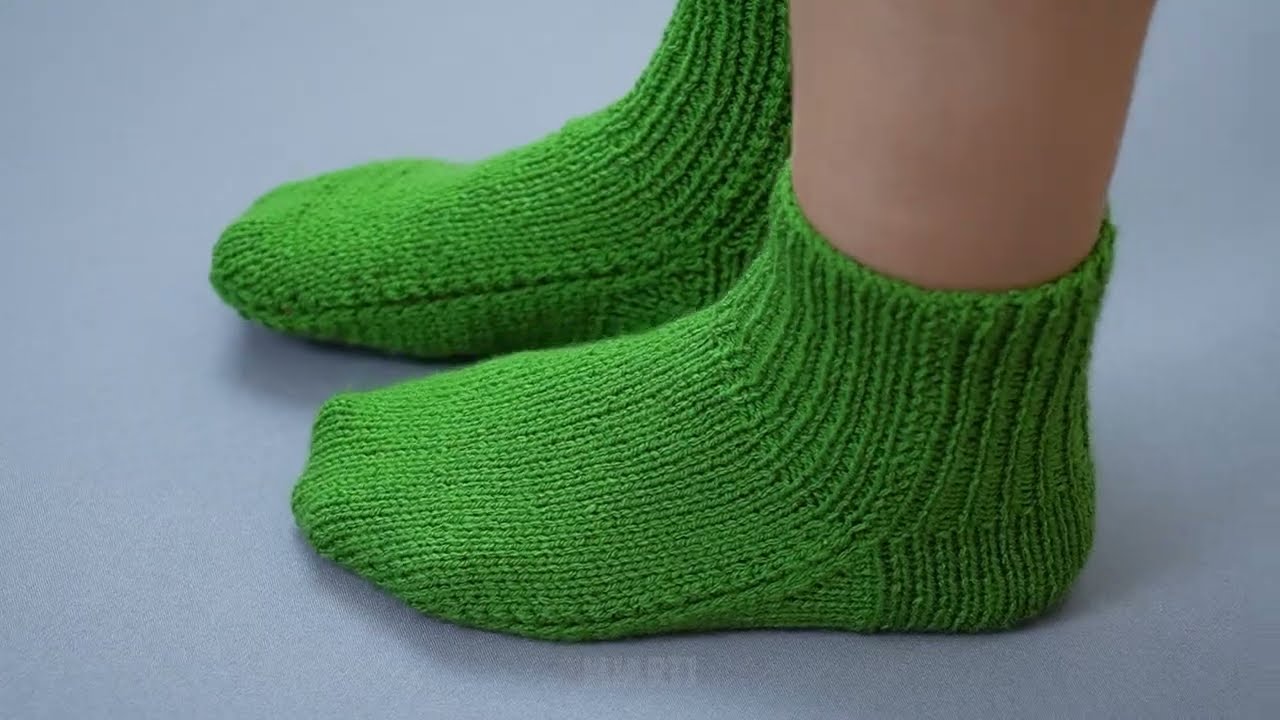
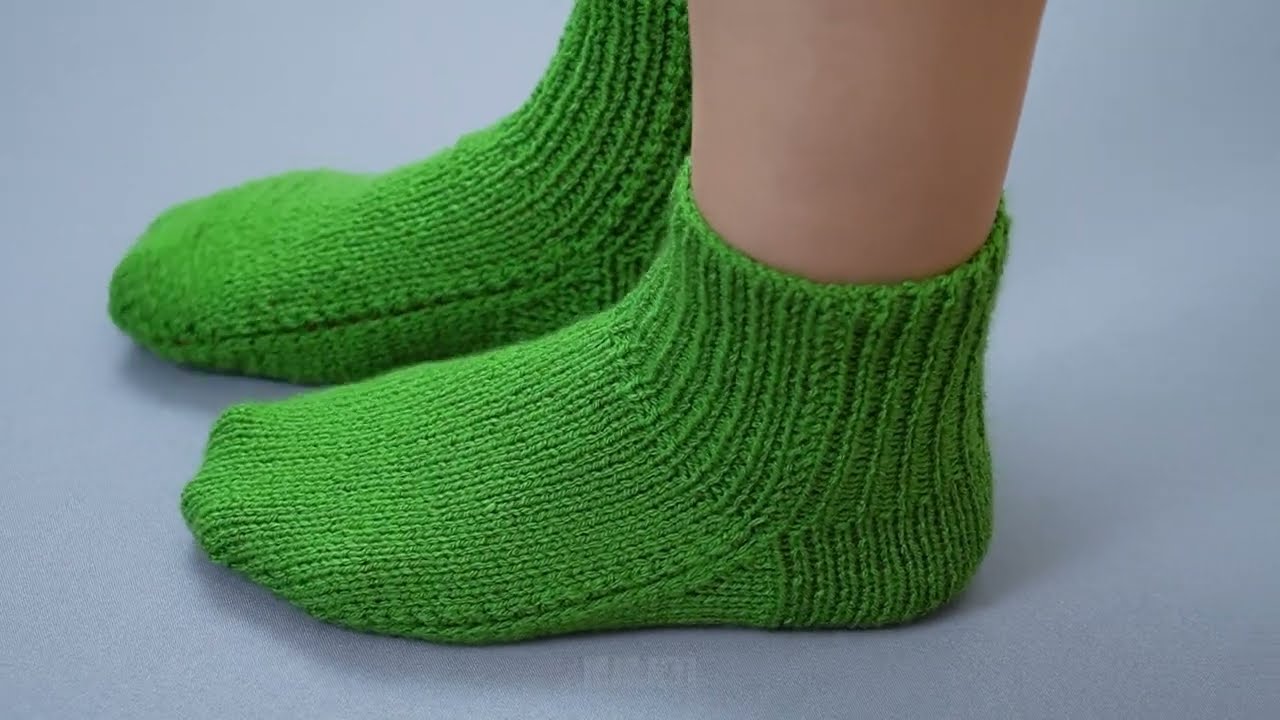
Step 7: Finish
-
Weave in all ends using a tapestry needle.
-
Block lightly if desired (wash and shape the socks) to make them look neat.
Tips for Beginners
-
Use light-colored yarn—easier to see stitches.
-
Practice on a swatch first to feel comfortable with stockinette and ribbing.
-
Take it step by step—don’t rush the heel and toe shaping.
-
Socks can be knitted flat on 2 needles and seamed, which is simpler than circular knitting.
If you want, I can also make a diagram showing each step visually, which is super helpful for beginners who are learning the heel and toe shapes.
Watch video: