 by
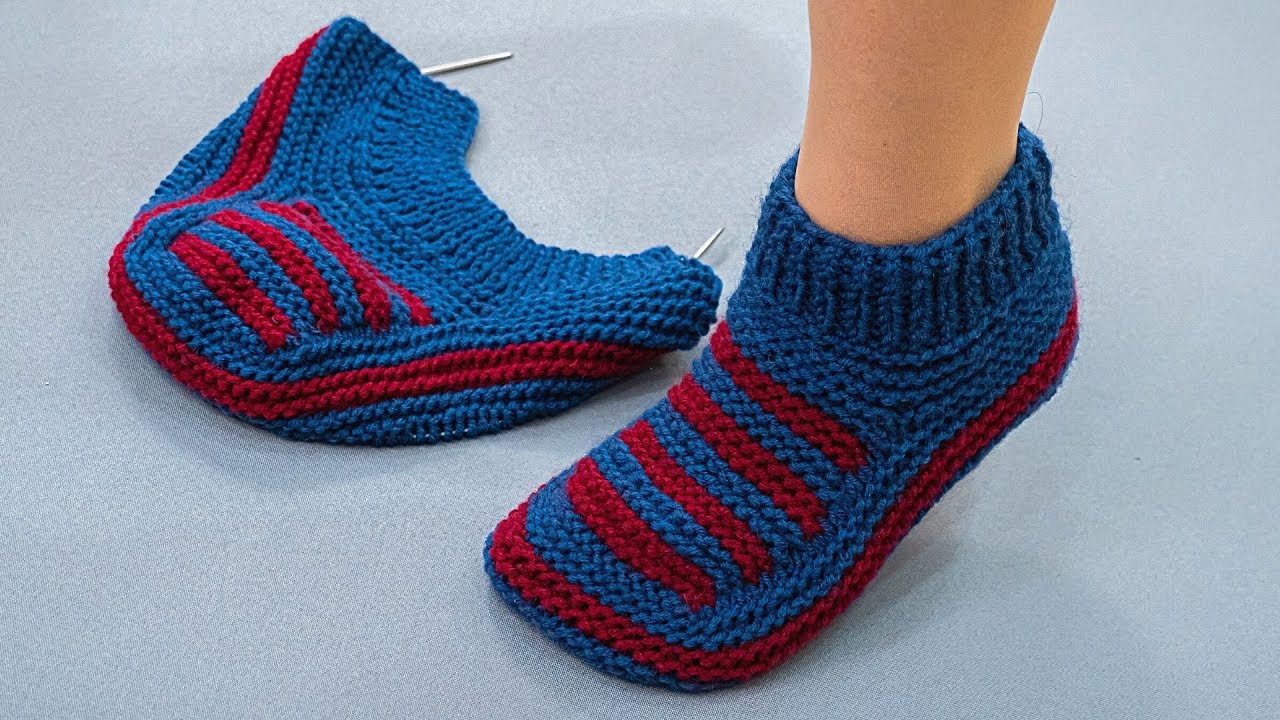
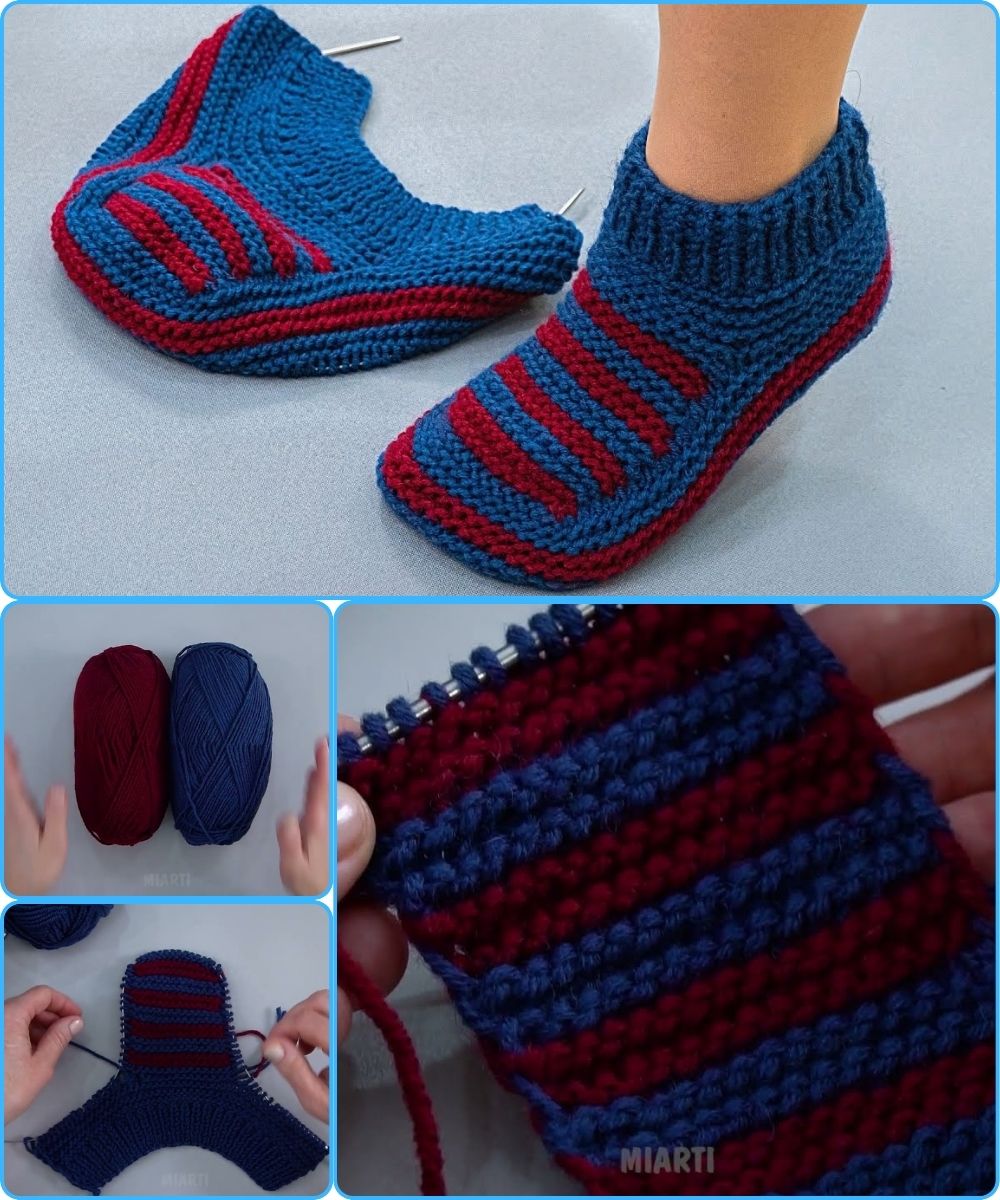
by Absolutely! Let’s go step by step. I’ll give you a detailed, simple, seamless knitted slipper method that’s beginner-friendly but also flexible enough for more advanced knitters. These slippers are worked in the round, so the sole has no seams.
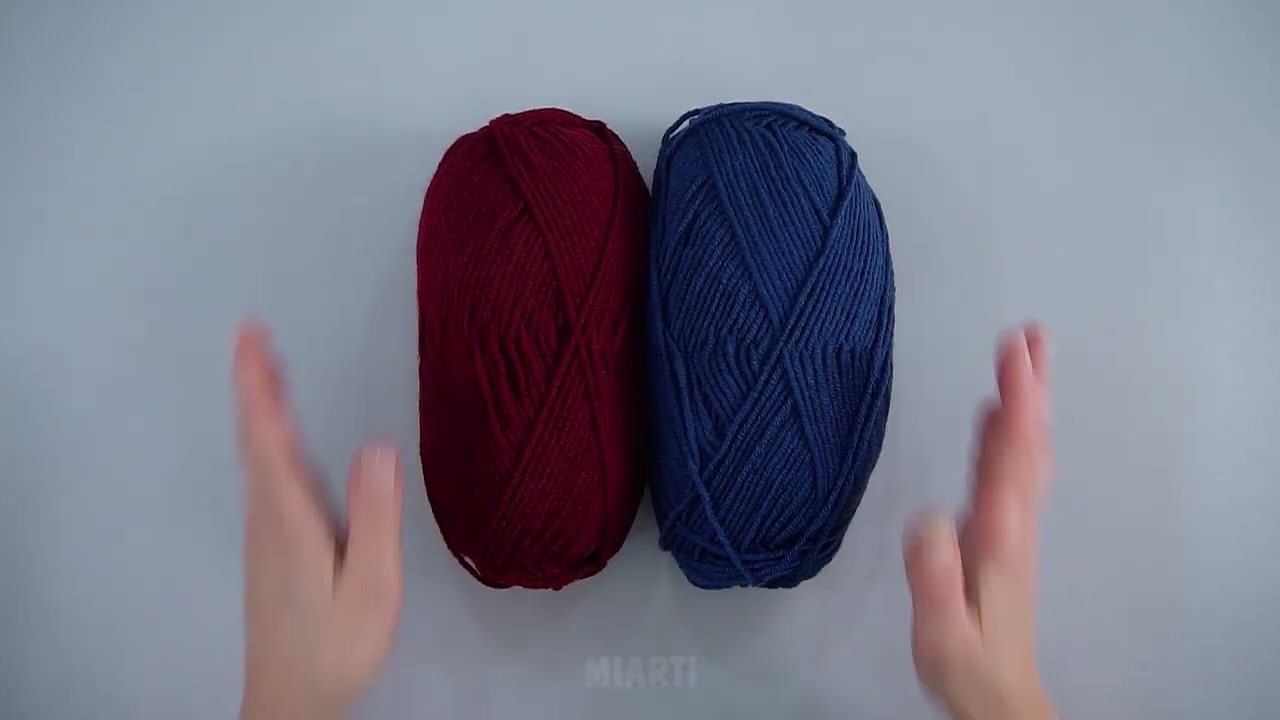
Materials Needed
-
Yarn: Worsted weight yarn (medium, #4)
-
Needles: Double-pointed needles (DPNs) or circular needles (16–24 inches) for magic loop, size appropriate for yarn (usually US 7–9 / 4.5–5.5 mm)
-
Stitch marker: For marking the beginning of the round
-
Tapestry needle: For weaving in ends
-
Optional: Non-slip sole paint or fabric for grip
Step-by-Step Instructions
Step 1: Take Measurements
-
Measure the length of your foot from heel to toe.
-
Measure the width of the foot across the ball (widest part).
-
This will help you determine how many stitches to cast on.
Step 2: Cast On
-
Calculate stitches:
-
Swatch your yarn and needle to find stitches per inch.
-
Multiply by the width of the sole.
-
Example: 5 sts per inch × 3.5 inches = 17–18 stitches
-
-
Cast on the calculated number of stitches using the long-tail cast on.
-
Join in the round carefully, making sure stitches aren’t twisted. Place a stitch marker at the beginning.
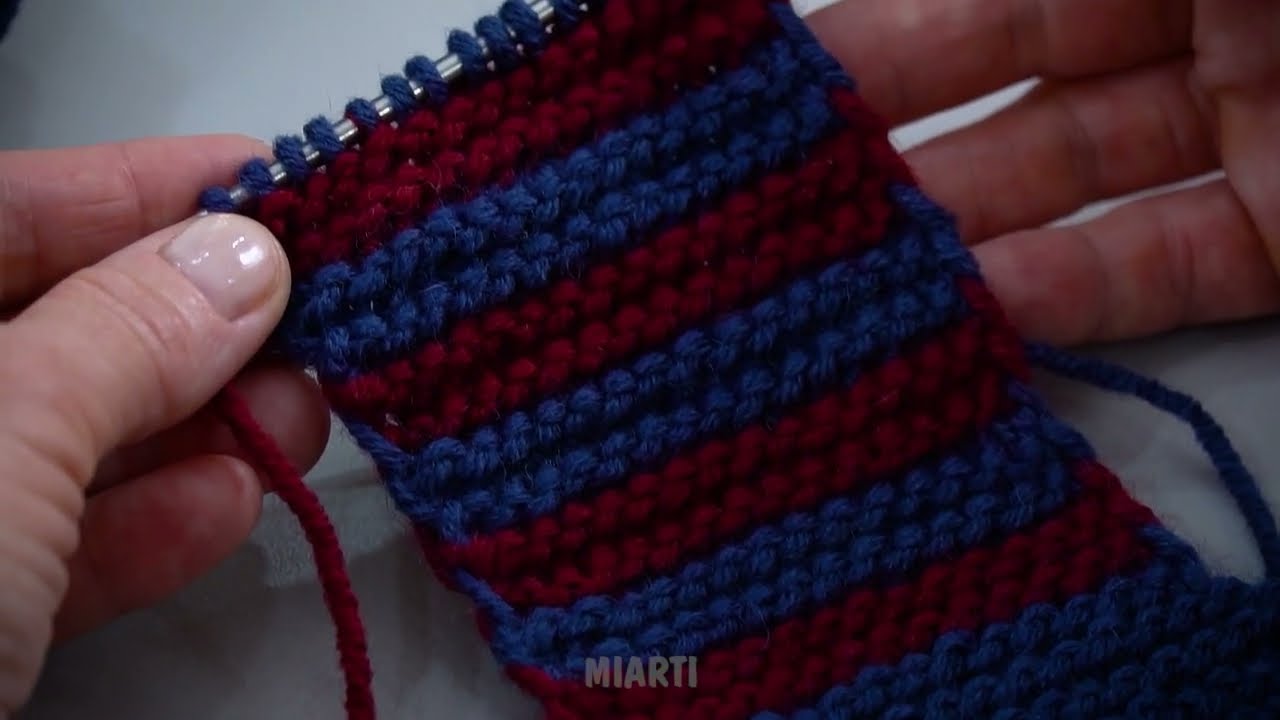
Step 3: Knit the Sole
-
Knit flat or in the round, using stockinette stitch (knit every round in the round).
-
Work until the sole reaches the length of your foot minus 1 inch for the toe shaping.
-
Optional: Add a garter stitch border at the beginning if you want a more cushioned sole.
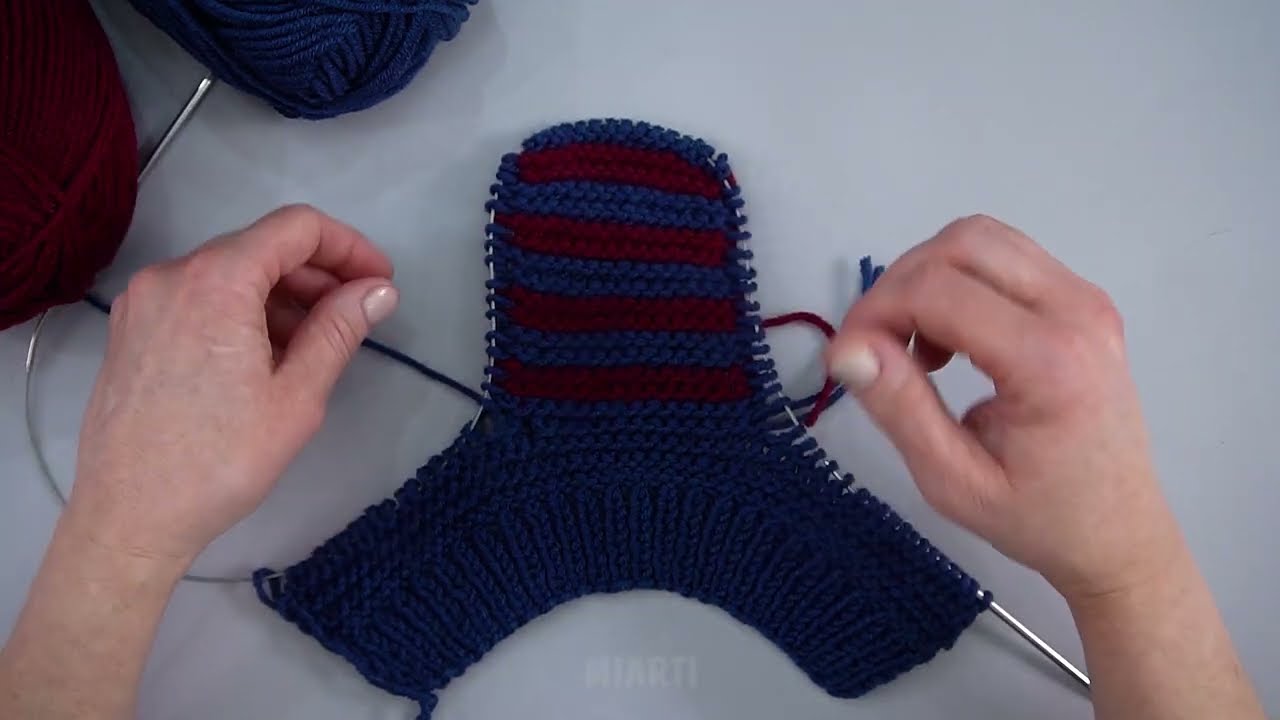
Step 4: Shape the Toe (Seamless)
-
Start decreasing for the toe:
-
Round 1: Knit 2 together, knit to last 2 stitches, slip-slip-knit (SSK) last 2 stitches
-
Round 2: Knit all stitches
-
Repeat until you have about 8–10 stitches left
-
-
Cut yarn, leaving a long tail, and thread through remaining stitches using a tapestry needle. Pull tight and secure.
This method creates a closed, seamless toe.
Step 5: Knit the Upper (Optional Rib or Stockinette)
-
Pick up stitches along the sides of the sole (or continue from toe shaping) to make the upper part of the slipper.
-
Knit in the round for desired height (usually 2–3 inches for a regular slipper).
-
Add ribbing (K1, P1) at the top for a snug fit.
Step 6: Finish
-
Weave in all loose ends.
-
Optional: Use fabric glue or puff paint to create a non-slip sole.
-
Block lightly if needed to shape the slipper.
Tips for Beginners
-
Magic loop or DPNs: Use whichever feels easier to handle small circumferences.
-
Try on as you go: You can adjust length and width before closing the toe.
-
Yarn choice: Wool blends are soft, warm, and durable. Avoid slippery yarns for the sole.
If you want, I can draw a simple diagram showing the slipper construction and seamless sole, so it’s even easier to follow visually. It’s super beginner-friendly.
Do you want me to make that diagram?
Watch video: