 by
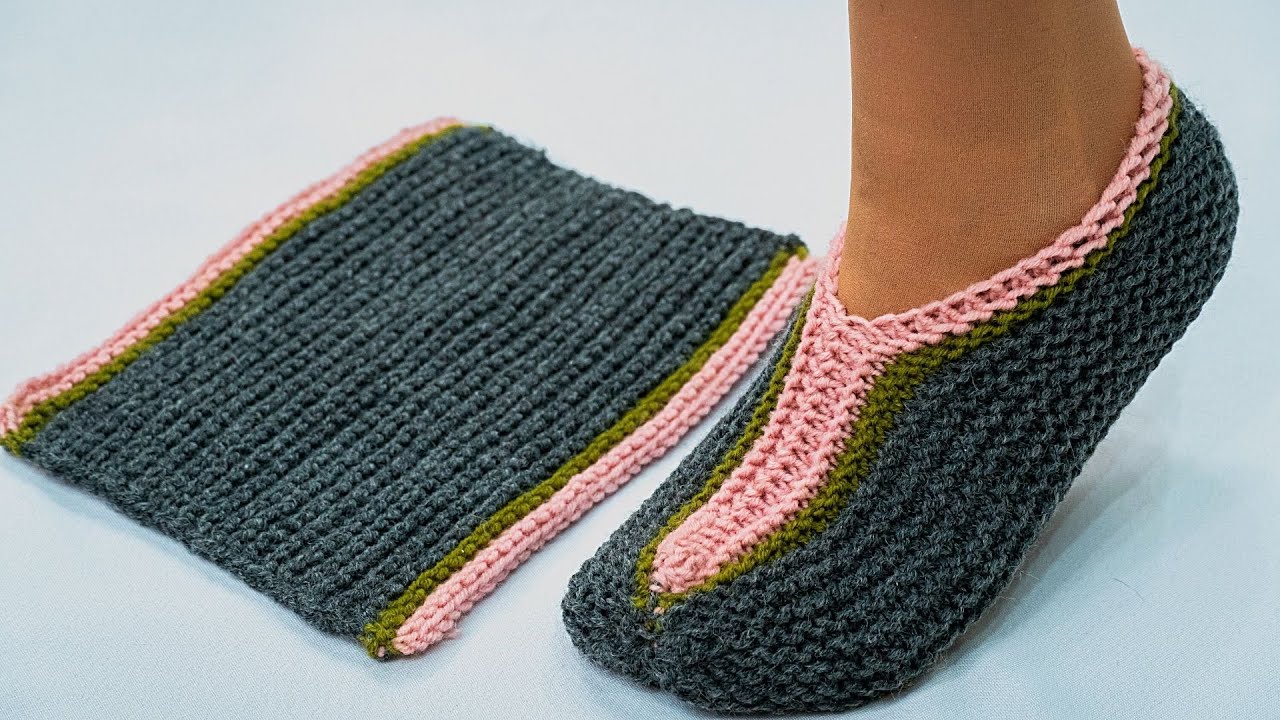
by Absolutely! Let’s go step by step. I’ll provide a detailed tutorial on how to make slippers on two knitting needles (flat knitting, not circular) without a seam on the sole. This method creates a slipper that’s seamless on the bottom for comfort.

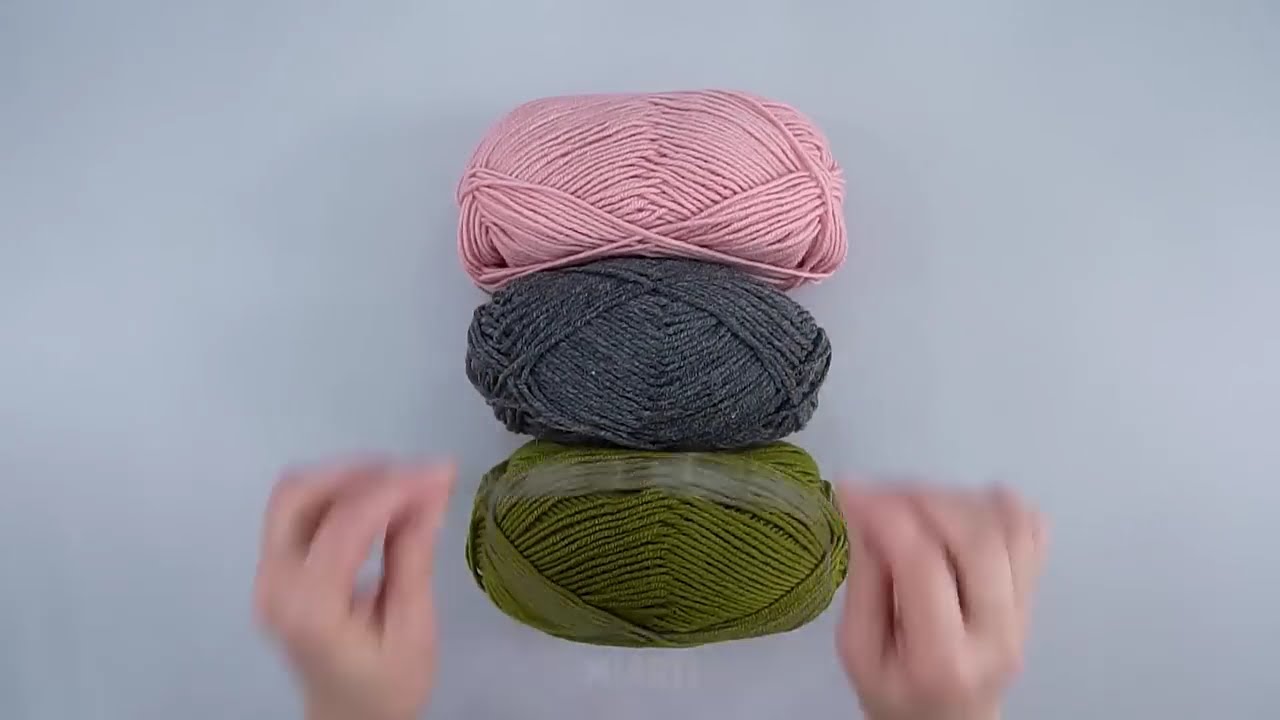
Materials Needed
-
Yarn: Medium-weight (worsted) yarn works well. Choose soft yarn for comfort.
-
Needles: Two straight needles, size suitable for your yarn (usually 4–5 mm for worsted weight)
-
Tapestry needle: For weaving in ends
-
Scissors
Key Techniques You’ll Use
-
Casting on stitches – to create the width of the slipper.
-
Knitting flat (garter or stockinette) – building the sole and sides.
-
Short rows – to shape the heel and toe without seams.
-
Decreasing – shaping the slipper.
-
Picking up stitches – if shaping the top.
-
Finishing – weaving in ends, optional decorative edges.
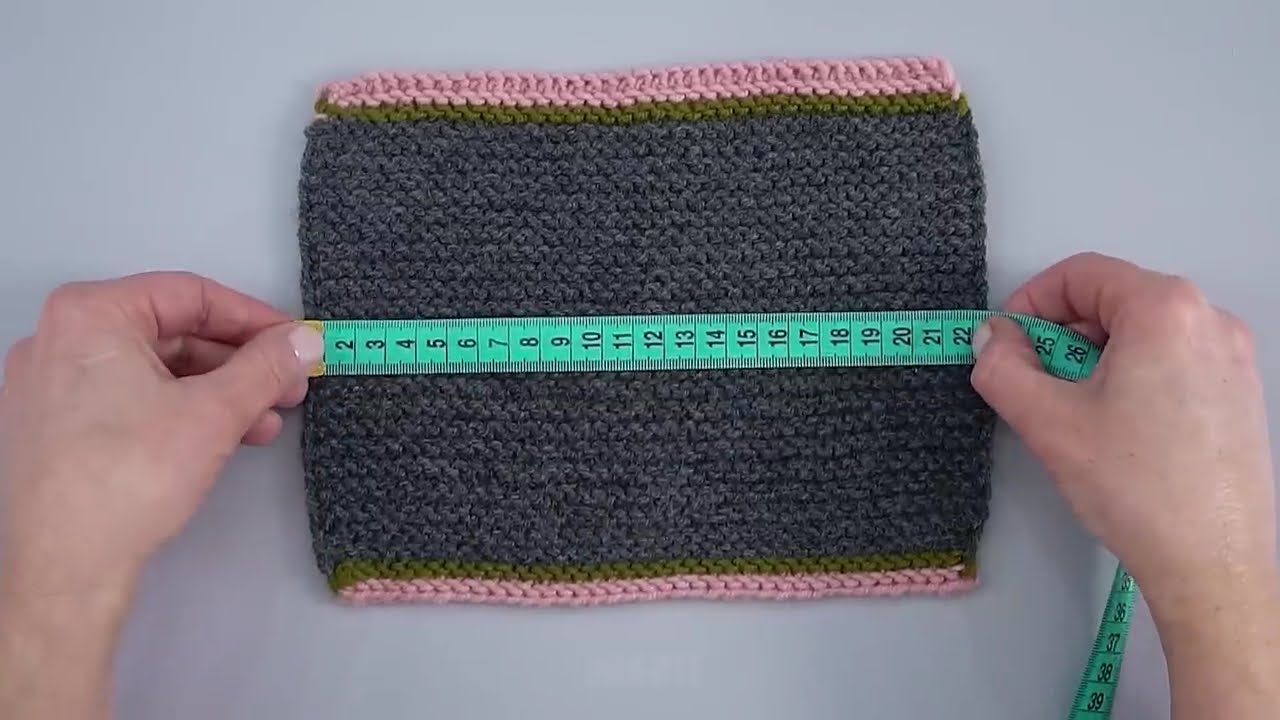
Step 1: Determine Size and Cast On
-
Measure the length and width of the foot.
-
Decide the number of stitches for the width of the sole (the bottom of the slipper). For example, if your gauge is 5 stitches per inch and your foot is 4 inches wide, cast on 20 stitches.
-
Use a stretchy cast-on method (e.g., long-tail cast-on) for comfort.
Step 2: Knit the Sole
We want a slipper without a seam on the sole, so we’ll knit the sole flat as a rectangle and shape the heel and toe with short rows.
-
Knit in garter stitch (knit every row) or stockinette (knit one row, purl one row) depending on preference. Garter gives more stretch and cushioning.
-
Length of the sole: Knit until the piece measures the length of the foot minus the length you want for the toe shaping.
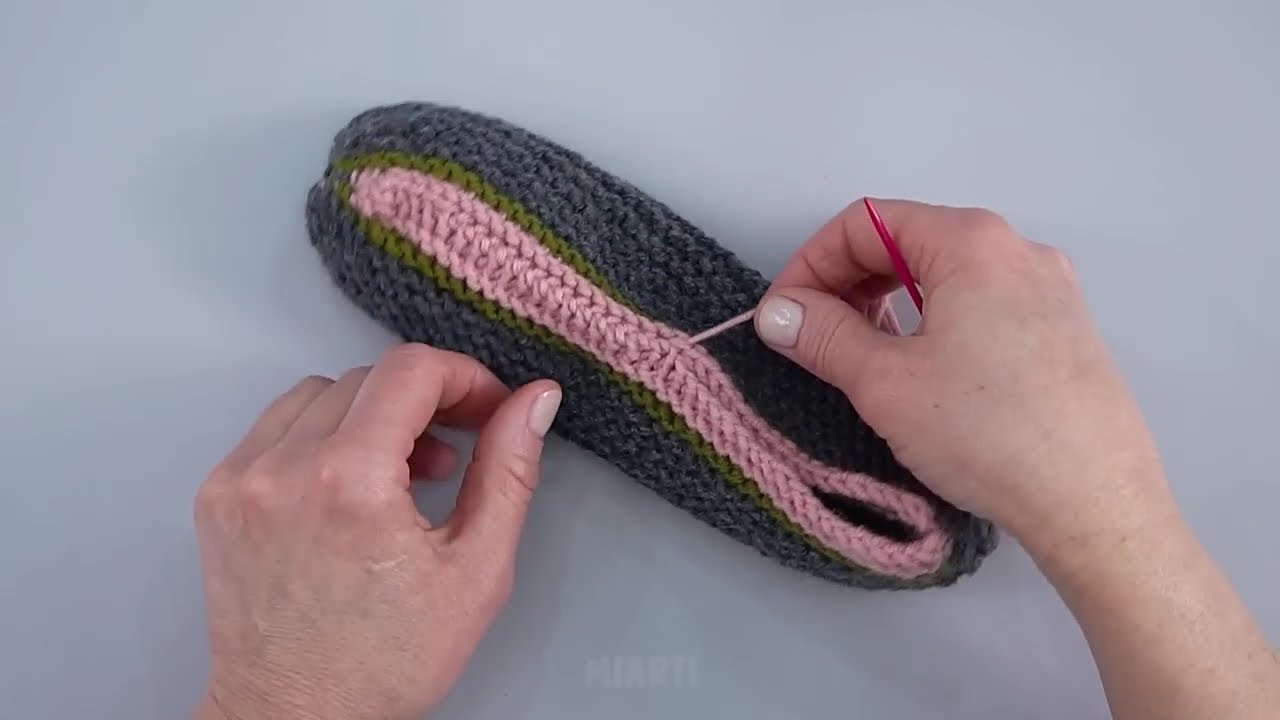
Step 3: Shaping the Heel
We use short rows to curve the heel without creating a seam.
-
Knit across the sole until about 2/3 of the total foot length.
-
Turn the work before the end of the row, leaving a few stitches unworked.
-
Continue knitting back and forth, wrapping the turns (or using German short rows) until the heel curves naturally.
-
Resume knitting all stitches for the full width, integrating the heel shape.
Tip: Short rows allow the heel to form naturally over the foot without folding or sewing.
Step 4: Knit the Upper Foot
-
After finishing the sole and heel, divide the work in half if you want to create a separate top piece, or continue knitting flat across all stitches for a simple slip-on style.
-
For a slip-on slipper: Knit the foot section until it reaches the base of the toes.
Step 5: Shaping the Toe
-
Use decreases at the beginning and end of rows:
-
Row 1: Knit 2 together at start and end.
-
Row 2: Purl across (if stockinette).
-
-
Repeat decreases every other row until 6–10 stitches remain.
-
Bind off loosely, or use the three-needle bind-off if you want a stronger finish.
Step 6: Finishing
-
Weave in all ends using a tapestry needle.
-
Optionally, add a crochet or knitted edging around the top for a polished look.
-
Block lightly if using wool to shape the slipper nicely.
Optional Enhancements
-
Non-slip soles: Add dots of fabric paint or sew on felt.
-
Decorative elements: Knit small flowers, pompoms, or add ribbing to the ankle.
-
Double thickness sole: Knit two layers and sew them together invisibly for extra comfort.
✅ Tips for Success
-
Use soft, slightly elastic yarn for comfort.
-
Knit loosely to ensure the slipper is not tight.
-
Test the fit as you knit the foot section. You can adjust the width or length on the fly.
-
Keep short rows even to avoid gaps.
If you want, I can draw a detailed step-by-step diagram showing exactly how the sole, heel, and toe are shaped on two needles—like a mini knitting blueprint. That makes it super easy to follow.
Watch video: