 by
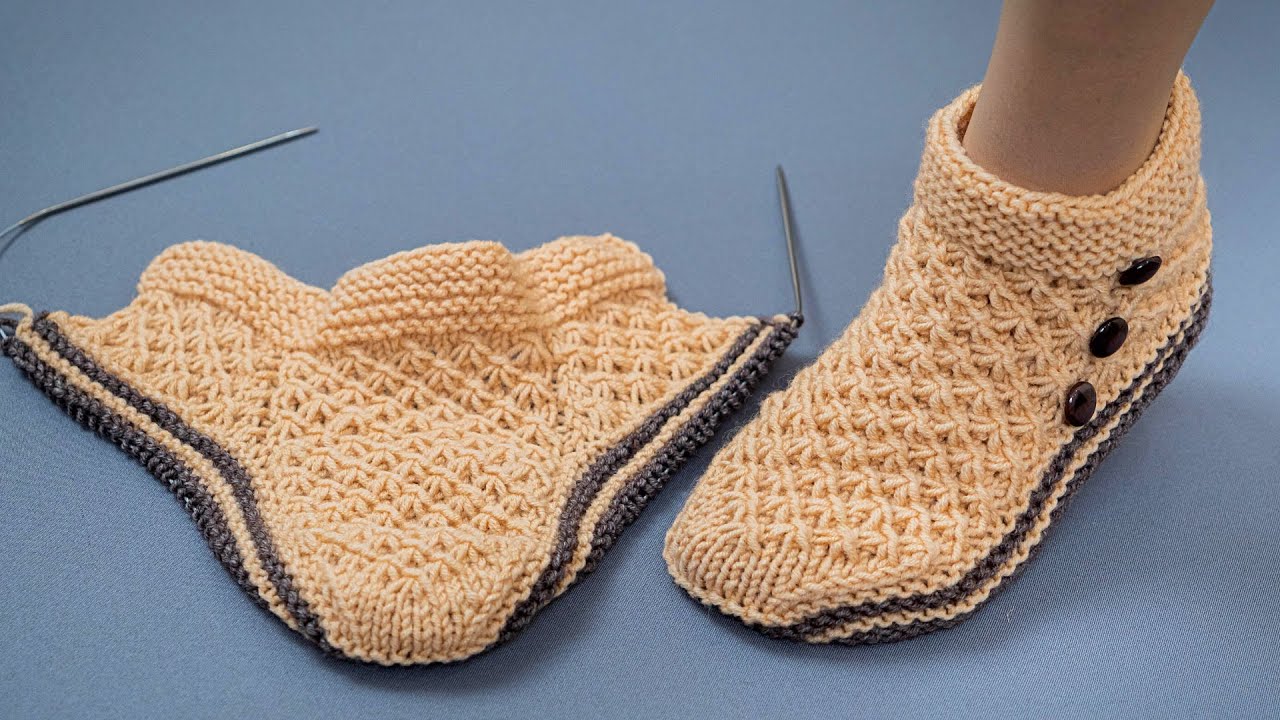
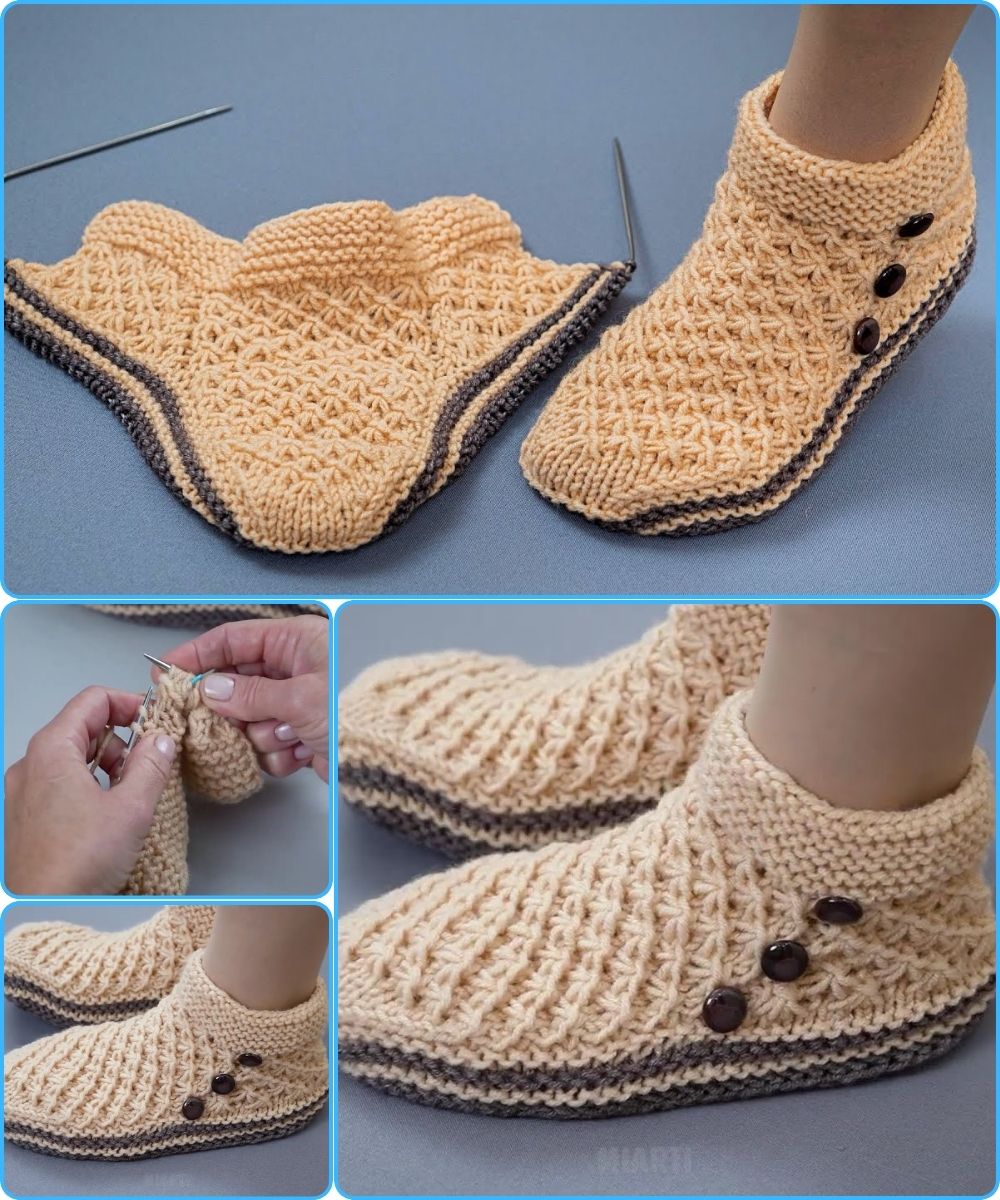
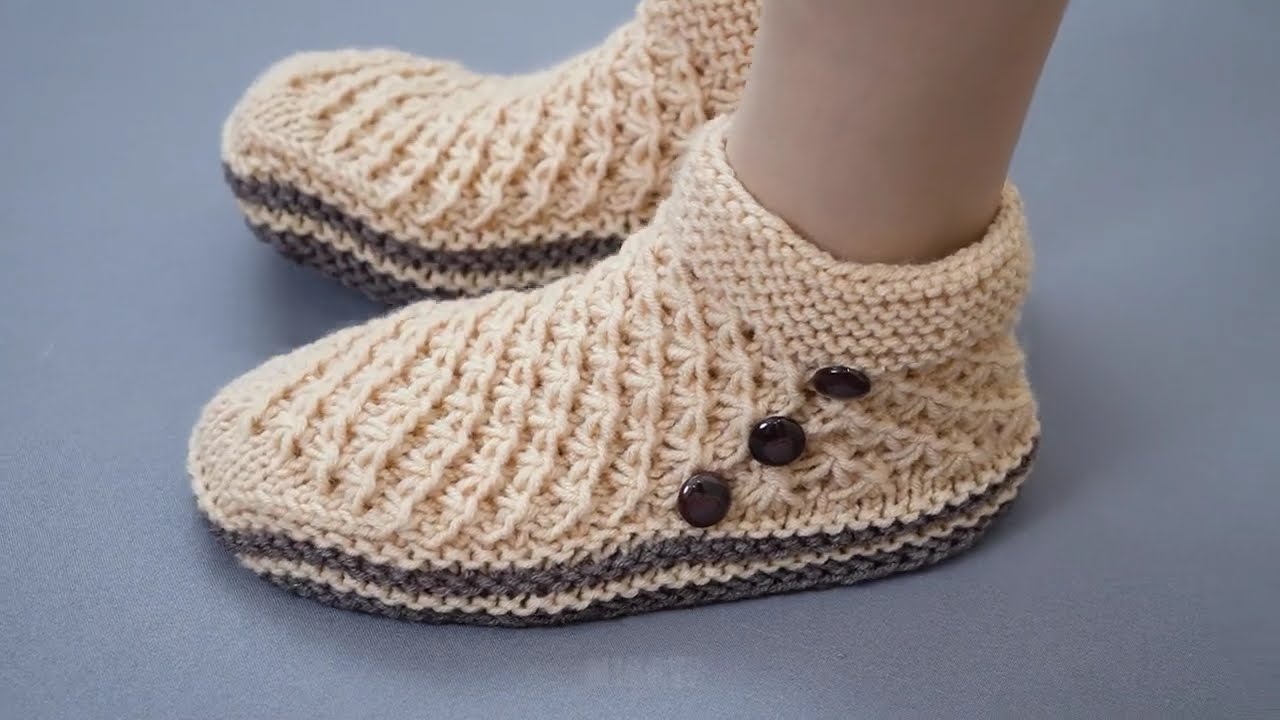
by Absolutely! Let’s make a beginner-friendly guide to knit cozy slippers-socks with a “Stars” pattern. I’ll break it down step by step, including materials, basic techniques, and a simple star motif you can use.
🧦 Materials Needed:
-
Yarn: Medium-weight (worsted, acrylic/wool blend) – about 100–150g. Soft and warm is best.
-
Knitting needles: Double-pointed needles (DPNs) or circular needles for magic loop, size US 7–8 (4.5–5mm).
-
Tapestry needle: For weaving in ends.
-
Stitch markers: Optional but helpful.
-
Scissors
👣 Step 1: Measure and Cast On
-
Measure your foot: You can knit slippers slightly smaller than your foot—they stretch!
-
Cast on: For adult size, usually 40–50 stitches (adjust depending on foot size and yarn).
-
Use a long-tail cast-on for elasticity.
-
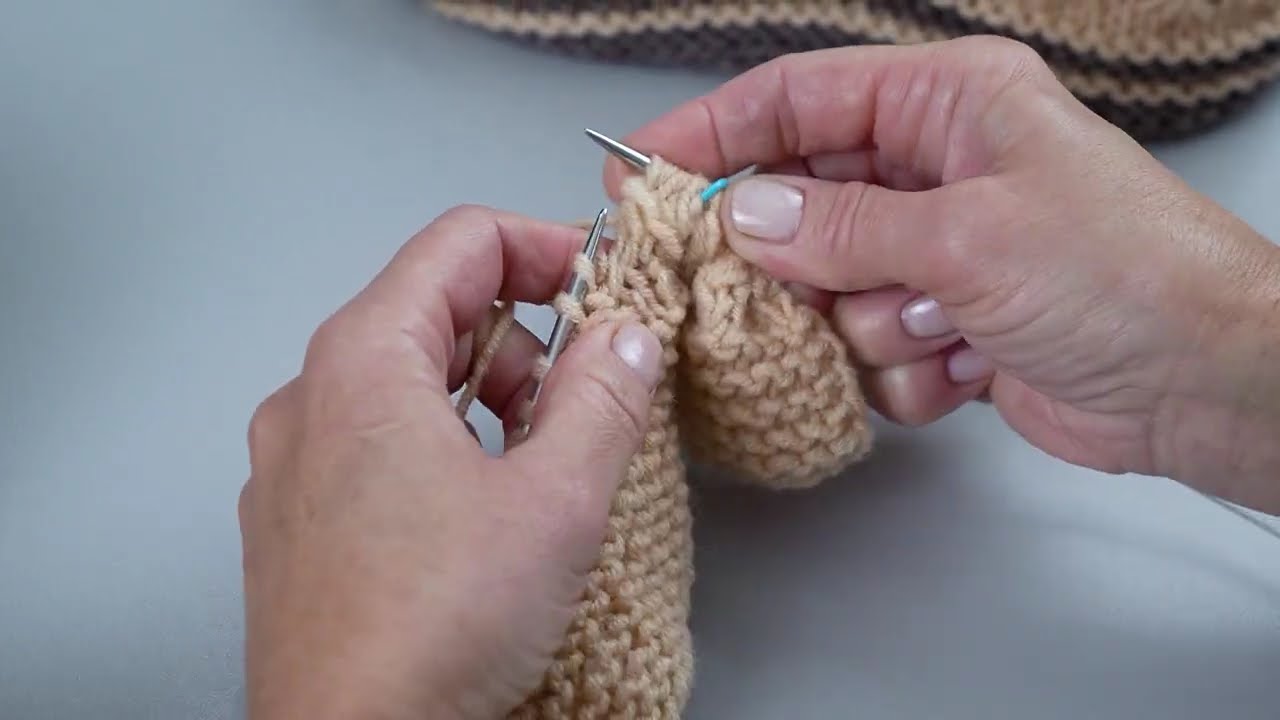
👣 Step 2: Knit the Cuff
-
Ribbing: Work K1, P1 ribbing for 10–15 rows (1–2 inches).
-
This will make the cuff stretchy and snug.
-
👣 Step 3: Knit the Leg
-
Knit in stockinette stitch (knit all stitches in the round) until the leg reaches your desired height, usually 5–6 inches.
-
Keep it simple because the main design is on the foot.
🌟 Step 4: Add the “Stars” Pattern
Here’s a beginner-friendly star motif (worked over 8 stitches × 8 rows):
Pattern (worked in stockinette, knit on right side, purl on wrong side):
| Row | Stitches |
|---|---|
| 1 | K all |
| 2 | K all |
| 3 | K2, YO, K2tog, K2, repeat * * |
| 4 | K all |
| 5 | K all |
| 6 | K2, K2tog, YO, K2, repeat * * |
| 7 | K all |
| 8 | K all |
Legend:
-
YO: Yarn over (makes a little hole, part of the star)
-
K2tog: Knit 2 together (slants the stitch)
Repeat this pattern along the foot part. You can stagger stars or have a single row.
👣 Step 5: Shape the Heel
-
Divide stitches: Half the stitches for the heel flap.
-
Heel flap: Work back and forth in slip-stitch pattern (slip 1, knit 1) for 20 rows.
-
Turn heel: Work short rows to shape the curve. (Knit to last 2 sts, K2tog, turn, Purl to last 2 sts, P2tog, turn, etc.)
-
Pick up stitches along the sides and knit in the round again.
👣 Step 6: Knit the Foot
-
Continue knitting in the round with the star pattern until foot reaches base of toes.
👣 Step 7: Shape the Toe
-
Decrease:
-
Round 1: Knit 2, K2tog repeat
-
Round 2: Knit
-
Round 3: K1, K2tog repeat
-
Round 4: Knit
-
Round 5: K2tog repeat until 8–10 stitches remain
-
-
Finish: Cut yarn, thread through remaining stitches, pull tight, and secure.

✨ Step 8: Finishing
-
Weave in all yarn ends.
-
Optionally, block lightly to shape slippers.
-
Repeat for the second slipper.
Tips for Beginners:
-
Start with worsted yarn; it’s easier to see stitches.
-
Keep stitch markers every 10 stitches if needed.
-
Don’t worry if stars aren’t perfect—handmade charm!
-
You can make the slipper ankle-high or mid-calf depending on your preference.
If you want, I can make a simple illustrated diagram of the star pattern and slipper construction so it’s visually easy to follow for a beginner. It’s like a mini knitting map!
Watch video: