 by
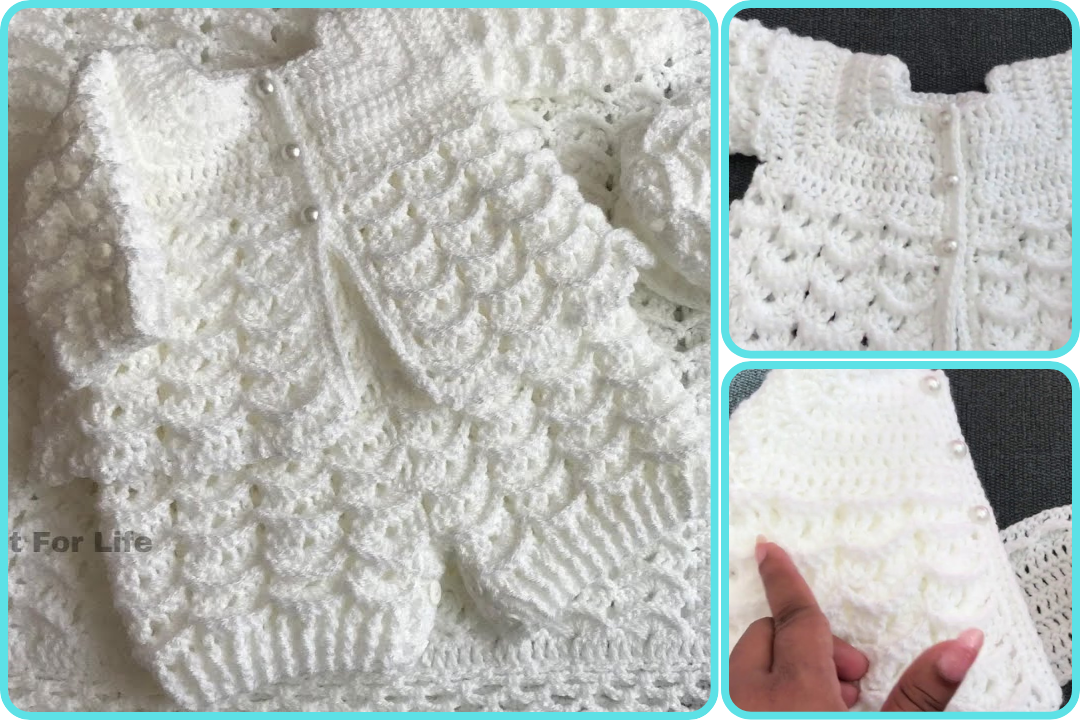
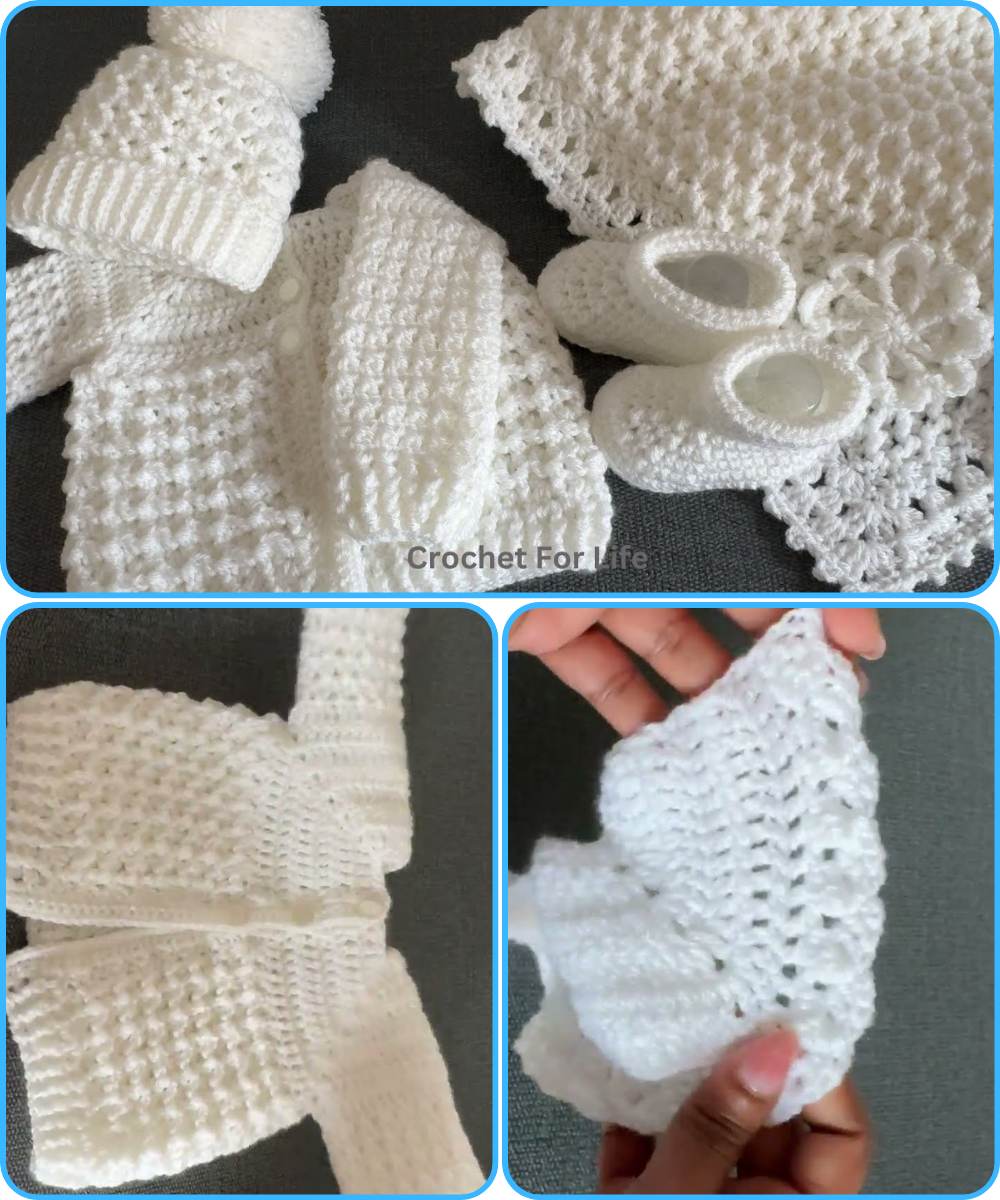
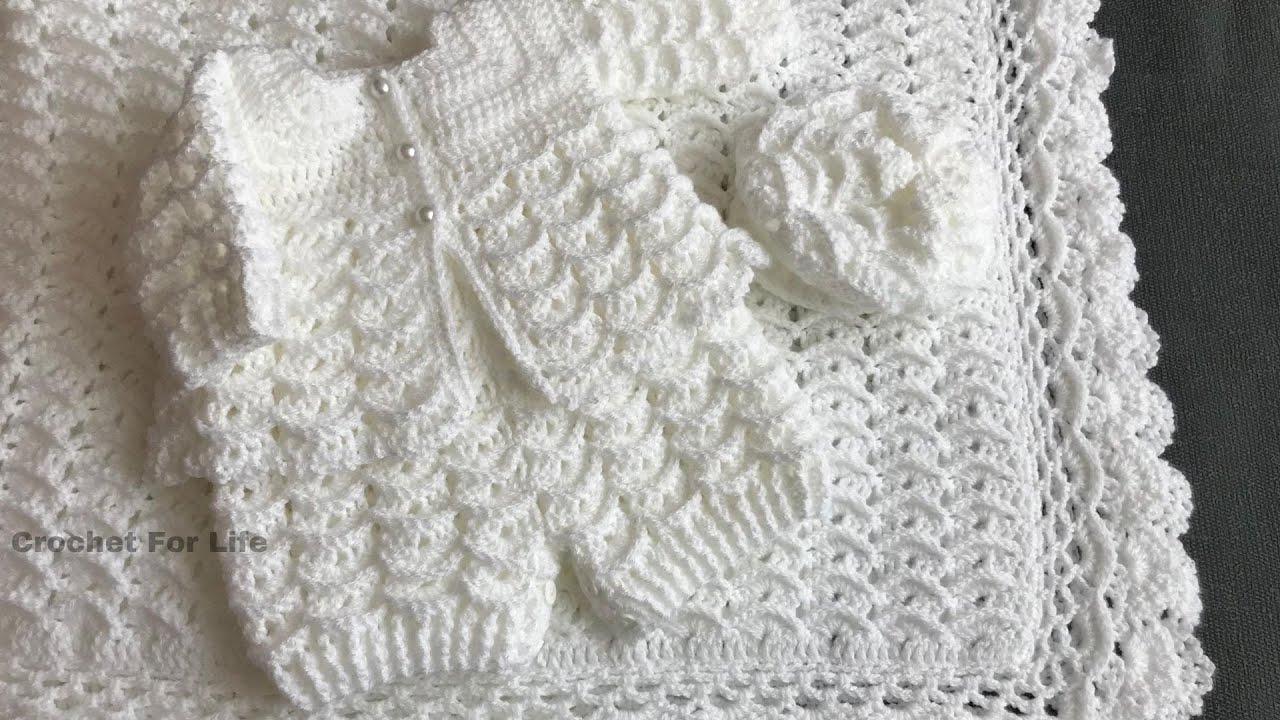
by Here’s a detailed guide on how to make an easy crochet baby cardigan, perfect for beginners. This step-by-step instruction will help you create a cozy and adorable cardigan for a baby (0–3 months size). You can adjust it later for larger sizes.
🧶 Materials Needed:
-
Yarn: DK weight (Light worsted / Size 3) – approx. 250–300 yards
-
Crochet hook: 4 mm (G-6)
-
Tapestry needle (for weaving in ends)
-
Scissors
-
Buttons (optional, 3–5 small baby buttons)
-
Measuring tape
📏 Finished Size (0–3 months approx.):
-
Chest: 16–18 inches
-
Length: 8–9 inches
-
Sleeve length: 5–6 inches
🧵 Stitches & Abbreviations (US Terms):
-
ch – chain
-
sc – single crochet
-
dc – double crochet
-
sl st – slip stitch
-
sk – skip
-
st(s) – stitch(es)
-
inc – increase (2 dc in same stitch)
👕 Construction Method:
This cardigan is worked top down in one piece as a raglan-style yoke, then separated into body and sleeves.
🪡 Step-by-Step Instructions:
1. Yoke – Starting at Neckline
-
Ch 52
-
Row 1: Dc in 4th ch from hook, dc in next st to end (Total: 50 dc)
– You can place stitch markers to divide the yoke:-
8 dc (left front), 1 (marker), 8 dc (sleeve), 1 (marker), 14 dc (back), 1 (marker), 8 dc (sleeve), 1 (marker), 8 dc (right front)
-
-
Rows 2–10:
-
Ch 2 (counts as dc), dc to marker, inc in marker stitch, repeat around (increase at each raglan corner).
-
Every row increases the stitch count by 8 (2 dc at each of 4 raglan points).
-
After row 10, check that the yoke is wide enough to fit across the baby’s chest.
-
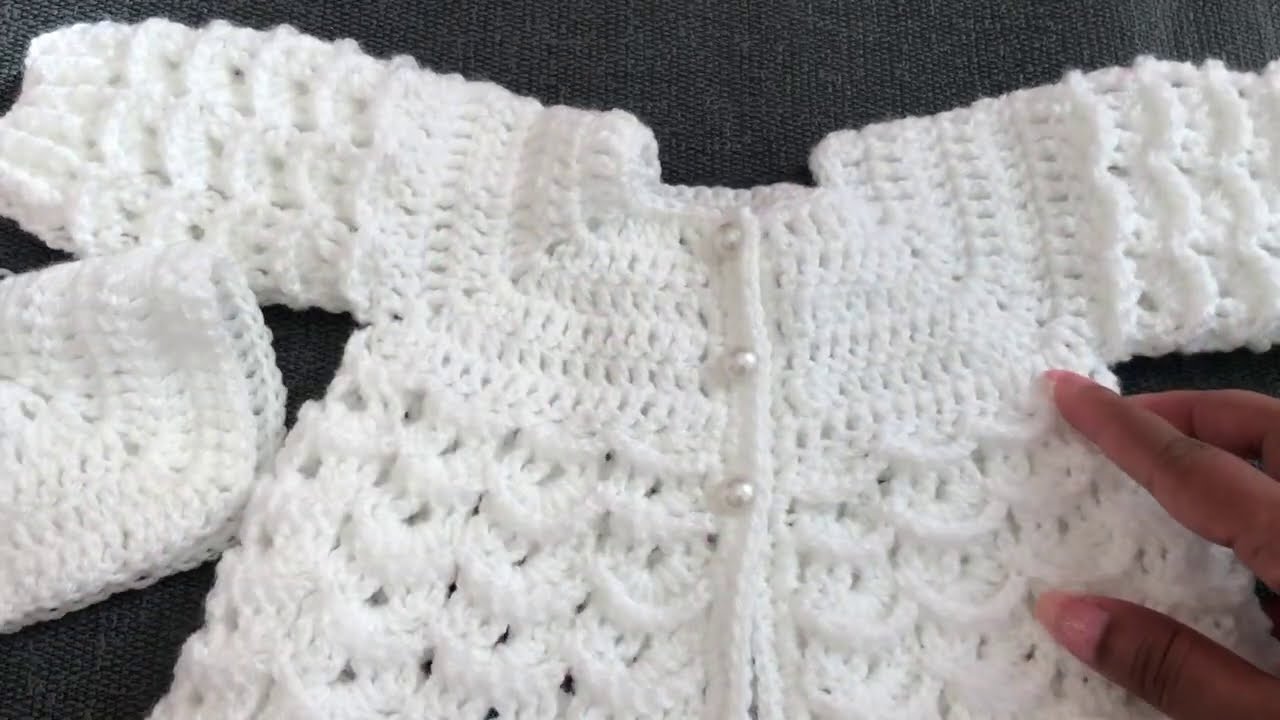
2. Separate Sleeves
-
Row 11:
-
Dc to 1st marker (left front),
-
Sk sleeve sts and ch 4 (armpit),
-
Dc across back section,
-
Sk sleeve sts and ch 4,
-
Dc to end (right front)
-
Now you have 3 sections: Body (left front + back + right front), and sleeves are on hold.
3. Body
-
Rows 12–20 (or as long as needed):
-
Ch 2, dc in each st and ch across the row.
-
Optional: Add a row of sc at the bottom for a neater edge.
-
4. Sleeves
-
Join yarn at underarm.
-
Work dc in each sleeve stitch, placing 4 dc in the underarm chain space.
-
Join with sl st and ch 2 to continue in the round (or rows if preferred).
-
Decrease every 2–3 rounds to taper sleeve slightly.
-
Continue for 12–15 rounds, or desired sleeve length.
-
End with sc edging (optional).
Repeat for the other sleeve.
5. Finishing Touches
-
Work 1–2 rows of sc around the neckline and front opening for a clean look.
-
Optional: Add buttonholes by chaining and skipping stitches in one row.
-
Sew buttons opposite the buttonholes.
-
Weave in all ends with a tapestry needle.
🧼 Care Instructions:
-
Use machine-washable yarn (baby-friendly).
-
Wash on gentle cycle or hand wash.
-
Lay flat to dry.
📝 Tips for Success:
-
Use stitch markers to keep track of raglan increases.
-
Measure frequently if adjusting for different sizes.
-
Use soft, hypoallergenic yarn for baby comfort.
Watch video: