 by
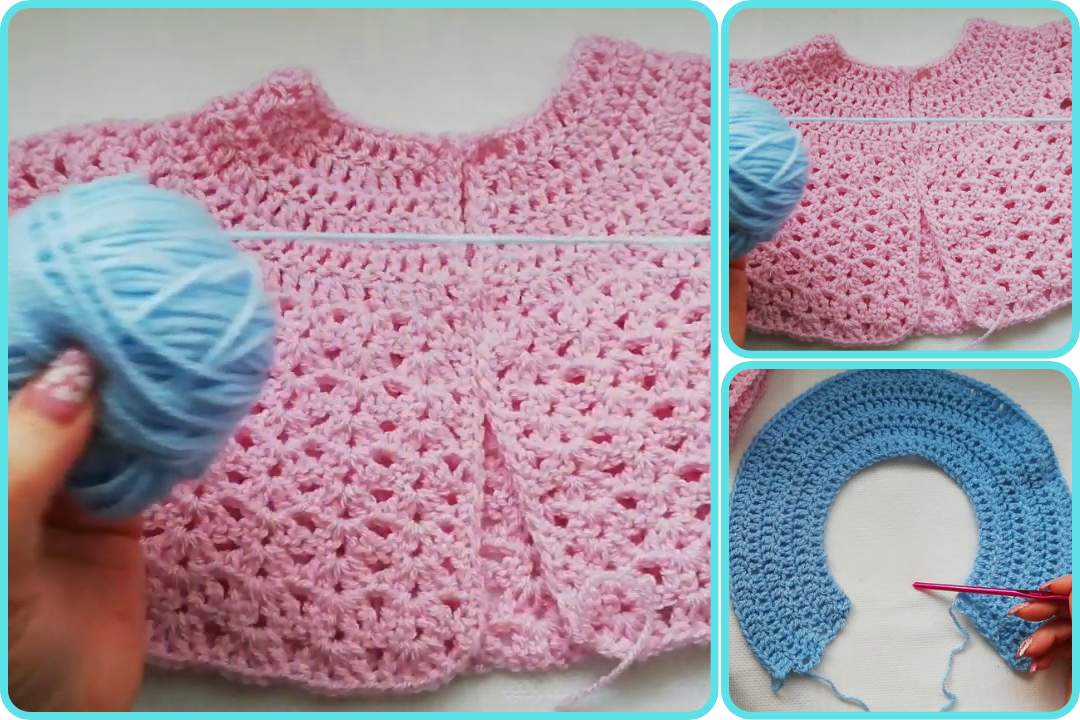
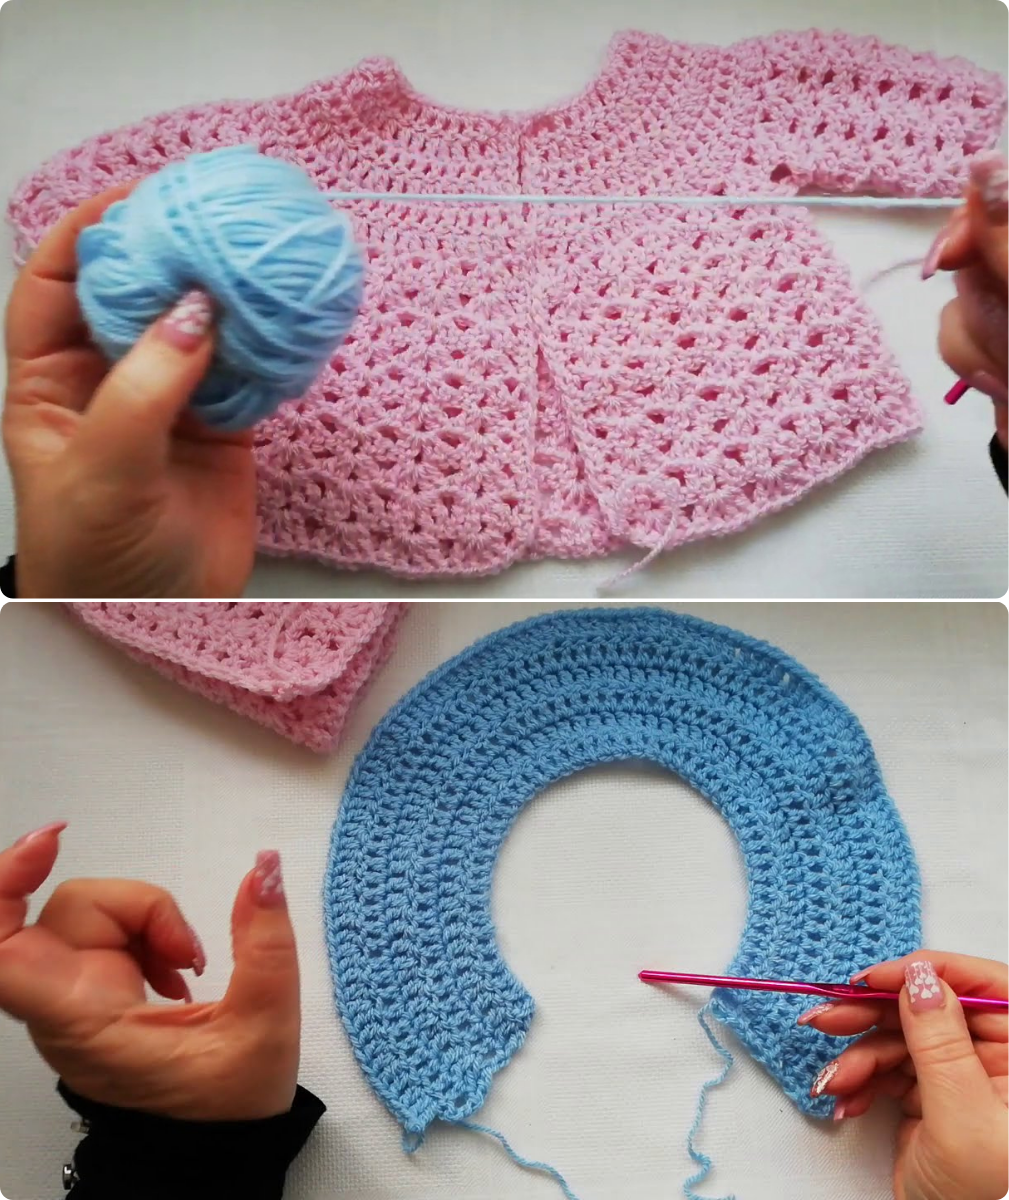
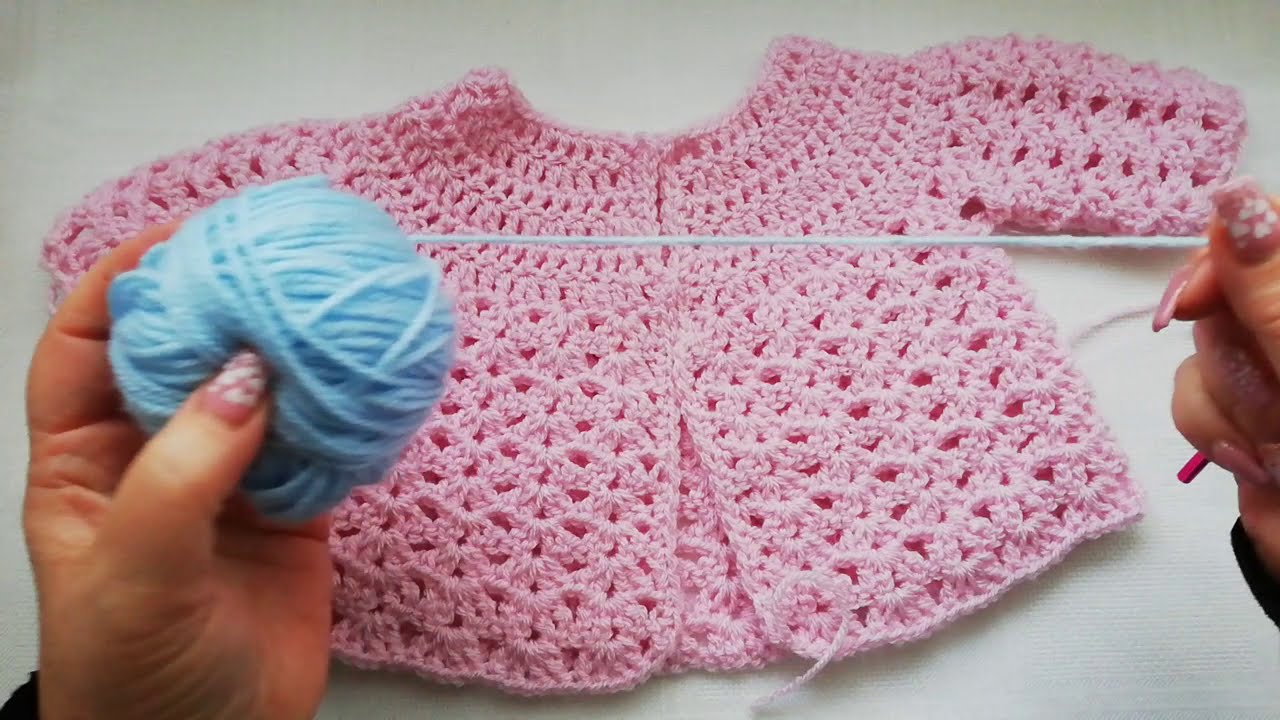
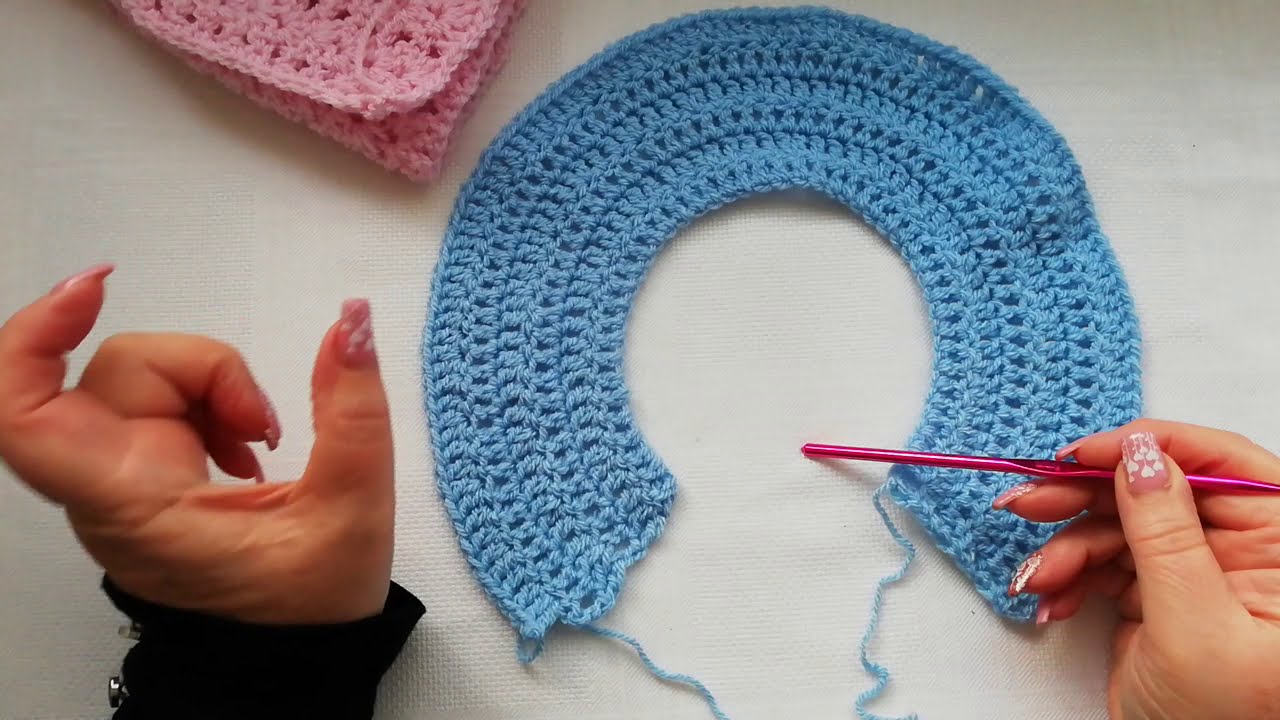
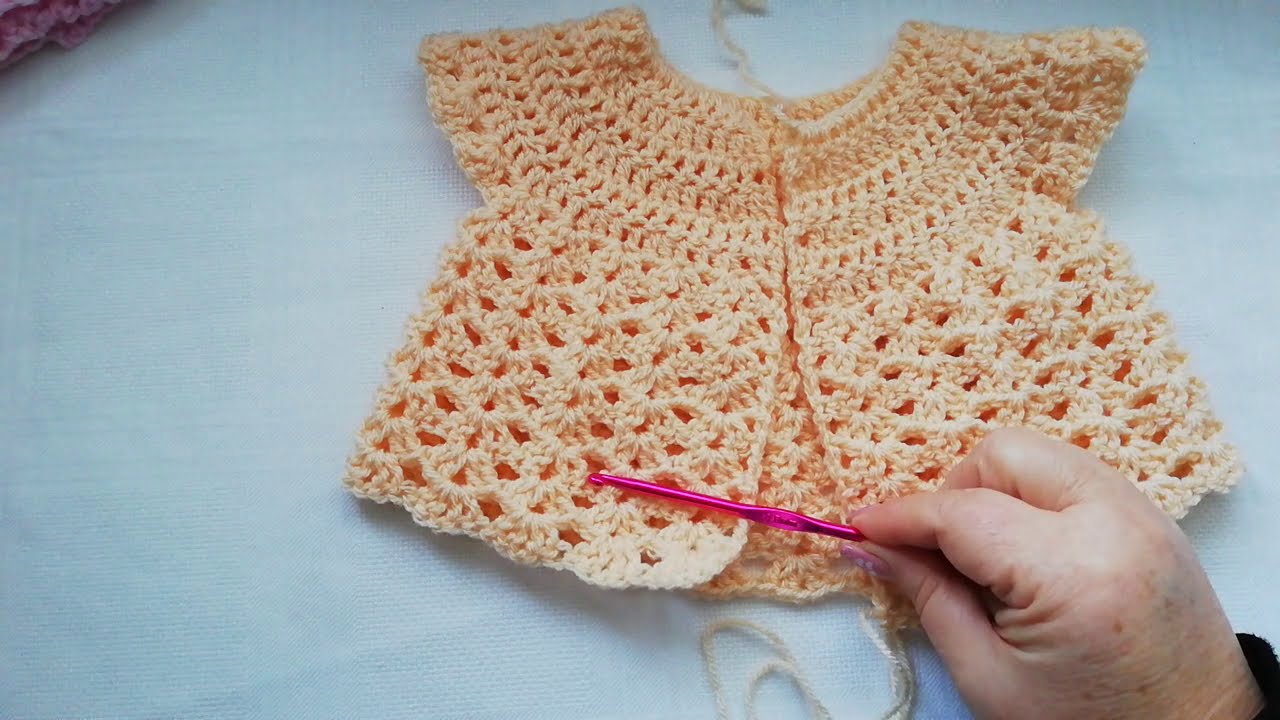
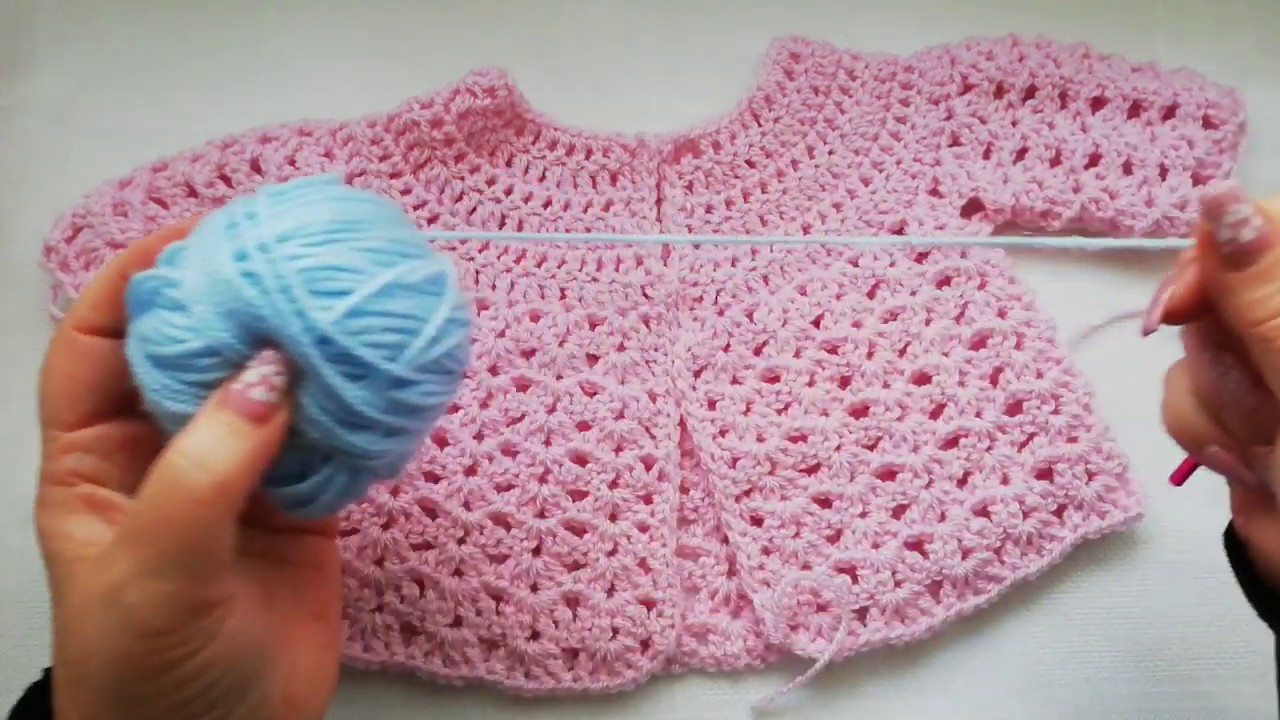
by Sure! Here’s a detailed step-by-step guide on how to crochet a baby cardigan – suitable for newborns (0–3 months). This is a top-down, seamless, double crochet (dc) cardigan with button closure and optional shell edging.
🧶 MATERIALS NEEDED
| Item | Details |
|---|---|
| Yarn | DK weight (Light worsted / #3) – 100 g |
| Hook | 4.5 mm (US 7) or size needed to meet gauge |
| Notions | Scissors, yarn needle, stitch markers, 1 button |
| Gauge (optional) | 16 dc x 9 rows = 4″ x 4″ (10 x 10 cm) |
✨ BASIC STITCHES USED (US TERMS)
-
ch – chain
-
sl st – slip stitch
-
sc – single crochet
-
dc – double crochet
-
shell stitch – (2 dc, ch 1, 2 dc) in same stitch
🧵 STEP-BY-STEP INSTRUCTIONS
🔸 1. Start the Yoke (Worked Top Down)
This creates the shoulder area.
-
Foundation Chain:
-
Ch 54 for newborn size (adjust in multiples of 6 for other sizes).
-
-
Row 1:
-
Dc in 4th ch from hook and in each ch across.
-
(51 dc total). Turn.
-
-
Row 2 (start raglan shaping):
-
Ch 2 (counts as dc), dc in next 7 sts, [dc, ch 1, dc] in next (shoulder),
dc in next 9, [dc, ch 1, dc] (shoulder), dc in next 13, [dc, ch 1, dc],
dc in next 9, [dc, ch 1, dc], dc in last 8. Turn.
-
-
Rows 3–8:
-
Repeat increases in ch-1 spaces:
Place [dc, ch 1, dc] in each ch-1 space (4 per row), dc in all others.
Use stitch markers to help identify raglan increases.
-
✅ Stop when you have ~74–80 stitches (adjust depending on how wide you want the chest area).
🔸 2. Divide for Armholes
-
Next row:
-
Dc across to first ch-1 space, skip stitches to next ch-1 space, ch 4 (or desired armhole width),
-
Dc across the back, skip to next ch-1 space, ch 4, dc to end.
-
-
You now have separated body and sleeves.
🔸 3. Body of Cardigan
-
Work rows in dc across the body only.
-
Continue for 12–14 more rows (or until desired length).
-
Optionally, add 2–3 rows of shell stitch at the bottom:
-
Row: sc, skip 1, shell (2 dc, ch 1, 2 dc), skip 1, repeat
-
🔸 4. Sleeves
-
Attach yarn at underarm.
-
Dc around the sleeve hole in the round (use stitch markers at start).
-
Work 8–10 rounds, or until sleeve measures about 3–4″.
-
End with a shell stitch row, or simply finish with a round of sc.
🔸 5. Edging & Finishing
-
Work sc evenly around neckline, front opening, and bottom (optional).
-
Add buttonhole loop (ch 5) at top right corner.
-
Sew a button on the left side to match.
-
Weave in all ends.
🎀 OPTIONAL VARIATIONS
-
Change yarn color after the yoke for a color-block effect.
-
Add puff or bobble stitches to the body for texture.
-
Use decorative buttons or attach a bow.
📏 SIZING GUIDE (approx.)
| Size | Starting Ch | Yoke Rows | Body Length | Sleeve Length |
|---|---|---|---|---|
| Newborn | 54 | 8 | 6–7″ | 3–4″ |
| 3–6 mo | 60 | 9 | 7–8″ | 4–5″ |
| 6–12 mo | 66 | 10 | 8–9″ | 5–6″ |
💡 TIPS
-
Block your finished cardigan for a smooth, professional look.
-
Use soft, washable yarn for babies.
-
Stitch markers help keep raglan increases consistent.
Watch video: