 by
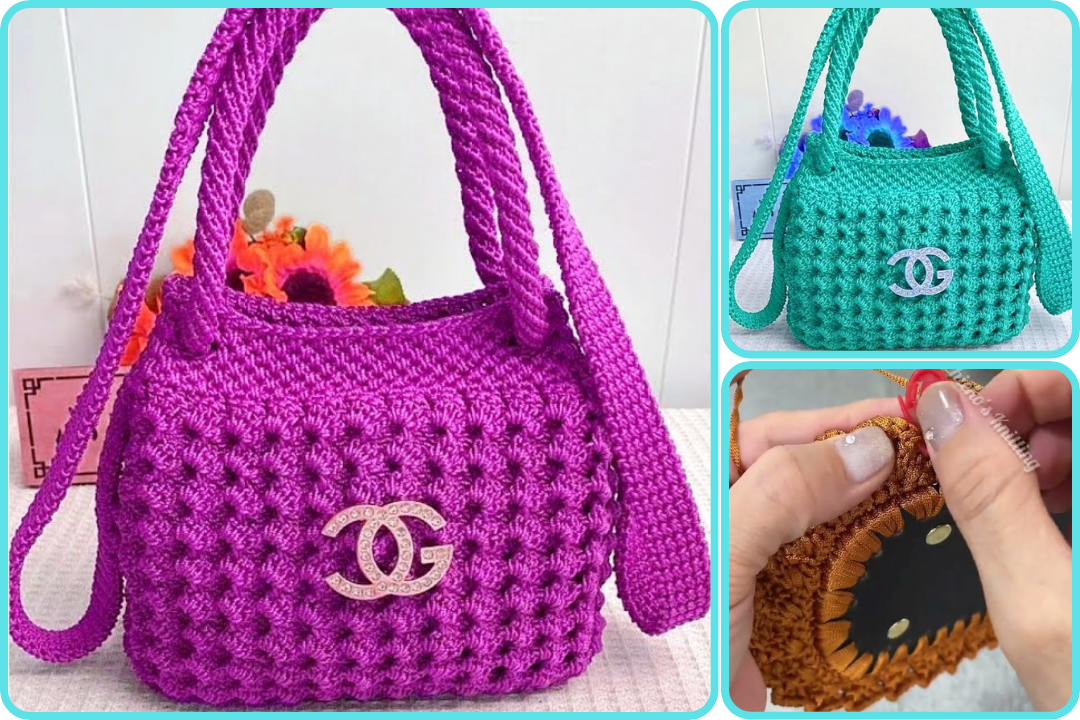
by Creating a beautifully designed and easy-to-make crochet bag is a rewarding and beginner-friendly project that combines functionality with creativity. Below is a detailed guide to help you make your own stylish crochet bag:
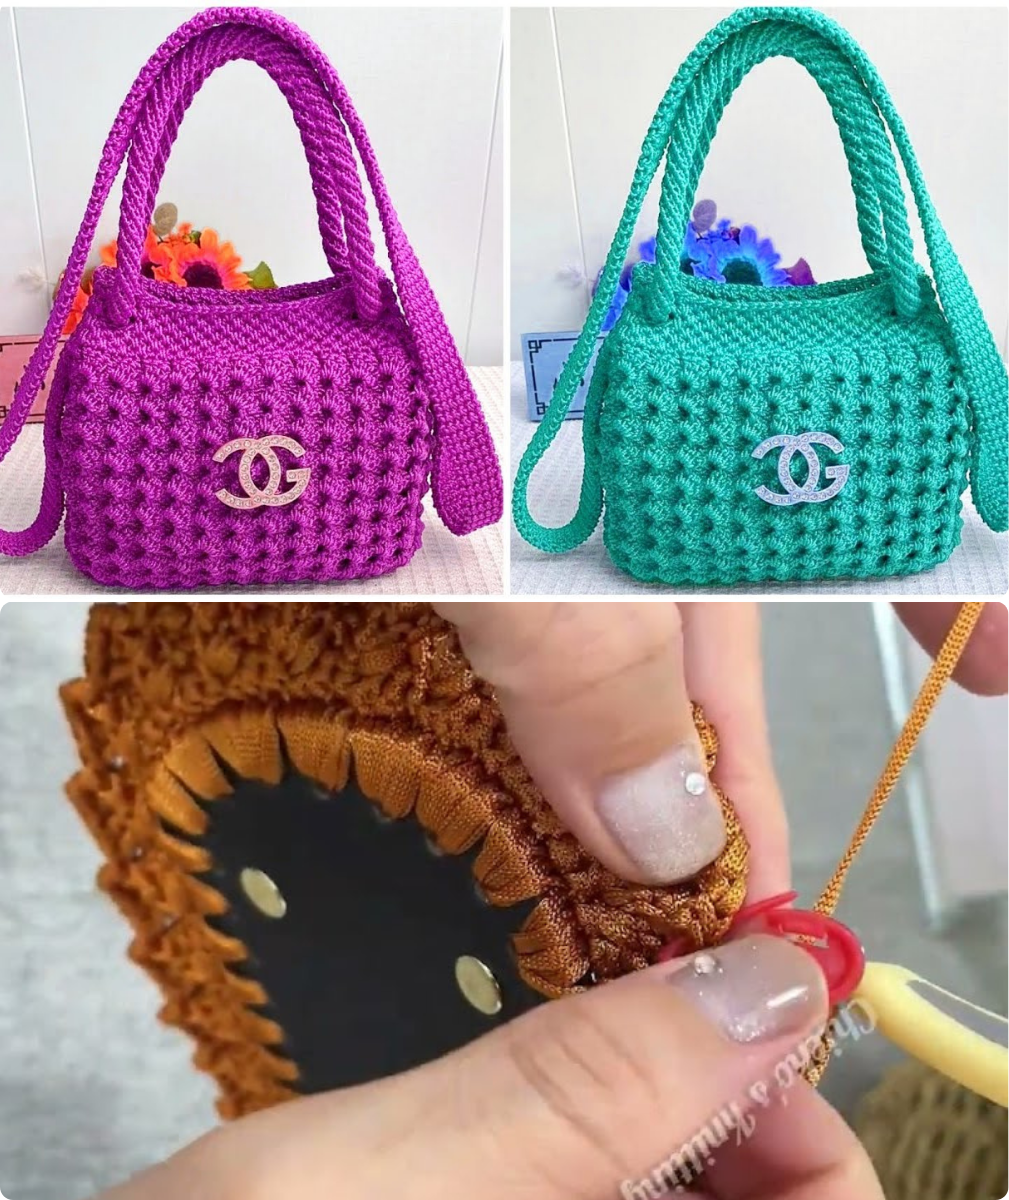
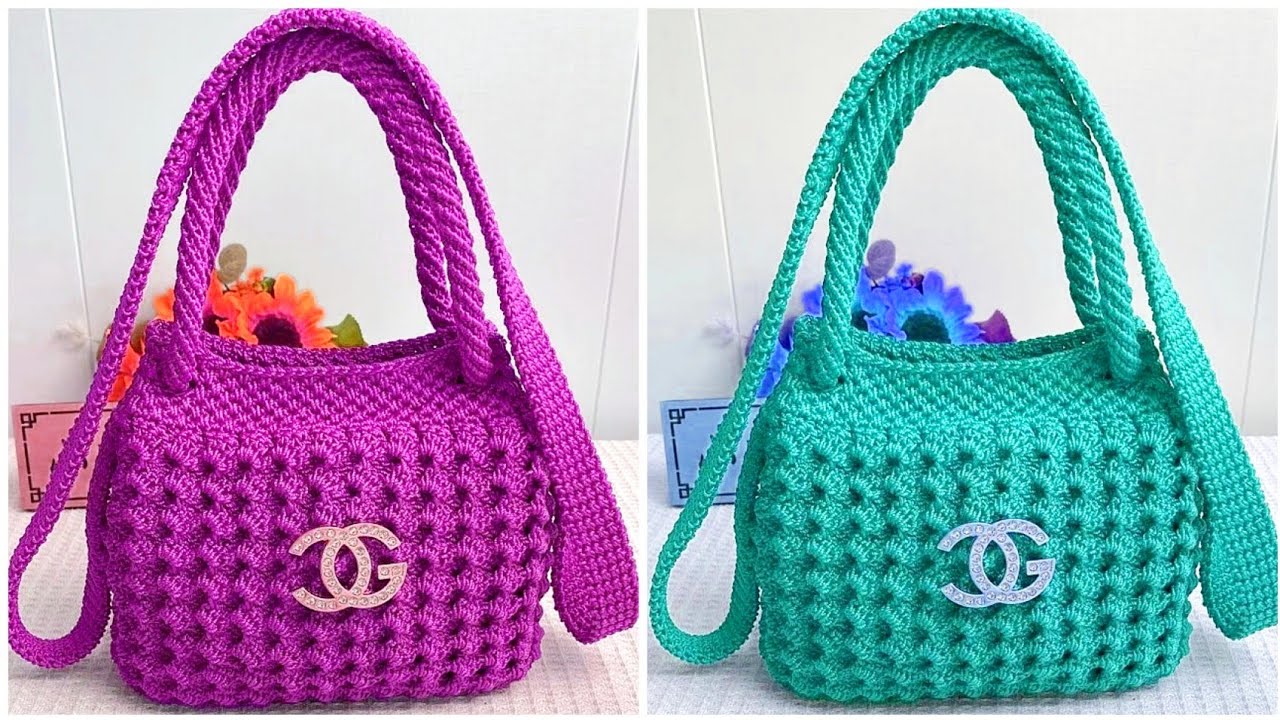
🧶 How to Make a Beautifully Designed and Easy-to-Make Crochet Bag
🪡 Skill Level: Beginner to Intermediate
This tutorial assumes basic crochet knowledge (chain, single crochet, double crochet). However, even a confident beginner can follow along!
✅ Materials Needed:
-
Yarn:
-
Type: Cotton yarn (durable and holds shape well)
-
Weight: Medium (Worsted weight – #4)
-
Amount: ~300–400g depending on size
-
-
Crochet Hook:
-
Size H/8 (5.0mm) or size recommended for your yarn
-
-
Scissors
-
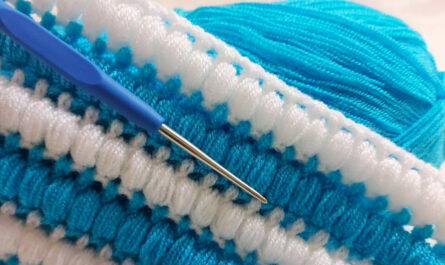
Tapestry Needle (for weaving in ends)
-
Stitch Markers (optional but helpful)
-
Lining Fabric & Sewing Needle/Thread (optional for lining the bag)
🎨 Design Options (Pick One):
-
Tote Bag – Simple square/rectangle with two straps
-
Drawstring Bag – Round base with cinch top
-
Granny Square Bag – Multiple granny squares joined together
-
Bucket Bag – Cylindrical shape with a long strap
For this guide, we’ll use the Tote Bag style — easiest and most versatile.
🧵 Step-by-Step Instructions for a Simple Crochet Tote Bag
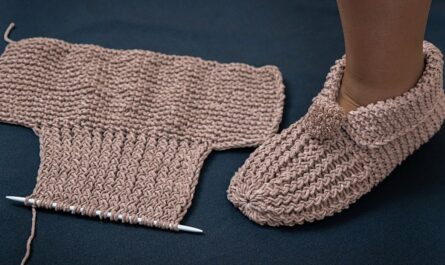
Step 1: Create the Base (Rectangular Bottom)
This gives you a flat rectangular base. Adjust the number of rows for more depth.
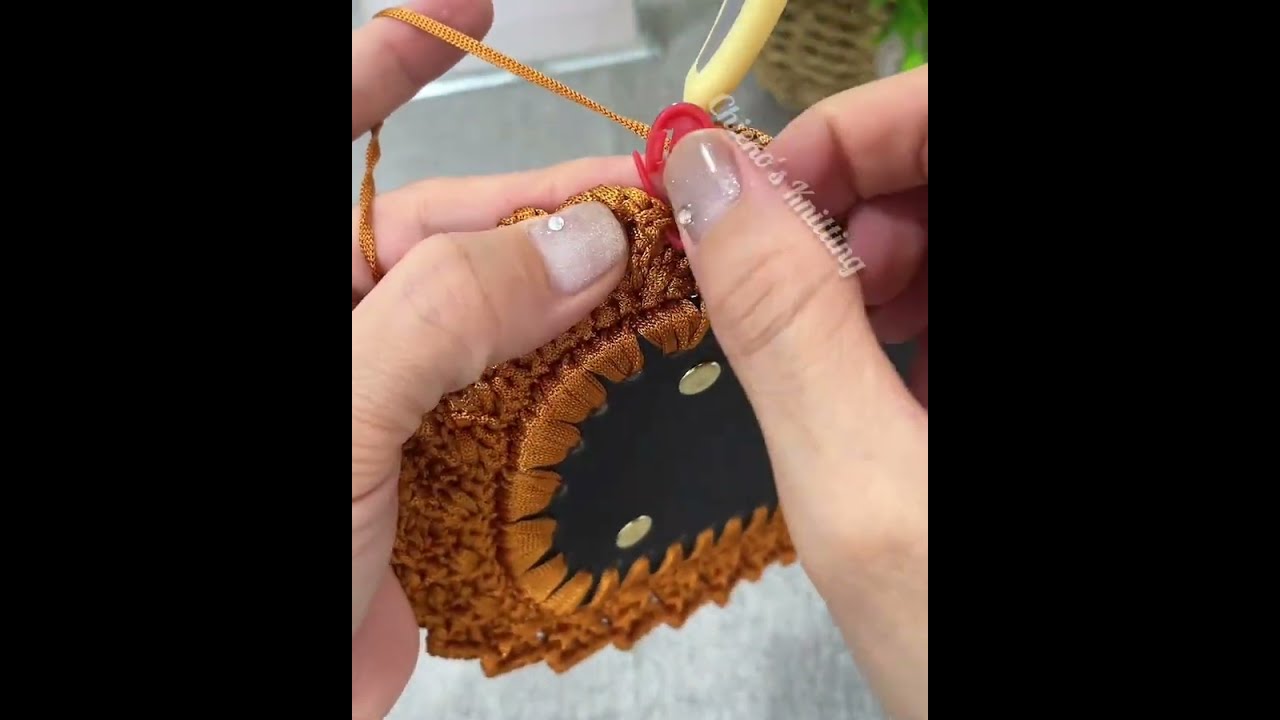
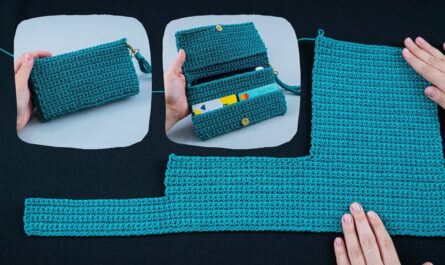
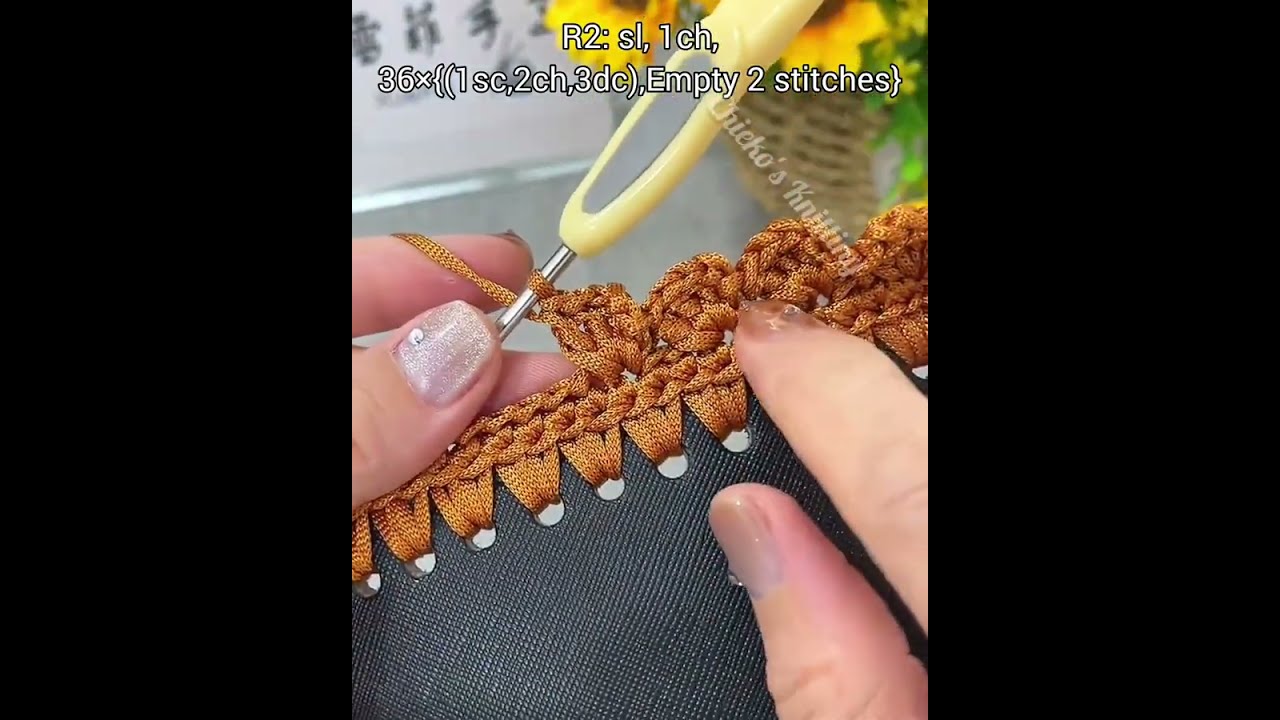
Step 2: Build the Sides in the Round
Use a stitch marker to mark the beginning of each round if working in a spiral.
Step 3: Add Straps
You can crochet straps directly onto the bag or make them separately and sew them on.
Option 1: Crochet-On Straps
Option 2: Separate Straps
✨ Optional Finishing Touches
-
Lining: Cut a rectangle of fabric the same size as your bag. Hand-sew or machine-sew it into the inside for stability.
-
Decorations:
-
Pom-poms
-
Tassels
-
Buttons
-
Embroidery
-
🧼 Care Tips
-
Hand wash with mild detergent
-
Lay flat to dry
-
Avoid hanging when wet (may stretch)
💡 Pro Tips
-
Use tighter stitches for structure (consider half-double crochet or even single crochet for body).
-
Reinforce strap joins by going over them twice with stitches.
-
Add a magnetic snap or button closure for a polished finish.
🎁 Customization Ideas
-
Use color-blocking for a trendy look (change yarn colors every few rows)
-
Try textured stitches like puff or bobble stitches
-
Incorporate granny squares as panels
Watch video: