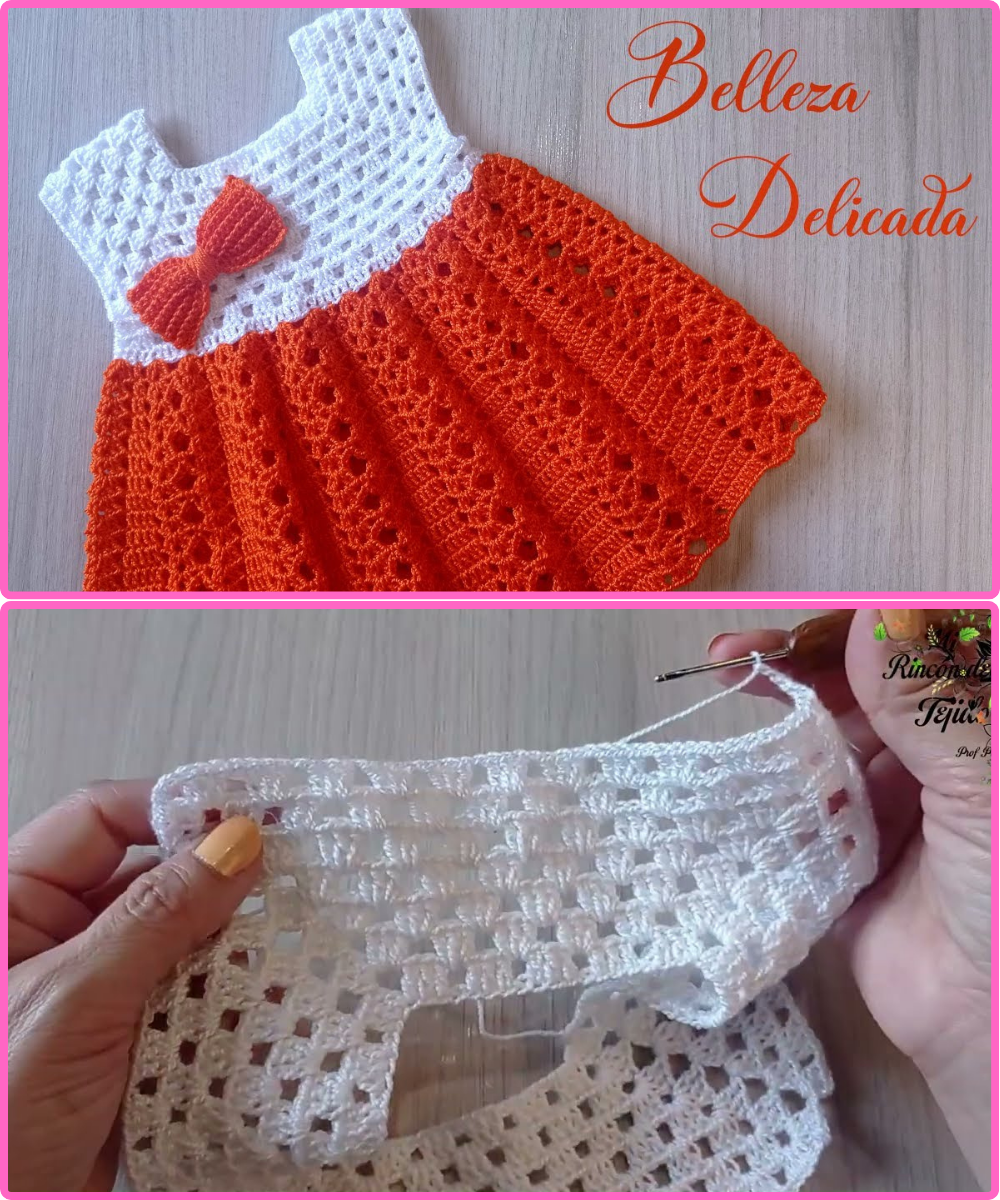
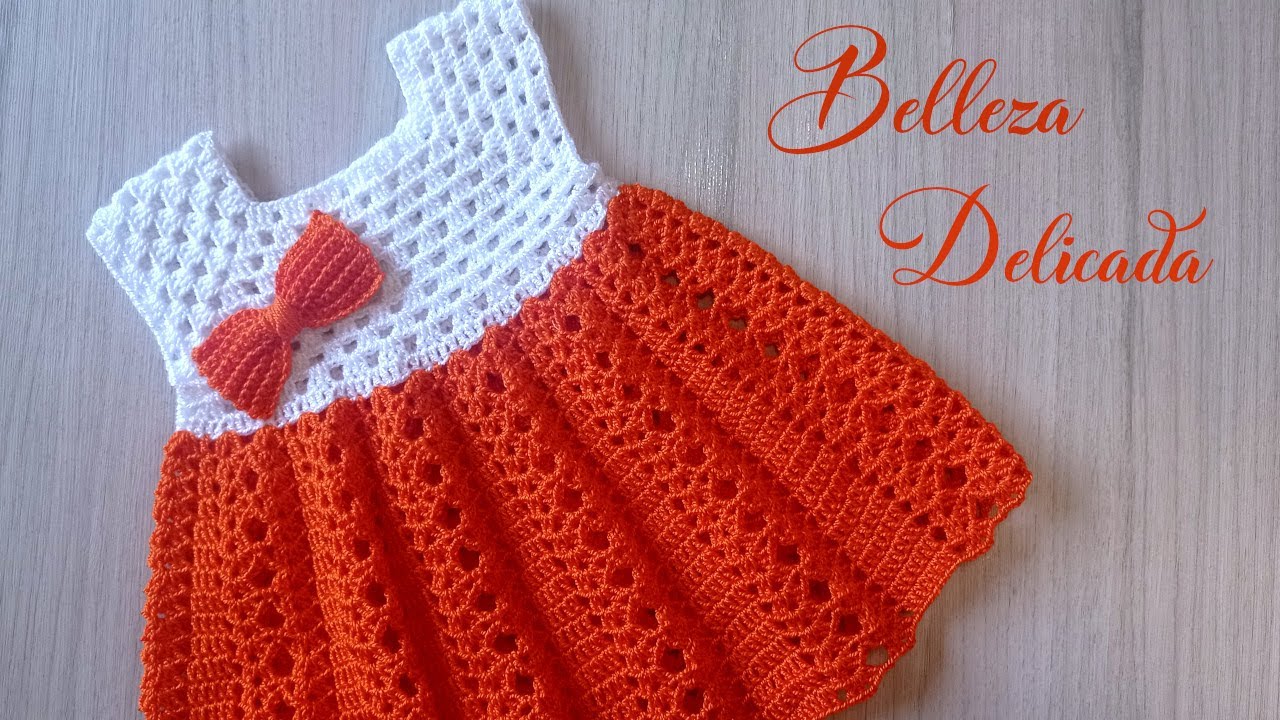
Making a cute and easy baby dress can be a fun project! You don’t need advanced sewing skills to create something beautiful. Here’s a step-by-step guide to making a simple, adorable baby dress that looks gorgeous and is easy to assemble:
Materials You’ll Need:
-
Fabric: Soft cotton, muslin, or jersey fabric works well for baby clothes.
-
For a dress, 1-1.5 yards should be enough depending on the size of the dress.
-
Consider light pastel colors or cute patterns like florals, polka dots, or tiny animal prints.
-
-
Sewing Thread: Matching thread color for the fabric.
-
Elastic Band: A thin one for gathering the waist or for the sleeves.
-
Buttons (optional): You can add buttons for decoration or to make the dress easier to put on and take off.
-
Sewing Machine or Needle and Thread: A basic sewing machine is the easiest option, but hand sewing works too if you don’t have one.
-
Scissors, Pins, and a Measuring Tape: For accurate cutting and securing fabric.
-
Iron: For pressing your seams and making everything neat.
Step-by-Step Instructions:
1. Choose a Pattern
You can either buy a baby dress pattern online or make your own simple pattern. If you want to make your own:
-
Front and Back Bodice: Draw a basic rectangle for the bodice, slightly curving at the neck and armholes.
-
Skirt: A simple rectangular shape for the skirt, slightly wider than the bodice to allow for gathering.
-
Sleeves (optional): If you want sleeves, create small rectangles and round the edges.
2. Cut Out the Fabric
-
Bodice: Cut two pieces (front and back) of your bodice pattern.
-
Skirt: Cut a long rectangle (about twice the width of the bodice for gathering) and make it long enough to hit your desired dress length (usually between 18-24 inches).
-
Sleeves (if you choose to add them): Cut two rectangles for the sleeves. Measure the baby’s arm width and length, and add some seam allowance.
3. Sew the Bodice
-
Pin the front and back bodice pieces right sides together.
-
Sew along the sides and the shoulder seams, leaving the neckline and armholes open.
-
If desired, you can add a small button or snap on the back of the neck to make it easier to get the dress on and off.
4. Prepare the Skirt
-
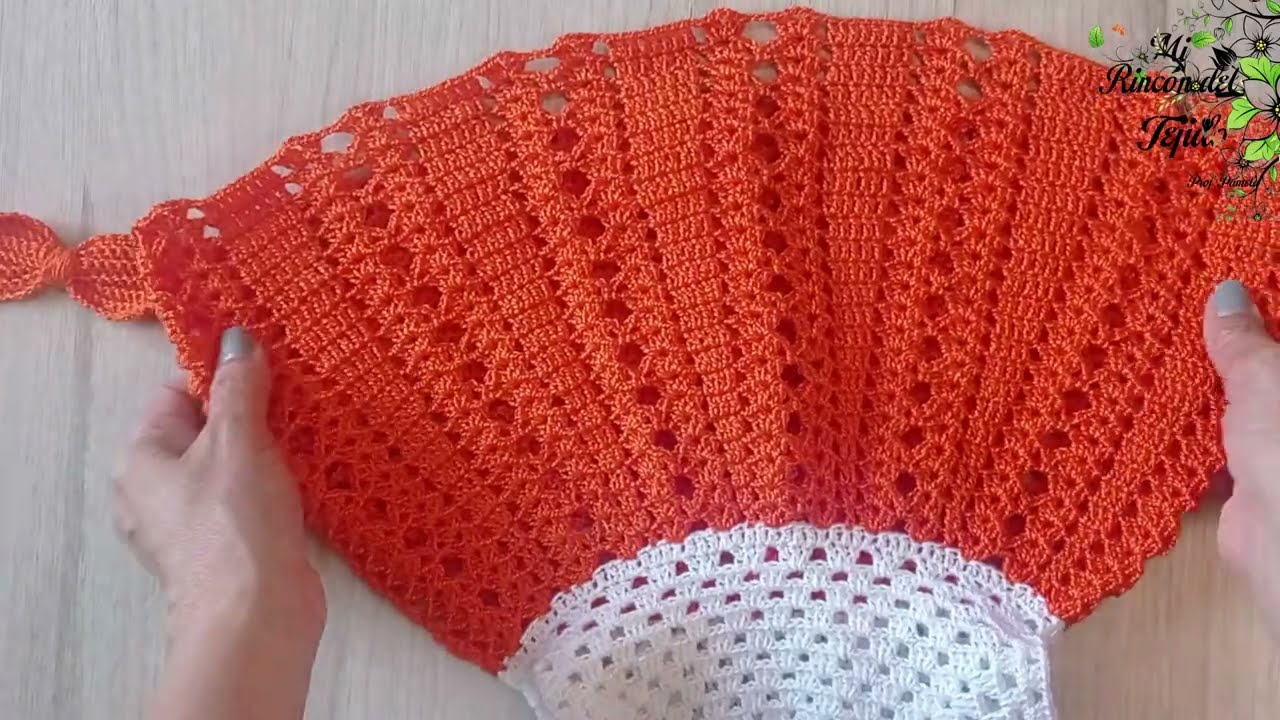
Gather the Waist: To make the skirt more voluminous and match the bodice, you’ll need to gather the fabric. You can do this by using a gathering stitch on your sewing machine:
-
Set your machine to a longer stitch length.
-
Sew a line of stitches along the top edge of the skirt, leaving long threads at both ends.
-
Gently pull the threads to gather the fabric evenly.
-
-
Attach the Skirt to the Bodice: Once the fabric is gathered, pin the skirt to the bottom edge of the bodice, right sides together. Make sure the gathering is evenly distributed around the waist.
-
Sew along the gathered edge, securing the skirt to the bodice.
5. Attach the Sleeves (Optional)
-
If your dress has sleeves, fold the sleeve rectangles into a tube shape, sew them along the side seam, and then gather the top edge.
-
Attach the sleeve to the armholes of the bodice, pinning it in place and sewing it securely.
6. Elasticize the Waist and Sleeves (Optional)
-
To make the waist and sleeves fit snugly, you can add elastic.
-
Waist: Cut a piece of elastic to the baby’s waist measurement and sew it into the waist seam, making sure it’s evenly stretched.
-
Sleeves: If you want a puffy sleeve effect, you can sew a piece of elastic into the top of the sleeve.
-
Be careful not to make the elastic too tight. It should comfortably fit the baby.
-
7. Finish the Neckline and Hem
-
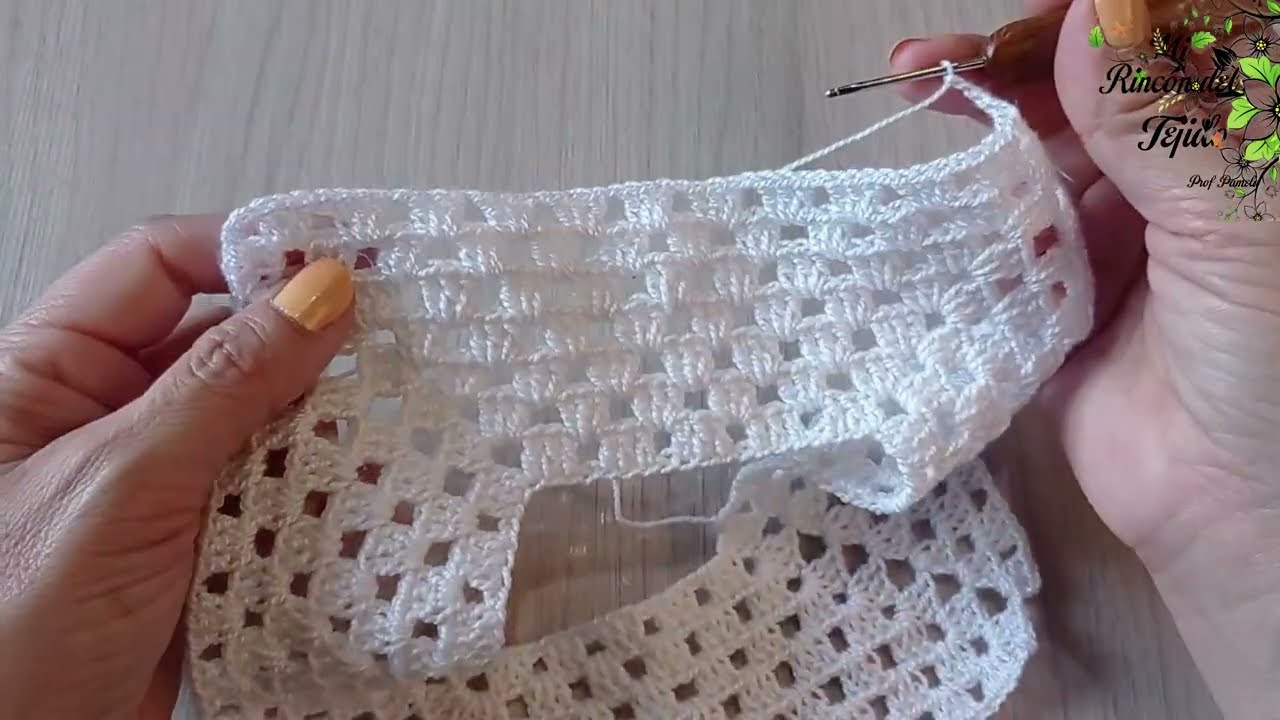
Neckline: Fold the neckline inwards and sew it down to create a clean edge. You can add a little decorative trim or lace if you like.
-
Hem: Fold the bottom of the dress inwards and sew it down to create a clean hem. You can leave the hem plain, or add a decorative lace or ribbon.
8. Final Touches
-
Add any decorative details like:
-
Ribbons: Tie a little bow at the waist or neckline for an added touch of cuteness.
-
Flowers: Sew on some fabric flowers or applique designs for extra flair.
-
Buttons: Add decorative buttons down the front for a sweet look.
-
9. Press the Dress
-
Once all the sewing is done, carefully press the seams with an iron to make the dress look neat and polished.
Tips:
-
Comfort is key: Baby clothes should always be soft and comfortable, so avoid stiff or itchy fabric. Pre-wash the fabric before sewing to avoid shrinking later.
-
Make it stretchy: For an easier fit and added comfort, you can opt for stretchy fabrics like jersey knit.
-
Adjust the Size: Always check the baby’s measurements before cutting the fabric. Babies grow quickly, so leave some room for the dress to be worn for several months.
Once completed, you’ll have a beautiful and simple baby dress perfect for any occasion, whether it’s a special event or just a cute outfit for everyday wear! 🌸👗
Feel free to ask if you’d like any more specific details or assistance with any step! 😊
Watch video:

