by
by Absolutely! Here’s a detailed, step-by-step tutorial on how to make a DIY Small Denim Crossbody Bag with a Patchwork Accent using old jeans. This project is great for upcycling, stylish, and makes for a durable everyday bag with personality.
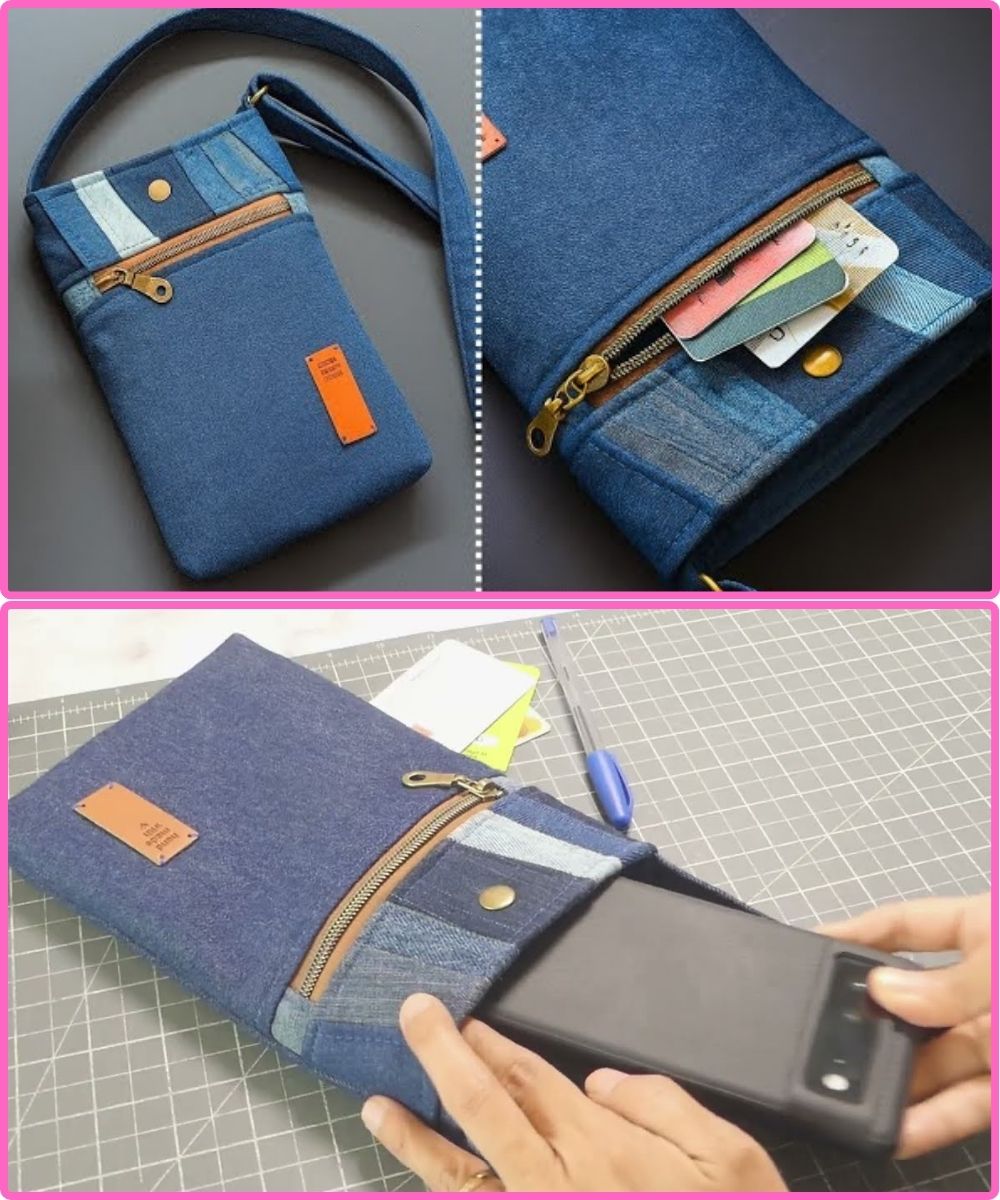
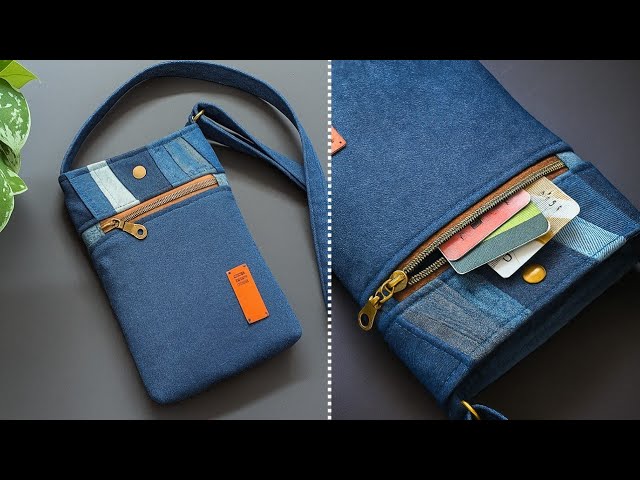
👝 DIY Small Denim Crossbody Bag with Patchwork Accent (Using Old Jeans)
🧵 MATERIALS NEEDED:
-
Old denim jeans (legs, pockets, or waistband)
-
Fabric scraps for patchwork (cotton, floral, printed)
-
Lining fabric (cotton or canvas)
-
Zipper or magnetic snap (optional)
-
Adjustable strap (or make your own from denim)
-
Interfacing (optional, for added structure)
-
Thread (matching or contrasting)
-
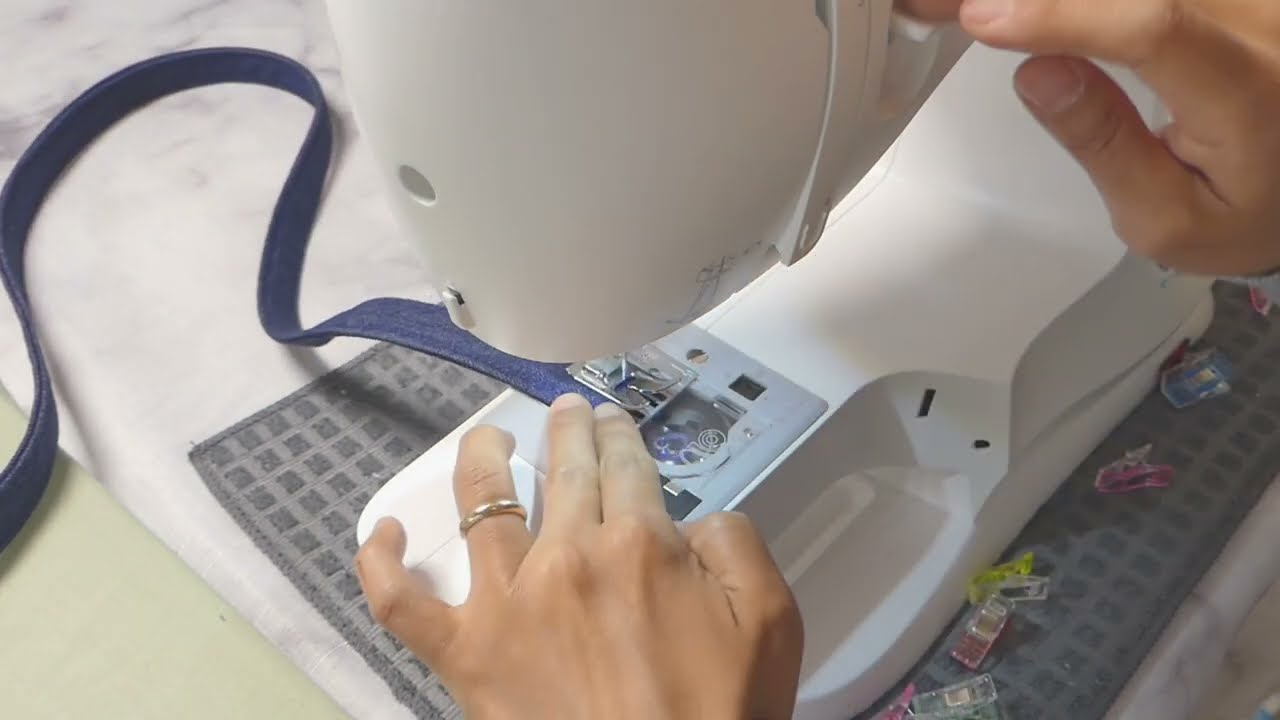
Sewing machine (or needle for hand sewing)
-
Fabric scissors or rotary cutter
-
Measuring tape or ruler
-
Pins or clips
-
Iron and ironing board
📏 FINISHED SIZE (Customizable):
Approximate: 9″ wide × 6.5″ tall × 1.5″ depth
(Adjust measurements depending on your denim size or needs.)
🧵 STEP-BY-STEP TUTORIAL:
STEP 1: ✂️ Cut Your Fabric Pieces
From Old Jeans:
-
Front & Back Panels: 2 rectangles, 9” × 6.5”
-
Bottom Panel: 1 rectangle, 9” × 1.5”
-
Side Panels: 2 rectangles, 1.5” × 6.5”
-
Optional: Use original jean pockets as decorative front/back pieces
From Patchwork Fabric:
-
Small scraps: Cut various rectangles/squares (e.g., 2” × 2”, 3” × 2.5”)
-
Arrange them into a 9” × 3” strip for a front panel accent
From Lining Fabric:
-
Same sizes as above: front, back, bottom, and sides
-
Inner pocket (optional): 6” × 4”
Strap:
-
Store-bought adjustable strap or
-
Make your own: 2” × 40” long denim strip, folded and stitched
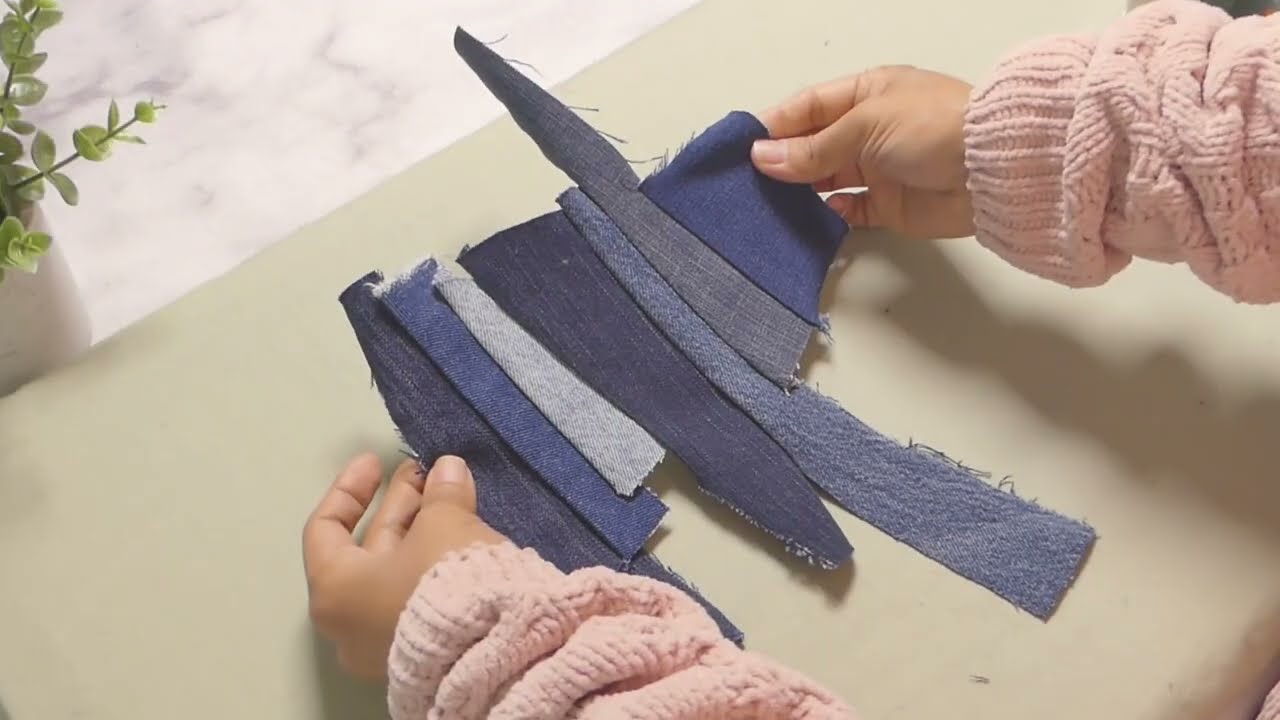
STEP 2: 🧩 Make the Patchwork Accent Panel
-
Lay out your fabric scraps in a visually pleasing arrangement.
-
Sew the pieces together right sides facing with a ¼” seam allowance.
-
Press the seams flat.
-
Topstitch if desired.
-
Trim the patchwork piece to fit the 9” × 3” area for the front panel.
-
Attach this to the upper portion of the denim front panel using a straight stitch.
-
Optional: Add topstitching or a zigzag stitch for a rugged look.
STEP 3: 🪡 Assemble the Outer Bag Body
-
Attach side and bottom panels to the front piece, right sides together. Sew and press seams.
-
Repeat with the back panel, forming a “U”-shaped structure.
-
Topstitch all seams for durability and a finished look.
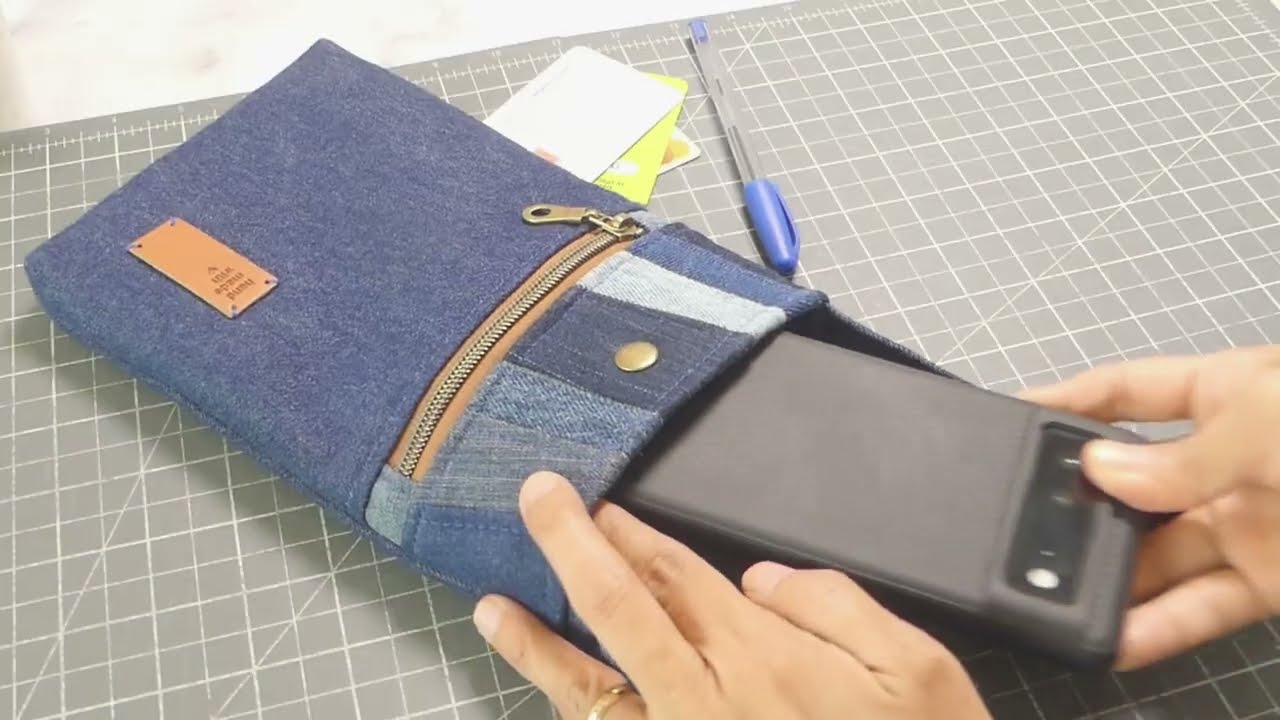
-
Optional: Sew jean pocket onto the back for extra functionality.
STEP 4: 🧵 Prepare the Lining
-
Sew inner pocket (if using) onto one of the lining panels.
-
Sew side and bottom panels to the lining front and back, leaving a 2” gap at the bottom to turn the bag inside out later.
STEP 5: 🎒 Strap and Closure
If using a store-bought strap:
-
Sew or rivet D-rings to both upper side seams.
-
Attach strap hooks to the D-rings.
If making a denim strap:
-
Fold the 2” × 40” denim strip in half lengthwise.
-
Fold raw edges to the center and press.
-
Stitch along both long edges for strength.
-
Attach both ends to side seams or D-rings.
Closure Options:
-
Add a zipper across the top, between outer and lining fabric (requires zipper foot)
-
OR attach a magnetic snap to the top middle area of both lining panels
STEP 6: 🧵 Assemble and Finish
-
Place the outer bag and lining right sides together, aligning all edges.
-
Sew around the top opening.
-
Pull the entire bag through the hole in the lining.
-
Stitch the lining gap closed by hand or machine.
-
Push the lining inside and press the bag edges flat.
-
Topstitch around the opening for a neat finish.
🎉 FINISHING TOUCHES (Optional):
-
Add lace, buttons, or embroidery to the patchwork area.
-
Use contrast thread for a bolder, handmade look.
-
Decorate with iron-on patches or denim rivets.
👜 USE CASES:
-
Everyday crossbody bag
-
Lightweight travel purse
-
Handmade gift
-
Farmers’ market or festival bag
Watch video: