 by
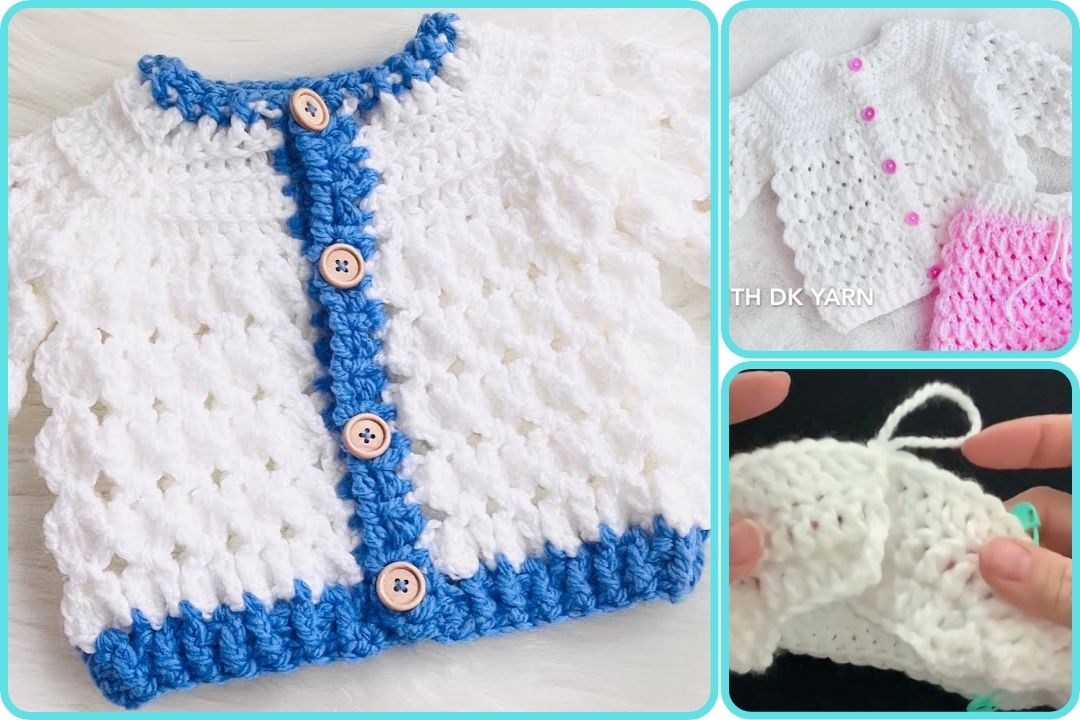
by Of course. Here is a detailed breakdown of how to make the “Chunky Marshmallow Baby Cardigan,” which is a very popular and beginner-friendly pattern from the YouTube channel “Crochet for Baby.”
This pattern is known for its sweet, textured look and is a great project for crocheters who are new to making garments. The creator provides a clever method for adjusting the size, making it versatile for different ages.
Pattern Overview:
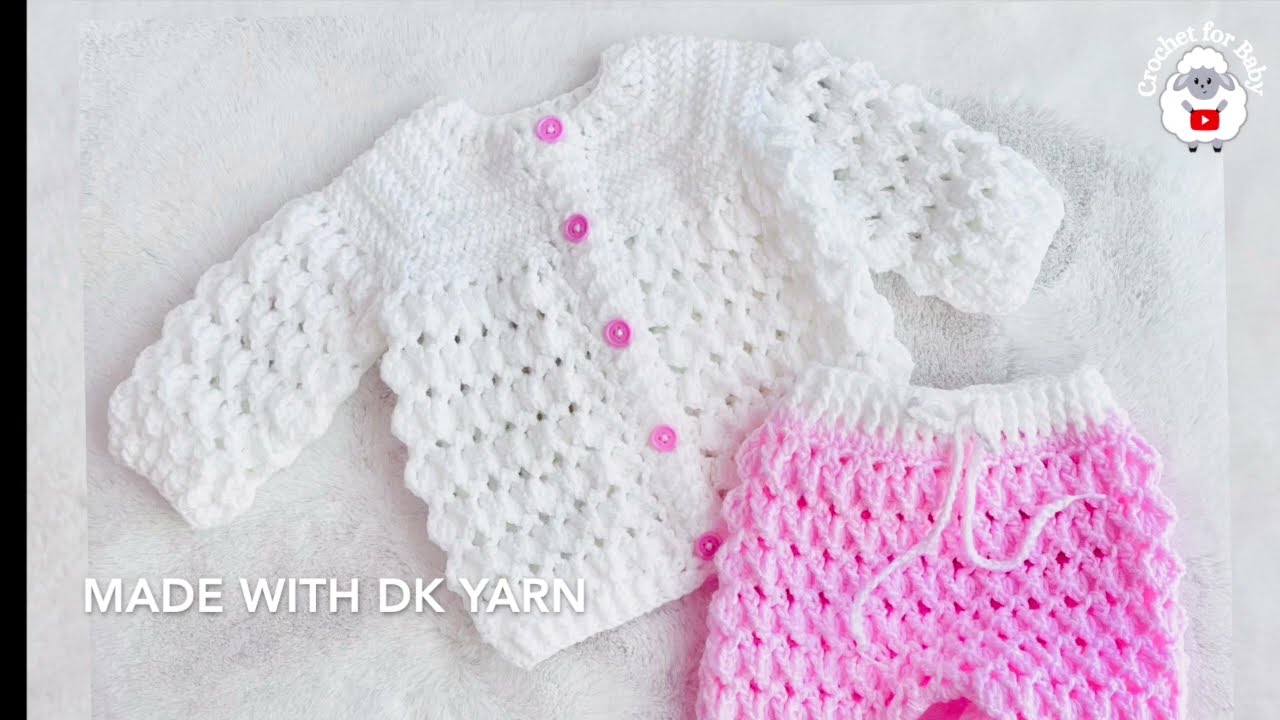
- Designer: Crochet for Baby (YouTube channel)
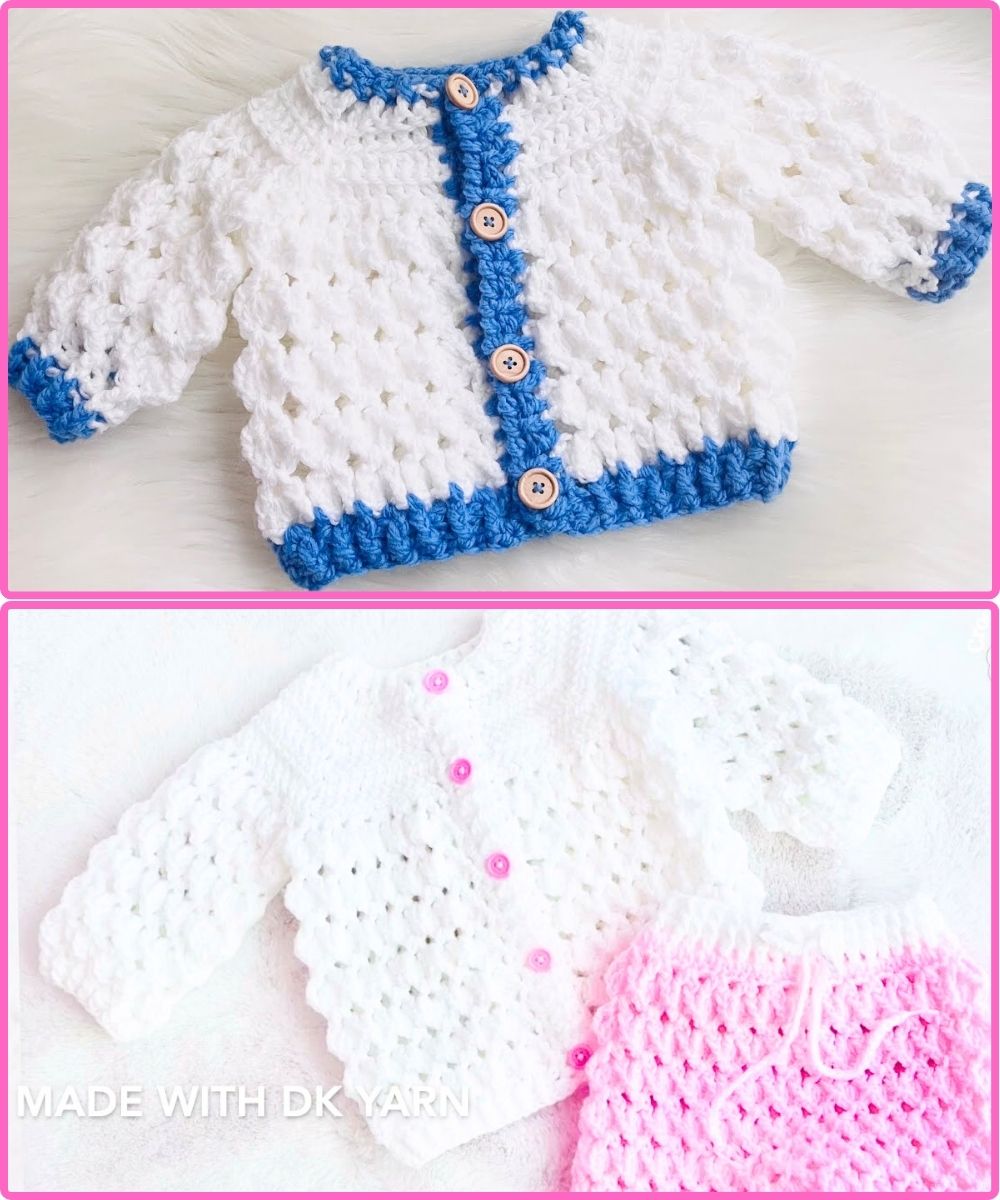
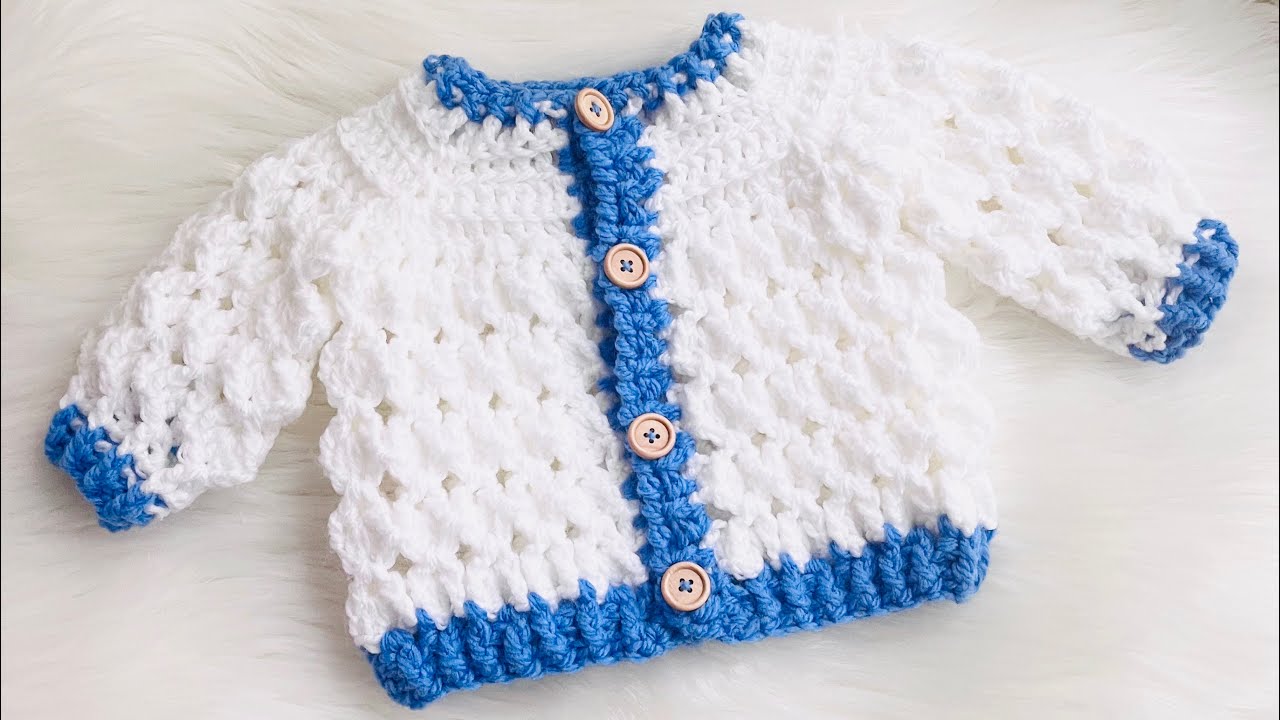
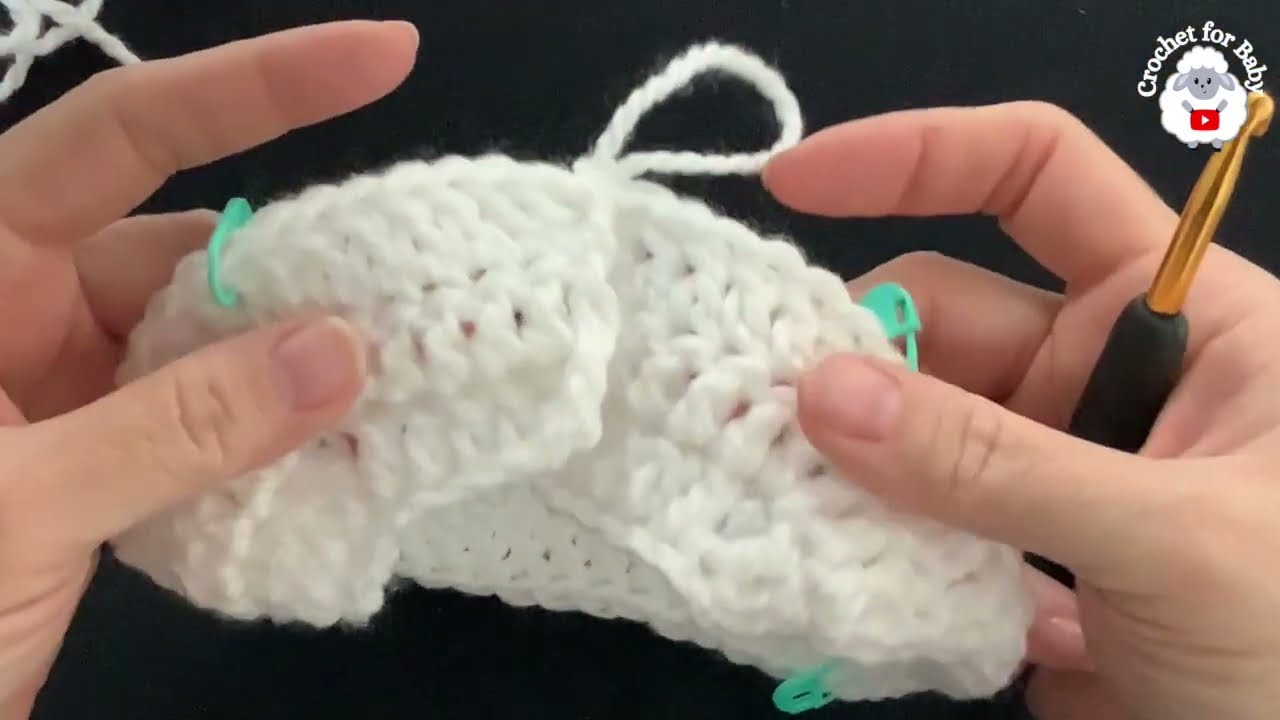
- Key Stitches: The cardigan uses a combination of stitches to create its texture. The yoke often features the herringbone stitch, and the body is made with the characteristic “marshmallow stitch,” which gives the cardigan its cozy, squishy feel.
- Construction: The cardigan is worked from the top down in a single piece, which means there is very little seaming required at the end. This is a huge bonus for beginners!
- Sizing: The pattern is designed to be easily adjustable from newborn up to 12 months (and even larger sizes) by simply changing the hook size and yarn weight.
Materials You Will Need:
- Yarn: A bulky, chunky, or #5 weight yarn is ideal for the “chunky marshmallow” effect. The creator often suggests using acrylic or baby yarns for their softness and washability. The amount of yarn needed will depend on the size you are making.
- Crochet Hook: The hook size is the most important factor for determining the final size of your cardigan. Refer to the sizing chart below to choose the correct hook for your desired size.
- Buttons: You’ll need a few buttons for the front closure. The size will depend on the cardigan size, with the creator often recommending 15mm to 20mm buttons.
- Tapestry Needle: For weaving in ends.
- Scissors: For cutting yarn.
- Stitch Markers: Helpful for marking the beginning of rows or rounds.
Sizing Chart (Hook Size and Yarn Weight Recommendations):
The creator of this pattern provides a simple and effective guide for making different sizes by changing your hook and yarn. This is a general guide, and it is always a good idea to check the specific video or written pattern for the exact size you want to make.
General Step-by-Step Instructions (based on the video tutorials):
Note: This is a general guide. For the exact stitch counts and row instructions, you will need to follow the video tutorial from “Crochet for Baby.”
Step 1: Create the Yoke
- Start with a foundation chain: You will begin by creating a foundation chain that is long enough to fit around the neckline of the baby, plus some extra for the front opening. The length of the chain will depend on the size you are making.
- Work the yoke in rows: You will work in back-and-forth rows to create a rectangular yoke.
- Increase stitches: In each row, you will increase stitches at the four corners to create the armhole and shoulder shaping. This is what gives the cardigan its top-down construction. The increase points are usually marked with stitch markers.
- Work the stitch pattern: The yoke is often worked in the herringbone stitch, which is a variation of the half-double crochet or double crochet stitch.
Step 2: Separate for the Sleeves and Body
- Divide the stitches: Once your yoke is the desired size, you will separate the stitches for the sleeves and the body. You will keep the stitches for the front and back of the cardigan on your hook and skip the stitches for the armholes.
- Join the work: You will join the work into a round to continue working the body of the cardigan.
Step 3: Work the Body of the Cardigan
- Change to the “marshmallow stitch”: After separating the sleeves, you will switch to the “marshmallow stitch” for the body. This stitch is a combination of clusters or puffs that creates a beautiful, puffy texture.
- Work in the round: Continue working in the round, joining at the end of each round with a slip stitch.
- Continue until the desired length: Work until the cardigan is the desired length, ending with a row of ribbing or a simple edging.
Step 4: Create the Sleeves
- Join yarn at the armhole: Join your yarn at the armhole where you separated the stitches.
- Work in the round: Work in the round to create the sleeves, continuing with the “marshmallow stitch” or another chosen stitch.
- Decrease stitches (optional): You can decrease stitches as you go down the arm to create a tapered fit.
- Add a cuff: Finish the sleeves with a ribbed cuff or a simple edging.
Step 5: Finishing Touches
- Add edging: Add a simple edging (like a few rows of single crochet) along the front opening and neckline. This will give the cardigan a clean, finished look and provide a place to attach buttons.
- Create buttonholes: Create buttonholes in your edging by skipping a stitch and chaining over it.
- Sew on buttons: Sew your buttons onto the opposite side of the front opening.
- Weave in all ends: Use your tapestry needle to weave in all loose ends.
Where to Find the Full Tutorial:
To get the most detailed and easy-to-follow instructions, you should watch the video tutorial on the “Crochet for Baby” YouTube channel. The visual guidance is invaluable for a project like this. You can search for:
- “Chunky Marshmallow Baby Cardigan”
- “Crochet for Baby Marshmallow Cardigan”
The creator often provides a link to a paid written PDF pattern in the video description if you prefer to have a physical copy to work from.
Watch video: