 by
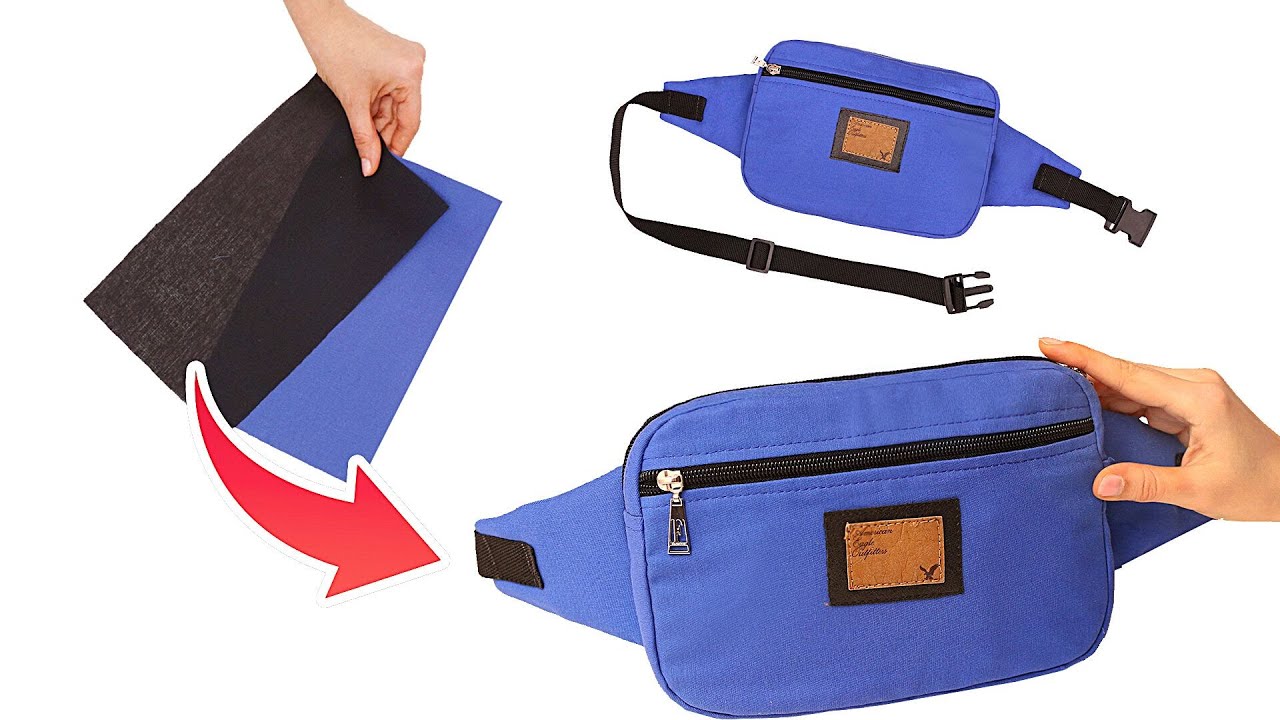
by Imagine a modern, streamlined waist bag (or fanny pack) that maintains a sleek, three-dimensional structure, is comfortably worn, and securely holds your essentials. This detailed tutorial, inspired by the practical “How to sew a waist bag easily – a detailed tutorial!” video from Miarti – Reuse, will guide you through creating this highly functional and stylish accessory. The brilliance of this design is its reliance on a continuous side panel and heavy stabilization, which results in a bag that looks professional and holds its shape perfectly, whether worn across the chest or around the waist.

Get ready to transform your fabric into a versatile, secure, and hands-free accessory perfect for travel, festivals, or daily errands!
Why This “Structured Traveler” Waist Bag Will Be Your New Favorite
This design is a masterclass in modern utility and structure, offering several compelling reasons to make it your next sewing project:
- Sleek, Modern Shape: The combination of a rectangular front and a continuous side/base panel creates a defined, structured look that stands out from typical soft pouches.
- Secure & Hands-Free: Perfect for keeping valuables close and secure while leaving your hands free.
- Durable Construction: The use of thick interfacing is critical for giving the bag its firm, crisp structure, enhancing its longevity.
- Adjustable Fit: Includes a professional adjustable strap with quick-release buckle hardware.
- Efficient Assembly: The pattern uses simple rectangular and curved pieces, minimizing complex cuts.
Materials You’ll Need:
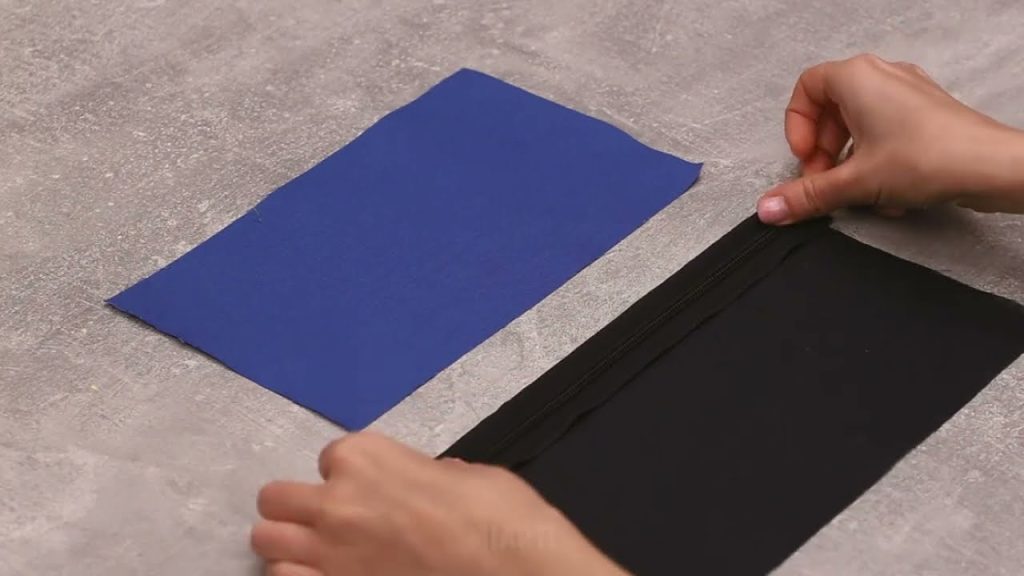
Gathering your materials efficiently is the first step. The video uses a sturdy canvas-type fabric for the exterior and a contrasting lining.
- Main Exterior Fabric (Canvas/Sturdy Cotton):
- Front Panel: 1 piece, 30 cm x 15 cm.
- Back Panel: 1 piece, 30 cm x 15 cm.
- Side/Base Panel: 1 piece, 75 cm x 7 cm. (This continuous strip forms the entire perimeter.)
- Lining Fabric (Cotton):
- Front/Back Lining: 2 pieces, 30 cm x 15 cm.
- Side/Base Lining: 1 piece, 75 cm x 7 cm.
- Thick Fusible Interfacing/Felt Wadding:
- Main Panels Wadding: 2 pieces, 30 cm x 15 cm.
- Side/Base Wadding: 1 piece, 75 cm x 7 cm. (This is essential for structure.)
- Zipper: 1 piece, 30 cm long.
- Webbing for Strap: 1 piece, 120 cm long x 3 cm wide.
- Hardware:
- 1 side-release buckle (3 cm wide).
- 1 tri-glide slide adjuster (3 cm wide).
- Matching Thread: High-quality polyester thread.
- Basic Sewing Tools: Sewing machine, fabric scissors, ruler, fabric marker, pins or clips, and an iron.
Step-by-Step Tutorial: Crafting Your “Structured Traveler” Waist Bag
This tutorial is broken down into four efficient phases: preparation, zipper installation, body construction, and final strap assembly. All seam allowances are 1 cm unless otherwise stated.
Phase 1: Preparation and Stabilizing
The structure is established by stabilizing all exterior pieces with thick wadding and preparing the strap anchors.
- Fuse Interfacing: Iron the Thick Wadding onto the wrong side of ALL Exterior pieces (Front/Back panels and Side/Base panel). This creates the necessary rigid structure for the bag.
- Mark Side/Base Panel: Take the Exterior Side/Base Panel (75 cm x 7 cm). Mark the center point of the 75 cm length (37.5 cm) and the two points for the strap anchors (about 10 cm in from each end).
- Prepare Strap Anchors: Cut two small pieces of webbing or fabric (8 cm x 4 cm). Thread a rectangular ring or D-ring onto each, fold them in half, and set aside. (If using the webbing directly as shown in some designs, simply prepare the ends.)
Phase 2: Zipper Installation (Top Edge)
The zipper is secured between the main panels and their lining pieces.
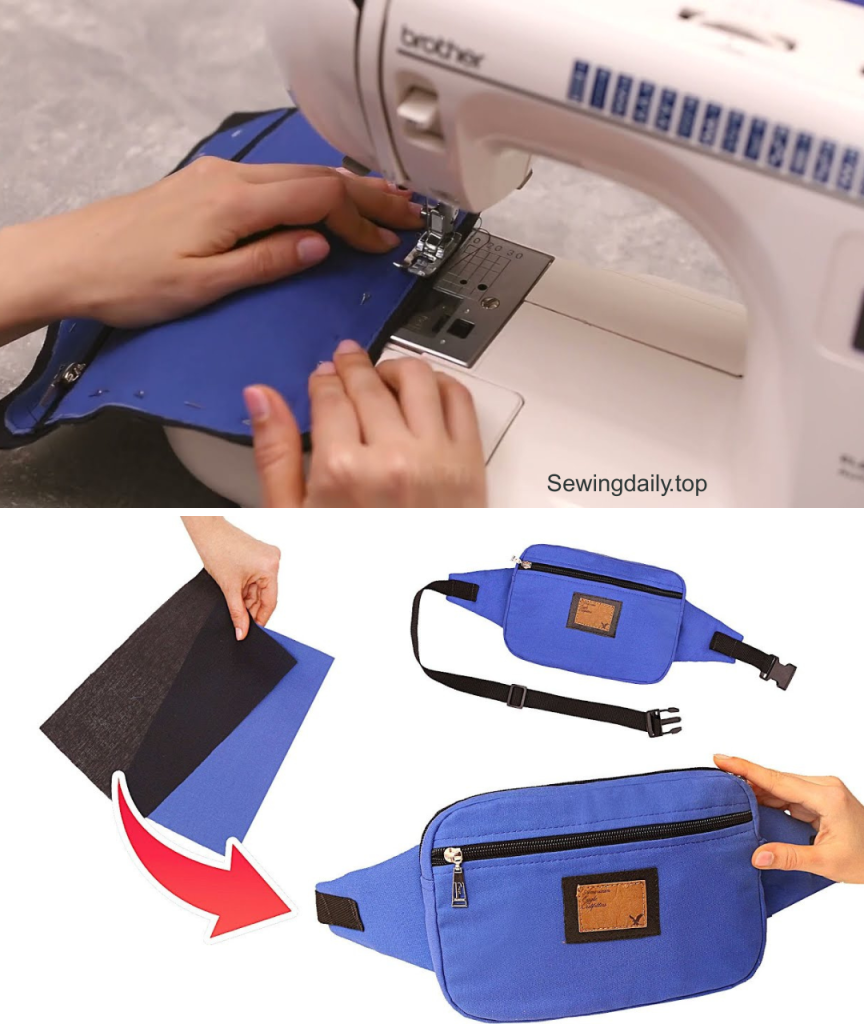
- Attach Zipper to Front: Lay the Exterior Front Panel (30 cm edge) right side up. Place the 30 cm Zipper right side down along the top 30 cm edge. Place the Lining Front Panel on top (right side down, sandwiching the zipper). Stitch all three layers along the 30 cm edge.
- Attach Zipper to Back: Repeat the sandwich method with the Exterior Back Panel and Lining Back Panel on the other side of the zipper tape.
- Topstitch: Open the fabric, press away from the zipper teeth, and topstitch along both sides of the zipper to secure the layers and give a crisp finish.
Phase 3: Building the 3D Shell
The bag is assembled using the continuous side/base panel, which gives it its smooth, boxy shape.
- Prepare Side/Base Loop: Stitch the two 7 cm ends of the Exterior Side/Base Panel together, right sides facing, to form a loop. Press the seam open. Repeat for the Lining Side/Base Panel, but leave a 10 cm turning opening on the bottom seam.
- Attach Strap Tabs/Anchors: Baste the prepared strap anchors (from Phase 1) to the Side/Base loop near the marks, ensuring they face inward and are centered on the 7 cm height.
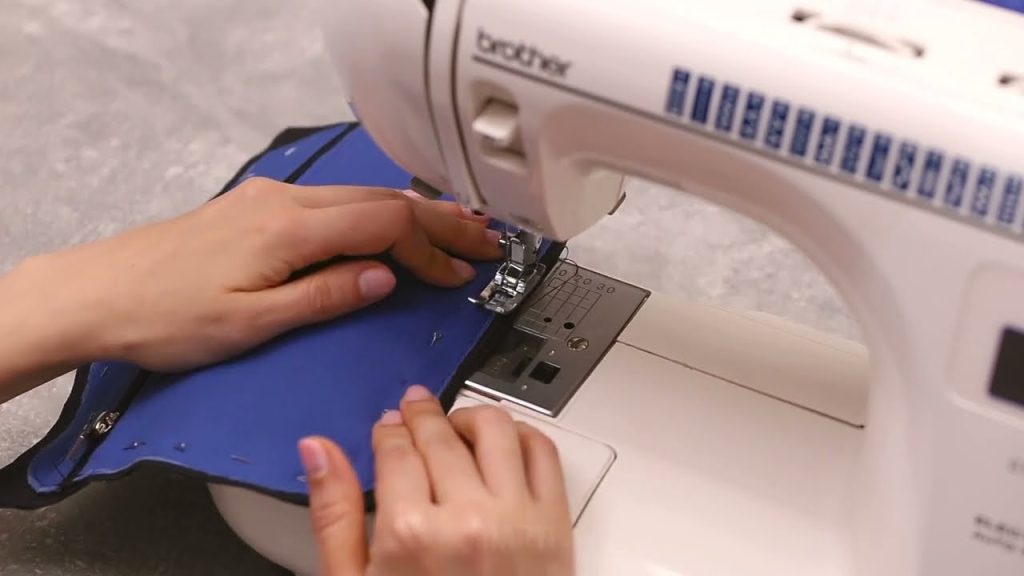
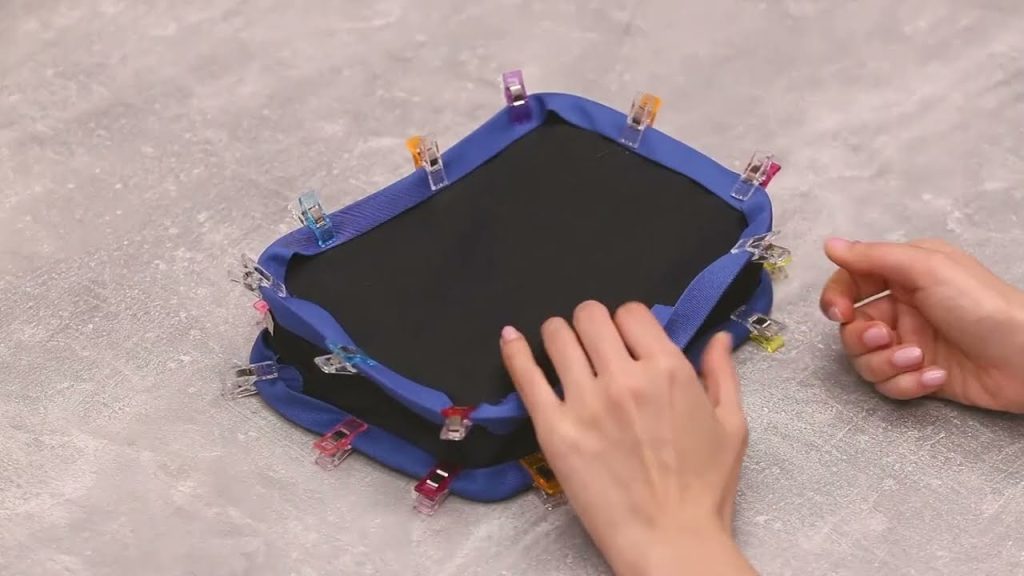
- Sew Exterior Body: Open the main zipper halfway. Pin the Exterior Side/Base Loop to the perimeter of the Exterior Front Panel, right sides together. Start pinning at the bottom center and stitch carefully around the entire perimeter, easing the corners. Repeat to attach the loop to the Exterior Back Panel. This creates the 3D exterior shell.
- Sew Lining Body: Repeat the entire process from step 3 to attach the Lining Side/Base Loop to the Lining Front and Lining Back panels.
Phase 4: Final Assembly and Strap
The bag is joined, turned, and the adjustable strap is attached.
- Insert Exterior into Lining: Turn the Exterior Bag right side out. Keep the Lining Bag wrong side out. Slide the exterior bag inside the lining bag, aligning the top raw edges (where the zipper is). Pin the raw edges of the zipper tape to the bag body all around the perimeter and stitch.
- Turn and Close: Reach into the turning hole left in the lining bottom seam. Carefully pull the entire bag right side out through the hole. Stitch the turning hole closed (by machine or hand).
- Topstitch: Push the lining neatly inside the exterior bag. Press the top edge flat and topstitch all around the top perimeter to secure the lining and give the bag a finished look.
- Attach Hardware: Thread the Webbing Strap through the tri-glide slide and one half of the side-release buckle. Clip the finished strap ends to the D-rings/anchors on the sides of the bag.
Your unique “Structured Traveler” Waist Bag is complete! This durable, stylish, and hands-free accessory is ready for adventure.
Video tutorial: