by
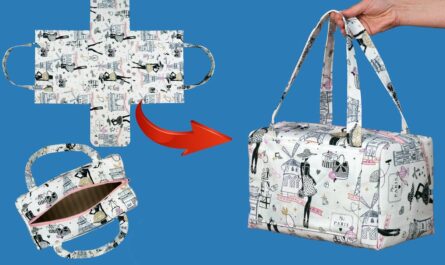
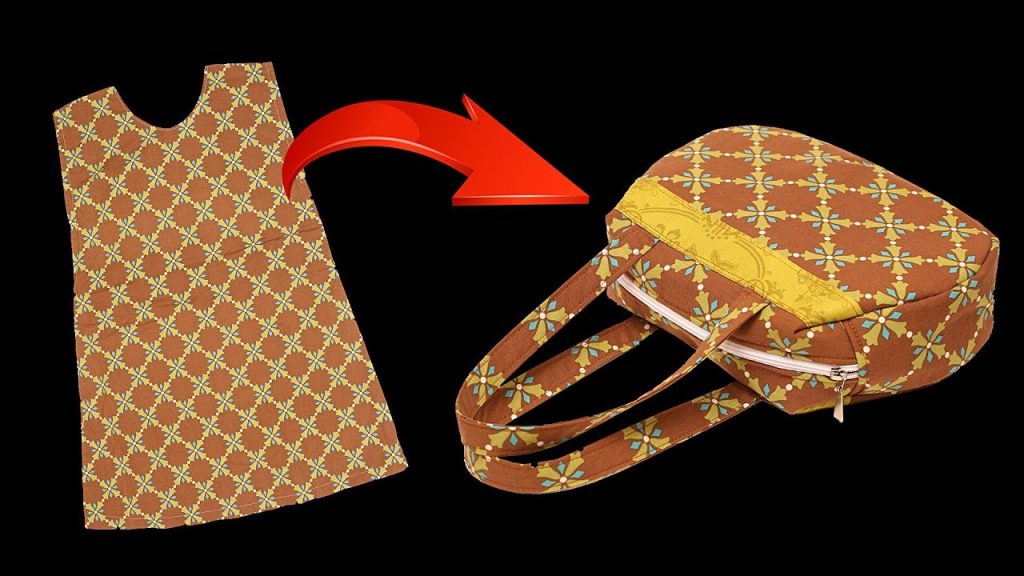
by Imagine transforming an old dress or large piece of textile into a structured, highly personalized tote bag featuring elegant vertical tucks or pleats on the side panels. This design takes simple rectangular construction and elevates it with a thoughtful, tailored detail that gives the bag a high-end, store-bought feel. This detailed tutorial, inspired by the creative “How to sew a bag out of an old dress – you won’t buy such a bag in a store!” video from Miarti – Reuse, will guide you through creating this charming, boxy shopper.
Get ready to breathe new life into textile waste, showcasing your fabric’s pattern in a structured bag perfect for daily errands, work, or as a sophisticated market tote!
Why This “Upcycled Tucked Tote” Will Be Your New Favorite
This pattern is a brilliant blend of sustainability, structure, and decorative detail, offering several compelling reasons to make it your next sewing project:
- Elevated Upcycling: Repurpose a cherished garment (like an old dress, skirt, or tablecloth) into a functional accessory, preserving the fabric’s memory and pattern.
- Tailored Side Tucks: The vertical tucks/pleats on the side panels are the unique element, providing subtle dimension and structure to the bag.
- Crisp, Boxy Shape: The bag construction uses interfacing and boxed corners to create a sturdy, professional, free-standing tote.
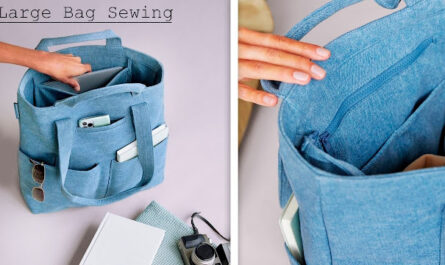
- Wide Opening: The simple construction leaves the top wide open for easy access to contents (perfect for shopping or textbooks).
- Versatile Design: Can be customized with a zippered pocket in the lining or a simple magnetic snap closure.
Materials & Cutting List:
Since this is an upcycling project, ensure the fabric harvested from the old garment is clean and provides enough material. Choose a contrasting solid for the lining for a finished look.
| Piece | Fabric | Dimensions | Notes |
| Main Body Exterior | Upcycled Fabric | 2 pieces, 38 cm x 40 cm | Front and Back Panels. |
| Side Panel Exterior | Upcycled Fabric | 2 pieces, 38 cm x 25 cm | Extra width (10 cm) needed for tucks. Finished size is 38 cm x 15 cm. |
| Lining Fabric | Contrasting Cotton | 2 pieces, 38 cm x 40 cm | Front and Back Lining. |
| Side Panel Lining | Contrasting Cotton | 2 pieces, 38 cm x 15 cm | No tucks on lining. |
| Interfacing/Wadding | Medium-Heavy Fusible | Matches Exterior Pieces | Essential for structure. |
| Straps | Webbing/Exterior Fabric | 2 pieces, 60 cm long x 4 cm wide | Long enough for a shoulder carry. |
| Basic Tools: Sewing machine, ruler, fabric marker, pins/clips, and iron. |
Step-by-Step Tutorial: Crafting Your “Upcycled Tucked Tote”
This tutorial is broken down into four essential phases: preparation and tuck creation, assembling the exterior shell, constructing the lining, and the final assembly. All seam allowances are 1 cm unless otherwise stated.
Phase 1: Preparation and Creating the Tucked Side Panels
This phase stabilizes the main panels and creates the signature decorative tucks on the side pieces.
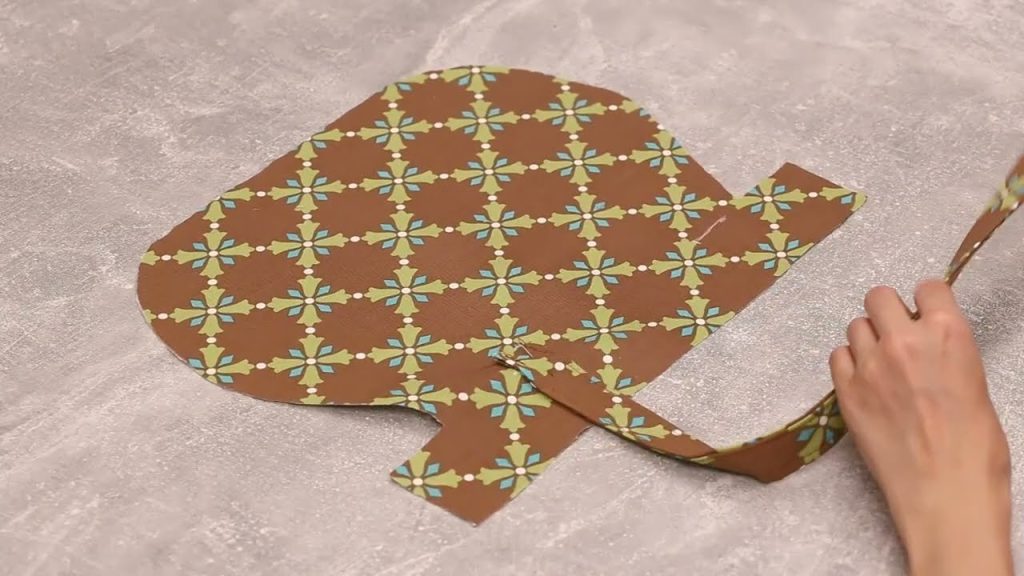
- Stabilize the Panels: Iron the Medium-Heavy Fusible Interfacing onto the wrong side of the Main Body Exterior and the Side Panel Exterior pieces. This structure is critical for the final shape.
- Mark Tucks: Take one Side Panel Exterior piece (38 cm x 25 cm). Mark two or three parallel vertical lines (running down the 38 cm length) across the panel. Example: Mark a line 7 cm from the left edge, and another 7 cm from the right edge.
- Create the Tucks: Pinch the fabric along each marked line, fold it over (usually 1 cm wide), and press. Stitch down the folded edge to secure the tuck. The extra 10 cm of width will now be consumed by these decorative folds, leaving you with a final width closer to 15 cm. Press the finished tucked panel flat. Repeat for the second side panel.
Phase 2: Assembling the Structured Exterior Shell
The exterior bag is built by joining the front, back, and tucked side panels.
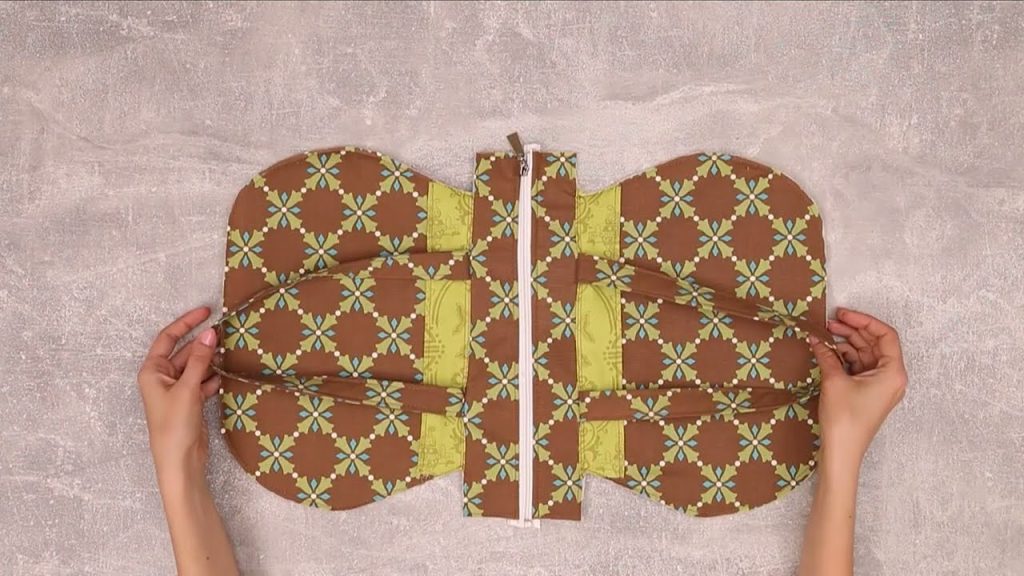
- Attach Side Panels: Pin one Tucked Side Panel (38 cm edge) to the side of one Main Body Exterior panel (40 cm edge), right sides together. Stitch the side seam. Repeat this process to join all four exterior pieces (Front, Side, Back, Side) in a loop, leaving the top and bottom edges open.
- Sew the Base: Pin the two 15 cm bottom raw edges of the Side Panels to the two 40 cm bottom raw edges of the Main Body Panels, right sides together. Stitch the four bottom seams closed to form a continuous base. This creates a clean, square base.
- Final Shell: Turn the exterior shell right side out. It should now stand freely with a well-defined base and side tucks. Set aside.
Phase 3: Constructing the Lining and Straps
The lining is assembled, and the straps are prepared for attachment.
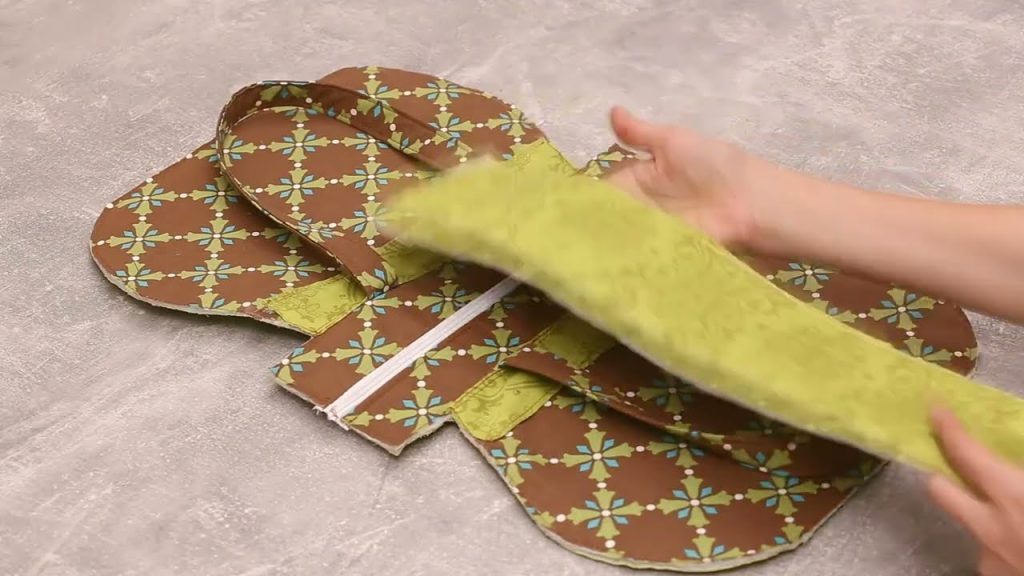
- Sew the Lining: Assemble the Lining Pieces (Front, Back, and two 38 cm x 15 cm Side Linings) exactly as you did the exterior shell in Phase 2, but do not add tucks. Stitch the sides and base closed.
- Crucial Step: When stitching the base seam of the lining, leave a 15 cm turning opening along the center of one of the bottom seams.
- Prepare Straps: Take the two 60 cm x 4 cm Strap pieces. Fold the long edges inward and press. Fold in half lengthwise again and topstitch all the way around to create two finished, narrow straps.
- Baste Straps to Exterior: Turn the Exterior Shell wrong side out. Position the raw ends of the two straps onto the top raw edge of the front and back panels, centering them or placing them 10 cm in from the side seams. Baste the strap ends to the top raw edge with a 0.5 cm seam allowance.
Phase 4: Final Assembly and Finishing
The exterior and lining are joined, turned, and the top edge is professionally finished.
- Insert Exterior into Lining: Keep the Exterior Bag wrong side out (with straps basted). Turn the Lining Bag right side out.
- Slide the lining bag into the exterior bag. The two bags should now be right sides together.
- Align the top raw edges perfectly. Pin all around the top perimeter.
- Stitch Top Perimeter: Stitch all around the top raw edge to join the exterior and lining, capturing the strap ends securely.
- Turn and Close: Pull the entire bag right side out through the 15 cm turning hole left in the lining base seam. Stitch the lining hole closed (by machine or hand).
- Topstitch: Push the lining neatly inside the exterior bag. Press the top edge flat and topstitch all around the top opening, 0.5 cm from the edge, to give a crisp, professional roll-top finish and reinforce the strap anchors.
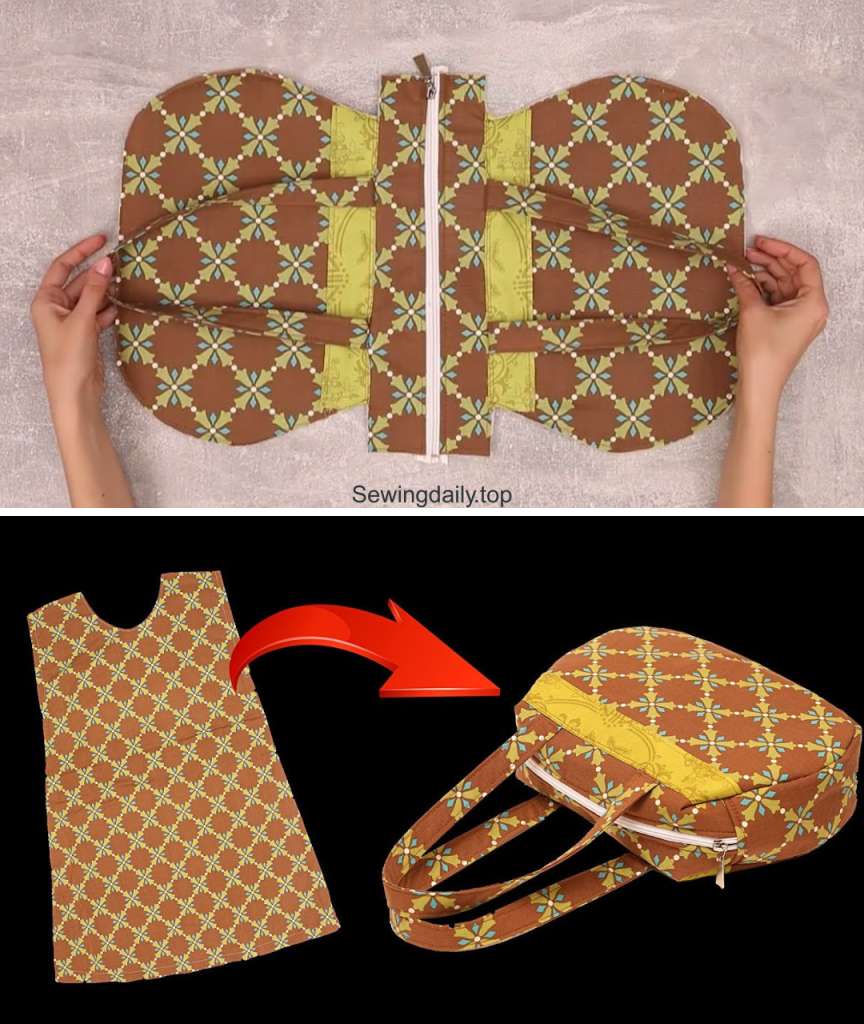
Your unique “Upcycled Tucked Tote” is complete! This structured, stylish, and highly personalized bag is ready to be shown off!
Video tutorial: