 by
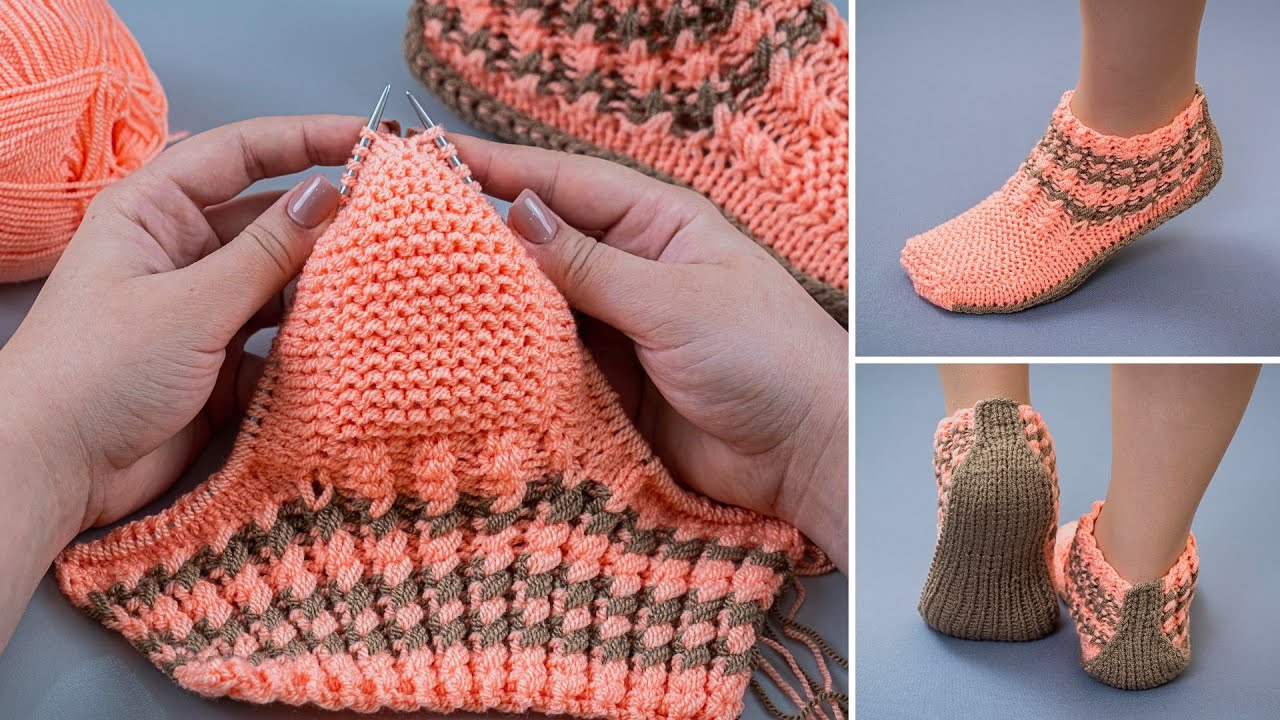
by Below is a clear, beginner-friendly, detailed guide on how to knit beautiful slippers/socks using just 2 straight knitting needles. No circulars, no double-points — perfect for new knitters!
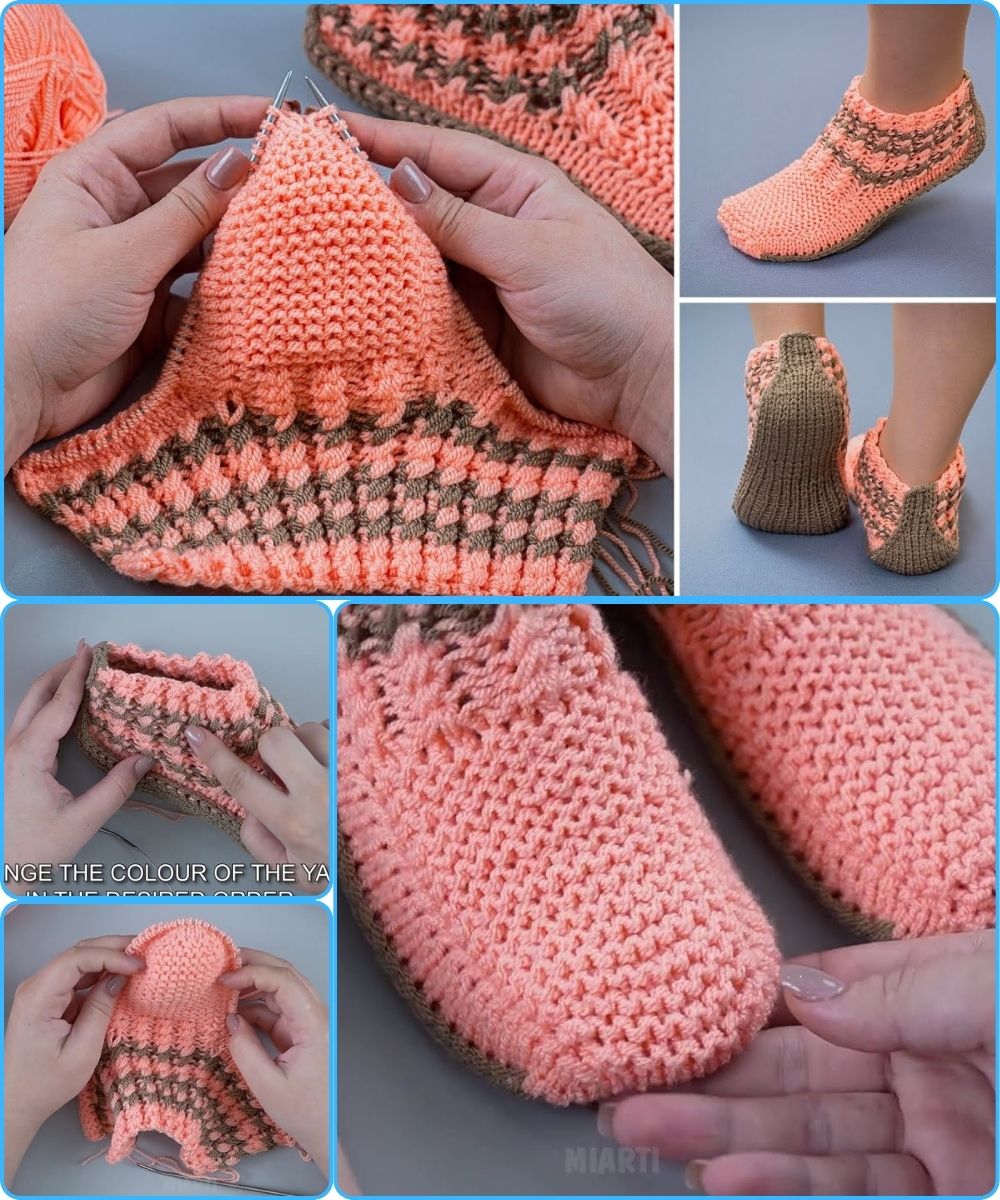
🧶 How to Make Beautiful Slippers/Socks on 2 Knitting Needles (Beginner Friendly!)
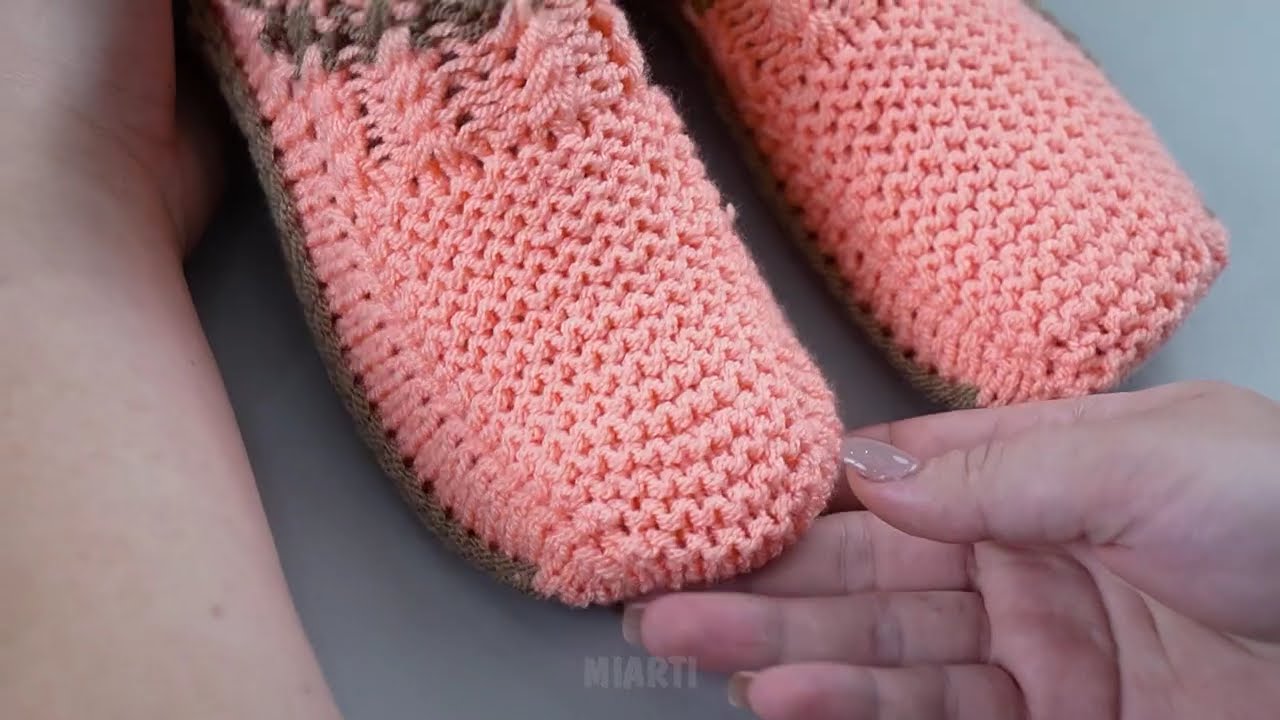
These slippers are worked flat, like a rectangle, and then folded and sewn to form a sock-shape. This is one of the easiest ways to make wearable cozy socks.
✅ Materials You Will Need
-
2 straight knitting needles (size 4–6 mm depending on yarn thickness)
-
Medium-weight or bulky yarn (soft acrylic or wool blend works well)
-
Yarn needle (for sewing seams)
-
Scissors
-
Stitch markers (optional)
🧵 Skill Level
Absolute beginner — you only need:
-
Cast on
-
Knit stitch (garter stitch) OR knit + purl (if using ribbing)
-
Cast off
-
Sewing seams
⭐ SIMPLE CONSTRUCTION OVERVIEW
These slippers are made in 3 parts:
-
Cuff – stretchy ribbing at the ankle (optional)
-
Foot – worked in garter stitch (all knit rows)
-
Toe – shaped with simple decreases or gathered closed
Then you fold the piece and sew:
-
One seam up the top of the foot to the ankle
-
One seam along the bottom and heel
🧶 DETAILED STEP-BY-STEP INSTRUCTIONS
1. Cast On
For an adult medium slipper:
➡️ Cast on 40 stitches using your preferred cast-on method.
(Adjusting sizes is easy — details at bottom.)
2. Knit the Cuff (Optional but beautiful!)
Work in 1×1 ribbing:
-
Row 1: K1, P1 across
-
Repeat this row for 8–12 rows (depending on how long you want the cuff)
This makes a stretchy, polished edge.
Beginner alternative:
If ribbing feels too hard, just knit all rows (garter stitch cuff).
3. Knit the Foot
Switch to garter stitch:
-
Knit every row for 26–32 rows
This creates the main foot section — warm, cushy, stretchy.
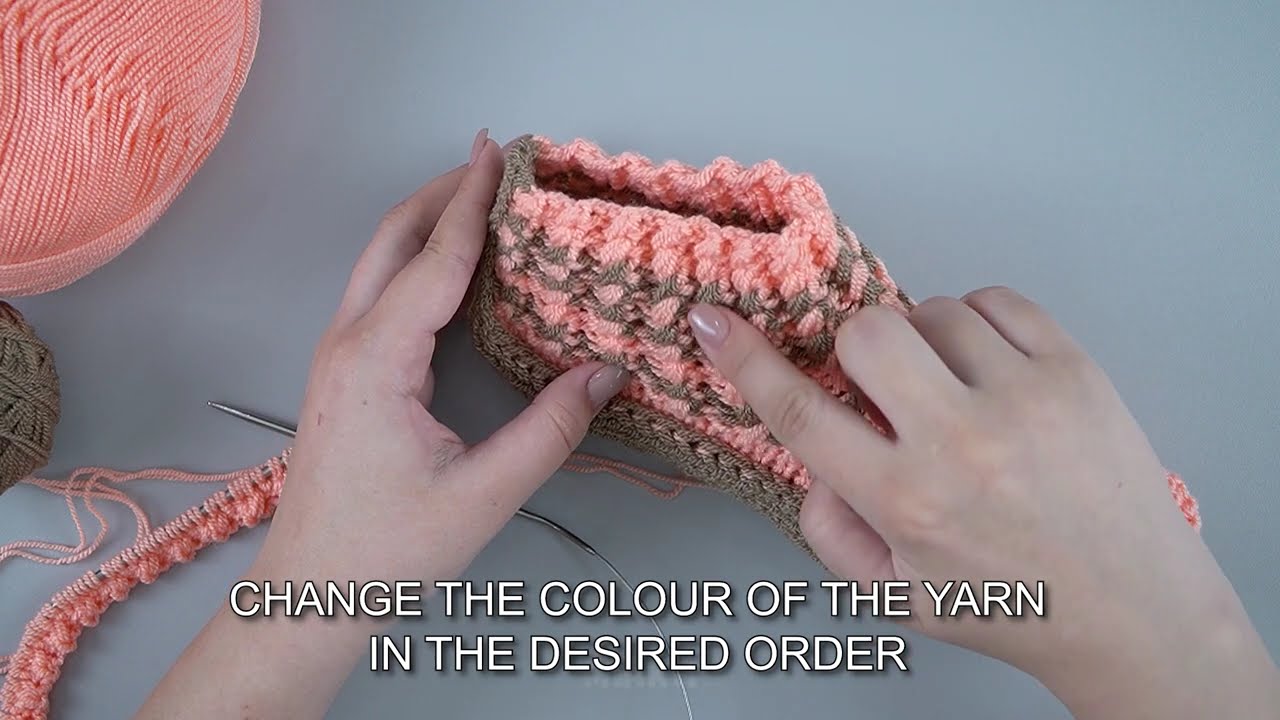
Tip: If you want stripes or color changes, add them here!
4. Shape the Toe (Beginner-Friendly)
You can either decrease or keep it square.
⭐ Option A — Easy Shaped Toe (Looks more like real socks)
Repeat for 6 rows:
-
Row 1: K2tog, knit to last 2 sts, K2tog
-
Row 2: Knit all stitches
You will reduce your stitch count gradually until around 20 stitches remain.
⭐ Option B — Easiest Toe (Square)
If you’re very new:
-
Simply knit 6 more rows
-
Then gather the stitches together when sewing
5. Cast Off
When toe shaping (or square toe rows) are finished:
➡️ Cast off all stitches loosely.
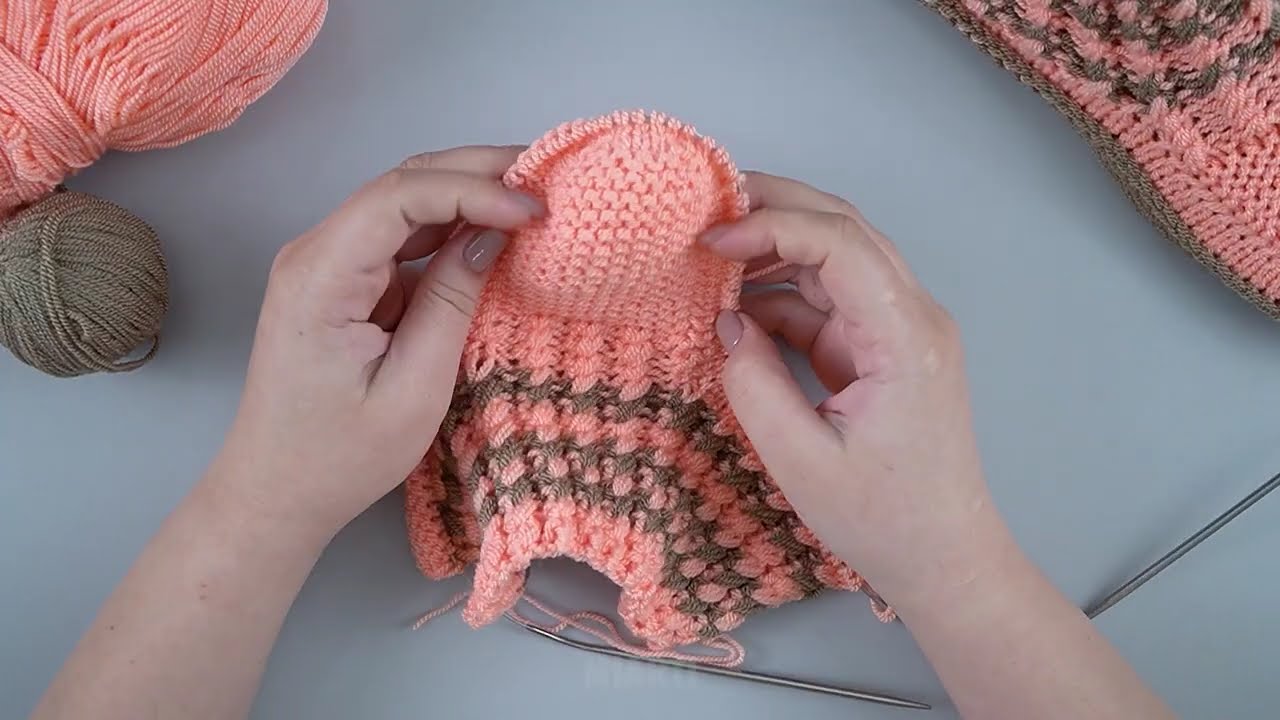
🪡 ASSEMBLING THE SLIPPER
Here’s the magic part!
Step 1: Fold the piece
Lay piece flat with the cuff at the top.
Fold it in half lengthwise, with right sides together.
Step 2: Sew the Toe
If shaped toe:
-
Sew the small opening with a whip stitch.
If square toe:
-
Thread yarn needle through all cast-off stitches
-
Pull tight to cinch closed
-
Stitch securely
Step 3: Sew the Top of the Foot
Sew from the toe up toward the ankle ribbing.
Stop when you reach the cuff.
Step 4: Sew the Heel
Fold the heel area and sew the back seam neatly.
Turn inside out — your slipper is ready!
🧦 Sizing Adjustments
Very simple:
Width:
-
Add or subtract 4 stitches to change width.
Length:
-
Add or subtract 4–6 rows in the foot section for sizing.
Approximate cast-on suggestions:
-
Child: 28–32 stitches
-
Adult small: 36 stitches
-
Adult medium: 40 stitches
-
Adult large: 44–48 stitches
🌸 Tips for Making Them Extra Beautiful
-
Use multicolor yarn for self-striping effects
-
Add a crochet edge around the cuff (optional)
-
Sew on buttons, felt flowers, bows
-
Alternate garter + stockinette for texture
-
Use fluffy yarn for ultra-cozy house slippers
🎉 You’re Done!
You just learned how to make beautiful handmade slippers/socks using only 2 knitting needles — a perfect beginner project.
If you want, I can also:
✔ Provide a printable pattern
✔ Give a diagram/visual layout
✔ Help customize for your exact size
✔ Turn this into a video-style step-by-step script
Would you like that?
Watch video: