by
by Below is a clear, friendly step-by-step guide for making quick and easy crochet granny-square slippers. This method is perfect for beginners and uses basic stitches.
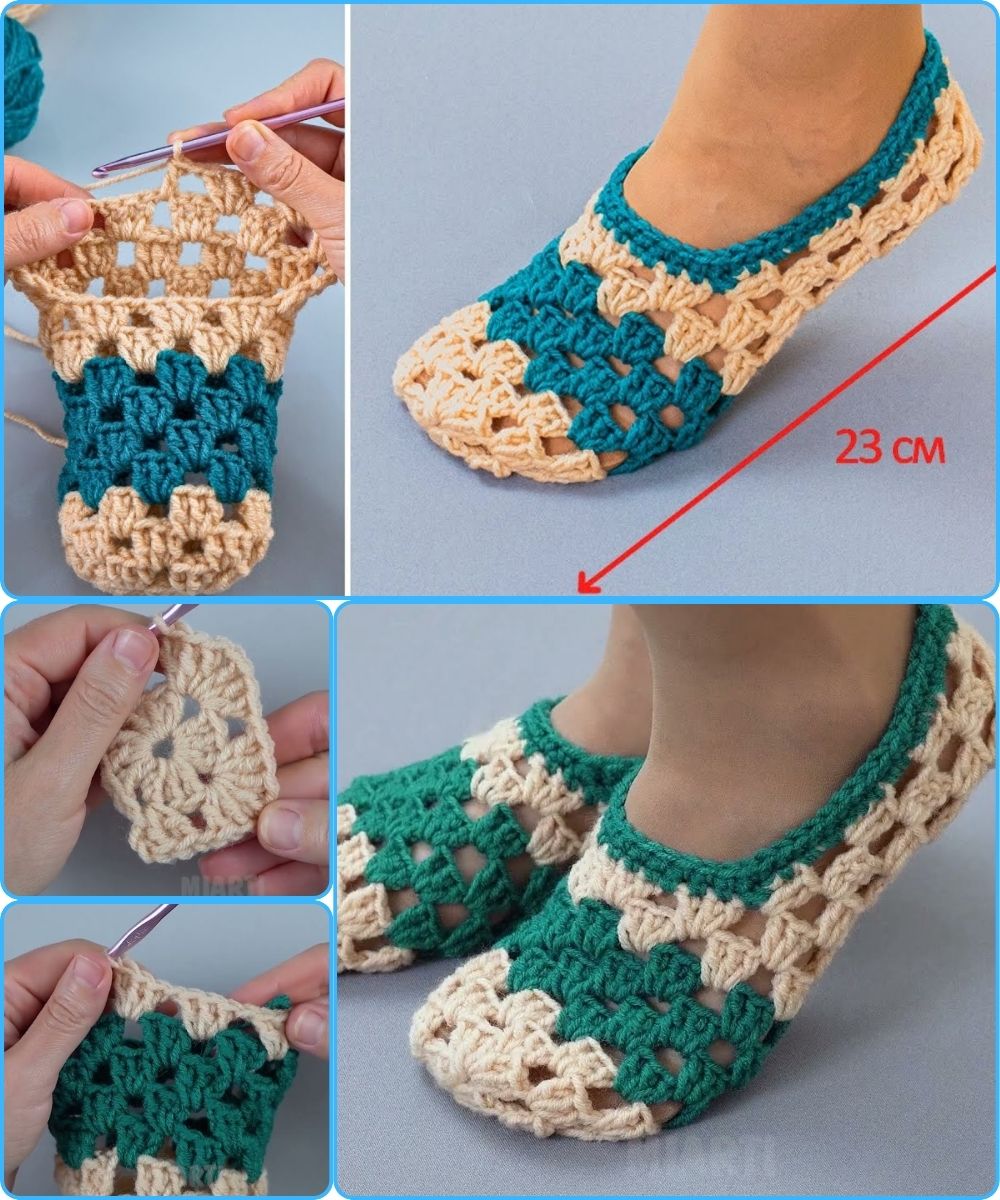
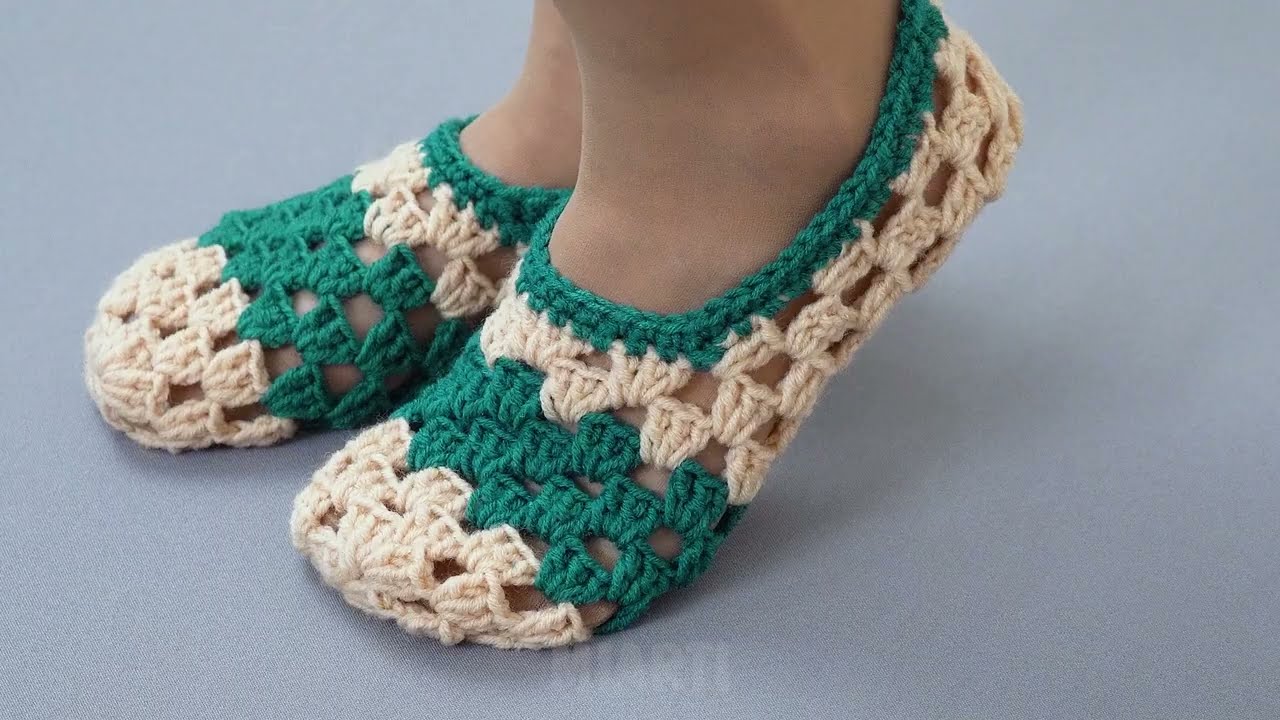
🧶 How to Make Quick and Easy Crochet Granny Square Slippers
These cozy slippers are made from three simple granny squares. You crochet the squares, fold them into shape, and seam them together—no complicated shaping required!
⭐ What You Need
-
Yarn: Worsted-weight (Medium/4). Two or more colors look great, but one color works too.
-
Hook: 5 mm (H-8) or size recommended for your yarn
-
Tapestry needle for sewing squares
-
Scissors
Gauge isn’t critical, but larger or smaller squares will affect the slipper size.
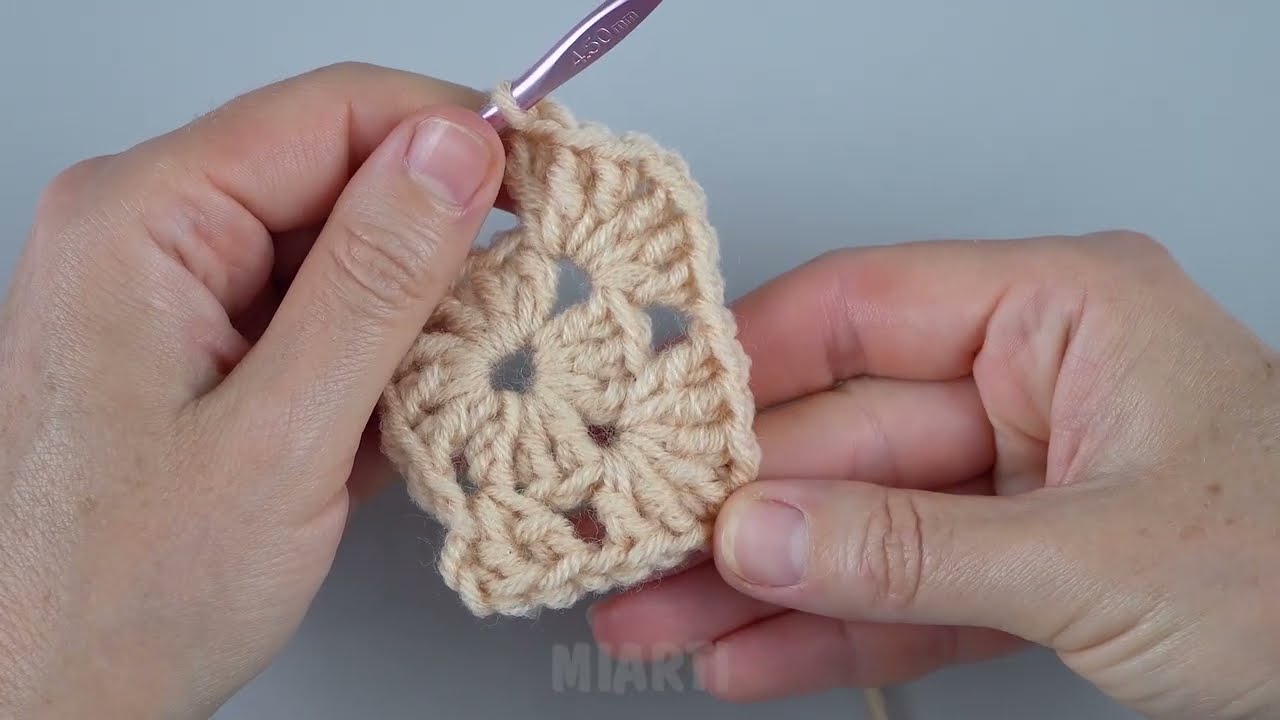
🟩 Step 1: Crochet 3 Granny Squares
You need three identical squares for each slipper (six total for a pair).
Typical Size:
-
Adult Small/Medium: 5.5–6 in (14–15 cm) squares
-
Adult Large: 6.5 in (16.5 cm) squares
-
Child: 4.5–5 in (11–13 cm) squares
Basic Classic Granny Square Pattern
(Work in joined rounds.)
Round 1
-
Ch 4, join to form ring.
-
Ch 3 (counts as dc), 2 dc into ring, ch 2, 3 dc, repeat from * two more times.
-
Ch 2, join to top of ch 3.
(You should have 4 clusters of 3 dc.)
Round 2
-
Slip stitch to corner space.
-
In corner space: (Ch 3, 2 dc, ch 2, 3 dc).
-
Next corner: (3 dc, ch 2, 3 dc).
-
Repeat for all corners; join.
Round 3 & more
Repeat Round 2, putting:
-
(3 dc, ch 2, 3 dc) in each corner
-
and 3 dc in each side space
Stop when your square reaches the desired size.
Make three squares per slipper.
🧩 Step 2: Lay Out the Squares
For each slipper:
-
Square A (Toe Square) – becomes the top of the foot.
-
Square B (Heel Square) – becomes the heel area.
-
Square C (Foot Sole Square) – makes the sole.
Layout
Form a “T” shape:
-
A attaches to one side of C.
-
B attaches to the opposite side of C.
-
The remaining sides of A and B are then folded upward and stitched to create the slipper shape.
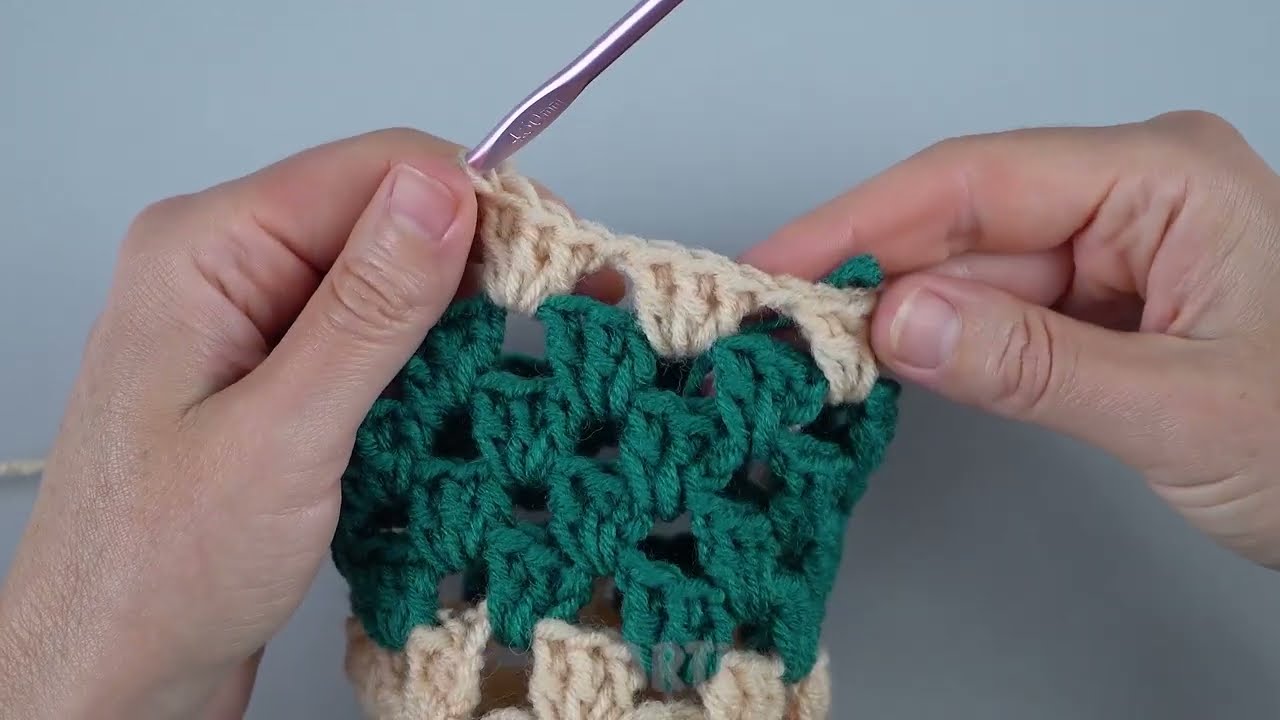
🧵 Step 3: Join the Squares
Use whip stitch, mattress stitch, or slip-stitch crochet joins.
Step-by-Step Assembly
1) Attach Square A (Toe) to Square C (Sole)
-
Align one side of A to one side of C.
-
Sew or slip stitch the edges together.
2) Attach Square B (Heel) to the opposite side of C
-
Align one side of B to the free opposite side of C.
-
Join the edges.
Now your shape matches the “T” layout.
👟 Step 4: Shape the Slipper
Closing the Toe
-
Fold the left and right edges of Square A up toward the center.
-
Seam these edges together to form the toe box.
Closing the Heel
-
Fold the left and right edges of Square B up and seam them to form the back of the slipper.
You will see the slipper shape appear as soon as you finish these seams.
🧶 Optional Finishing Touches
-
Add a border: Single crochet around the ankle opening.
-
Add ties or pom-poms for decoration.
-
Use suede patches or puff paint on the bottom for non-slip soles.
-
Adjust sizing:
-
Make larger or smaller granny squares
-
Add an extra round to lengthen the slipper
-
Use thicker yarn or a larger hook for bigger slippers
-
🎉 Your Granny Square Slippers Are Done!
They work up quickly—often in under an hour per slipper—and are perfect for gifts, stash busting, or cozy self-care.
If you’d like, I can also provide:
-
Photo-style diagrams
-
A printable pattern
-
Alternate granny square designs (solid, starburst, etc.)
-
Child, men’s, or extra-wide sizing instructions
Just let me know!
Watch video: