 by
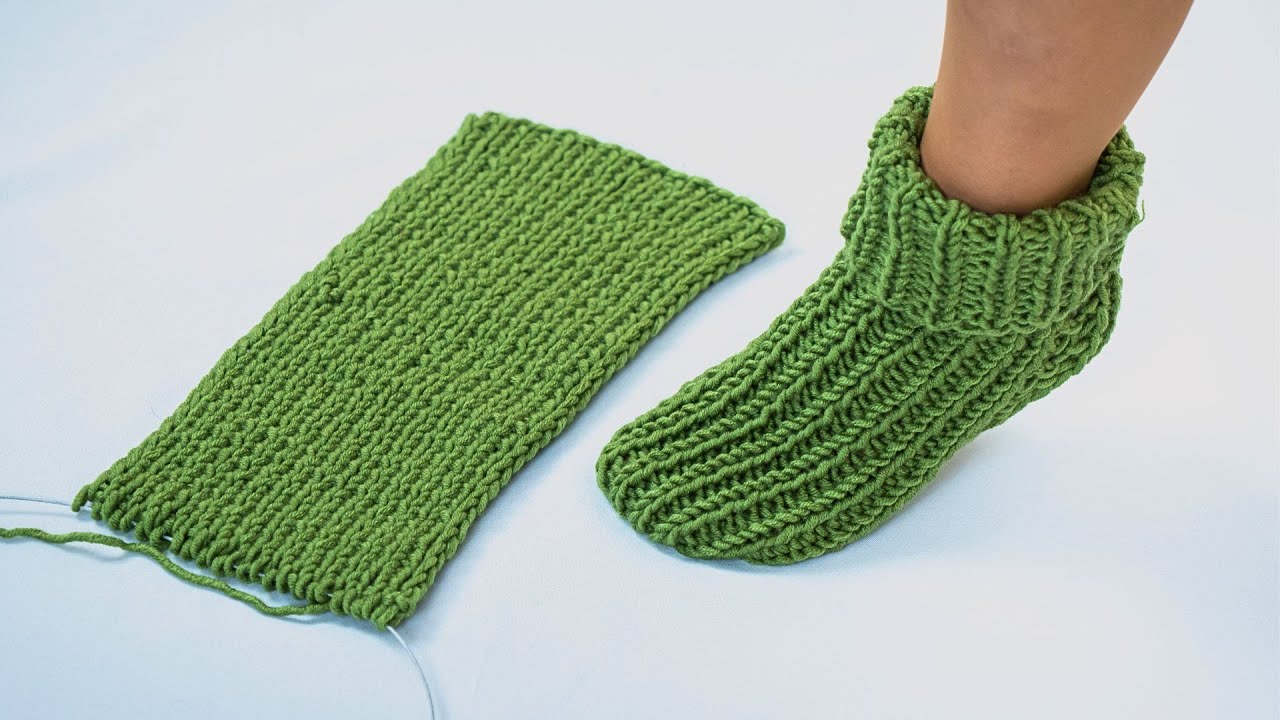
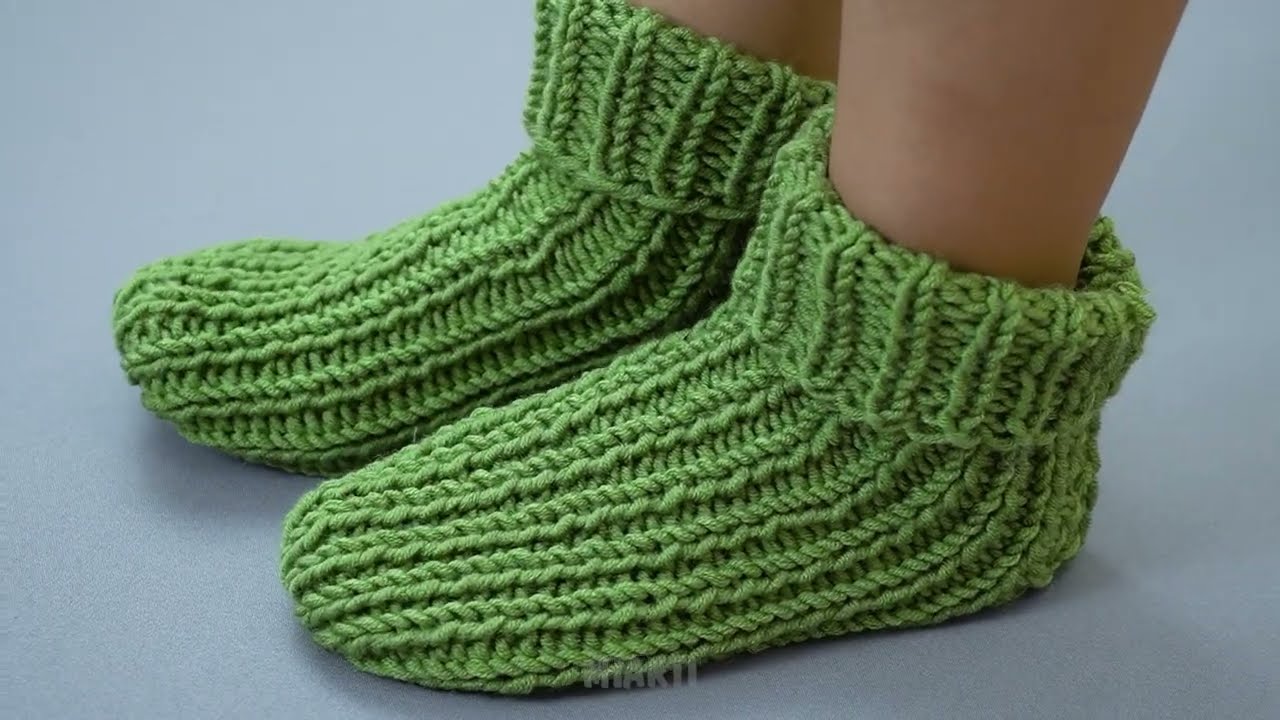
by Absolutely! Let’s break this down step by step. I’ll give you a beginner-friendly guide for the simplest knitted socks, using basic techniques. These will be cozy, easy to follow, and won’t overwhelm you with complicated shaping.
Supplies You’ll Need
-
Yarn: Worsted weight or sock yarn (medium weight is easier for beginners).
-
Needles: Double-pointed needles (DPNs) or circular needles for magic loop, size recommended for your yarn (usually US 7–8 / 4.5–5 mm).
-
Notions:
-
Stitch markers
-
Tapestry needle (for weaving in ends)
-
Scissors
-
-
Optional: Measuring tape to check foot length.
Basic Techniques You Should Know
-
Casting on: Long-tail cast on works well.
-
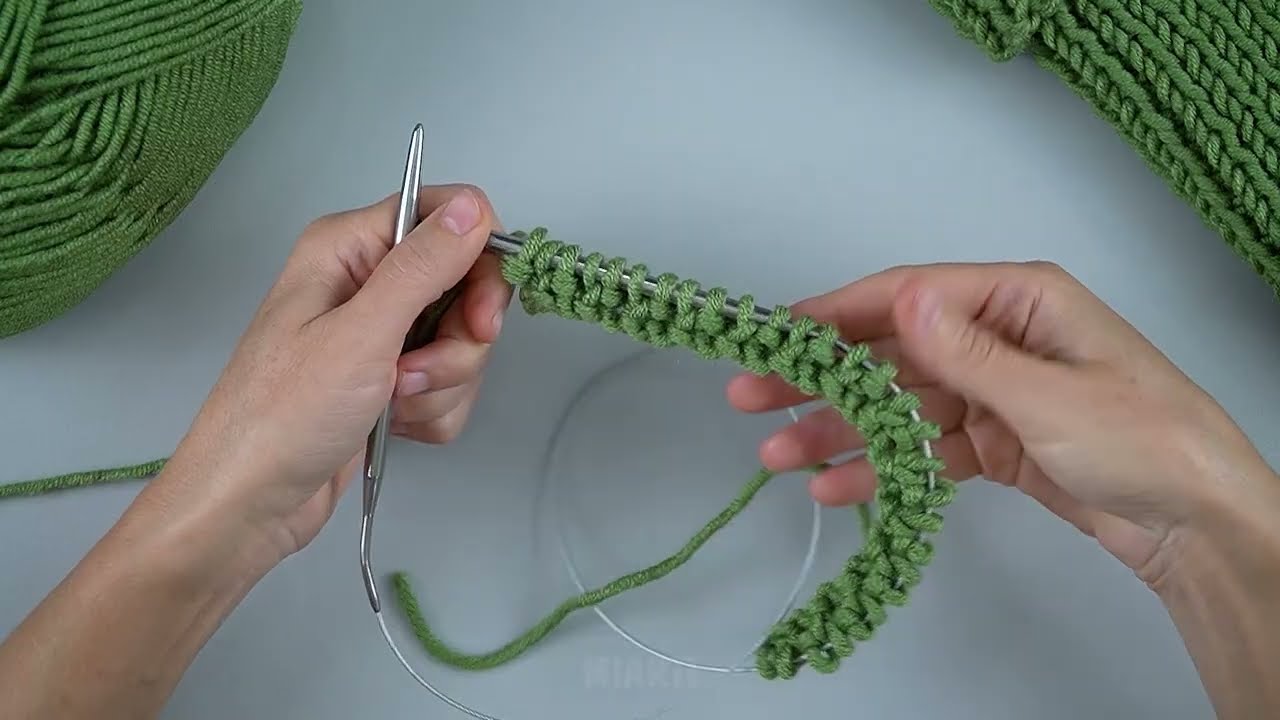
Knitting in the round: You’ll be knitting in a tube, no seams.
-
Knit stitch (garter) or stockinette stitch (knit all rounds for the sock tube)
-
Decreasing stitches: Basic “knit two together” (k2tog)
-
Binding off / finishing: Standard bind off
Step-by-Step Instructions for Simple Socks
1. Measure and Cast On
-
Measure the circumference of your foot (around the widest part).
-
Decide the number of stitches:
-
Use the yarn label’s recommended gauge (stitches per inch).
-
Example: If your gauge is 5 sts/inch and foot circumference is 8 inches → 8 × 5 = 40 stitches.
-
-
Cast on even number of stitches (e.g., 40 stitches).
2. Divide Stitches
-
Divide your stitches evenly across 4 double-pointed needles (10 sts each if using 40 stitches).
-
Join in the round, being careful not to twist the stitches.
3. Knit the Cuff
-
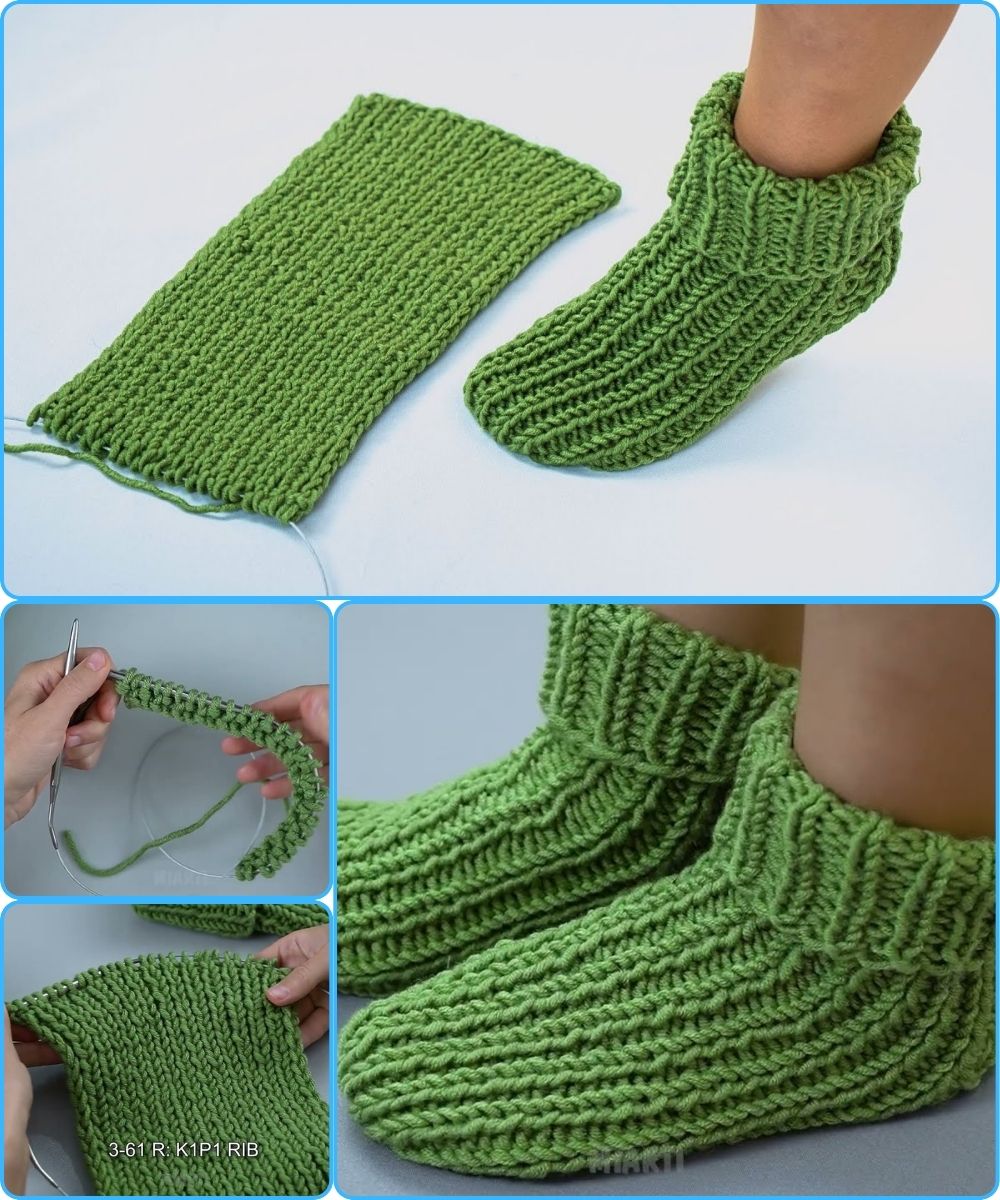
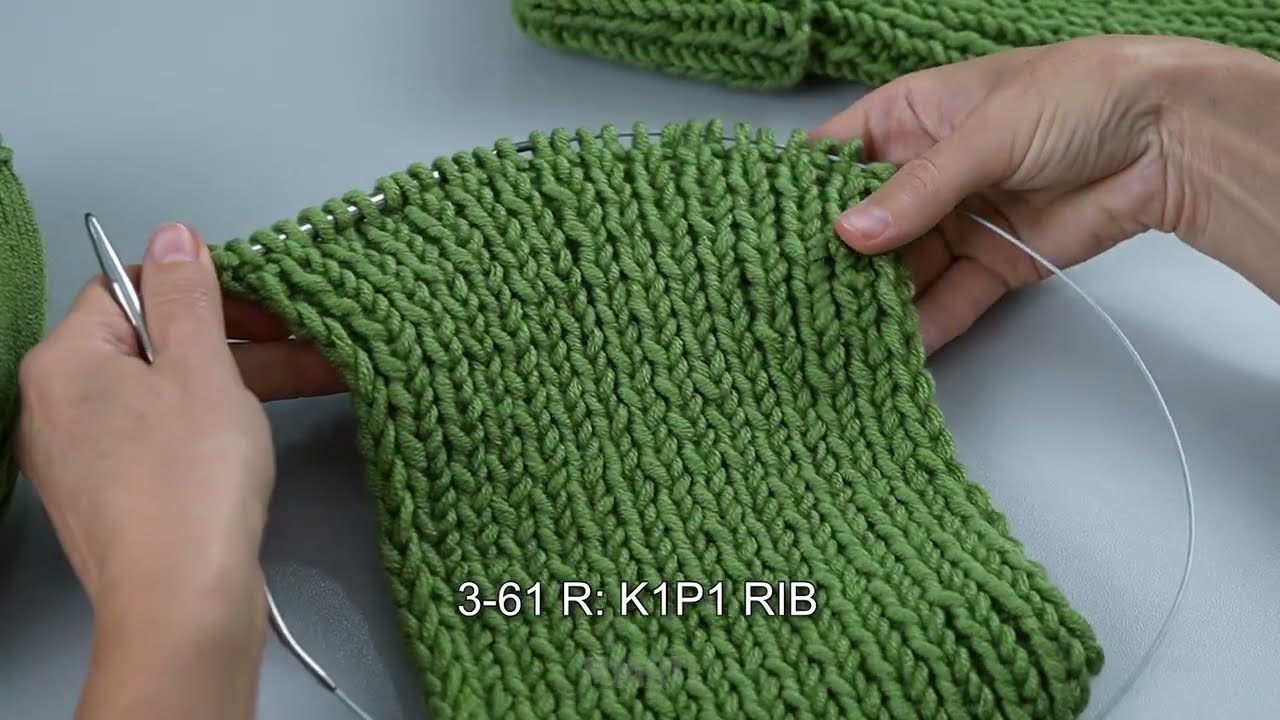
Optional ribbing for cuff: K2, P2 for 1–2 inches (keeps the sock from slipping).
-
Or just knit all stitches for a simpler cuff.
4. Knit the Leg
-
Continue knitting in the round until the leg reaches the desired length (usually 6–8 inches for adult socks).
5. Knit the Heel (Simple Flap Heel)
-
Work back and forth on half the stitches (so 20 sts if total is 40) for heel flap.
-
Knit in stockinette stitch (knit one row, purl next) until heel flap is as long as you like (about 2 inches).
6. Turn the Heel
-
To create a cup for the heel:
-
Divide heel stitches into thirds (e.g., 7 sts / 6 sts / 7 sts).
-
Use simple short rows or basic decrease method:
-
Row 1: Knit to last 2 stitches of middle section, k2tog, turn.
-
Row 2: Slip 1, purl to last 2 stitches before middle, p2tog, turn.
-
-
Repeat until all middle stitches are used up.
-
(This may sound tricky, but just think of it as shaping the sock to cup the heel.)
7. Pick Up Stitches and Knit Foot
-
Pick up stitches along the sides of the heel flap.
-
Resume knitting in the round on all stitches.
-
Continue until foot is 2 inches shorter than your total foot length.
8. Toe Shaping
-
Begin decreasing for toe:
-
Round 1: Knit to last 2 sts on needle, k2tog, repeat on all needles.
-
Round 2: Knit all stitches.
-
Repeat until 8–12 stitches remain.
-
9. Finishing the Toe
-
Use Kitchener stitch or simple grafting to close the toe.
-
Weave in all yarn ends.
Tips for Beginners
-
Use light-colored yarn so stitches are easy to see.
-
Try stretchy cast-on for easier sock fitting.
-
Keep a row counter for leg length and heel height.
-
Don’t worry about tiny gaps; it comes with practice.
This method uses stockinette stitch and a basic heel, which is simple but produces a wearable sock. Once you’re comfortable, you can explore ribbed cuffs, different heels (like short-row heels), or patterns.
If you want, I can also make a visual step-by-step diagram of the sock knitting process, which makes it super easy for beginners to follow. It’s basically like a mini infographic for socks.
Watch video: