 by
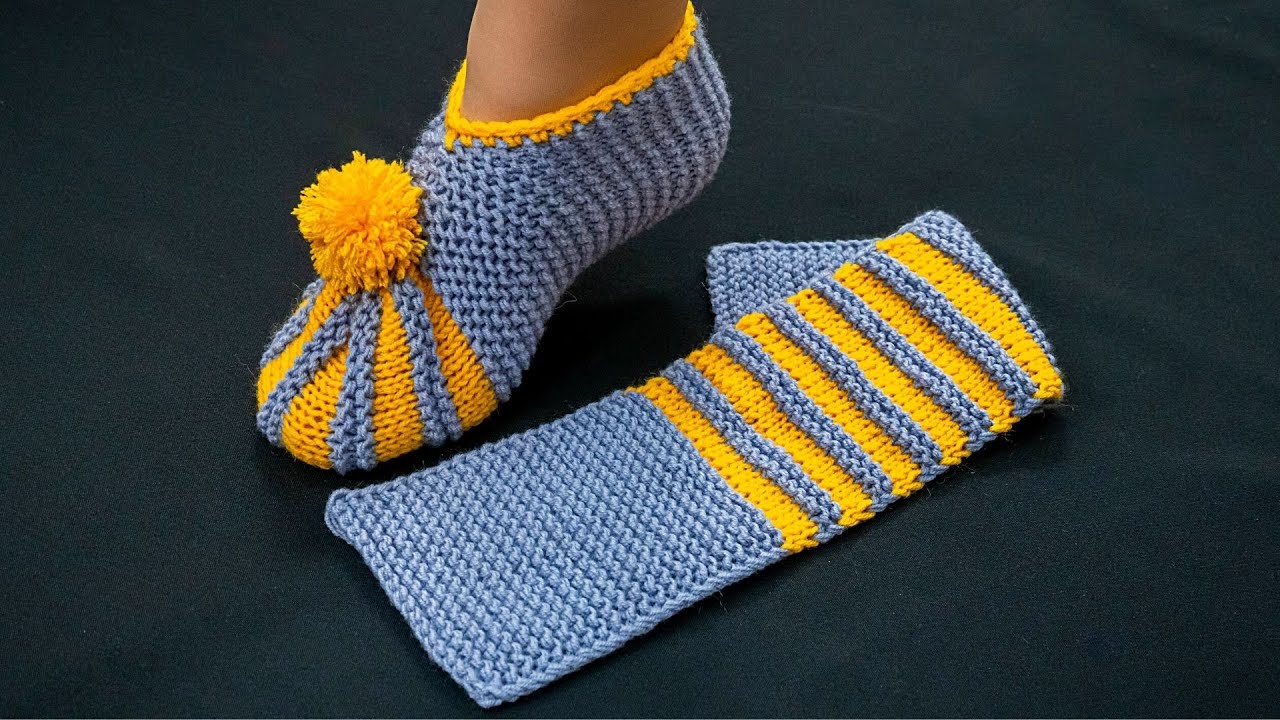
by Absolutely! Here’s a detailed, step-by-step guide on how to make simple knitted slippers, designed for beginners or anyone wanting a cozy handmade slipper. I’ll break it down from materials to finishing touches.

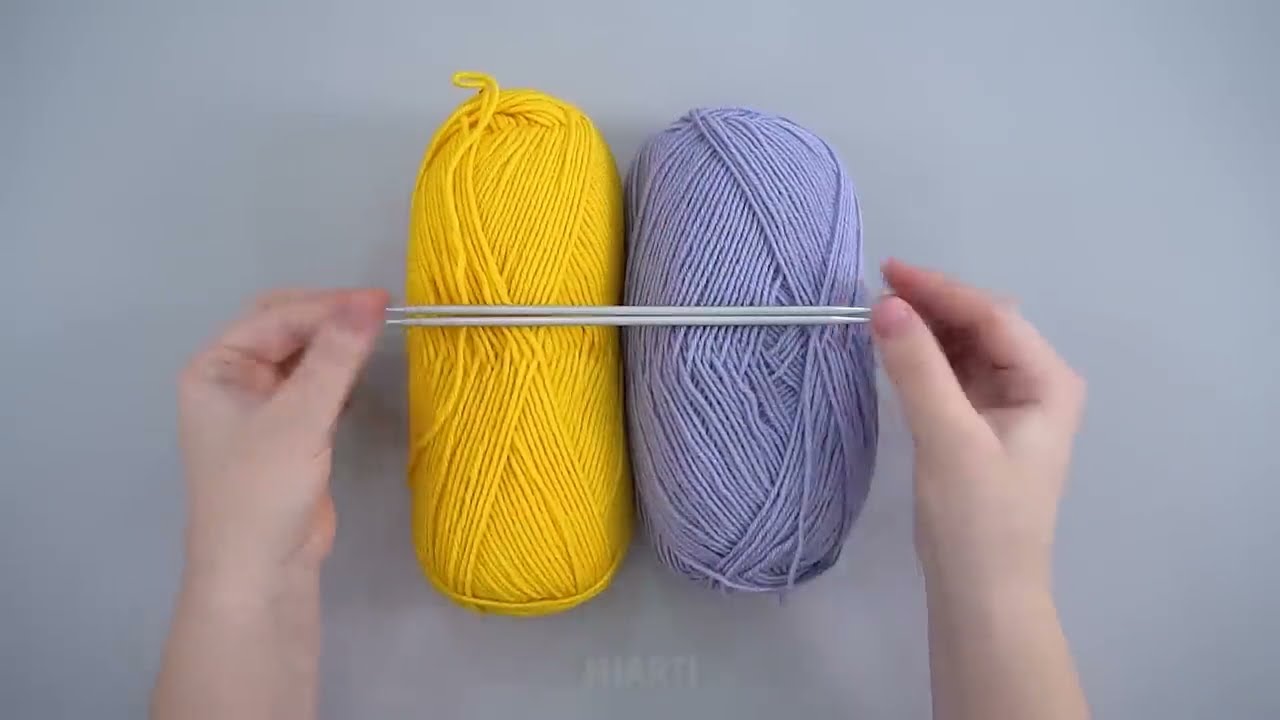
Materials You’ll Need
-
Yarn: Medium-weight (worsted) yarn works well. Wool or acrylic is good for warmth and durability.
-
Knitting needles: Size recommended for your yarn (usually US 8–10 / 5–6 mm for worsted).
-
Tapestry needle: For sewing pieces together and weaving in ends.
-
Scissors
-
Measuring tape
-
Optional: Non-slip fabric paint or grips for the soles if you want anti-slip slippers.
Step 1: Measure Your Foot
-
Measure the length and width of your foot.
-
This will help you customize the slipper so it fits comfortably.
Step 2: Cast On Stitches
-
For a simple slipper, cast on stitches equal to the width of your foot plus a little extra for ease.
-
Example: For a medium adult foot, about 30–35 stitches is typical.
-
-
Use a stretchy cast-on like the long-tail cast-on so the slipper won’t be too tight.
Step 3: Knit the Sole
-
Work in garter stitch (knit every row) or stockinette stitch (alternate knit and purl rows) until your piece matches the length of your foot from heel to toe.
-
This piece will form the sole of your slipper.
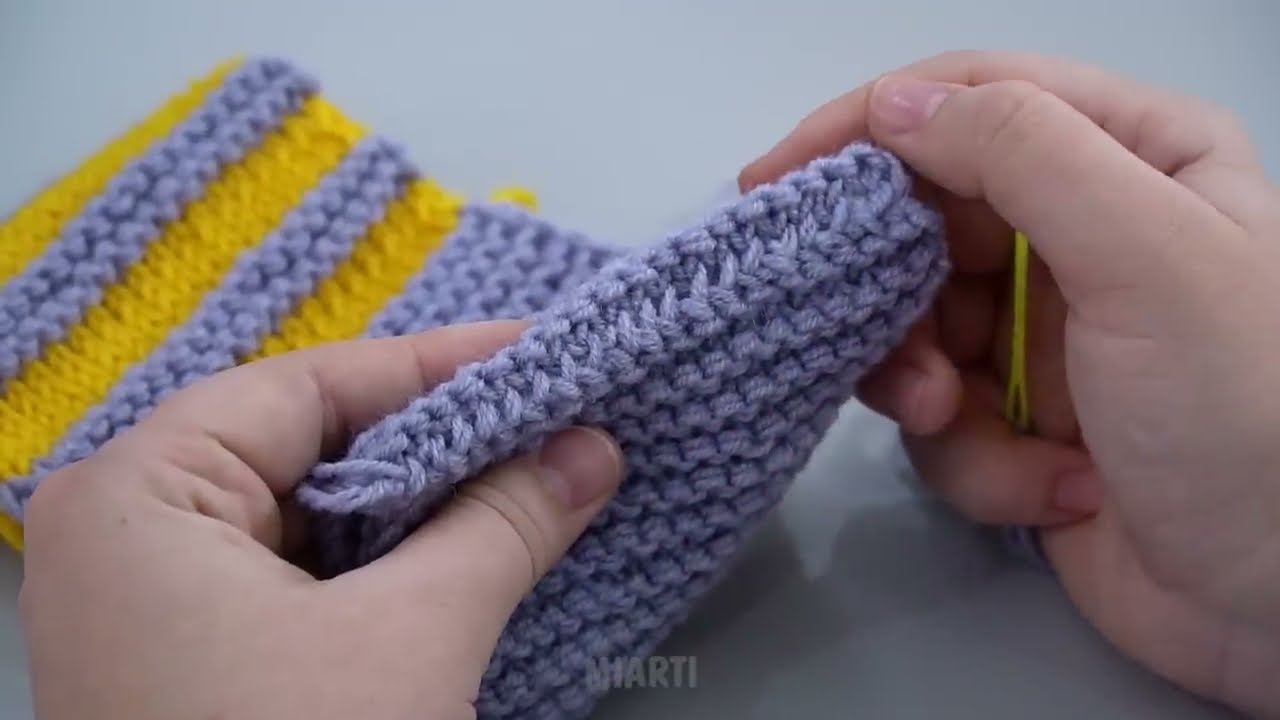
Step 4: Shape the Sides
-
After the sole is the correct length, start knitting upwards along the edges to form the sides of the slipper.
-
Knit a few inches (2–3 inches is usually enough) for a low-cut slipper.
-
Optionally, you can decrease stitches gradually near the toe for a snug fit:
-
Example: Knit 2 together (k2tog) every 4–6 stitches at the beginning and end of rows.
-
Step 5: Knit the Toe
-
When the slipper reaches the front of the foot, start shaping the toe:
-
Decrease 1 stitch at the beginning and end of every row until you have about 6–10 stitches left.
-
Cut yarn, leaving a long tail.
-
Thread the tail through the remaining stitches with a tapestry needle and pull tight to close the toe.
-
Step 6: Knit the Heel
-
If you’re doing a simple flat slipper, fold the back of the sole up and sew a seam along the heel.
-
For a more fitted slipper, you can knit a small flap and pick up stitches to shape the heel.
Step 7: Sew the Slipper Together
-
Use a tapestry needle to sew along the sides and the back heel if not knitted in one piece.
-
Make sure seams are tight but comfortable against the foot.
Step 8: Finish
-
Weave in all loose ends of yarn.
-
Optionally, add non-slip grips to the bottom using fabric paint or attach felt soles.
-
Give your slipper a final block with steam or gentle washing to even out the stitches.
Tips for a Better Slipper
-
Use elastic or ribbing at the top edge to help the slipper stay on your foot.
-
Knit a double-thick sole by knitting two layers together for extra warmth.
-
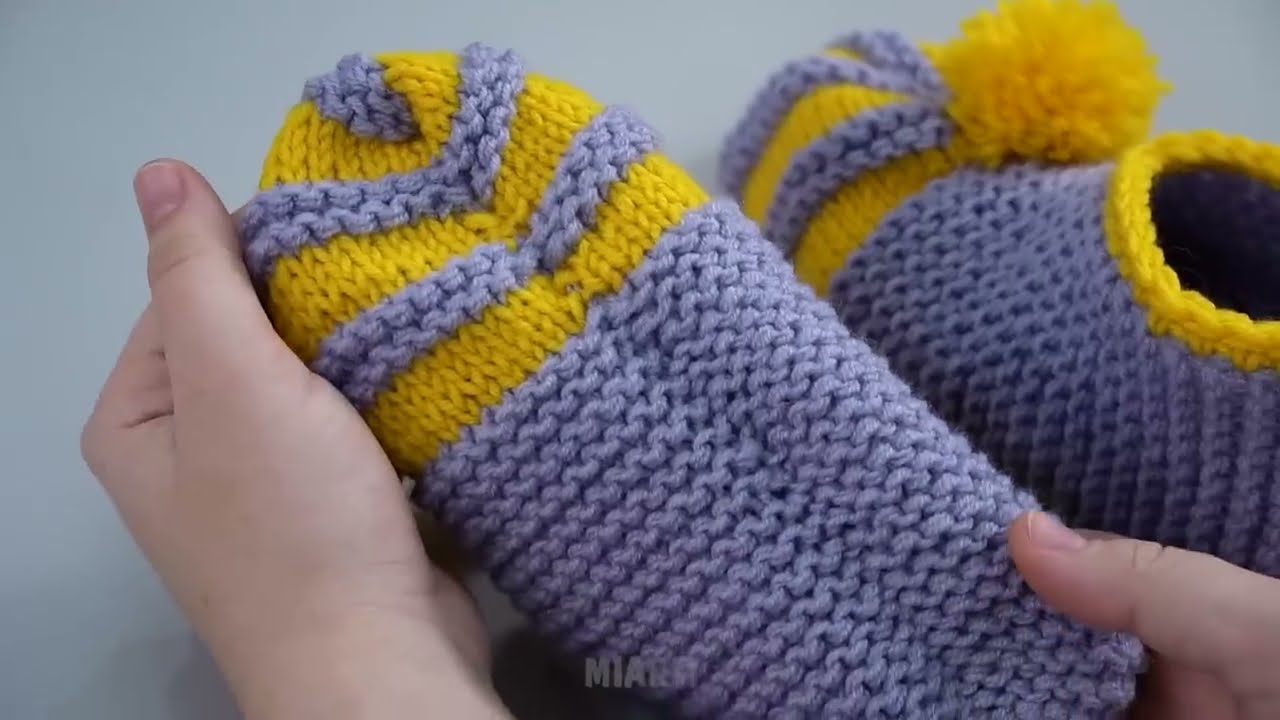
Customize with patterns, stripes, or embroidery for a personal touch.
This method produces simple, cozy slippers that are easy to knit even for beginners and can be customized in size, yarn type, and color.
If you want, I can also draw a simple diagram showing the slipper pieces and how to sew them together, which makes it much easier to visualize.
Watch video: