 by
by Sure! 🧶 Here’s a detailed, step-by-step tutorial on how to make simple knitted slippers for beginners — perfect as your first knitting project or a cozy handmade gift.
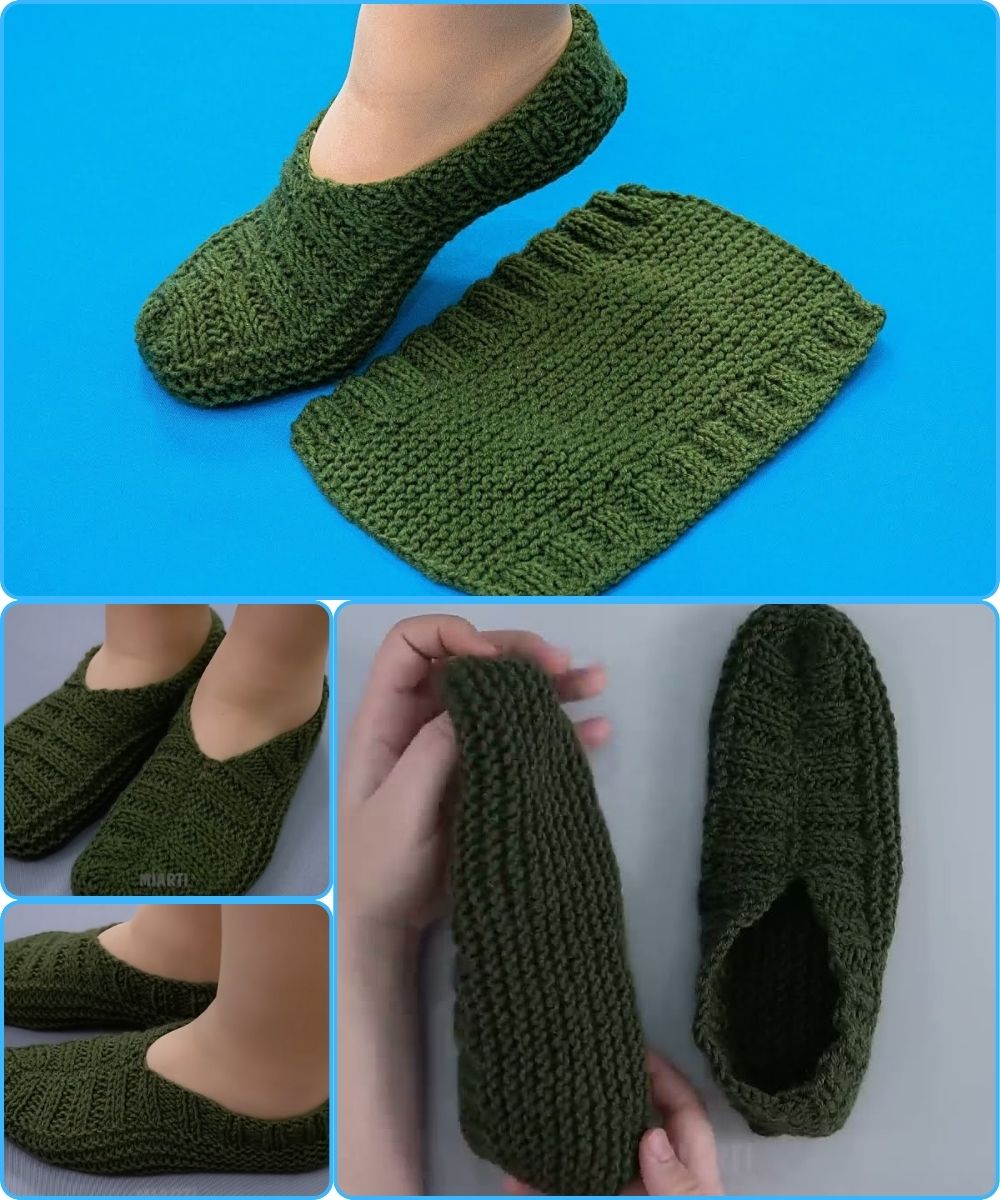
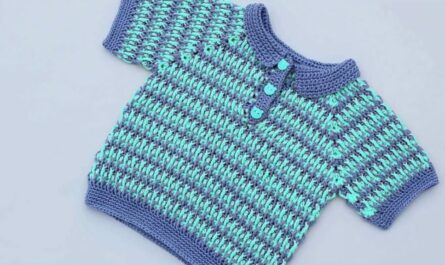
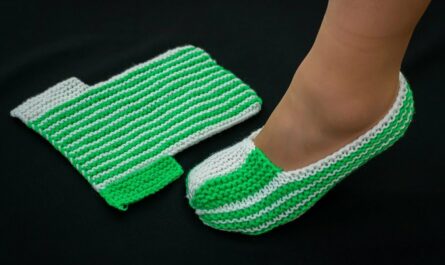
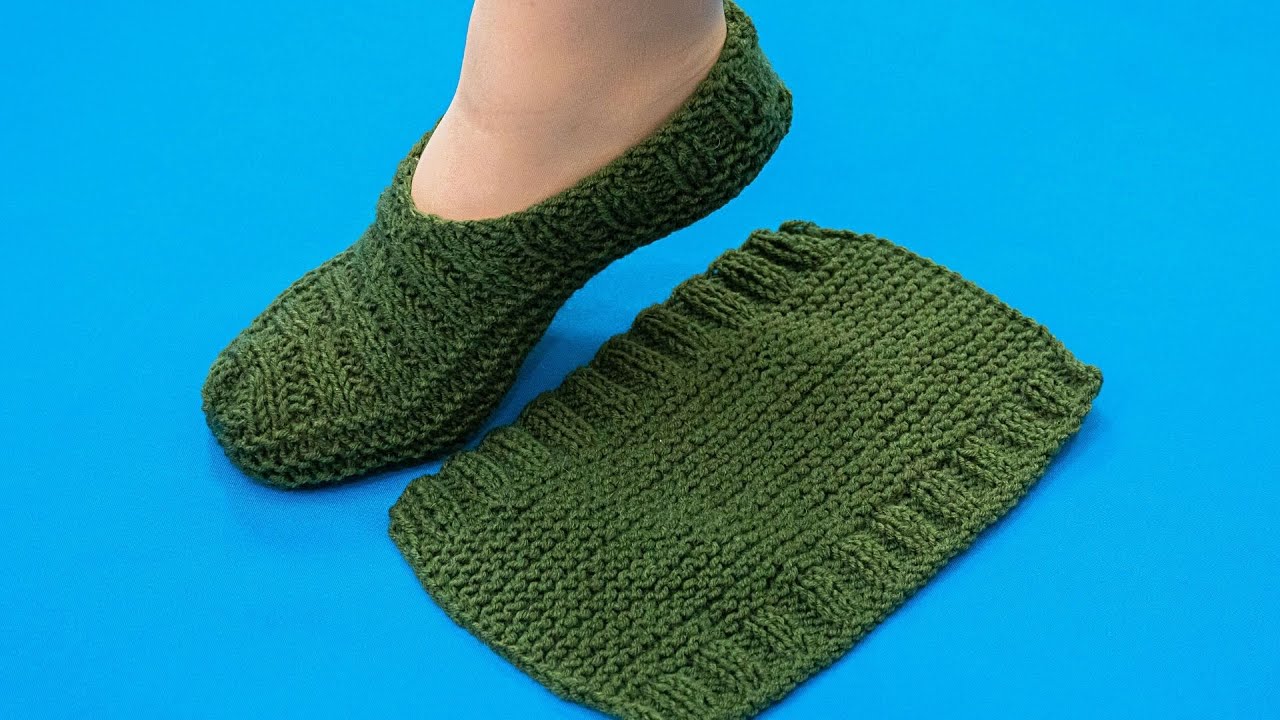
🧦 How to Make Simple Knitted Slippers (Beginner-Friendly Tutorial)
🧵 What You’ll Learn
You’ll learn how to:
-
Cast on stitches
-
Knit in garter stitch (the easiest knitting pattern!)
-
Shape and sew slippers together
🪡 Materials You’ll Need
| Item | Description |
|---|---|
| Yarn | Worsted-weight yarn (medium #4). About 100–150 yards per pair. Acrylic or wool blend works great. |
| Knitting needles | Size 8 US (5 mm) straight needles. Adjust if your yarn label suggests a different size. |
| Tapestry needle | For sewing the seams. |
| Scissors | To cut the yarn. |
| Measuring tape | Optional, for sizing. |
🧣 Step-by-Step Instructions
Step 1: Measure Your Foot
Measure the length of your foot from heel to toe and around the widest part.
You’ll knit a rectangle based on these measurements and fold it to make the slipper.
Here’s a rough guide:
| Shoe Size | Approx. Number of Stitches | Length to Knit |
|---|---|---|
| Small (US 5–6) | 28 stitches | 8.5 inches |
| Medium (US 7–8) | 32 stitches | 9.5 inches |
| Large (US 9–10) | 36 stitches | 10.5 inches |
(These are approximate; adjust based on your tension and yarn.)
Step 2: Cast On
Using the long-tail cast-on (or any method you like),
cast on the number of stitches for your size.
Example for medium slippers:
Cast on 32 stitches.
Step 3: Knit the Rectangle
Knit every row — this is called garter stitch.
Keep knitting until your piece measures about:
-
Twice the length of your foot (so it folds over easily).
For a medium size: about 18–19 inches long.
Step 4: Bind Off
When your rectangle is long enough, bind off loosely to keep the edge stretchy.
Cut the yarn, leaving a long tail (about 20 inches) for sewing.

🧷 Step 5: Shape the Slipper
Now we’ll fold and sew your rectangle to create the slipper shape.
1️⃣ Fold in Half:
Lay your rectangle flat horizontally.
Fold it in half so the short edges meet.
2️⃣ Sew the Toe:
Using your yarn needle and the long tail:
-
Sew one short end closed (this will be the toe).
-
Use a simple whip stitch or mattress stitch.
Pull the yarn a little to gather the toe slightly if you want it rounded.
3️⃣ Sew the Top of the Foot:
Starting from the toe seam, sew about 1/3 of the way up along the top edge.
Leave the rest open — that’s the hole for your foot.
4️⃣ Sew the Heel:
Sew the opposite short edge (the heel) together.
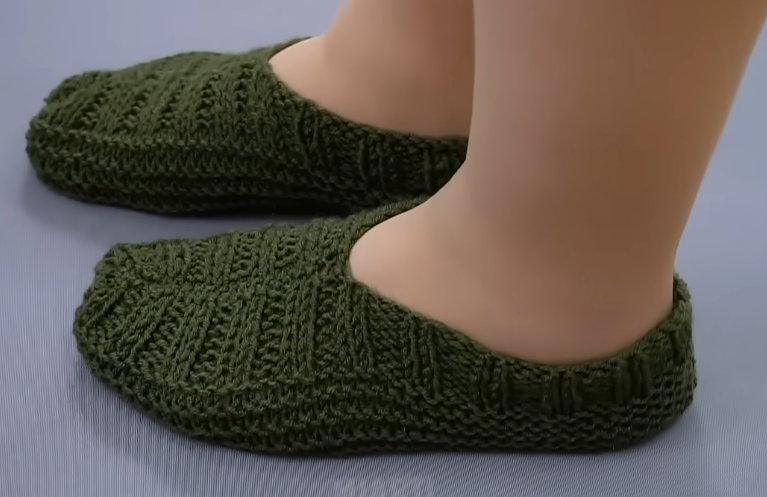
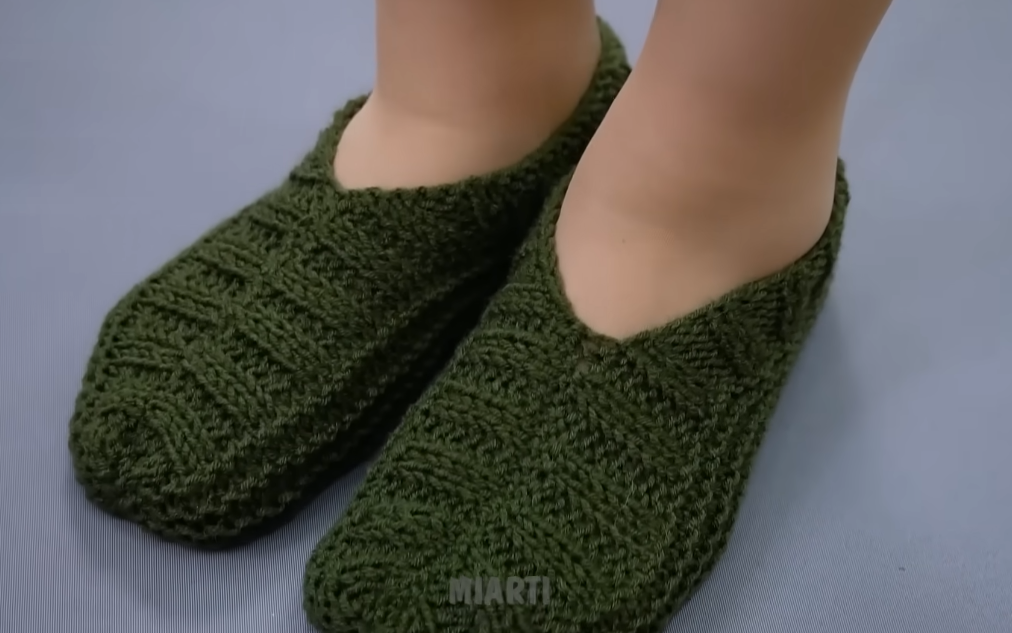
Step 6: Try Them On and Adjust
Turn the slipper inside out so the seams are hidden.
Slip it onto your foot — it should fit snugly but comfortably.
If it feels loose, you can sew a little further up the top seam.
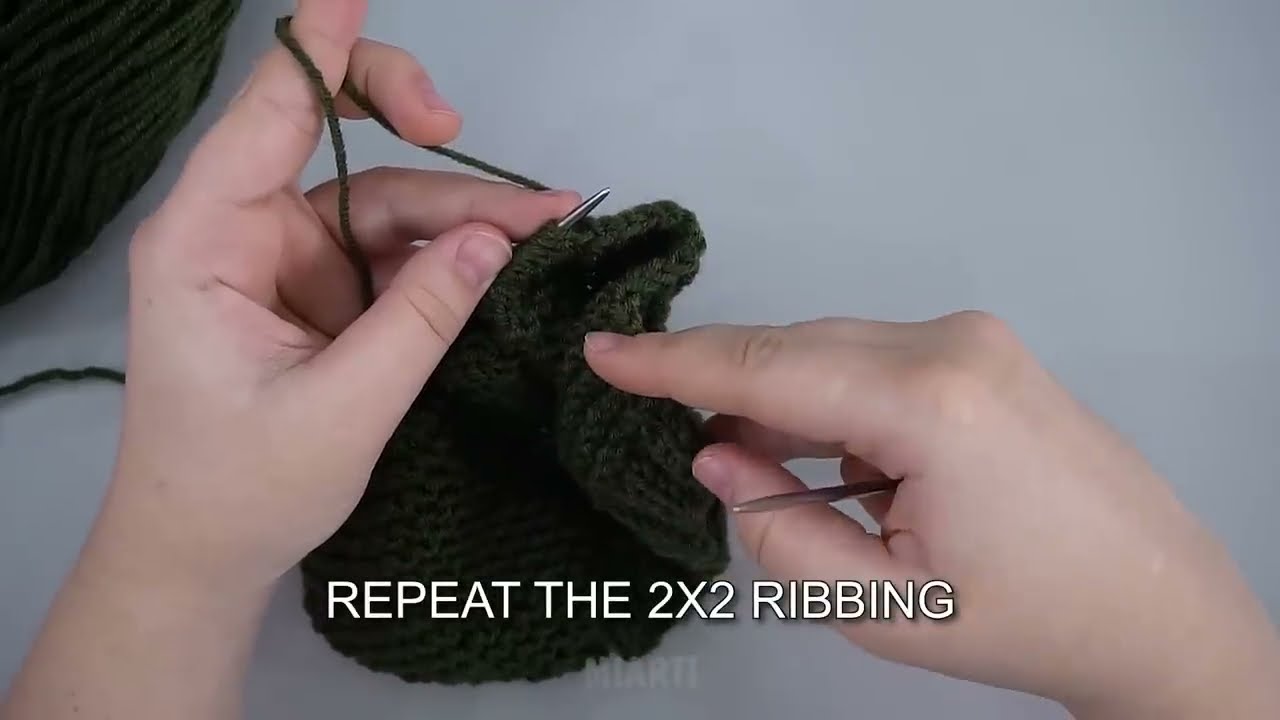
Step 7: (Optional) Add a Ribbed Cuff or Decorate
You can:
-
Pick up stitches around the ankle and knit 1×1 ribbing (knit 1, purl 1) for 1–2 inches.
-
Add pompoms, buttons, or a bow for decoration.
-
Use two colors of yarn for stripes!
💡 Tips for Success
-
Always check your gauge: if your slippers are too big, use smaller needles; if too small, go up a size.
-
Use stitch markers to count rows if you want a matching pair.
-
Acrylic yarn is easier to wash; wool is warmer.
🧶 Quick Summary (Pattern)
-
Cast on 32 stitches.
-
Knit every row until the piece is 18″ long.
-
Bind off loosely.
-
Fold and sew one short end (toe).
-
Sew ⅓ up from toe along top.
-
Sew the other short end (heel).
-
Turn right-side out — done!
Would you like me to include step-by-step photos or diagrams (like how to fold and sew it)? I can create a visual guide to make it even easier to follow.
Watch video: