 by
by Here’s a detailed step-by-step guide for making a handbag at home using cloth, perfect for beginners or intermediate crafters. This DIY fabric handbag is sturdy, stylish, and can be customized with your favorite fabrics.
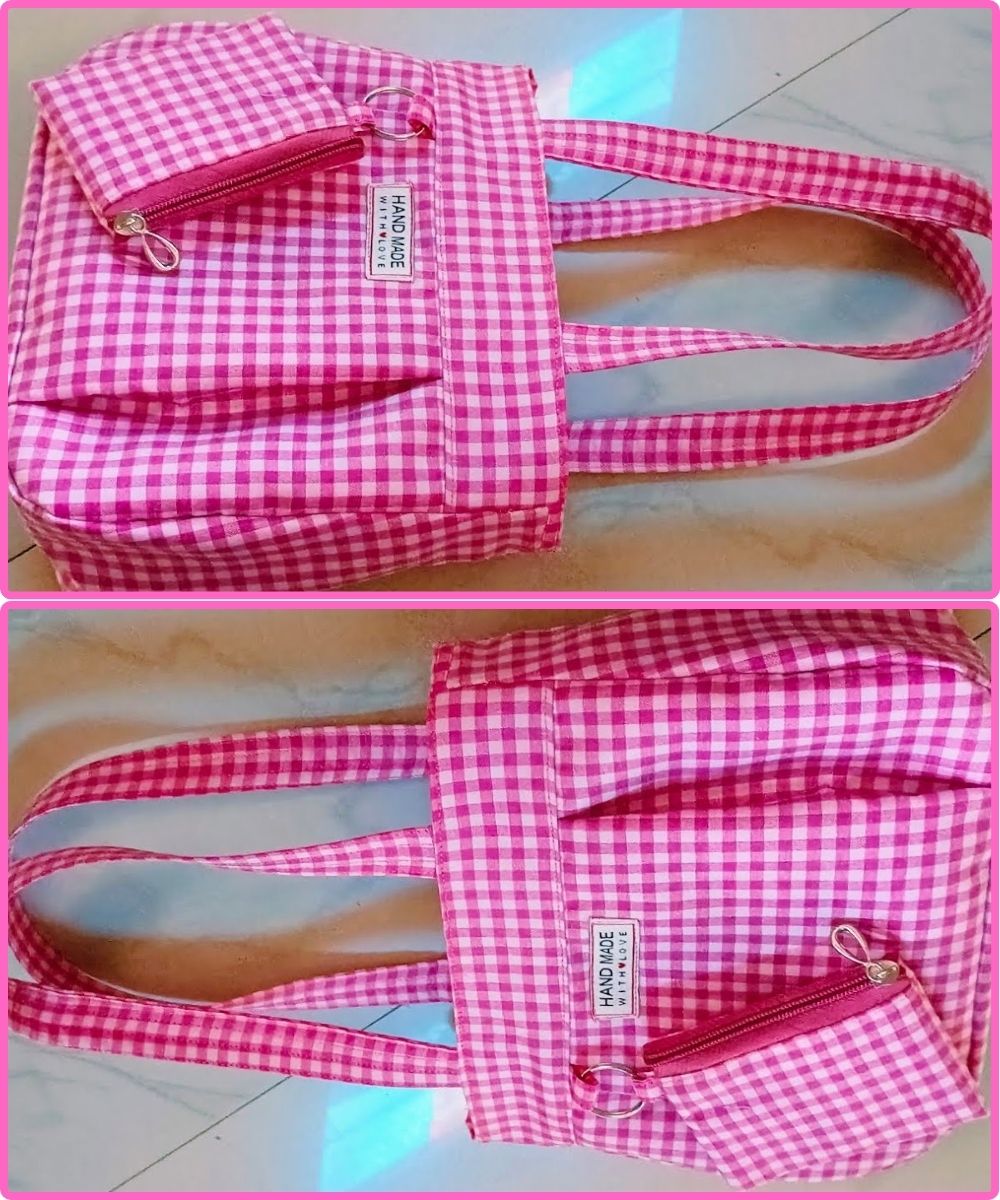
👜 How to Make a Cloth Handbag at Home (Step-by-Step Guide)
🧵 Project: DIY Fabric Handbag
Skill Level: Beginner to Intermediate
Time Required: 2–4 hours
Finished Size: Approx. 12” wide x 10” high x 3” deep (adjustable)
✂️ Materials Needed:
| Item | Description |
|---|---|
| Outer Fabric (Main Body) | Medium-weight cotton, canvas, or denim – ½ yard |
| Lining Fabric | Light cotton or matching fabric – ½ yard |
| Interfacing (Optional but recommended) | Fusible medium-weight interfacing – ½ yard |
| Handles | Fabric straps (or ready-made bag straps), 2 pieces of 20″ x 2″ |
| Sewing Thread | Matching or contrast color |
| Sewing Machine | With universal needle |
| Scissors or Rotary Cutter | For cutting fabric |
| Measuring Tape/Ruler | For accuracy |
| Pins or Fabric Clips | To hold pieces in place |
| Iron | For pressing seams and fusing interfacing |
| Optional: Magnetic Snap or Zipper | For closure |
📐 Cutting Measurements:
| Piece | Quantity | Size |
|---|---|---|
| Outer Fabric (Main Bag) | 2 pieces | 14” x 12” |
| Lining Fabric | 2 pieces | 14” x 12” |
| Bottom Gusset (optional for more depth) | 1 outer + 1 lining | 14” x 4” |
| Handles | 2 pieces | 20” x 4” (folded) |
| Interfacing | Match to outer pieces | 2 or 3 pieces (optional bottom gusset) |

🧶 Instructions:
1. Prepare Your Fabric Pieces
-
Iron all your fabric to remove wrinkles.
-
Fuse interfacing to the wrong side of the outer fabric for added structure.
-
If using a gusset, fuse interfacing to it as well.
2. Make the Handles
-
Fold each 20” x 4” strap in half lengthwise (right sides out), then open.
-
Fold each edge toward the center fold and press.
-
Fold in half again (like bias tape), press, and topstitch both edges.
-
Set aside.
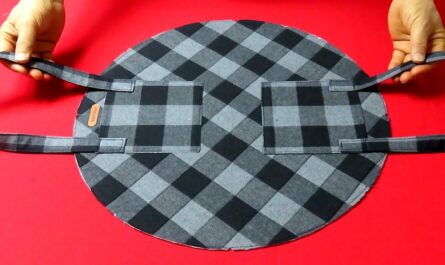
3. Assemble the Outer Bag
-
If you’re not using a gusset: place outer pieces right sides together and sew down both sides and bottom using ½” seam allowance.
-
If using a gusset: sew one side of the gusset to the bottom of the front piece, and the other to the bottom of the back piece. Then sew the side edges of the gusset to the side edges of the main pieces.
4. Box the Corners (Optional, for depth)
-
Pinch each bottom corner so the side seam aligns with the bottom seam, forming a triangle.
-
Measure 1.5” from the point, mark a line, and stitch across.
-
Trim excess and finish edges if desired.
5. Sew the Lining
-
Repeat the same steps with the lining fabric.
-
Important: Leave a 4” gap at the bottom for turning the bag right side out later.
6. Attach the Handles
-
Pin handles to the outer bag: measure approx. 3” from each side seam and align the ends of the strap with the top edge (right side of fabric).
-
Make sure handles are not twisted.
-
Baste stitch in place.
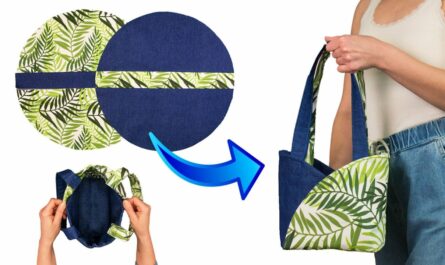
7. Combine Outer Bag and Lining
-
With right sides together, place the outer bag inside the lining (it will be inside-out).
-
Align top edges and pin all the way around.
-
Sew along the top edge with a ½” seam allowance.
8. Turn the Bag Right Side Out
-
Pull the outer bag through the hole in the lining.
-
Push the lining down inside the outer bag and press the top edge flat.
9. Topstitch the Top Edge
-
Sew a neat line around the top edge of the bag to hold the lining in place and give a finished look.
10. Close the Lining Hole
-
Fold in the edges of the gap in the lining and topstitch or hand sew it closed.
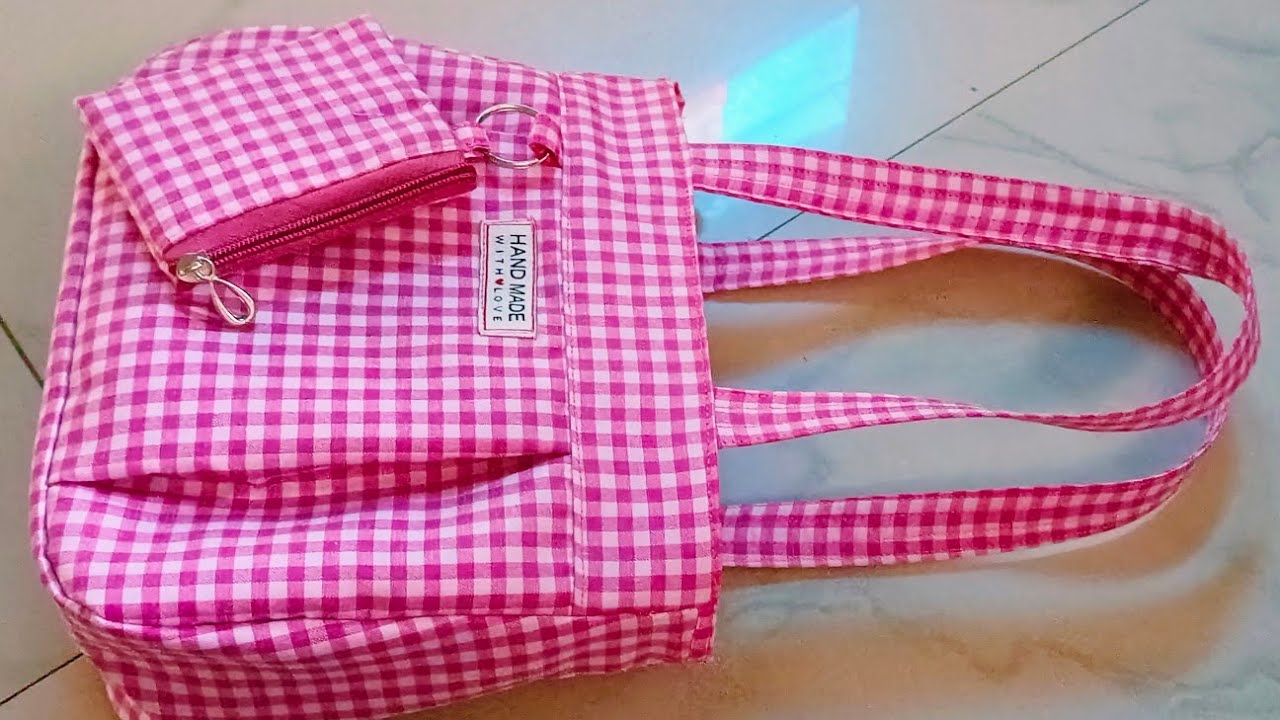
11. Add Closure (Optional)
-
Install a magnetic snap or sew a zipper at the top if you want added security.
🎀 Optional Customizations:
-
Add Interior Pockets: Use extra lining fabric (e.g., 6” x 8”), fold and sew onto the lining before assembling.
-
Use Patchwork or Quilted Fabric for the outer layer.
-
Decorate with Lace, Buttons, or Embroidery.
-
Add a Key Clip or D-Ring inside.
🧼 Care Tips:
-
Hand wash or machine wash gently depending on fabric type.
-
Let air dry, and iron lightly if needed.
Would you like a printable template, pattern image, or video tutorial suggestions? I can help you find or create those too!
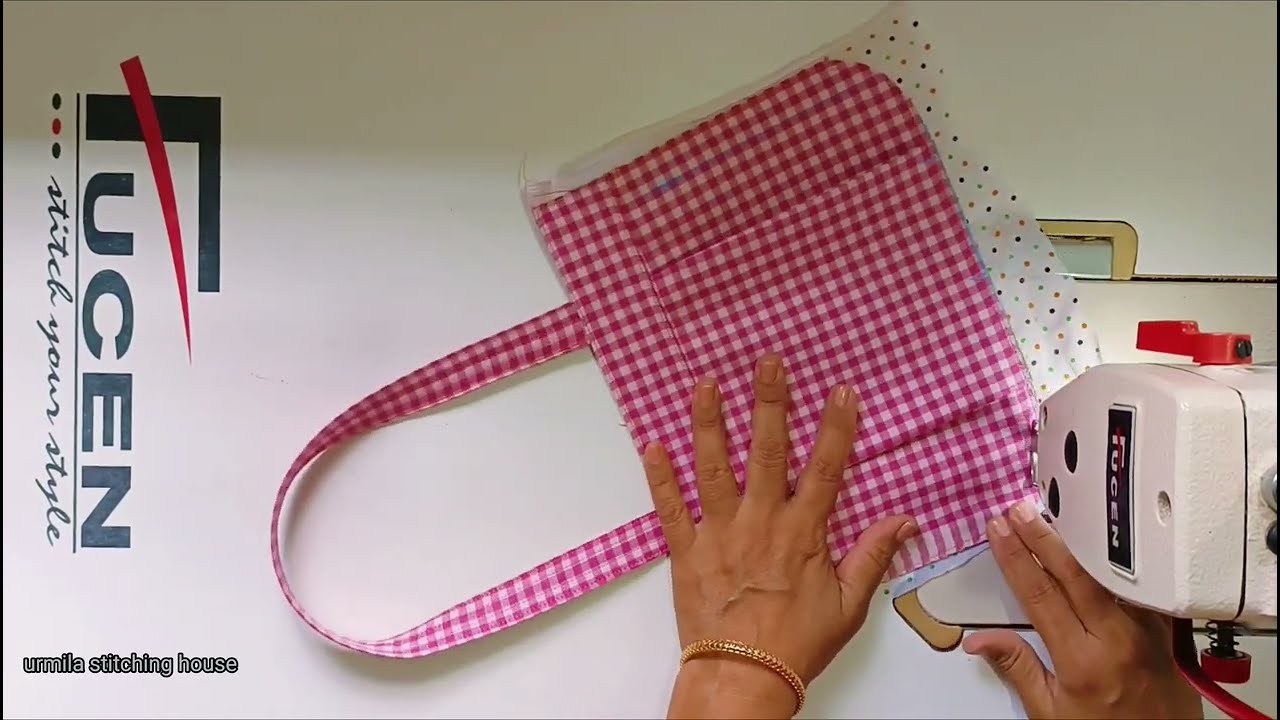
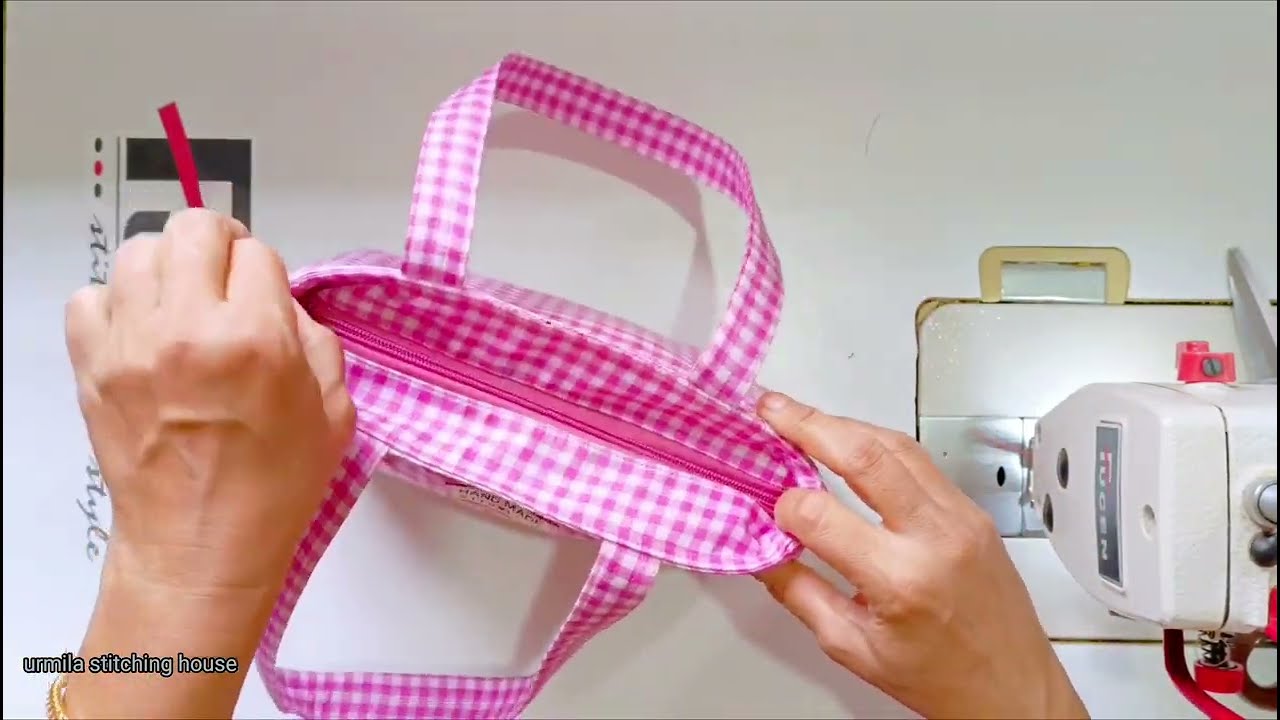
Watch video: