by
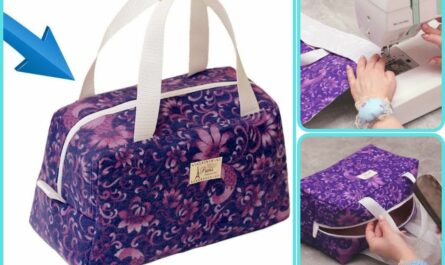
by Sure! Here’s a detailed guide on how to make a genius sewing idea to create a coin purse from fabric scraps. This is an easy and useful DIY project perfect for beginners or anyone wanting to upcycle leftover fabric.

✂️ How to Make a Coin Purse from Fabric Scraps
Easy, Genius, and Useful Sewing Idea!
🧵 Supplies You’ll Need:
-
Fabric scraps (2 types: one for the outside, one for lining)
-
Fusible interfacing (optional, for structure)
-
Zipper (4–6 inches long)
-
Scissors or rotary cutter
-
Ruler or measuring tape
-
Sewing machine or needle and thread
-
Pins or clips
-
Iron
📏 Step-by-Step Instructions:
Step 1: Cut Your Fabric
-
Outer fabric: Cut 2 rectangles, each about 5” x 4”
-
Lining fabric: Cut 2 rectangles of the same size
-
Interfacing (optional): Cut 2 rectangles and fuse them to the wrong side of the outer fabric using an iron
You can make these bigger or smaller depending on how large you want your coin purse.
Step 2: Attach the Zipper
-
Place one piece of outer fabric (right side up).
-
Lay the zipper face down along the top edge.
-
Place the lining fabric (right side down) on top, sandwiching the zipper.
-
Pin and sew using a zipper foot (or slowly with a regular foot if hand sewing).
-
Repeat for the other side of the zipper using the remaining fabric pieces.
Step 3: Press and Topstitch
-
Open the fabrics and press them flat away from the zipper.
-
Topstitch along both edges of the zipper to keep the fabric from getting caught.

Step 4: Sew the Coin Purse
-
Unzip the zipper halfway (don’t skip this!).
-
Fold the pieces so the outer fabrics face each other and the lining pieces face each other.
-
Pin or clip all the way around.
-
Sew all around the edge using a ¼” seam allowance. Leave a 2-inch opening at the bottom of the lining.
-
(Optional) Clip corners for a neater turn.
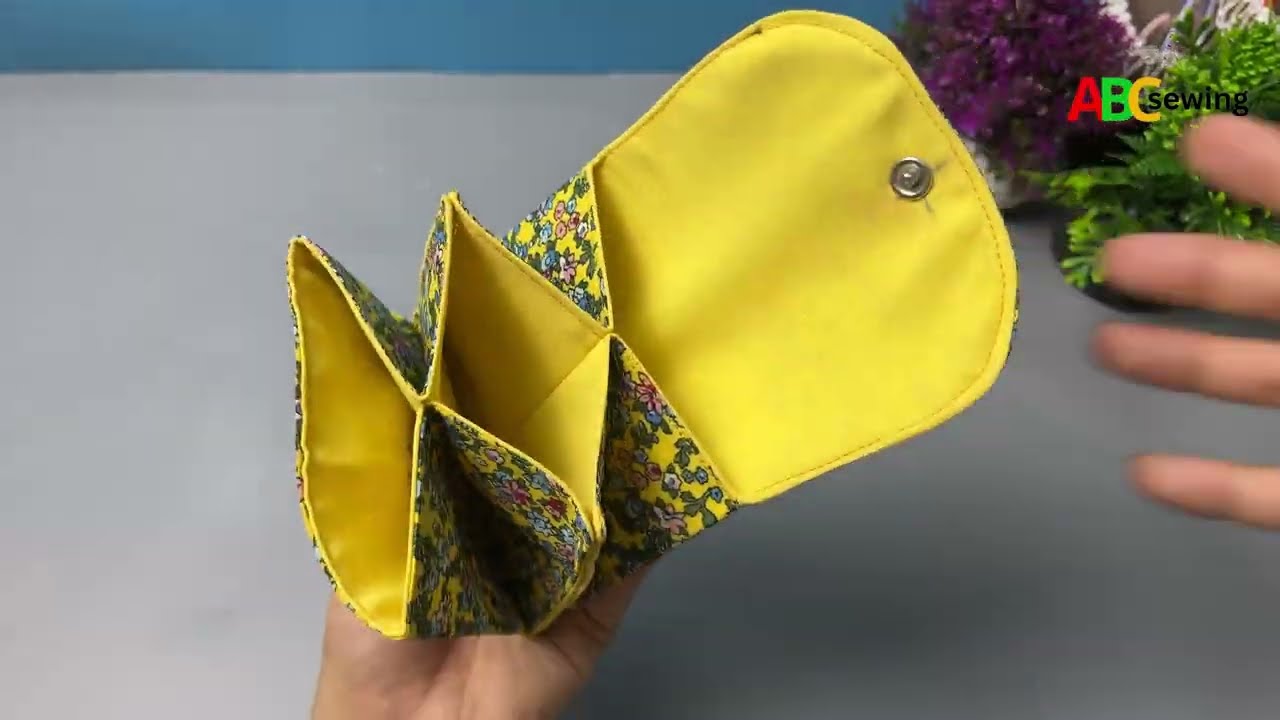
Step 5: Turn and Finish
-
Turn the purse right side out through the opening in the lining.
-
Push out corners gently for a clean shape.
-
Sew the opening in the lining closed (by hand or with a machine).
-
Tuck the lining inside the pouch, zip it up—and you’re done!

🧠 Genius Tips:
-
Use colorful zippers for a pop of style.
-
Add a small fabric loop on the side to attach keychains or clips.
-
Embroider or applique your initials before assembling for a personal touch.
-
Use waterproof lining (like PUL or laminated cotton) for a mini makeup bag or travel pouch.
🧶 Why This Project Is Genius:
-
Zero Waste: Uses fabric scraps creatively.
-
Quick: Takes about 30–45 minutes.
-
Functional: Perfect for coins, keys, earphones, or small gifts.
-
Customizable: Make in any size or pattern.
Watch video: