 by
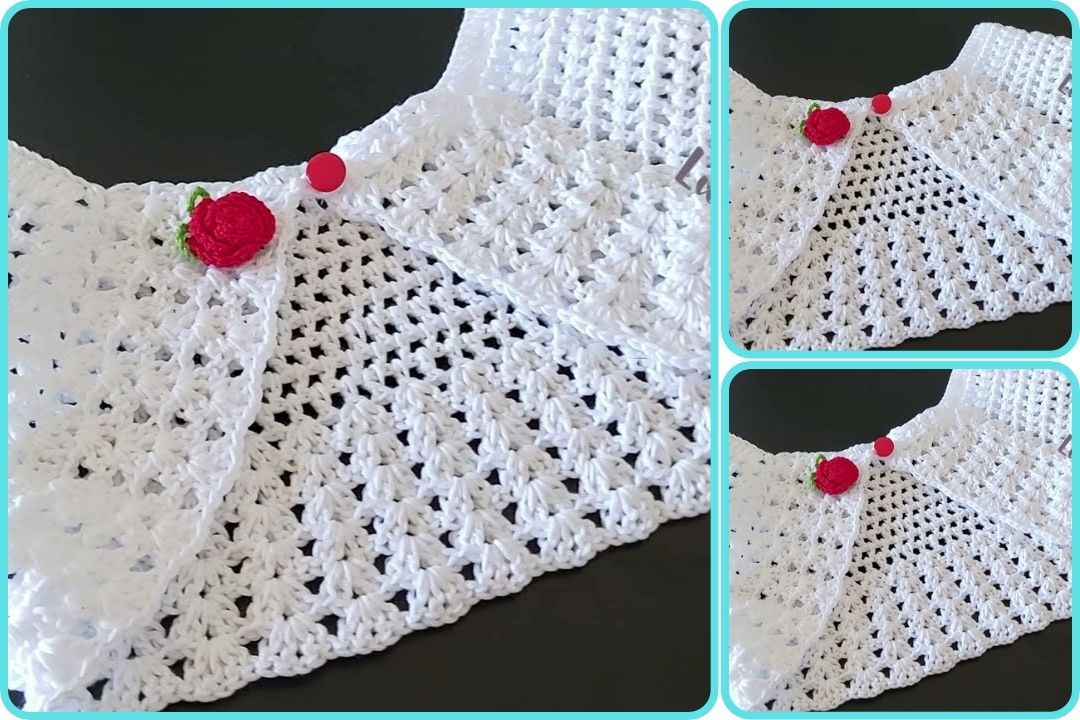
by Sure! Here’s a step-by-step guide to making a crochet bolero for babies aged 6 to 12 months, ideal for beginners. A bolero is a cute, short cardigan-like garment perfect for layering. We’ll keep it simple with basic stitches and an easy construction method.

🧶 How to Make a Crochet Bolero (6–12 Months) – Step by Step – Easy Knitting
Note: Crochet is not knitting, but some people refer to crochet as “knitting” casually. This is a crochet pattern using a hook, not knitting needles.
🧵 Materials Needed:
-
Yarn: Soft baby yarn (medium weight, category 3 or 4) — approx. 150–200g
-
Hook Size: 4.0 mm (G-6) or size suitable for yarn
-
Scissors
-
Measuring tape
-
Tapestry needle for weaving in ends
-
Optional: Buttons or decorative edging
📏 Measurements (Approximate for 6–12 Months):
-
Chest circumference: 18–19 inches (45–48 cm)
-
Bolero width (front to back): ~10 inches (25 cm)
-
Length from neck to waist: ~9 inches (23 cm)
🧶 Stitches Used (US Terms):
-
ch – chain
-
sc – single crochet
-
dc – double crochet
-
sl st – slip stitch
-
hdc – half double crochet (optional)

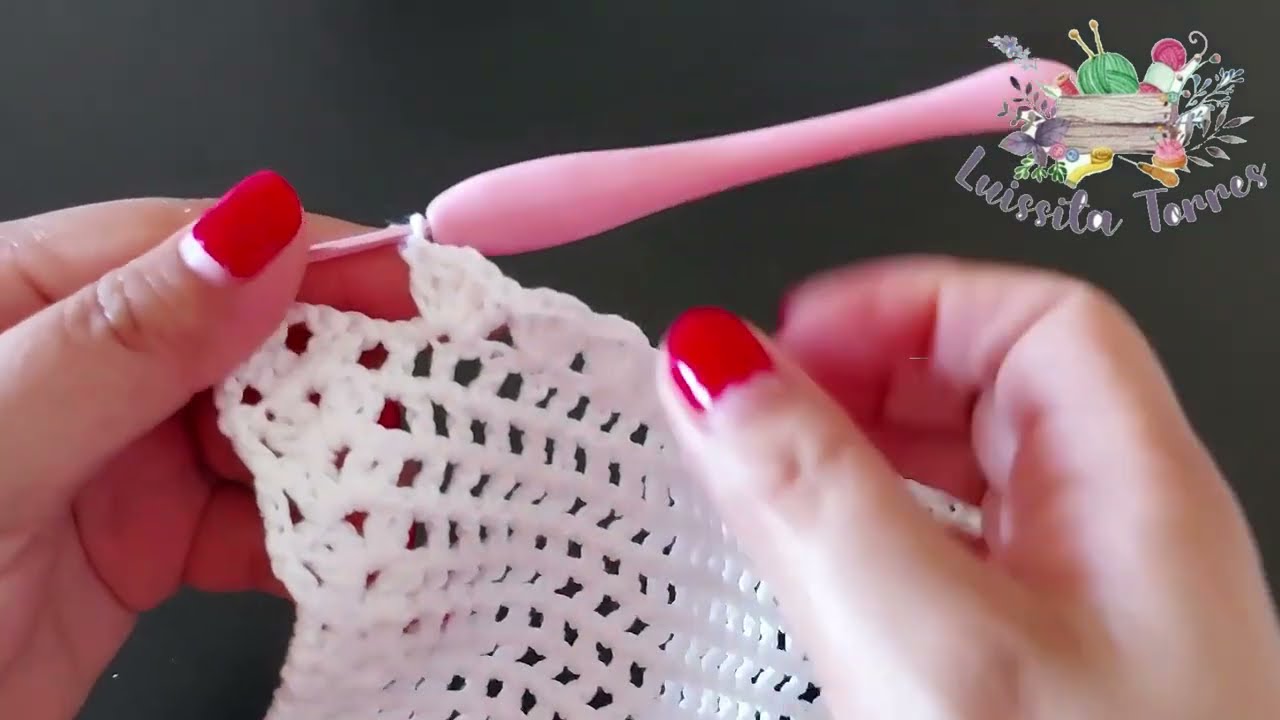
🔶 Step-by-Step Instructions:
🧤 Step 1: Make the Yoke (Top Part)
-
Foundation chain: Ch 52
(You can adjust by multiples of 4 if needed) -
Row 1: Dc in 4th ch from hook and in each ch across. (Total: 50 dc)
Ch 2 and turn. -
Row 2: Dc in next 7 stitches, (dc, ch 1, dc) in next stitch (this creates a corner)
Repeat * 3 more times at intervals (after every 10 stitches), ending with dc in last 7 stitches.You now have a rectangular yoke with 4 corners. These corners will create the sleeves.
-
Rows 3–6: Continue this pattern: Dc in each stitch and work (dc, ch 1, dc) into each ch-1 space from the previous row (the corners).
By Row 6, your yoke should measure about 4 inches tall and have 5 rows of increases at corners.
👕 Step 2: Divide for Body and Sleeves
-
Row 7:
Work dc to first corner, skip stitches between 1st and 2nd corner (these form the first sleeve),
continue dc to next corner, skip next sleeve stitches, dc to end.You now have the body section only.
🎽 Step 3: Crochet the Body
-
Rows 8–14 (or desired length): Dc across each row. Ch 2 and turn.
Stop when body is approx. 9 inches from top of yoke to bottom. -
Optional Edging:
Work a row or two of sc or hdc around the bottom and neckline for a neat finish.
🖐 Step 4: Crochet the Sleeves
-
Join yarn at underarm: Insert hook and ch 2.
-
Round 1: Dc evenly around armhole (you can work 24–28 dc), sl st to join.
Optional: use hdc for a tighter fit. -
Rounds 2–5: Continue in rounds until desired sleeve length (about 4–5 inches).
Fasten off and repeat for second sleeve.

✨ Step 5: Finishing Touches
-
Weave in all yarn ends with a tapestry needle.
-
Add buttons or ties at the neckline if desired.
-
You can also add picot edging or shell stitch around the border for decoration.
📌 Tips for Success:
-
Always measure as you go to adjust for different yarns.
-
Use stitch markers to keep track of corners.
-
Use cotton or soft acrylic yarn for baby-friendly comfort.
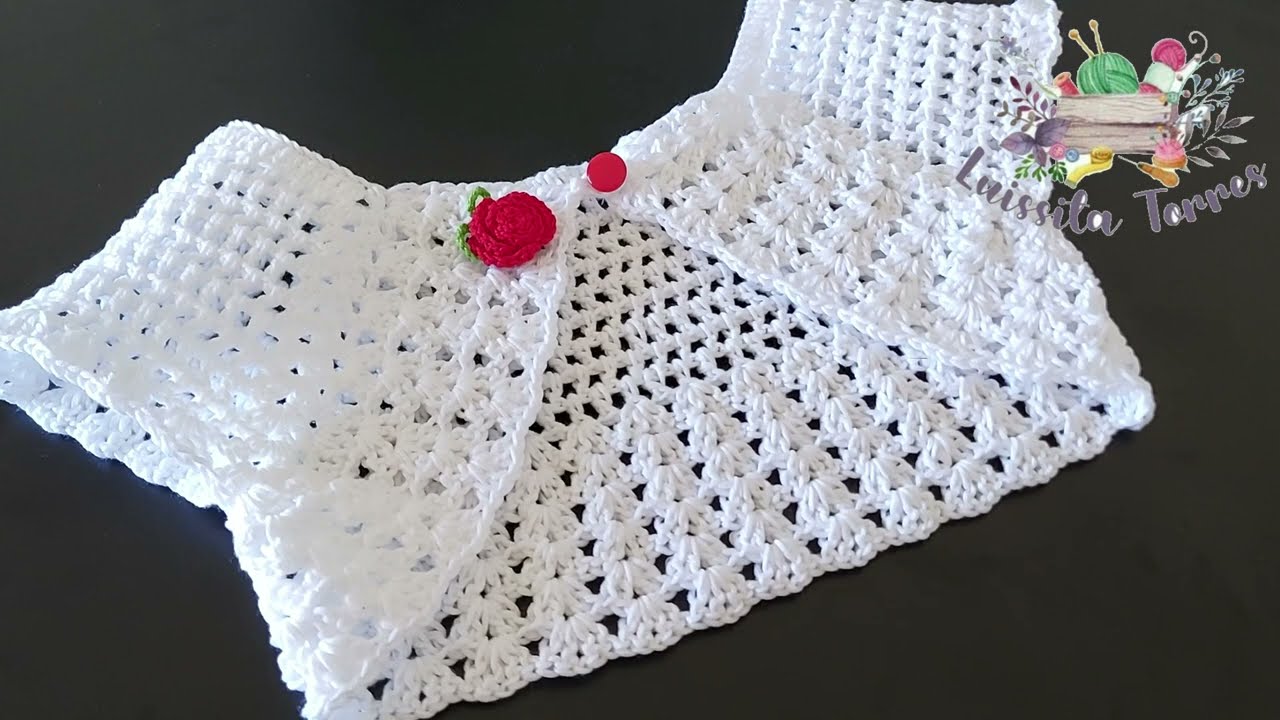
👶 Final Result:
A soft, cozy bolero with short or long sleeves, perfect over a dress or onesie. Lightweight yet warm, stylish and practical for 6–12 month-old babies.
Watch video: