 by
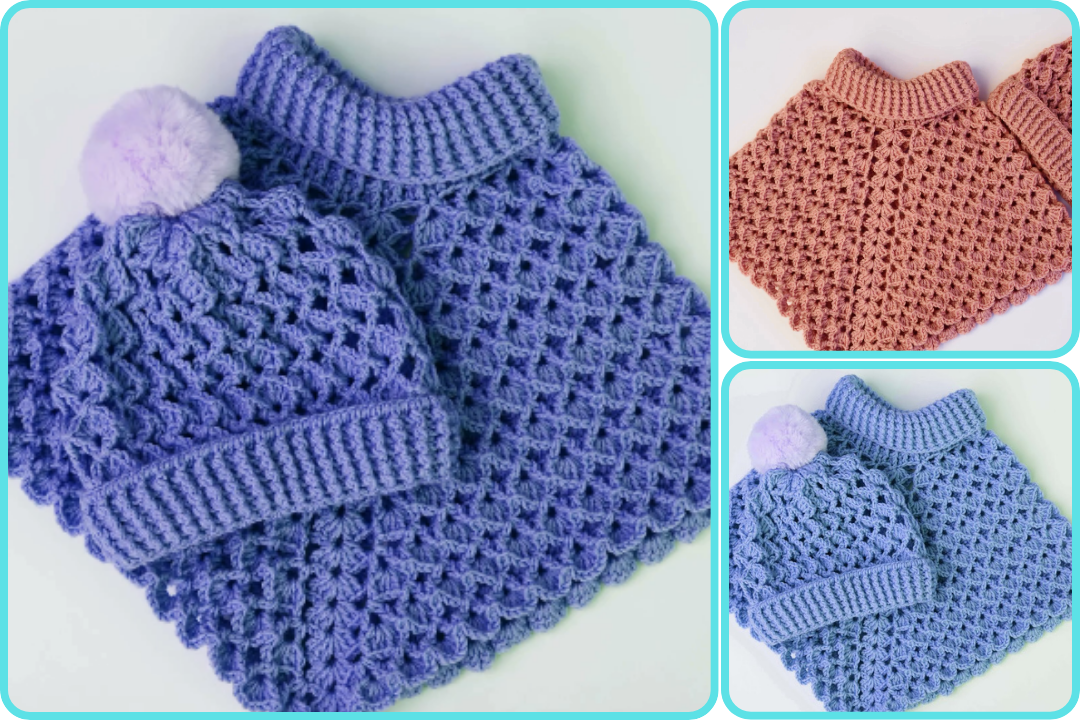
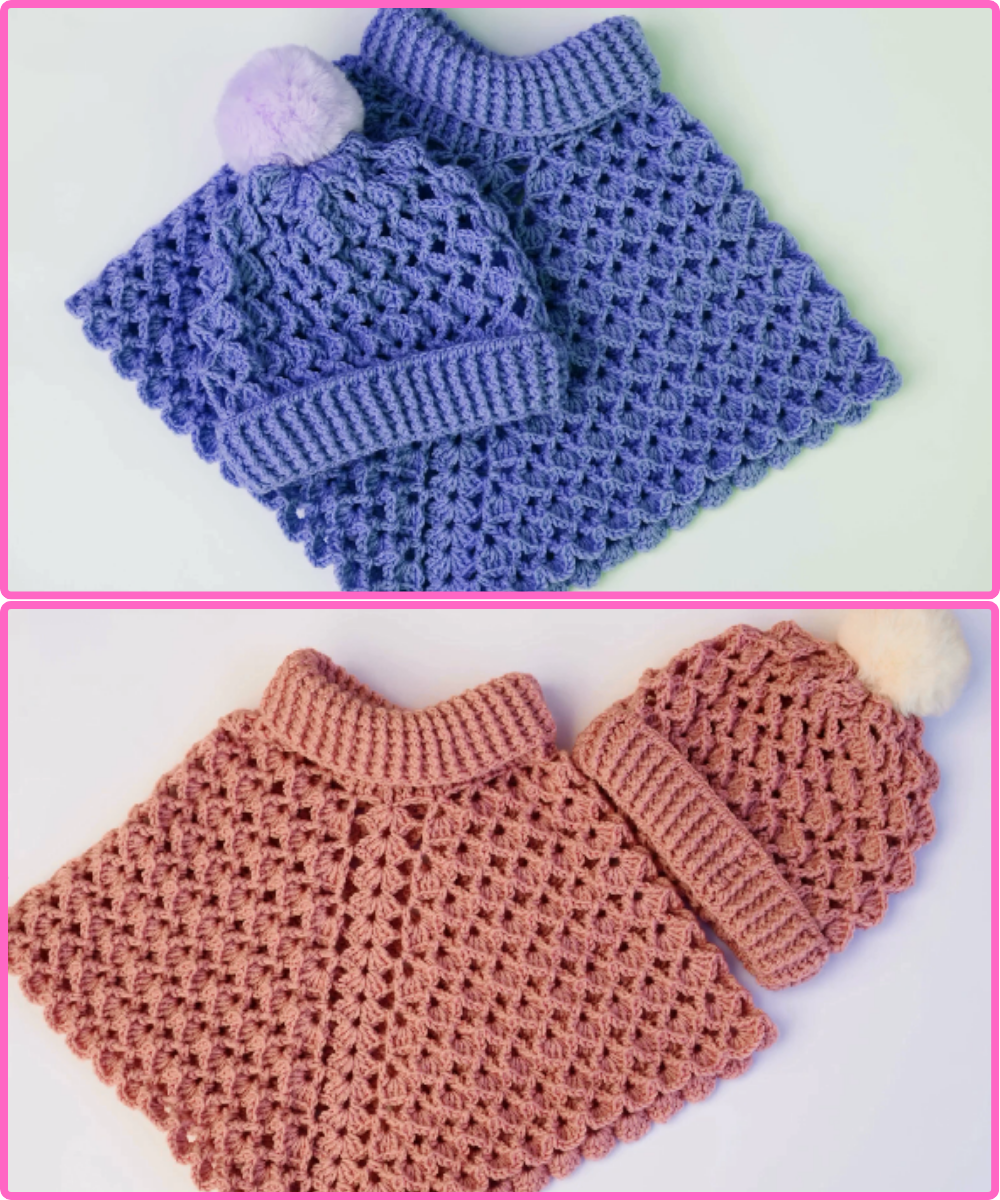
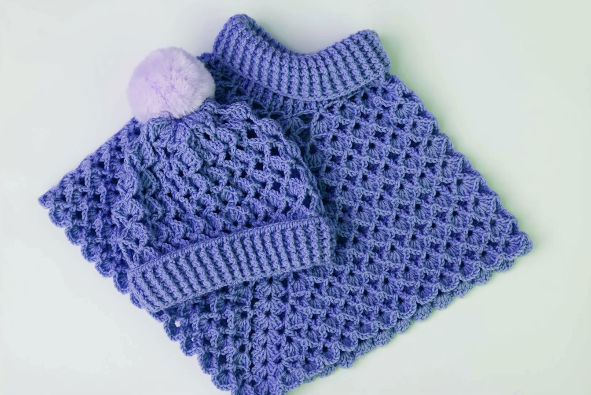
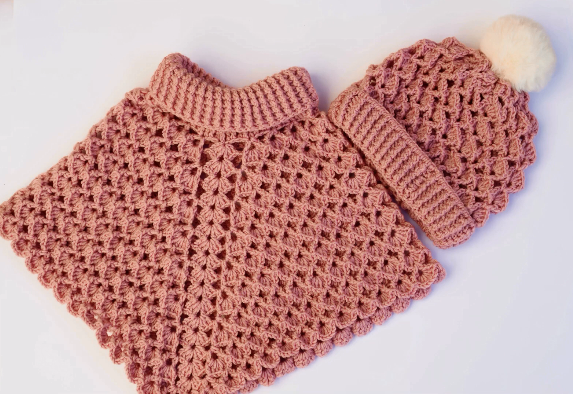
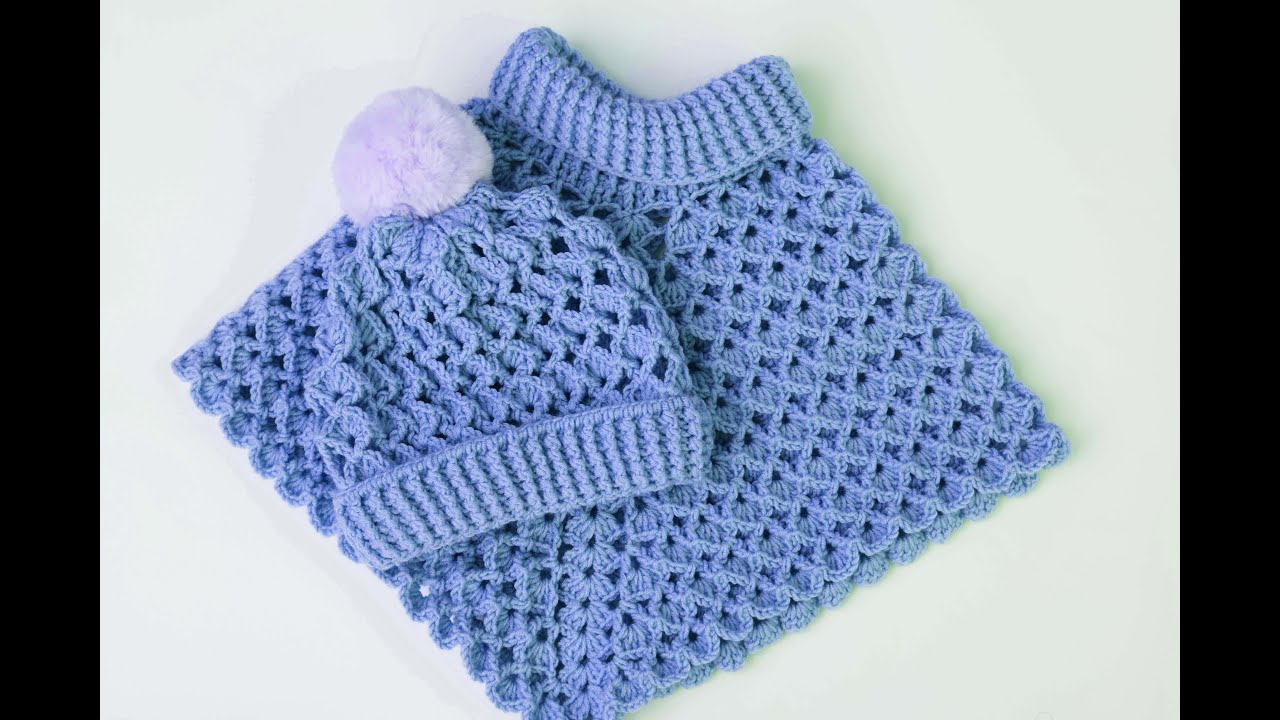
by Creating a crochet hat and turtleneck poncho set is a cozy and fashionable project that’s perfect for any skill level, especially those familiar with basic crochet techniques. I’ll walk you through the steps for both pieces, starting with the hat and then moving on to the poncho. Here’s a detailed guide:
Materials You’ll Need:
-
Yarn: For both the hat and poncho, choose a yarn that is soft and comfortable. A bulky or medium-weight yarn (like worsted weight) is ideal for both items.
-
Hat: 100g of yarn (about 150-200 yards)
-
Poncho: 200-300g of yarn (about 350-400 yards)
-
-
Crochet Hook:
-
Hat: Use a 5mm (H-8) or 6mm (J-10) hook, depending on your yarn’s thickness.
-
Poncho: Use a 6mm (J-10) or 8mm (L-11) hook for a looser, flowing fabric.
-
-
Scissors
-
Yarn Needle: For weaving in ends.
-
Stitch Markers (optional)
1. Crocheting the Hat:
Let’s make a simple, slouchy hat with a ribbed brim for a snug, stylish look.
Step-by-Step Instructions:
-
Foundation Chain:
Start by making a foundation chain. For an average adult-sized head, chain 60-70 stitches (adjust based on the size of the head). Ensure the chain length fits comfortably around the forehead, keeping in mind that you will be working in a circular fashion. -
Join in the Round:
Once you’ve reached the desired length, join the chain with a slip stitch to form a circle. Be careful not to twist the chain when joining. -
Ribbing for the Brim:
-
Work in back loops only (BLO) to create a ribbed effect.
-
Use half double crochet (HDC) or single crochet (SC) for the ribbing.
-
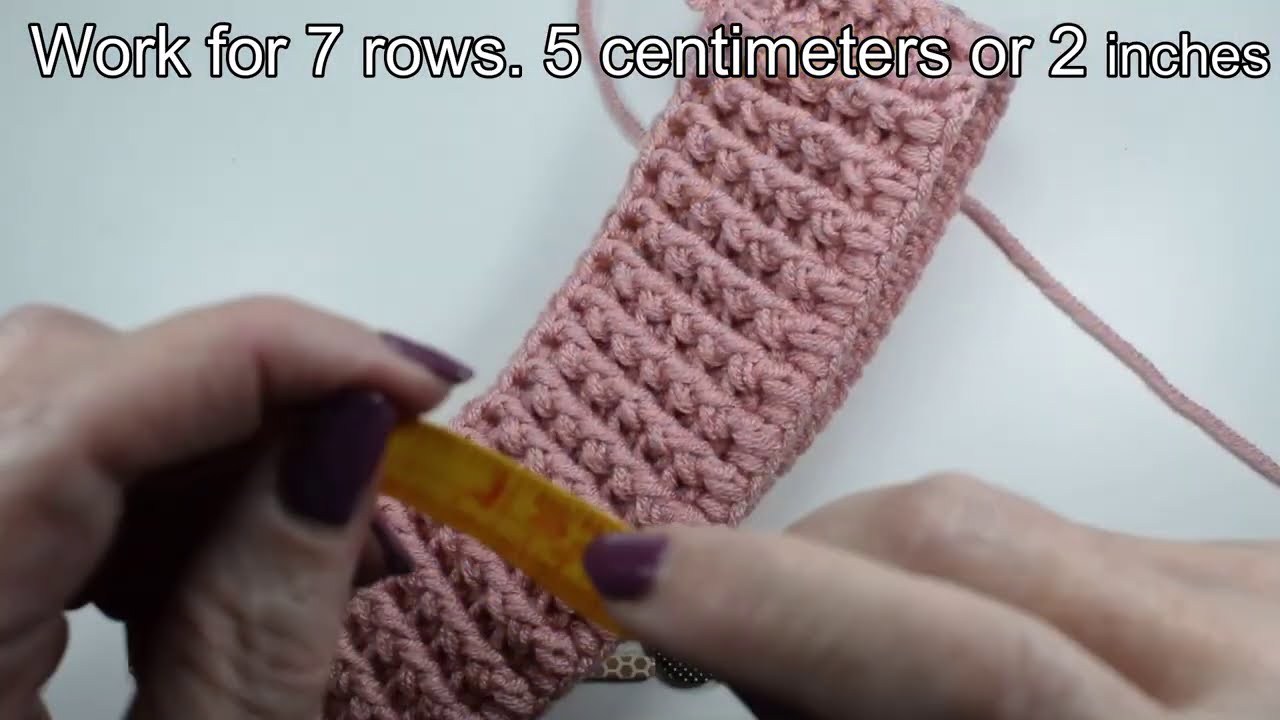
Work in the round, making sure to mark the first stitch of every round. For about 5-6 rounds, continue working in BLO to achieve the ribbed texture.
-
-
Main Body of the Hat:
After you’ve completed the brim, switch to regular stitches (such as double crochet or half double crochet) to create the body of the hat.-
Increase the number of stitches slightly if you want a looser fit around the head, or keep it consistent if you prefer a snugger fit.
-
Work in the round, making sure to place stitch markers as needed.
-
-
Shaping the Top:
-
As you get closer to the top of the hat, start decreasing. To do so, work two stitches together at intervals (e.g., decrease every 6th stitch for one round).
-
Continue decreasing until the opening is small enough to close up with a yarn needle.
-
-
Finish the Hat:
Once you reach the desired height and have finished the decreases, cut the yarn, leaving a long tail. Use the yarn needle to weave in the end, making sure to close the top of the hat securely.
2. Crocheting the Turtleneck Poncho:
The poncho is a great accessory that pairs well with your crochet hat. It’s a versatile piece that can be styled in multiple ways. Here’s how you can make it:
Step-by-Step Instructions:
-
Determine the Size:
First, decide the size of the poncho. For an average adult size:-
Width: 40-50 inches (depends on how loose or fitted you want it).
-
Length: 30-40 inches (again, depends on personal preference).
-
-
Make the Foundation Chain:
Start by chaining a length that fits the width of your desired poncho. For an adult, 120-150 stitches should be enough to create the base of the poncho. -
Crocheting the Body:
For the body of the poncho, you can choose a stitch pattern such as:-
Half Double Crochet (HDC) or Double Crochet (DC): These stitches create a beautiful drape and make the poncho feel lightweight and airy.
-
Work in rows until you’ve reached the desired length of the poncho.
-
-
Create the Turtleneck:
After completing the body, you will create the turtleneck part.-
At the top edge of your poncho, join your yarn with a slip stitch and chain 1.
-
Work in the round, using half double crochet or single crochet to form the neck.
-
To create the turtleneck effect, work several rounds of crochet until the neck is tall enough to fold over comfortably.
-
You can also add some decorative elements like a button or a small clasp if you want to secure the turtleneck in place.
-
-
Finishing Touches:
Once the turtleneck is finished, fasten off the yarn and weave in the ends. If you want, you can add fringe to the bottom of the poncho for a boho-style look, or leave it plain for a cleaner finish.
3. Optional Decorative Ideas:
-
Pom-Poms: Add a cute pom-pom to the top of the hat for extra flair. You can use a pom-pom maker or wrap yarn around your fingers and tie it off tightly to create a fluffy pom-pom.
-
Textured Stitches: Play with textured stitches, like the bobble stitch or shell stitch, for a more intricate pattern on either the hat or poncho.
-
Color Blocking: If you want to add some color contrast, you can switch yarn colors after every few rows, either on the hat, the poncho, or both.
Tips for a Successful Crochet Set:
-
Gauge: It’s always a good idea to do a gauge swatch before starting the project. This helps ensure your hat and poncho will fit as expected.
-
Fit: Adjust the number of stitches to fit your head size (for the hat) and body size (for the poncho). Everyone’s measurements vary, so it’s helpful to try on the items as you go.
-
Keep it Relaxed: Crocheting should be fun and relaxing, so don’t stress too much about perfect stitches. Imperfections will add character to your set!
-
Blocking: Once the pieces are finished, block them lightly to help smooth out the stitches and ensure they hold their shape.
That’s it! A cozy and stylish crochet set that will keep you warm and fashionable all season. You can experiment with different yarns, colors, and stitch patterns to make the set your own.
Let me know if you need any more details or clarification! 😊
Watch video: