 by
by Sure! Making a crochet bag with knitting yarn is totally possible and quite popular among crafters. While knitting yarn is generally used for knitting, it works well with crochet too—just be sure to use the right hook size and pattern. Here’s a detailed step-by-step guide on how to make a simple, stylish crochet bag using knitting yarn.
🧶 How to Make a Crochet Bag with Knitting Yarn
✨ Materials You’ll Need:
-
Knitting yarn (medium weight like worsted, cotton yarn is best for structure)
-
Crochet hook (match the size recommended on the yarn label or slightly smaller for tightness)
-
Scissors
-
Yarn needle (for weaving in ends)
-
Stitch markers (optional but helpful)
-
Lining fabric (optional, for a professional finish)
-
Magnetic clasp, zipper, or buttons (optional, for closure)
-
Handles (you can crochet your own, use leather, bamboo, or rope)
🧵 Basic Bag Pattern – “Simple Tote Bag”
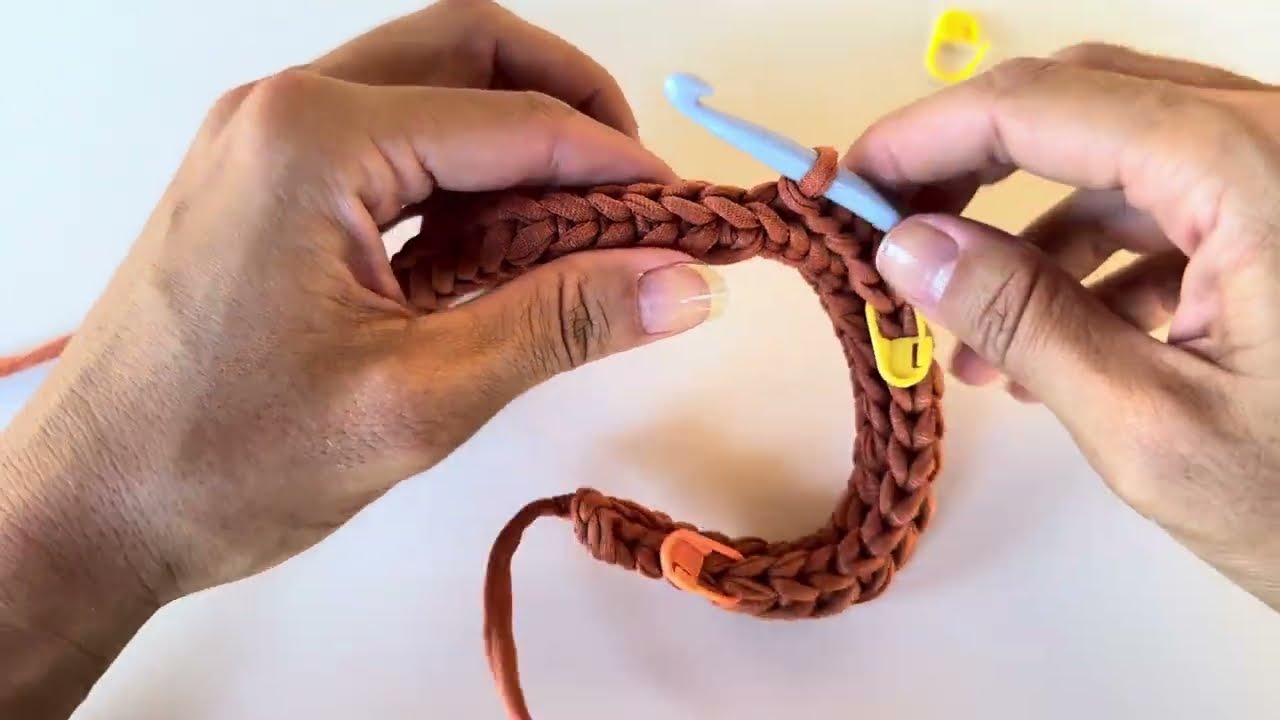
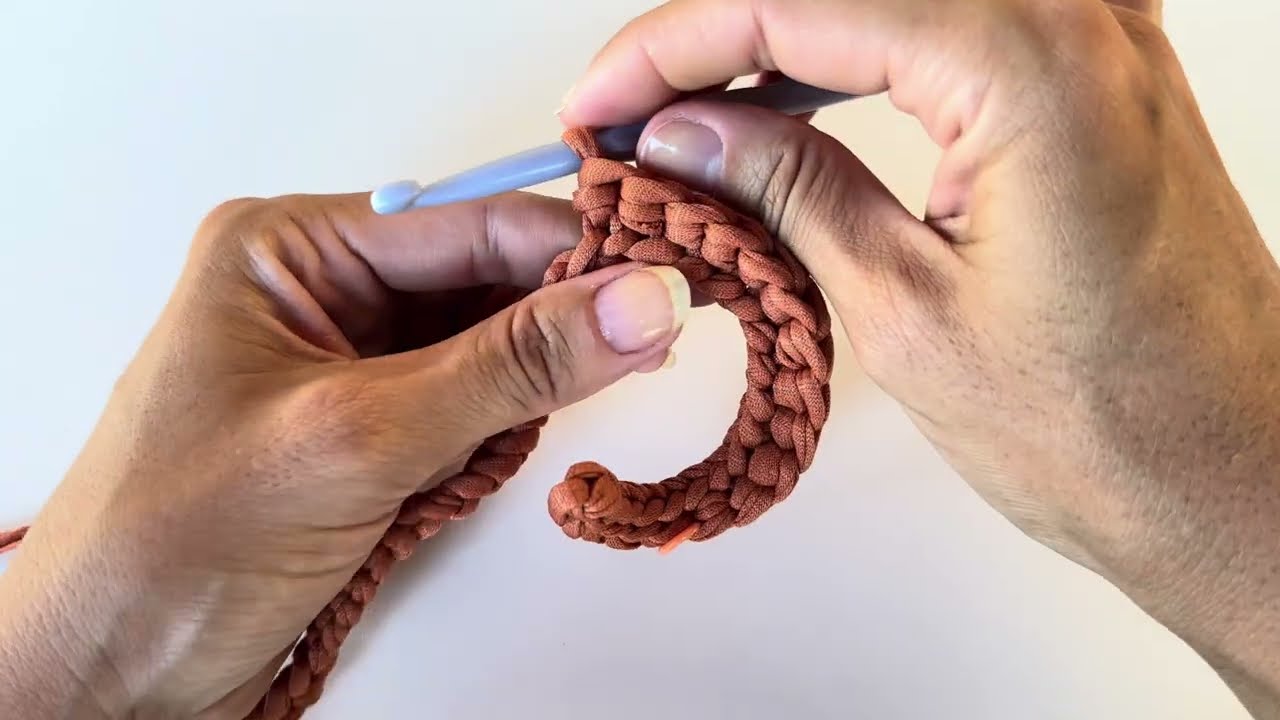
📏 Step 1: Create the Base (Rectangle or Oval)
-
Foundation chain: Chain 31 (for a medium tote size)
-
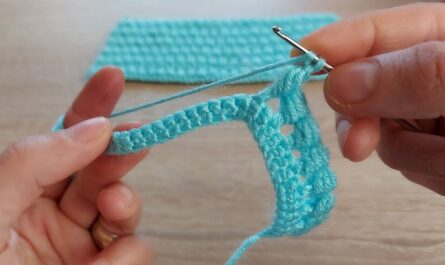
Row 1: Single crochet (SC) in 2nd chain from hook, then SC across. Chain 1, turn.
-
Repeat: Continue SC rows until the base is your desired size (around 30 rows for a rectangle).
-
For an oval base, crochet around the starting chain (i.e., work SC around both sides of the chain with increases at the corners).
🧱 Step 2: Build the Sides
-
Once the base is done, start crocheting in the round around the rectangle:
-
Round 1: SC all the way around the base, placing 3 SCs in each corner for shape. Slip stitch to join.
-
Round 2 and onward: Continue with single crochet, half double crochet (HDC), or double crochet (DC) for the desired height.
-
You can change yarn colors or add patterns like shells or bobbles here.
-
📏 Height: Around 25–30 rounds (or until you’re happy with the depth of the bag).
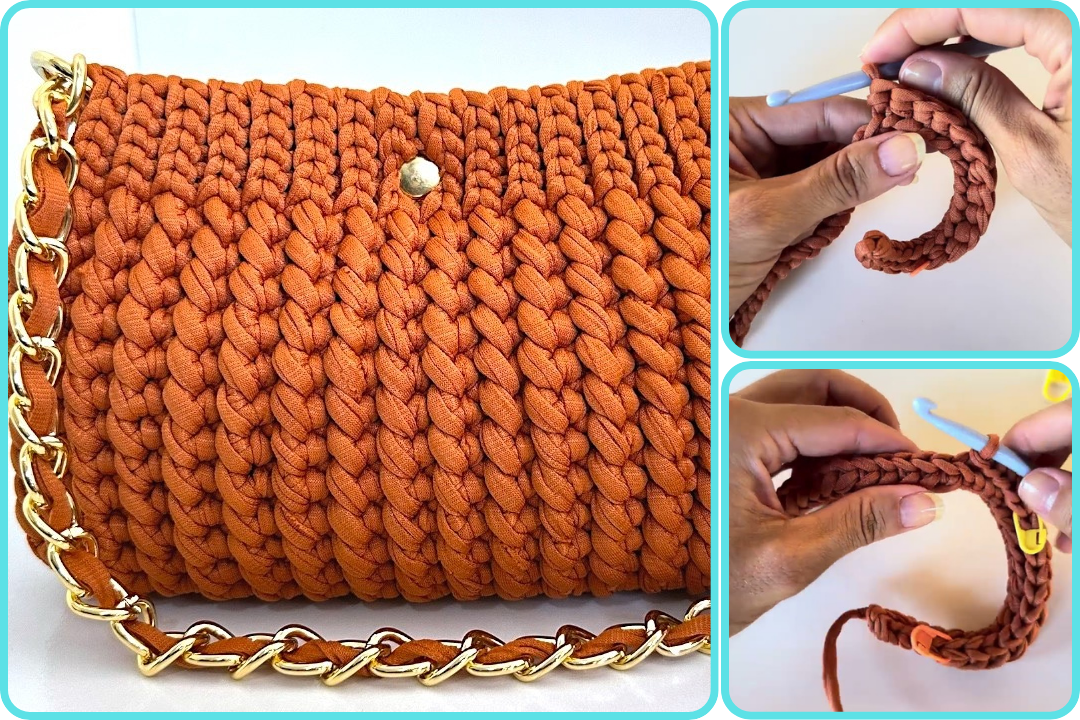
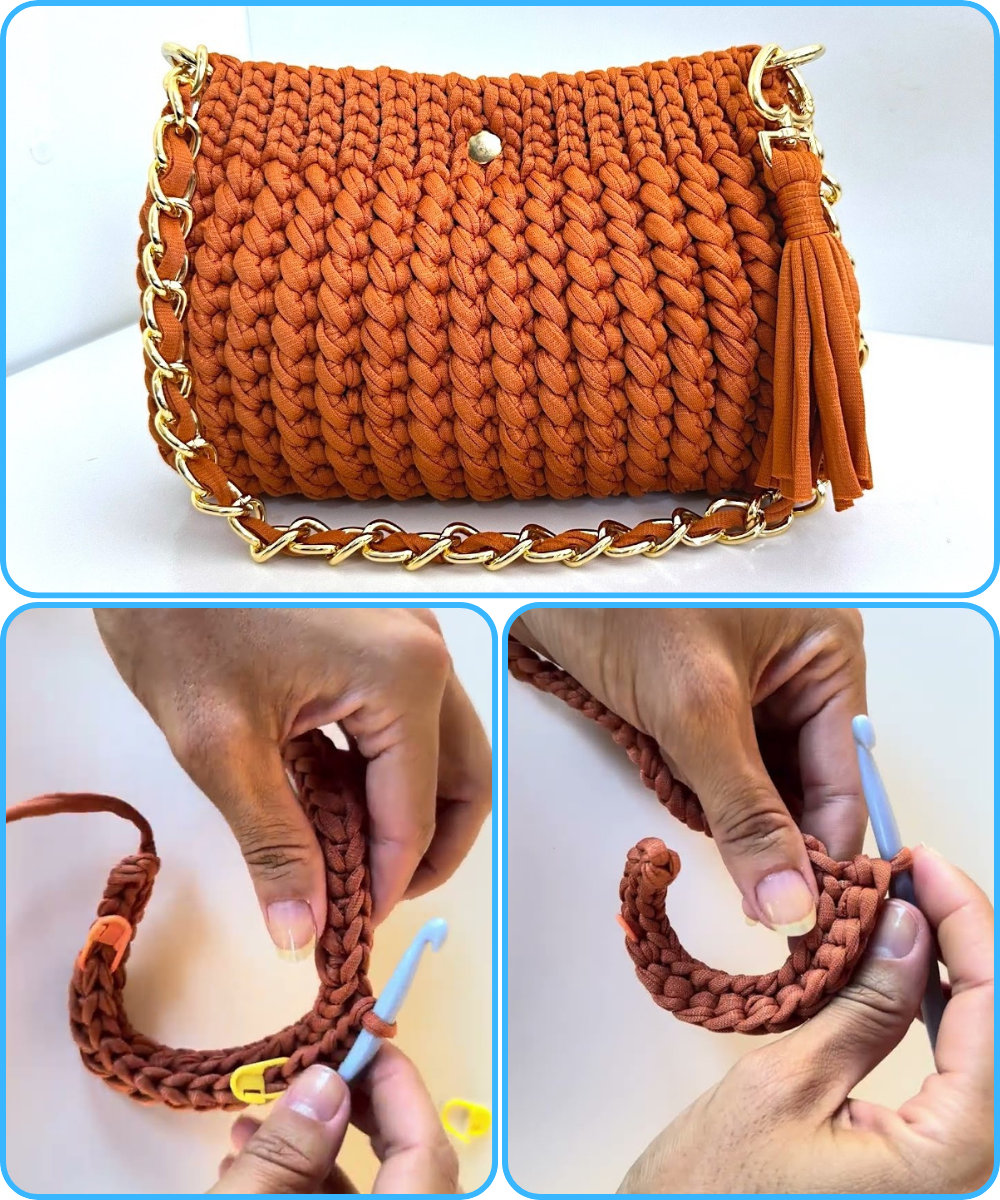
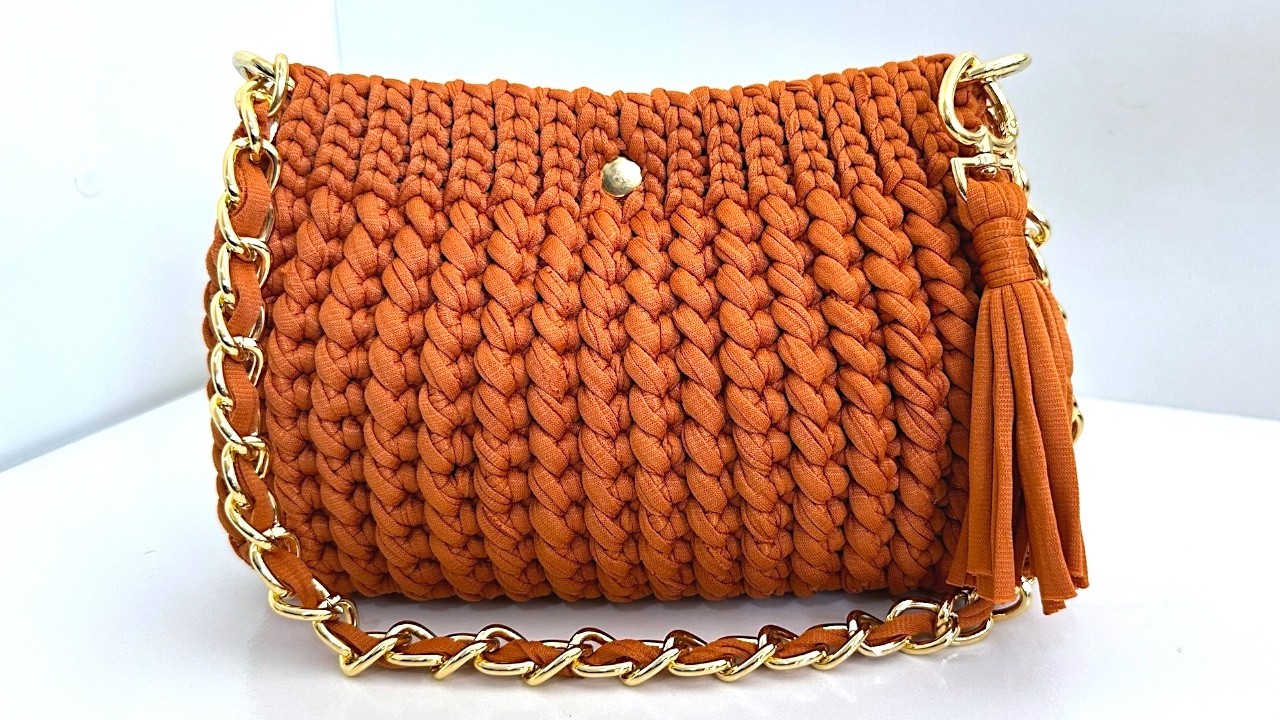
🎒 Step 3: Make the Handles
Option A – Crocheted Handles:
-
Chain the length of your desired strap (e.g., 60 chains for shoulder length).
-
SC or HDC in each chain for 2–3 rows.
-
Attach each end of the strap evenly to the top of the bag using a yarn needle or crochet stitches.
Option B – Ready-made Handles:
-
Sew or crochet them securely to the inside or outside of the bag.
🪡 Step 4: Add Lining (Optional but Neat)
-
Cut fabric to match the size of the bag.
-
Sew the sides and bottom of the lining using a sewing machine or by hand.
-
Place it inside the bag and hand stitch it to the crochet fabric at the top edge using needle and thread.
🔒 Step 5: Add Closure (Optional)
-
Attach a magnetic snap, zipper, or button.
-
If adding a button, create a loop with chains in your final crochet round.
🌈 Customization Tips:
-
Add tassels or pom-poms for flair.
-
Use different stitches like granny squares, puff stitches, or shells.
-
Use two strands of yarn together for a thicker, sturdier bag.
🧼 Care Instructions:
-
Hand wash in cold water.
-
Lay flat to dry.
-
Avoid stretching the bag when wet.
Watch video: