 by
by Absolutely! Here’s a detailed guide on how to make a crochet bag with a new, easy, and wonderful design that’s perfect for beginners or those looking for a quick, stylish project. This version uses a granny square base with a modern twist and simple assembly.
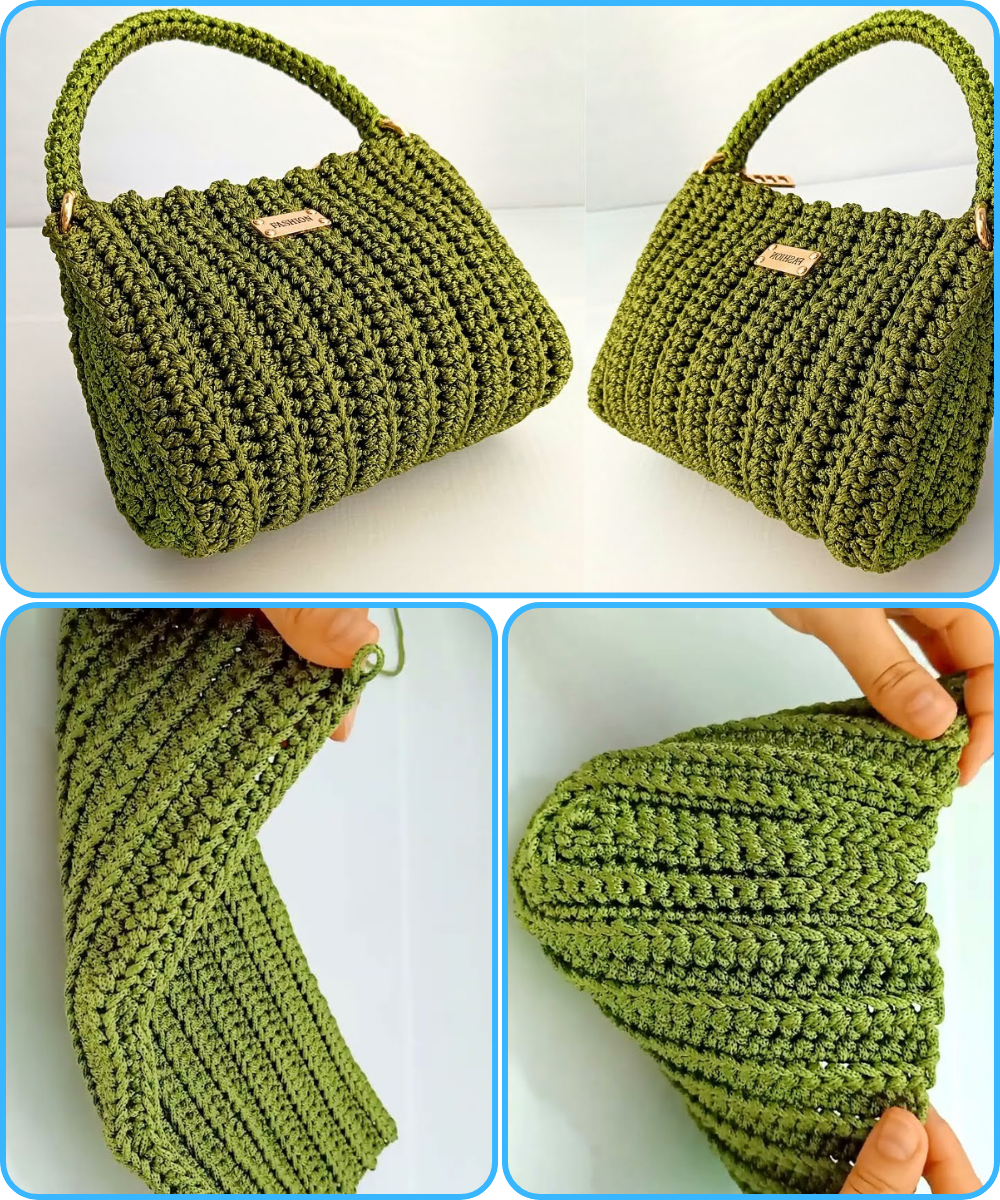
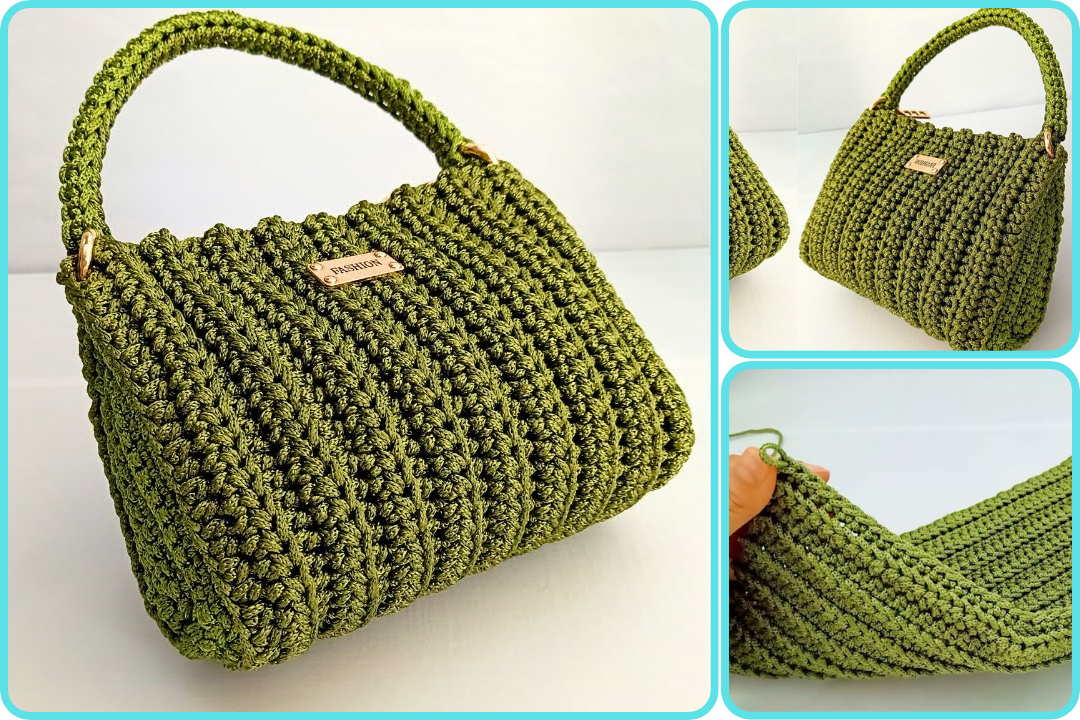
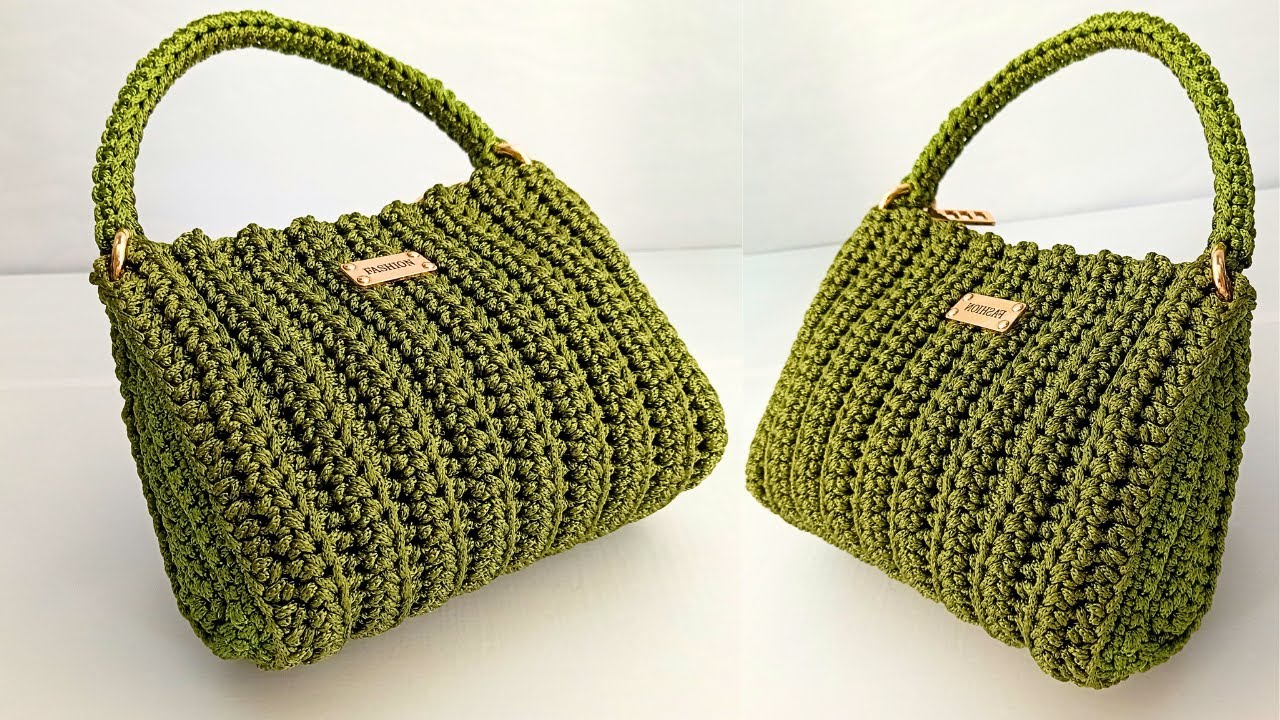
🧶 How to Make a Crochet Bag (Easy & Beautiful Design)
✨ Design Concept:
This bag features a granny square motif with a modern look and solid stitching for durability. It’s perfect as a tote, shoulder bag, or mini handbag depending on your size preference.
✅ Materials You’ll Need:
-
Yarn: Worsted weight cotton yarn (2-3 colors for a fun look)
-
Crochet Hook: 4.0mm (G/6) or size recommended on yarn
-
Scissors
-
Tapestry Needle (for weaving in ends)
-
Bag handles (optional – wooden, leather, or crochet)
-
Magnetic snap or button (optional for closure)
-
Lining fabric & needle/thread (optional but recommended)
🧵 Abbreviations (US terms):
-
ch – chain
-
sl st – slip stitch
-
sc – single crochet
-
dc – double crochet
-
sp – space
-
rep – repeat
🧩 Step-by-Step Instructions:
🌼 Step 1: Make the Granny Squares
Make 13 granny squares for a small bag (more for larger).
Modern Solid Granny Square Pattern:
-
Start with magic ring, ch 3 (counts as dc), work 11 dc into the ring. Join with sl st. (12 dc)
-
Round 2: Ch 3, dc in same st, 2 dc in each st around. Join. (24 dc)
-
Round 3: [2 dc, ch 2, 2 dc] in one st (corner), 1 dc in next 5 sts, repeat around to form a square. Join.
-
Round 4: Continue making dc around, putting [2 dc, ch 2, 2 dc] in each corner.
Make all squares the same size (approx. 4×4 inches). Use different colors for a patchwork effect or all one color for a minimalist look.
🪡 Step 2: Join the Squares
Layout (Front, Back, and Base):
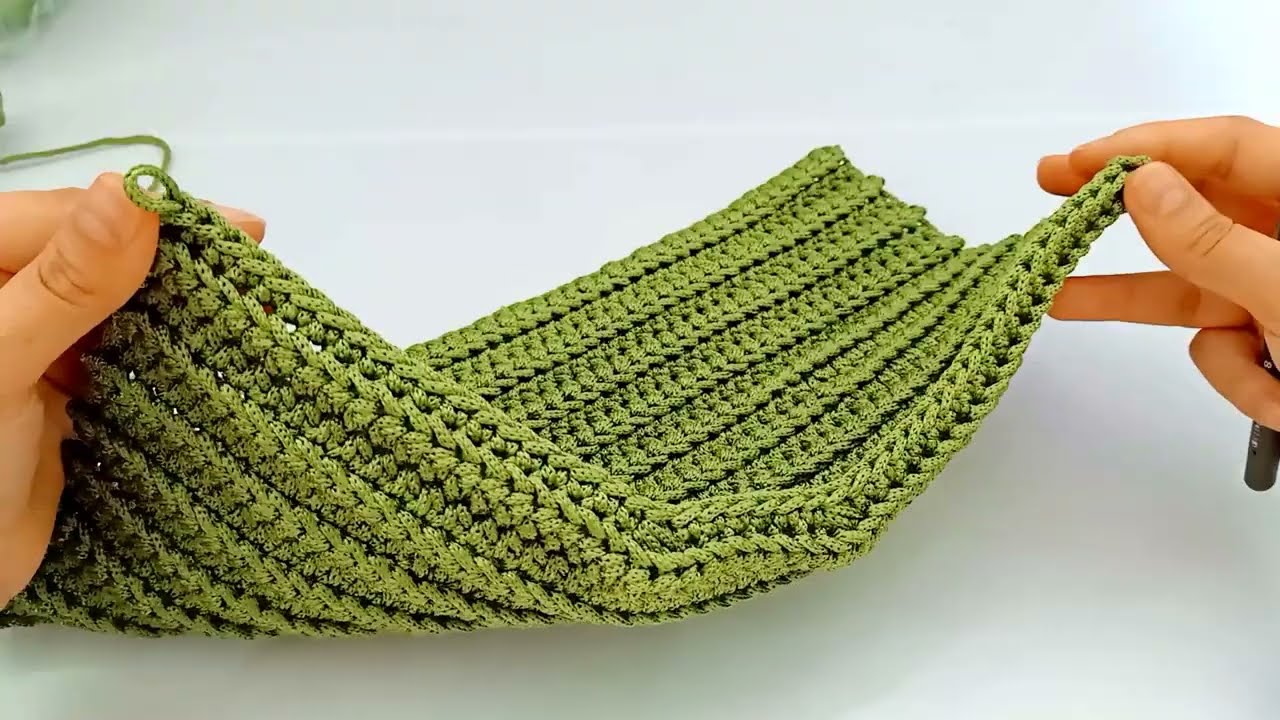
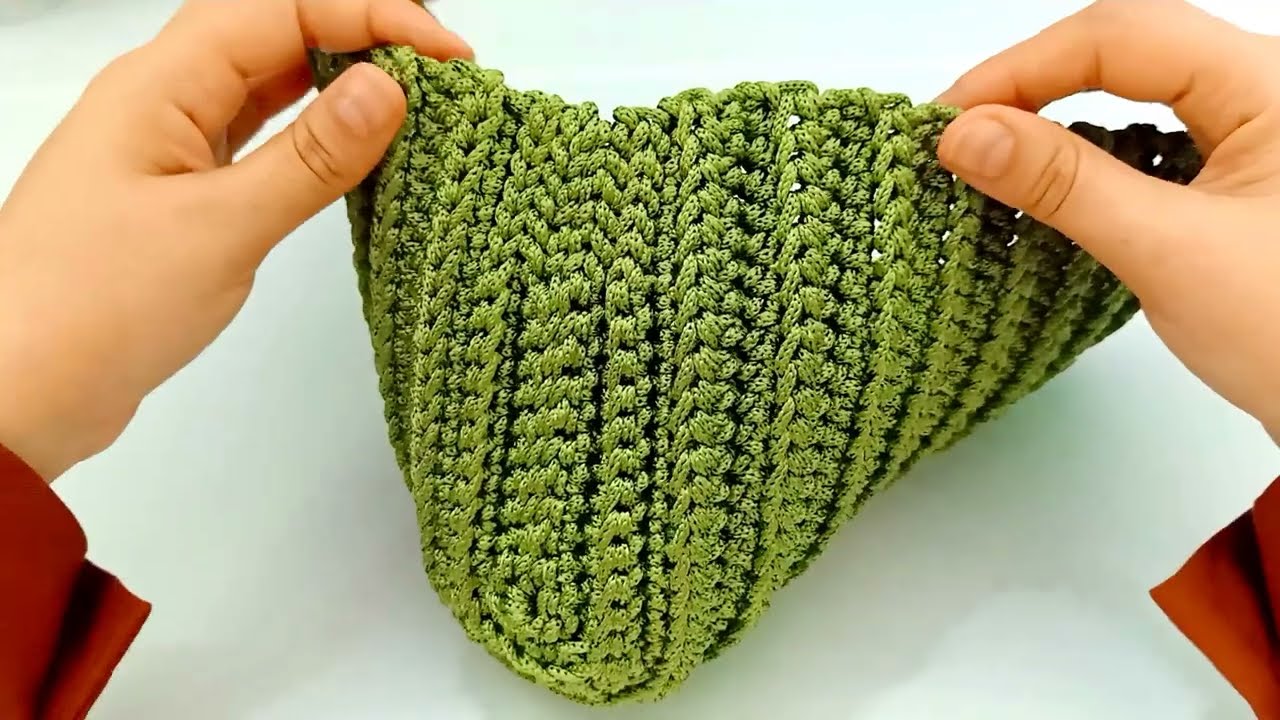
🧺 Step 3: Add the Sides & Seam the Bag
-
After folding into shape, seam the sides using sc or whip stitch.
-
Make sure the seams are neat and strong.
🧶 Step 4: Crochet the Straps
Option 1: Crochet Strap
-
Ch 80–100 (depending on how long you want it)
-
Sc in each ch across for 4-6 rows to make a thick strap.
-
Attach with strong stitching or crochet directly onto the bag.
Option 2: Use Store-Bought Handles
-
Use D-rings to secure wooden or leather handles.
-
Sew or crochet securely into the top corners.
✂️ Step 5: (Optional) Add Lining
-
Cut lining fabric to match inside of the bag.
-
Sew by hand or machine to fit.
-
Hand-stitch to attach to the inside of the crochet bag.
🧲 Step 6: Add Closure (Optional)
-
Use a magnetic snap, zipper, or button and loop.
-
Stitch securely into the lining or the top edge of the crochet.
🎉 Final Touches:
-
Weave in all ends.
-
Block the bag if needed (spray with water and shape).
-
Add embellishments like tassels, beads, or appliqués.
👜 Customization Ideas:
-
🌈 Use ombre yarn for a gradient effect.
-
💐 Add flower appliqués or patches.
-
🧵 Embroider initials or a design onto the squares.
Watch video: