 by
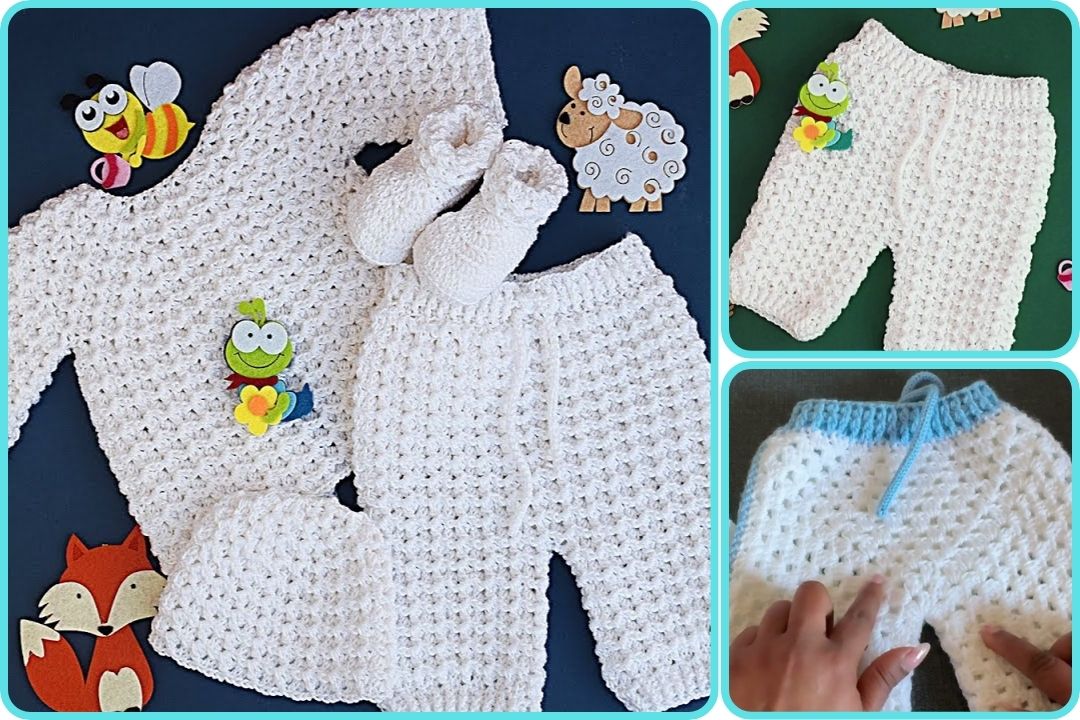
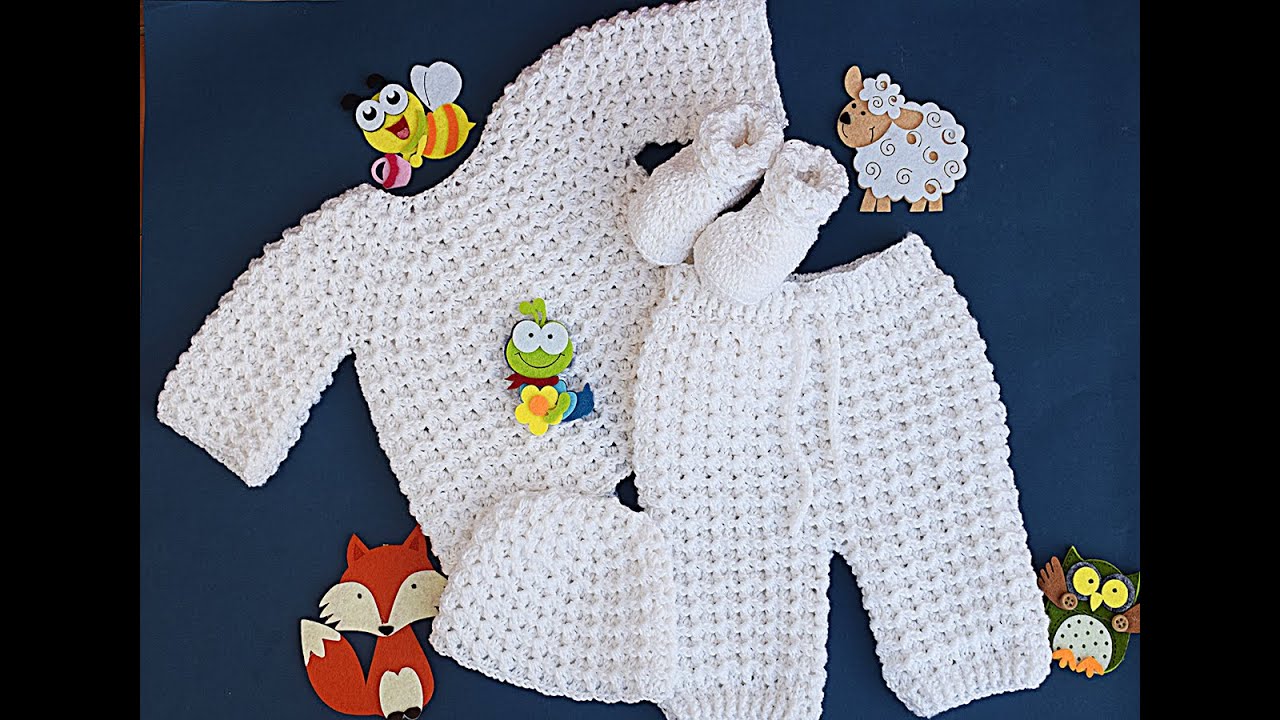
by It sounds like you’re looking for instructions on how to make the “White Set Crochet Pants” by Majovel Crochet. Majovel Crochet is known for her beautiful and often intricate designs, and her patterns usually come with detailed video tutorials on her YouTube channel, which are very popular.
Since “Majovel Crochet White Set Crochet Pants” refers to a specific design by a particular designer, the most accurate and detailed instructions will come directly from Majovel Crochet herself. My general knowledge cannot replicate her exact, copyrighted pattern.
However, I can guide you on how to find and utilize her instructions and provide a general overview of what you can expect when making crochet pants, especially in Majovel’s style, based on her common techniques.
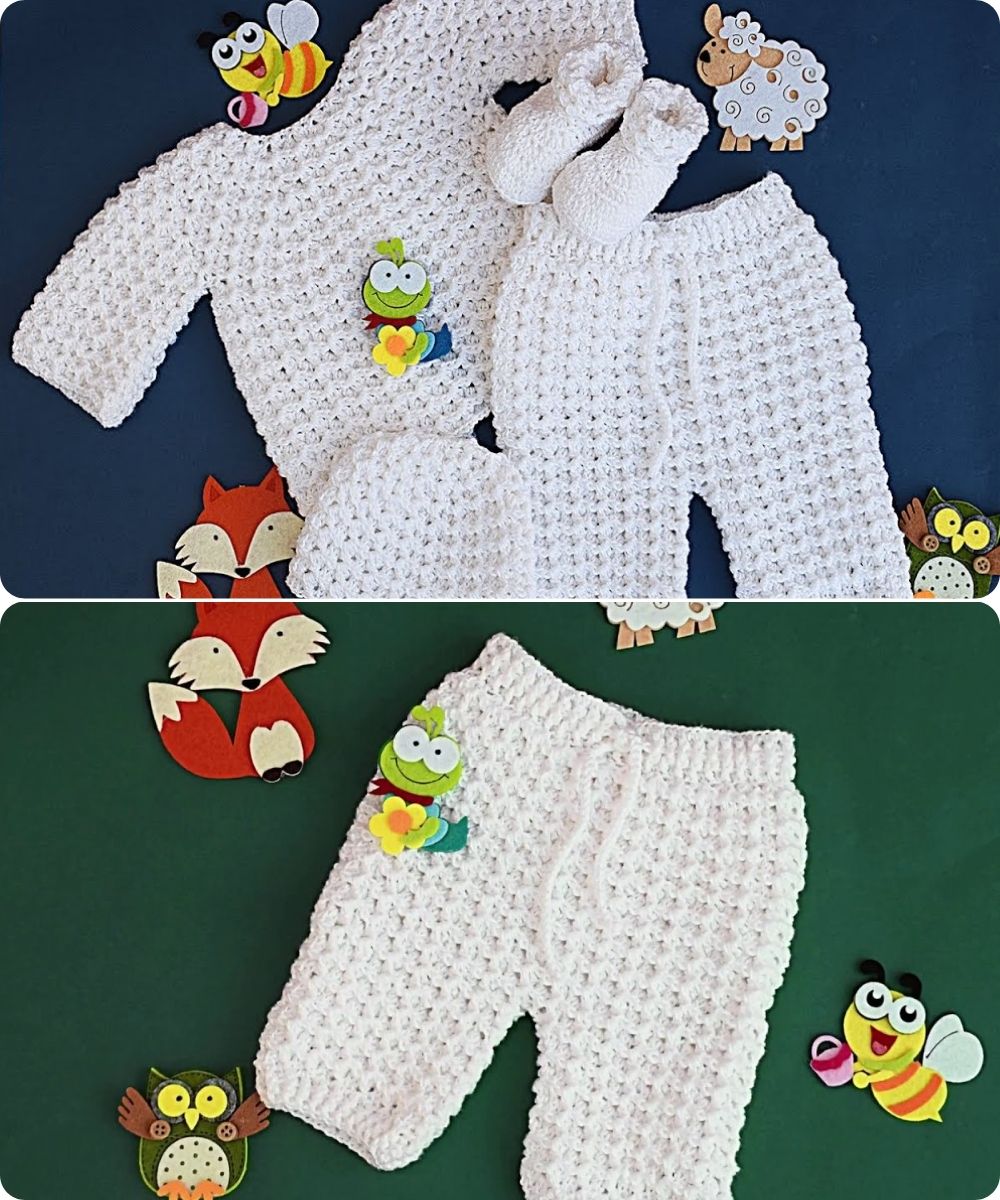
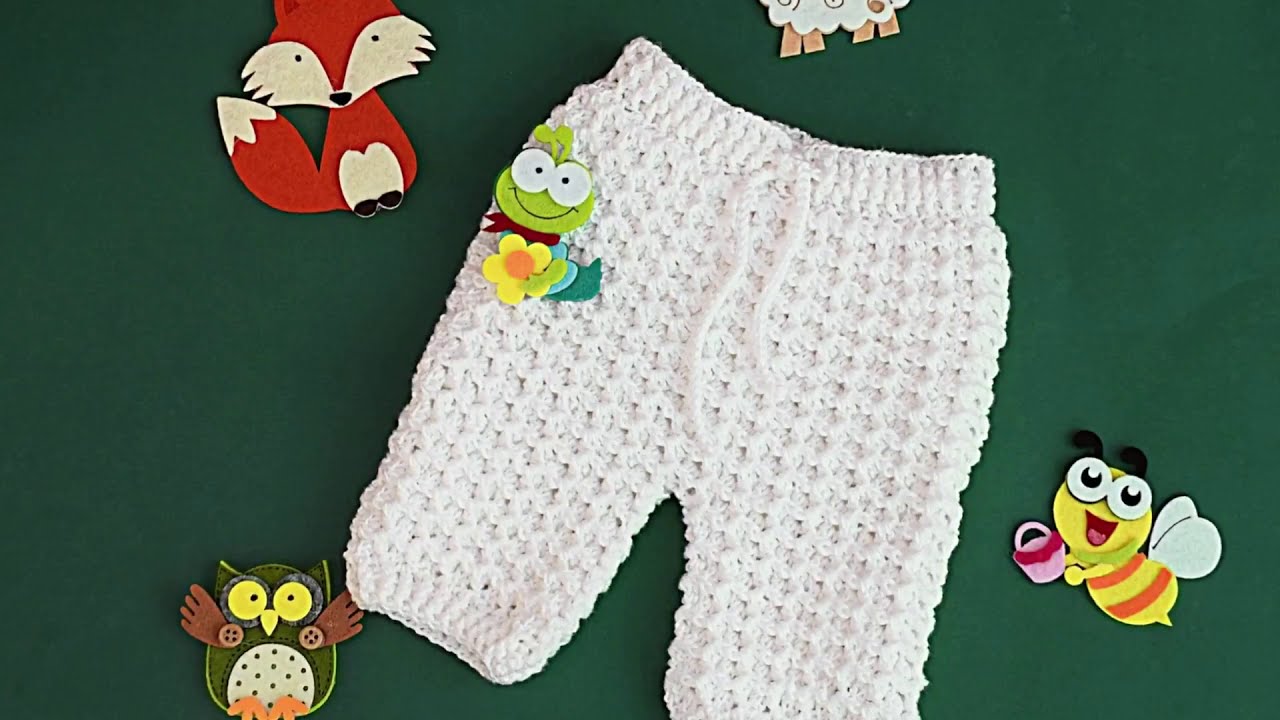
How to Make White Set Crochet Pants by Majovel Crochet
The Best Source: Majovel Crochet’s Official Channels
- YouTube Channel: Majovel Crochet’s primary method of sharing patterns is through detailed video tutorials on her YouTube channel.
- Go to YouTube and search for “Majovel Crochet” and then specifically “White Set Crochet Pants” or “Pantalones Crochet Majovel Blanco” (she often uses Spanish titles).
- Look for a video that shows the white pants set you are interested in.
- Her videos usually go step-by-step through the entire process, demonstrating the stitches, increases, decreases, and construction.
- Blog/Website: She often accompanies her video tutorials with written patterns or blog posts on her website.
- Search on Google for “Majovel Crochet official website” or “Majovel Crochet blog.”
- Once on her site, use the search function to look for “White Set Pants” or browse her garment categories.
- Ravelry/Etsy (Less Common for Free Patterns): While she primarily offers free patterns, some designers might also offer PDF versions on platforms like Ravelry or Etsy for a small fee. It’s worth checking if you prefer a printable pattern.
What to Expect in Majovel Crochet’s Patterns (General Approach):
Majovel Crochet patterns, particularly for garments like pants, typically involve:
- Top-Down or Bottom-Up Construction: Pants can be made by starting at the waist and working down, or by starting at the ankle and working up. Majovel uses both methods depending on the design.
- Working in Rounds: Pants are usually worked in the round to avoid seams up the leg. The waistband might be worked separately and then attached, or integrated.
- Specific Stitch Patterns: Majovel is known for her beautiful and often unique stitch combinations. The “White Set” likely uses a specific textured stitch, possibly incorporating shells, fans, or post stitches to create visual interest.
- Shaping:
- Waistband: Often ribbed (using front/back post stitches or slip stitches in back loop only) for elasticity. Sometimes an elastic band is threaded through for a secure fit.
- Hips/Seat: Increases will be made to accommodate the widest part of the hips and the curve of the seat.
- Leg Separation: At a certain point, the work will be divided into two separate leg openings.
- Leg Tapering: Decreases will be made down the leg to taper towards the ankle, or stitches might be maintained for a wide-leg or straight-leg style.
- Cuff: The ankle might have a ribbed cuff similar to the waistband, or a simple edge.
- Sizing: Her patterns usually provide instructions for a range of sizes, or explain how to adjust based on measurements and gauge.
General Steps to Crochet Pants (Majovel-Style Considerations)
While you’ll need Majovel’s specific pattern for her “White Set,” here’s a general breakdown of how crochet pants are made, incorporating elements often seen in her designs:
1. Materials You’ll Need:
- Yarn:
- Fiber: For white pants, consider a washable yarn like mercerized cotton or a cotton blend for drape and breathability, especially for summer wear. Acrylic can also work for durability and ease of care.
- Weight: Often light worsted (DK/8-ply) or worsted weight (Aran/10-ply) for garments.
- Quantity: This varies greatly by size and stitch pattern, but a full pair of adult pants can require anywhere from 1000 to 2000+ yards/meters.
- Crochet Hook: The size recommended for your chosen yarn, plus possibly a smaller hook for the waistband or cuffs if they are ribbed.
- Measuring Tape: Crucial for sizing and gauge.
- Stitch Markers: Essential for marking rounds, increases, and the start of leg separation.
- Yarn Needle (Tapestry Needle): For weaving in ends.
- Scissors:
- Elastic (Optional, but recommended for waistband): Non-roll elastic, 1-2 inches wide, slightly shorter than your waist circumference.
2. Gauge Swatch (CRUCIAL for Garments!):
- Majovel will specify: Her patterns will tell you exactly how many stitches and rows/rounds of her specific stitch pattern should equal 4×4 inches (10×10 cm).
- Make a large swatch (at least 6×6 inches/15×15 cm): Use your chosen yarn and hook.
- Wash and block your swatch as you would the finished garment.
- Adjust hook size until your gauge matches hers. This is the most important step for ensuring your pants fit.
3. General Construction Flow (Likely for Pants):
A. Waistband (Could be worked separately and sewn, or integrated):
- Method 1 (Integrated): Chain enough stitches to comfortably fit around your waist (or slightly smaller for negative ease), join to form a ring. Work rounds of ribbed stitches (e.g., fpdc/bpdc, or sl st in back loop only) for several inches to create a stretchy band.
- Method 2 (Separate): Chain a long strip in ribbed stitch, then seam the ends to form a loop. You’d attach this later.
- Elastic Channel: Often, the waistband will have a fold-over design to create a channel for inserting elastic.
B. Yoke/Hip Section (Working from Waist Down):
- Attach yarn to the waistband.
- Start working in rounds. Majovel will specify her unique stitch pattern here.
- Increase Rounds: You will need to strategically add stitches evenly around the circumference to accommodate the curve of the hips and seat. The pattern will dictate where and how often to place these increases. This creates the “yoke” of the pants.
- Continue working in rounds until the piece reaches the desired crotch depth (measure from your natural waist down to where you want the crotch seam to sit when seated).
C. Leg Separation & Crotch Shaping:
- This is a key step. You will divide the total stitches into two equal halves for each leg.
- Often, you’ll chain a few stitches in the middle to create the crotch seam (e.g., chain 3-5 stitches, skip half the body stitches, join to the other side). This forms a loop for one leg.
- You’ll then work in the round for one leg, then join yarn again to work the second leg.
D. Legs:
- Work each leg separately in continuous rounds, following Majovel’s specific stitch pattern.
- Tapering (Optional): If you want tapered legs, the pattern will instruct you on how often to decrease stitches evenly around the leg. For straight or wide legs, you might not decrease much or at all.
- Continue working until each leg reaches your desired length (from crotch to ankle).
E. Ankle Cuff:
- Similar to the waistband, the ankle cuff might be ribbed for a snug fit, or simply edged.
4. Finishing:
- Weave in all ends: This is crucial for a neat finish.
- Insert Elastic (if applicable): Thread your elastic through the waistband channel using a safety pin. Overlap the ends of the elastic and sew them securely. Then close the channel opening.
- Block (Highly Recommended): Even if you blocked your swatch, blocking the finished garment will help relax the stitches, even out the fabric, and allow the stitch pattern to truly shine. For garments, wet blocking (soaking in water and then laying flat to dry, shaping to measurements) is often best.
In summary: While I cannot provide Majovel Crochet’s exact “White Set Crochet Pants” pattern due to copyright, this detailed guide explains the general process and the importance of her specific instructions (especially her video tutorials) and gauge. Your best bet is to head straight to her YouTube channel or website to find the direct tutorial for that beautiful set!
Watch video: