 by
by Here’s a detailed step-by-step guide on how to make a crochet baby bodysuit, including materials, stitches, pattern structure, and tips for beginners. This is suitable for someone with basic crochet experience.
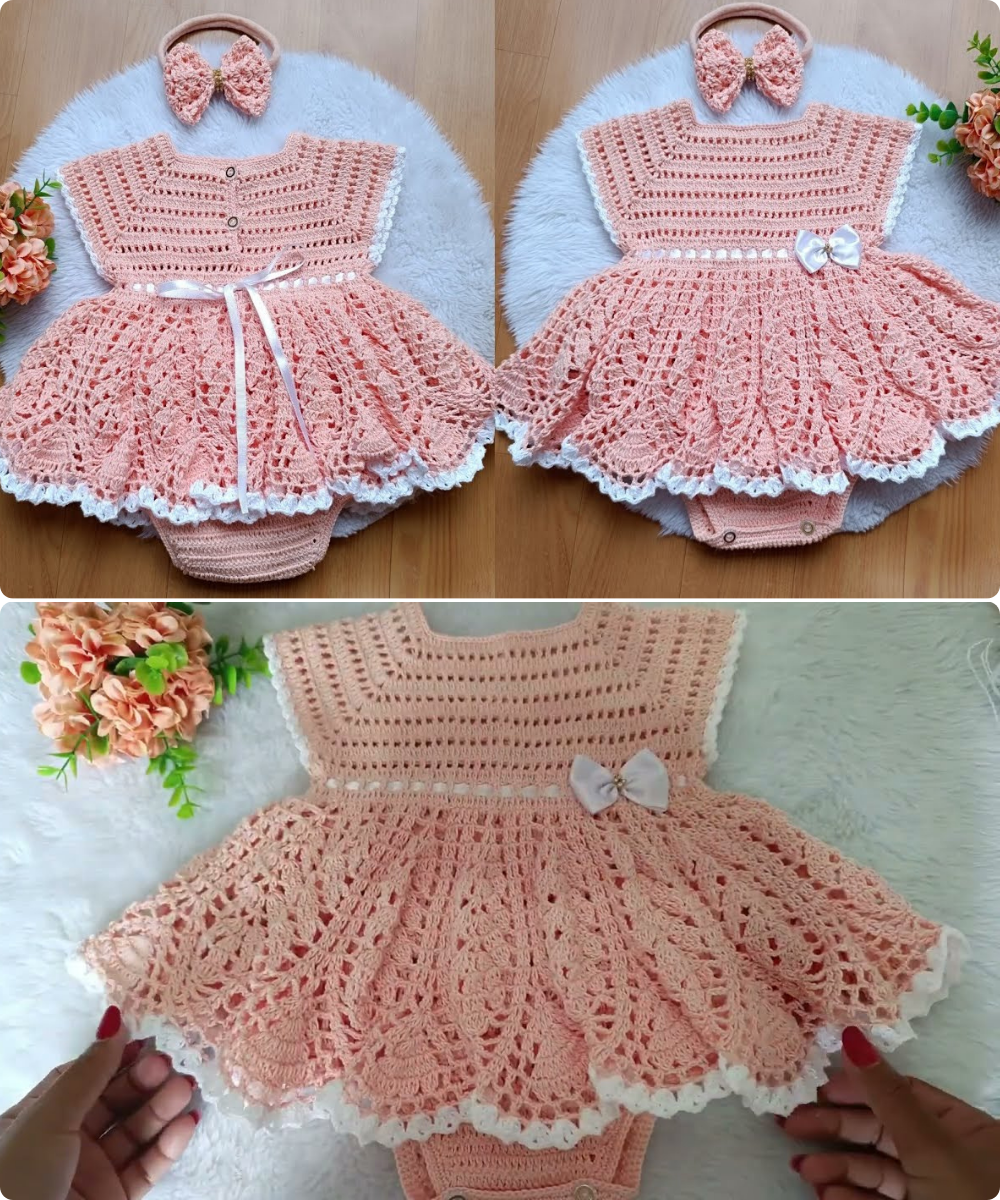
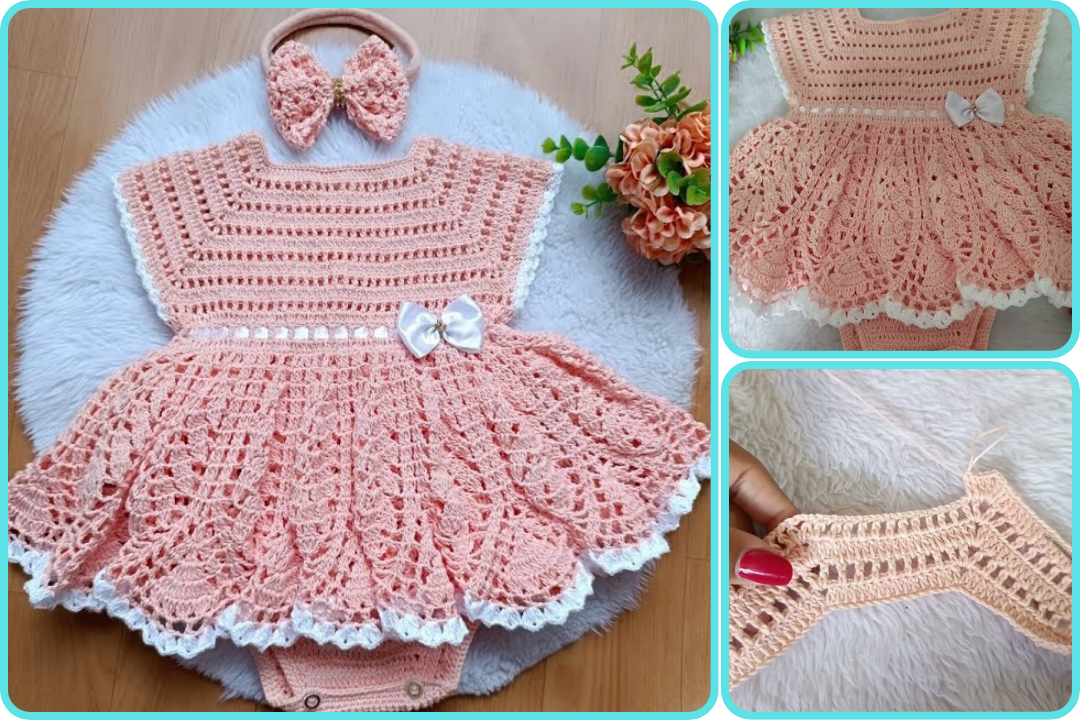
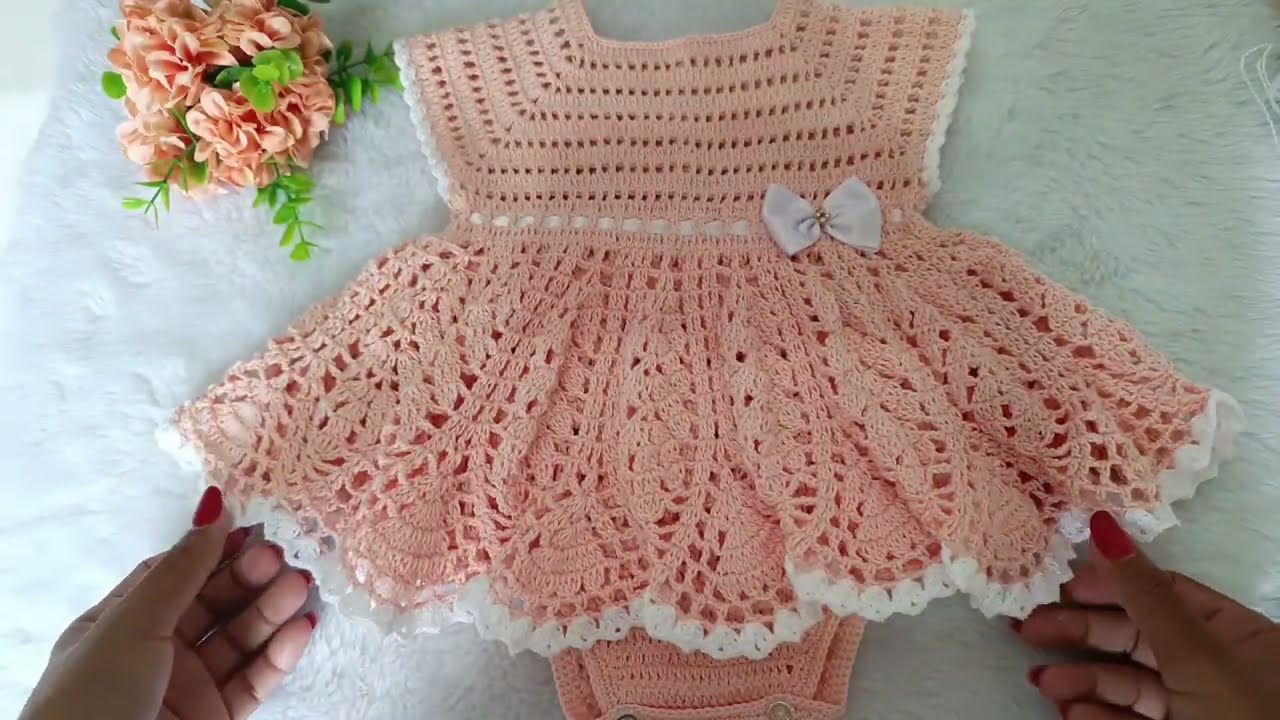
🧶 How to Make a Crochet Baby Bodysuit (0–3 Months)
🧵 Materials Needed:
-
Yarn: Soft, baby-friendly yarn (DK/Light worsted or Category 3) – about 150–200g
Examples: Bernat Softee Baby, Lion Brand Baby Soft -
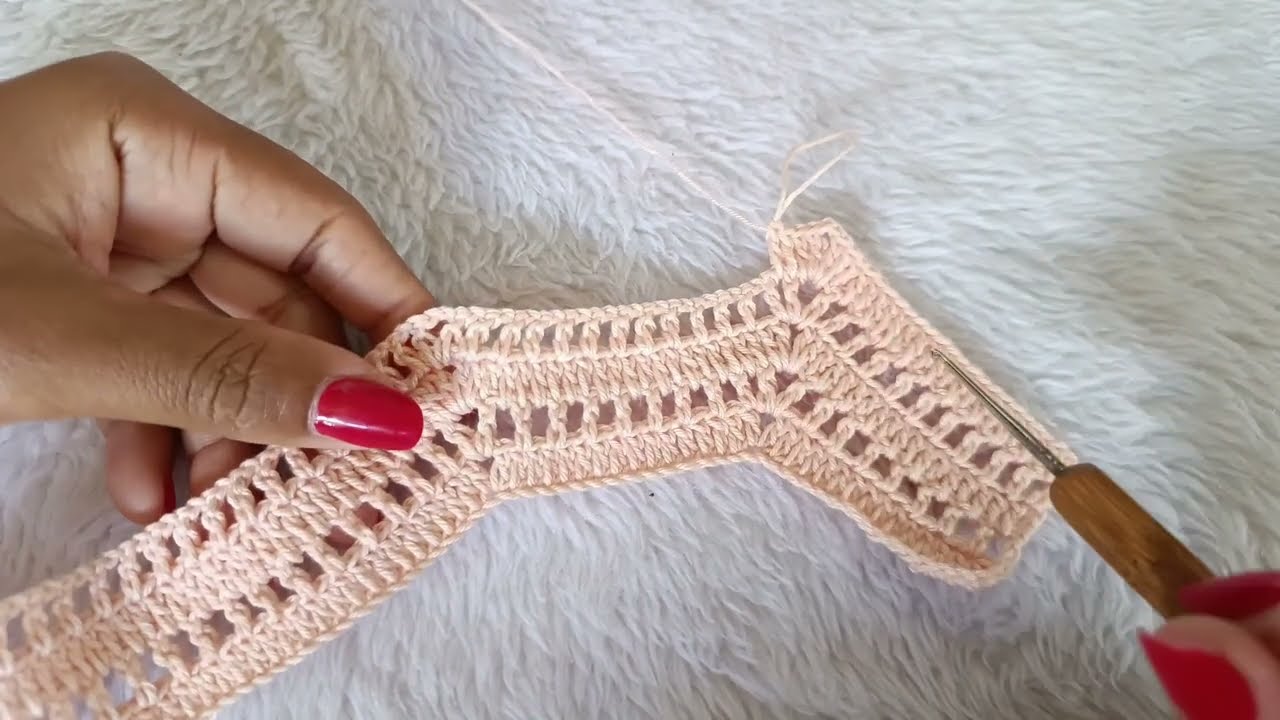
Crochet Hook: 4.0 mm (G-6) or as recommended for your yarn
-
Buttons: 3–5 small buttons (1/2″ or smaller)
-
Tapestry Needle: For weaving in ends
-
Scissors
-
Measuring Tape
📏 Finished Size (0–3 months):
-
Chest circumference: approx. 16–18 inches
-
Length from shoulder to crotch: approx. 13–14 inches

🧷 Basic Crochet Stitches Used:
-
Ch: Chain
-
Sl st: Slip Stitch
-
Sc: Single Crochet
-
Hdc: Half Double Crochet
-
Dc: Double Crochet
-
Inc: Increase (2 stitches in one)
-
Dec: Decrease (crochet 2 stitches together)
🔄 General Construction Overview:
The baby bodysuit is worked from the top down, starting from the yoke (neckline), then split for front/back panels, joined at the crotch, and finally the leg openings and button bands are added.
🧶 Step-by-Step Pattern:
1. Yoke (Top/Neckline Area)
At this point, you’re shaping the sleeves and body area. After 6 rows, you should have a flat rectangle with corner increases that form a “T” shape.
2. Separate Sleeves from Body
This splits the yoke into a body panel (front and back) and separates the sleeves.
3. Body Panel
Work in hdc or dc rows until the body measures around 10 inches from the shoulder.
You can work a shell stitch or decorative edge near the bottom if desired.
4. Crotch Shaping
When the body is long enough, divide for the crotch:
5. Leg Openings
Join yarn at leg opening, and sc or hdc evenly around the opening. Do 2–3 rounds. Optional: Add ribbing using front and back post stitches or a scalloped edge.
6. Button Bands (Shoulder or Crotch)
-
Add button bands on one or both shoulders by working 2–3 rows of sc
-
Make buttonholes (ch 1, skip 1) in second row as needed
-
Sew buttons on the opposite side or at crotch area if you want a bottom closure
🧼 Finishing Touches
-
Weave in all ends with a tapestry needle
-
Block lightly if needed (use a steam block or damp cloth; do not overheat baby yarn)
-
Sew buttons securely—check for safety (no loose threads)
✅ Tips for Success:
-
Use soft, washable yarn that’s safe for baby skin (avoid wool if baby is sensitive)
-
Check gauge if following a specific pattern for size accuracy
-
Make sure all buttons are tightly secured
-
You can add sleeves later if desired, by joining yarn at the armhole and working in rounds
Watch video: