 by
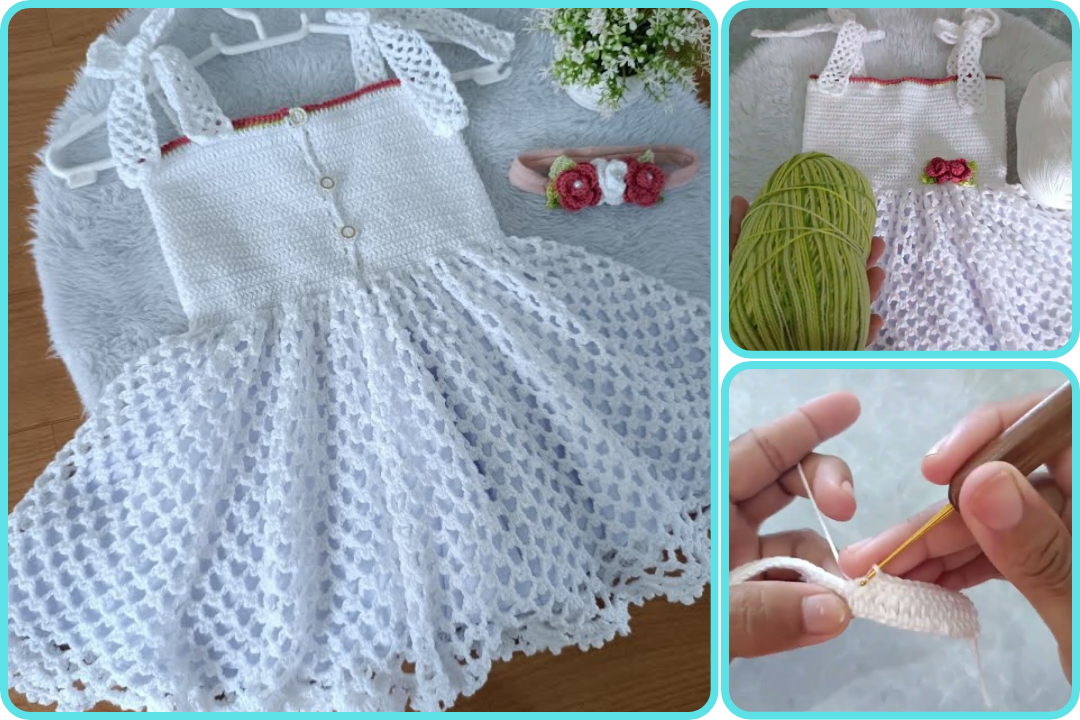
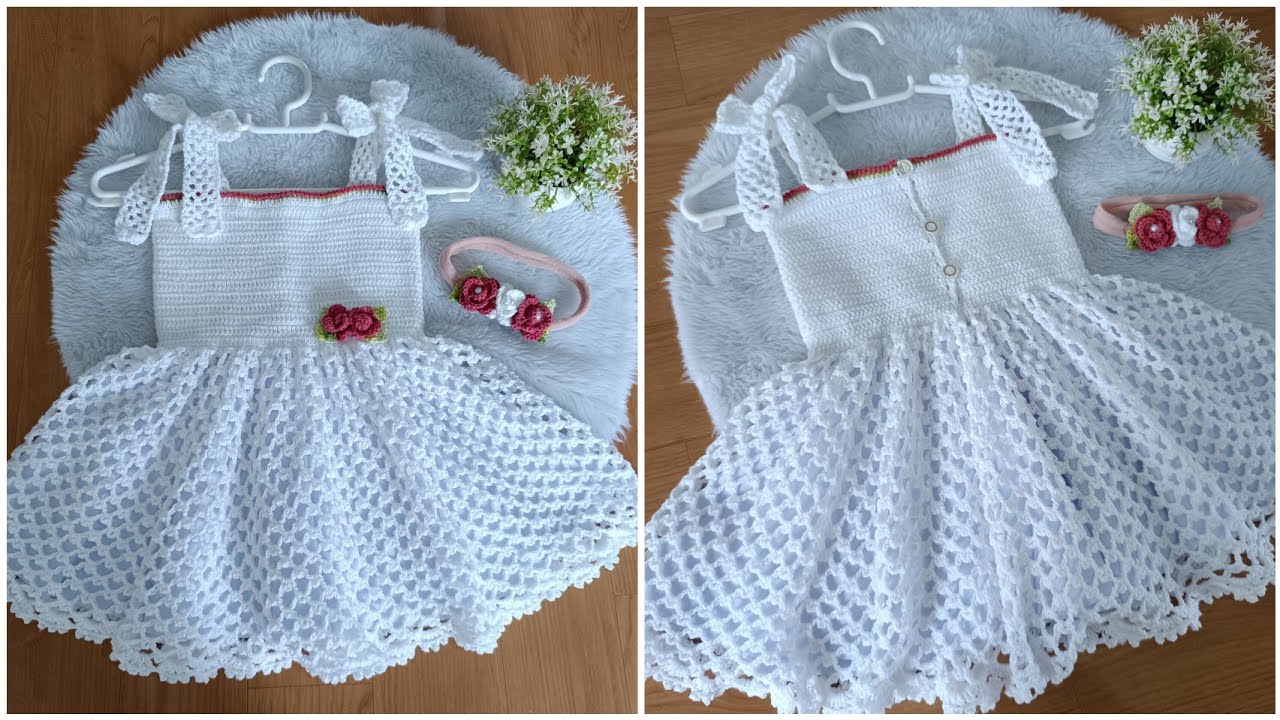
by Sure! Here’s a detailed guide on how to make a children’s crochet dress for newborn (RN) to 2 years old, including materials, measurements, sizing info, stitch guide, and pattern structure. This guide will work for a basic sleeveless A-line or empire-waist crochet dress, with variations you can add later (sleeves, trims, buttons, etc.).
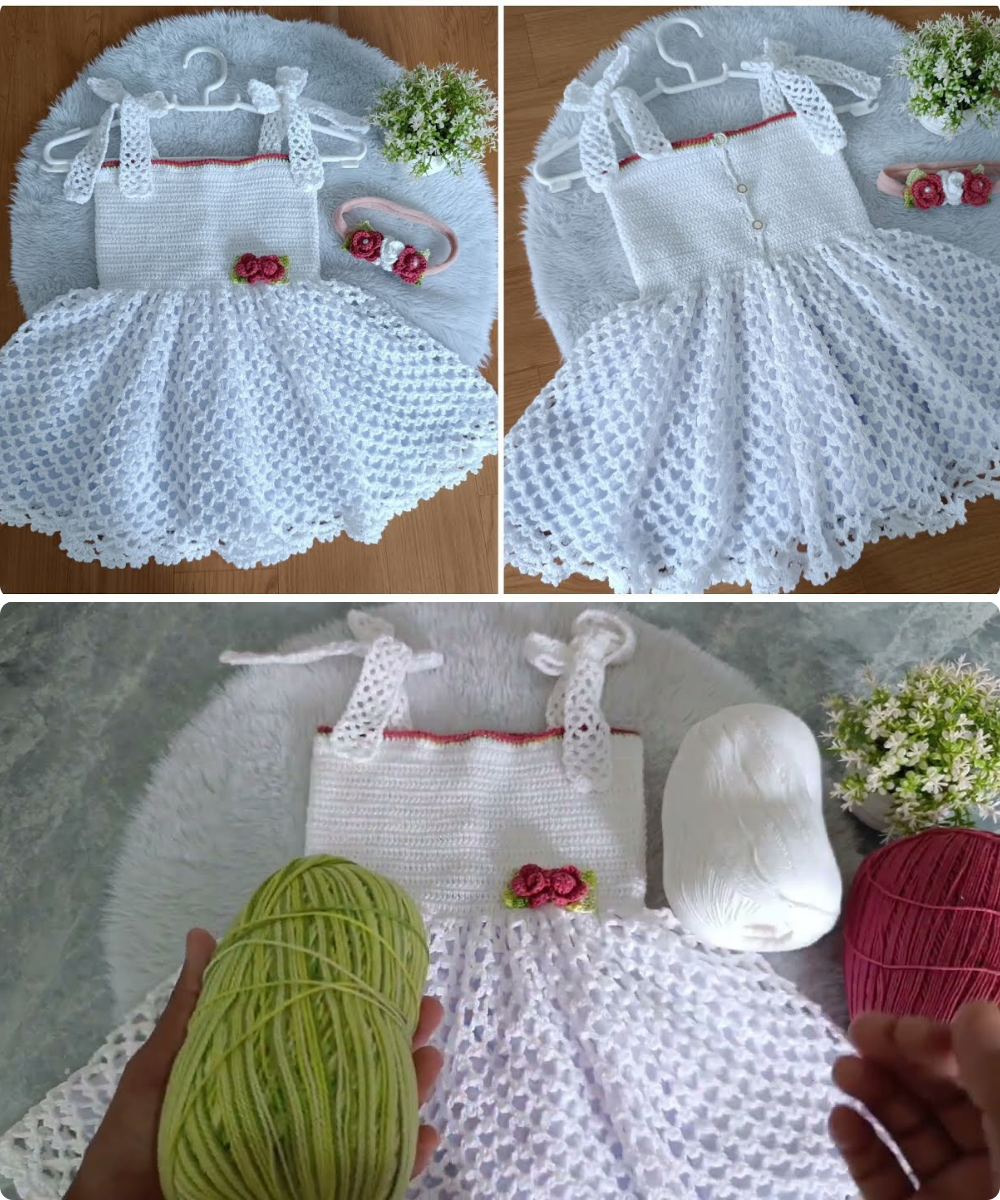
🧶 How to Crochet a Baby Dress (Size RN to 2 Years)
🧵 Materials Needed:
-
Yarn: Light-weight yarn (#3 DK or baby weight yarn). Cotton or soft acrylic works best for babies.
-
Hook: 3.5 mm – 4.5 mm (E–7 to G–6) depending on gauge.
-
Tapestry needle for weaving in ends.
-
Stitch markers
-
Buttons (optional for closures)
-
Measuring tape
📏 Sizing Guide (Approximate Chest and Length):
| Size | Chest (inches) | Dress Length (inches) |
|---|---|---|
| Newborn | 14–15″ | 10–11″ |
| 3–6 mo | 16–17″ | 12–13″ |
| 6–12 mo | 18–19″ | 14–15″ |
| 12–18 mo | 19–20″ | 16–17″ |
| 18–24 mo | 20–21″ | 18–19″ |
👉 Add about 1–2 inches of ease to the chest for a comfortable fit.
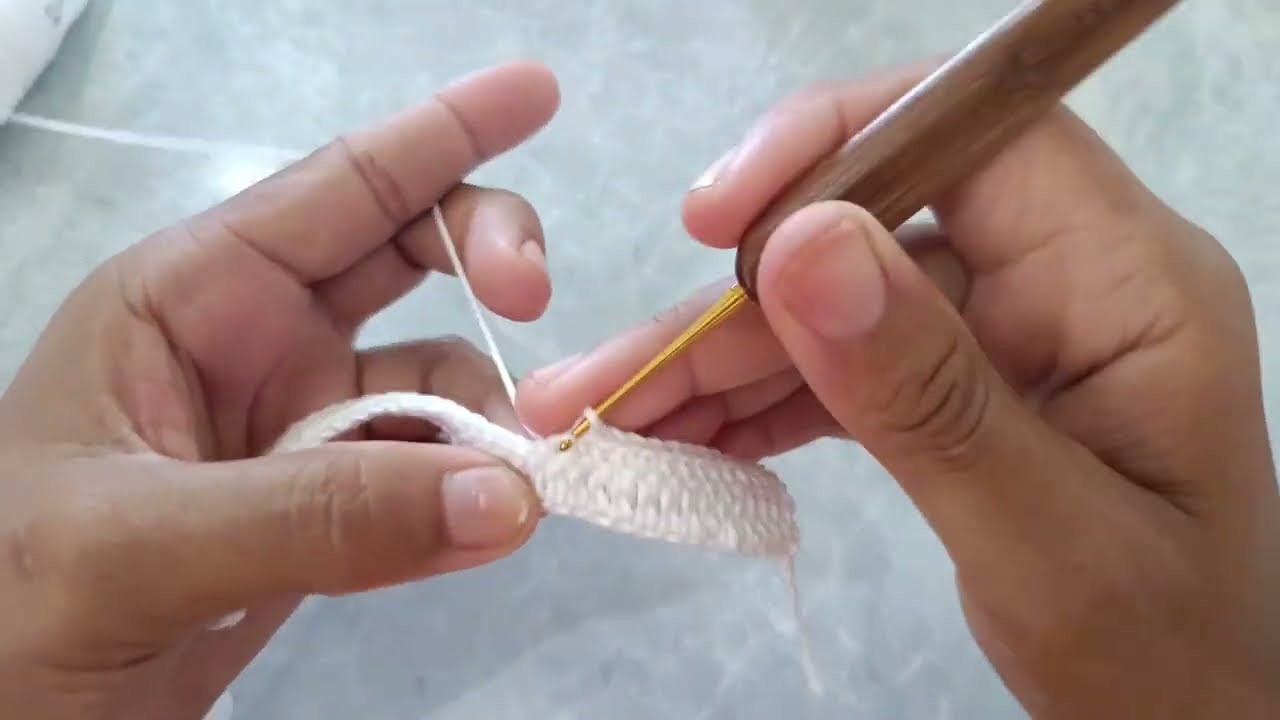
🧶 Common Stitches Used:
-
Ch – Chain
-
Sl st – Slip Stitch
-
Sc – Single Crochet
-
Hdc – Half Double Crochet
-
Dc – Double Crochet
-
V-stitch – (dc, ch 1, dc) in same st
-
Shell stitch – 5 dc in same st
-
Inc – Increase (2 stitches in 1)
🏗️ Construction Overview:
The dress is worked top-down in one piece (yoke first), then divided for the skirt. You can also make it as a separate bodice and skirt and sew together.

🪡 Basic Pattern Outline: Top-Down A-Line Dress
1. Start with the Yoke (Top Section)
-
Begin with a foundation chain for neckline (adjust based on size).
-
Work in rows or rounds, increasing at raglan points if doing a raglan yoke.
-
Example foundation: Ch 48 (for 0–3 months), join to form a circle (or work in rows with a button opening in the back).
Example Round 1 (dc yoke):
2. Yoke Increases (until it reaches chest width)
-
Increase every round at 4 raglan points.
-
Or, do increases evenly spaced if not a raglan.
Example Increase Round:
-
Measure until the chest diameter matches size chart (with ease).
3. Separate for Skirt
-
After yoke is wide enough, separate body and sleeves.
-
Skirt is worked in rounds down from the yoke.
Separate:
4. Work the Skirt
-
Work in rounds with dc, v-stitches, or shells for texture.
-
You can increase gradually for a flared shape.
-
Work until desired length (see chart).
Example:
5. Add Edging and Finishing
-
Add picot, shell, or scalloped edge on the bottom.
-
Add straps or sleeves if desired.
-
Add button closure on back if needed.
-
Weave in ends.
Optional Add-Ons:
-
Sleeves: Cap sleeves or flutter sleeves using shells or ruffles.
-
Waist tie: Chain a long strand, weave through waist.
-
Bodice texture: Use bobble stitch or front/back post stitches.
-
Multicolor: Change yarn color at waist or use variegated yarn.
🧼 Care Tips:
Use baby-safe yarn that is machine washable. Check labels and avoid wool if the child has allergies.
Watch video: