 by
by Sure! Here’s a detailed step-by-step guide on how to crochet a baby dress for ages 0 to 3 months, perfect for beginners or intermediate crocheters. This tutorial includes instructions on materials, stitches used, construction steps, and pattern layout.
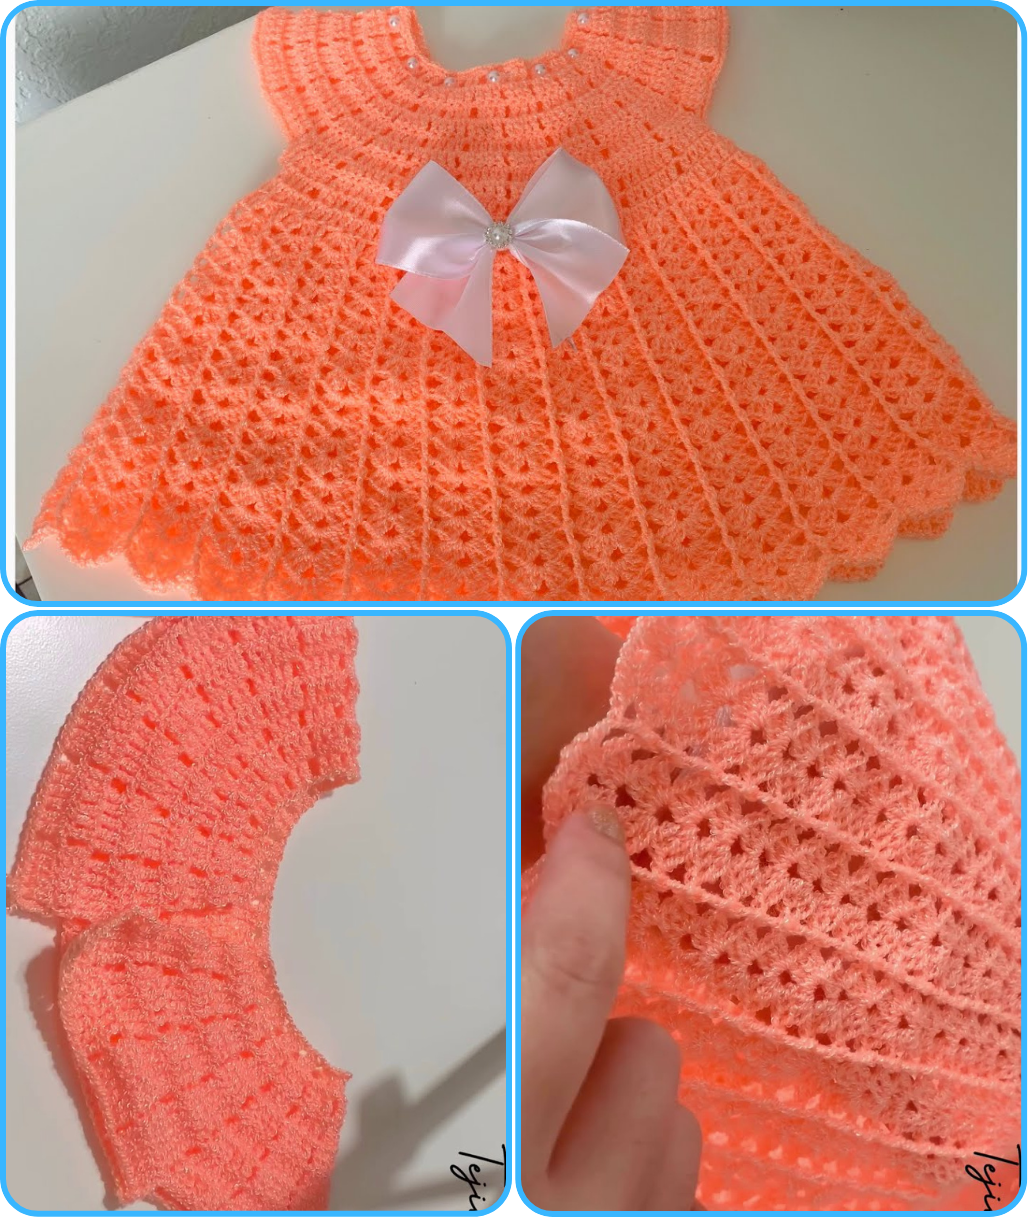
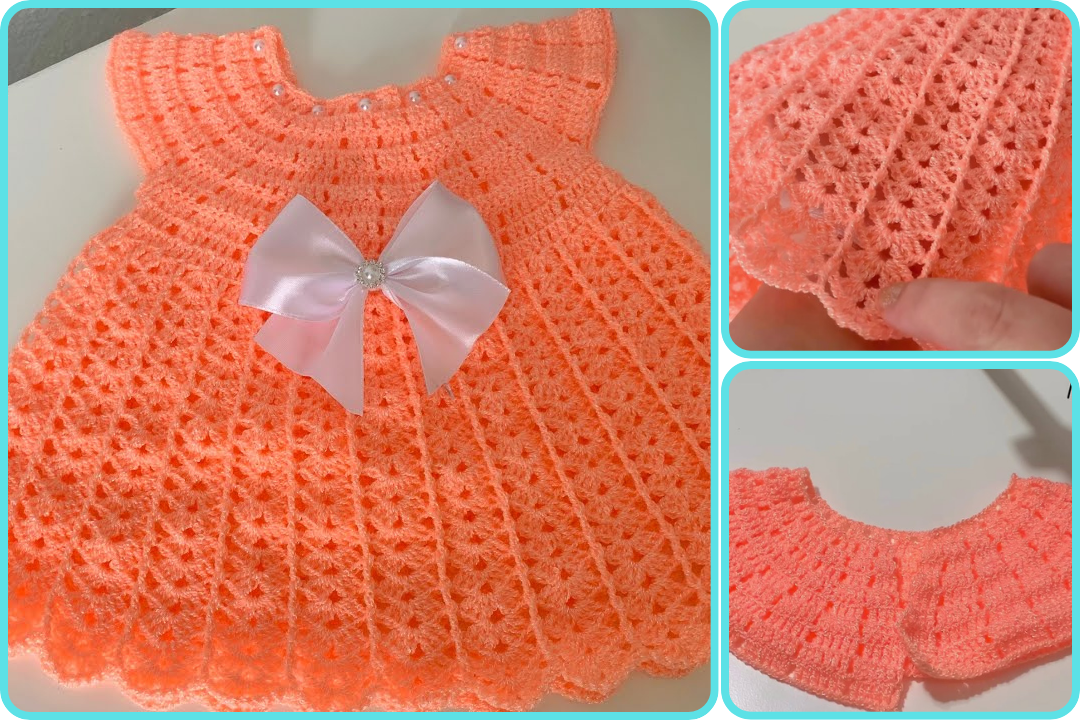
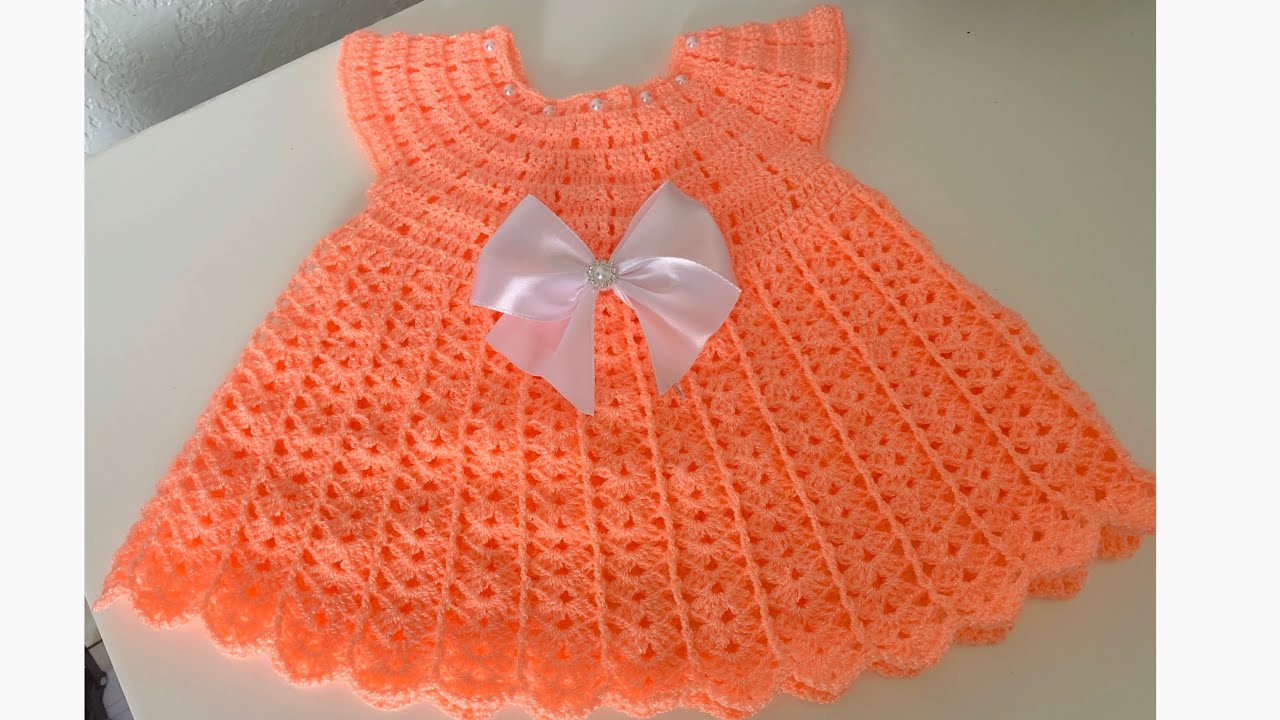
🧶 How to Crochet a Baby Dress | Ages 0 to 3 Months | Step-by-Step Tutorial
🧵 Materials Needed:
-
Yarn: Soft DK weight yarn or light worsted yarn (approx. 150–200 grams)
-
Crochet Hook: Size 4.0 mm (G-6)
-
Scissors
-
Yarn Needle (for weaving ends)
-
Stitch Markers (optional)
-
Buttons: 2 to 3 small buttons for back closure
📏 Finished Size:
-
Age: 0 to 3 months
-
Chest circumference: approx. 16″ (40.5 cm)
-
Dress length: approx. 11–12″ (28–30.5 cm)
🔤 Abbreviations (U.S. Terms):
-
ch = chain
-
sl st = slip stitch
-
sc = single crochet
-
dc = double crochet
-
hdc = half double crochet
-
st(s) = stitch(es)
-
sk = skip
-
rep = repeat
🪡 STEP-BY-STEP TUTORIAL
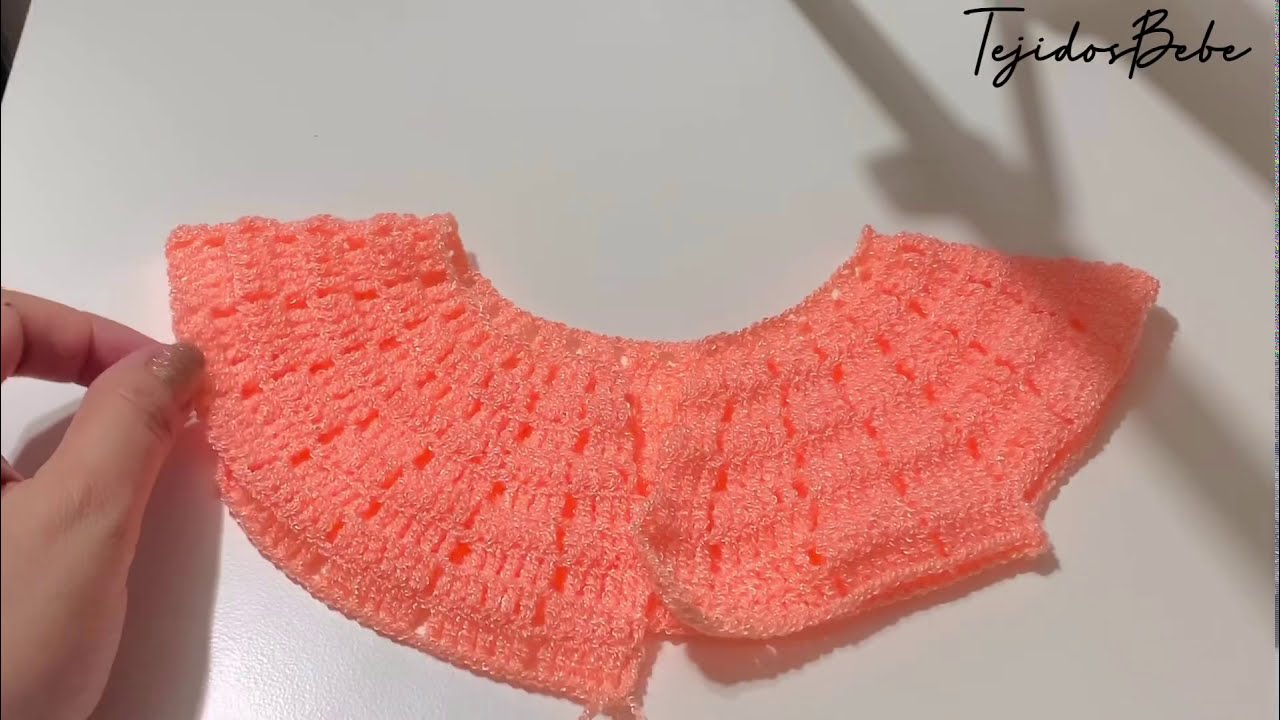
🟡 Step 1: Start with the Yoke (Top of the Dress)
-
Ch 52 (or multiple of 4 + 4)
-
Row 1: Dc in 4th ch from hook and each ch across. (Total: 50 dc)
-
Row 2: Ch 2, turn. Dc in next 11 sts, 2 dc in next st (repeat 4 times), dc to end. (Increases shaping the shoulders and neckline)
-
Rows 3–6: Repeat pattern, increasing on each “2 dc in one st” area to shape a round yoke. Use stitch markers to note corner increases if needed.
🟡 Step 2: Form the Armholes
-
Row 7: Ch 2, turn. Dc to first increase corner, ch 4, skip the armhole sts, dc in next increase corner. Repeat for both armholes.
-
This row separates the body and sleeves. The chains form the underarm area.
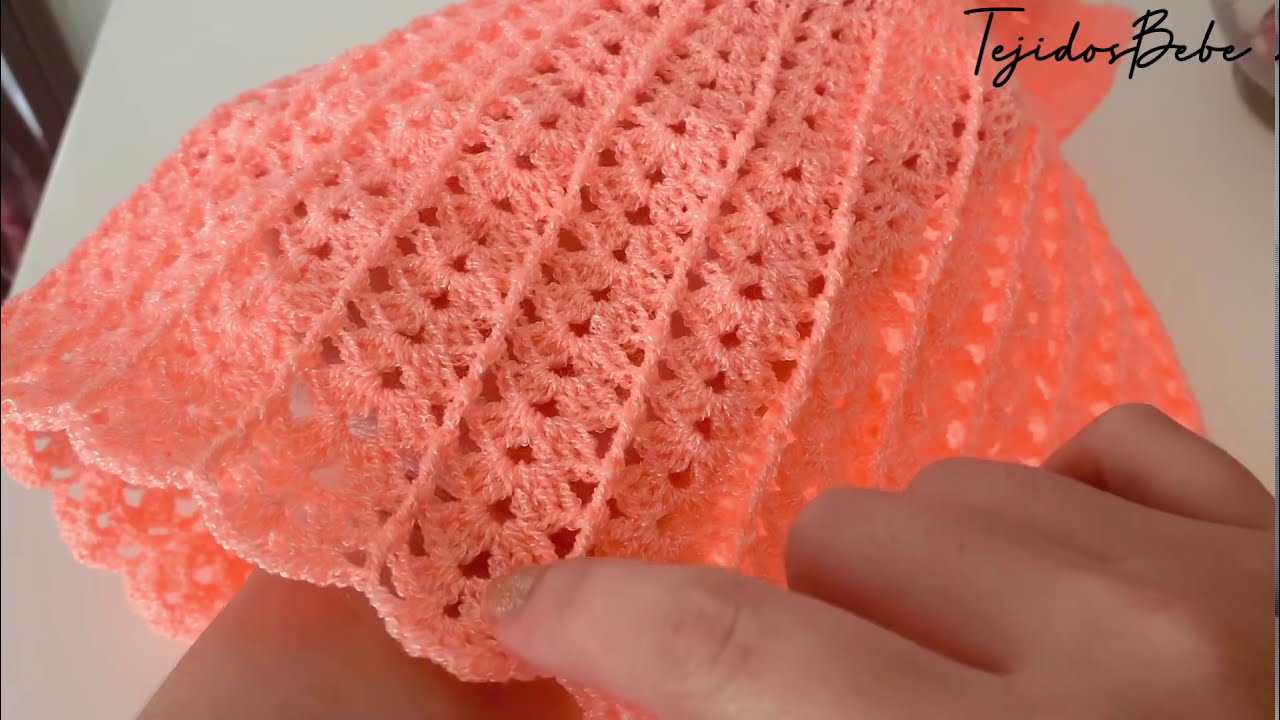
🟡 Step 3: Work the Body of the Dress
-
Row 8 and onwards: Continue working dc in each st across including ch spaces under the arms.
-
Work in rows or join to work in rounds (if you want no back opening).
-
Continue until the dress reaches the desired length (typically around 10–12 inches from neckline).
-
You can add a ruffled edge at the bottom by increasing stitches (e.g., 2 dc in each stitch for a frill).
🟡 Step 4: Create Sleeves (Optional)
-
Attach yarn at the underarm.
-
Work dc rounds around the armhole (approx. 3–4 rounds).
-
Optionally, add a scalloped or shell edge by using 5 dc in 1 st, sk 1, sc in next repeat.
🟡 Step 5: Add Back Opening & Buttons
-
If you left the back open:
-
Add a row or two of sc around the back opening to clean edges.
-
Sew on buttons and create buttonholes using ch 2 or 3 spaces.
-
-
If worked in the round, no closure needed.
🟡 Step 6: Finishing Touches
-
Weave in all ends using a yarn needle.
-
Block the dress lightly if needed (especially for cotton yarns).
-
Add embellishments: bows, flowers, or ribbons if desired.
✨ Optional Customizations:
-
Color changes: Do stripes or a different colored skirt.
-
Lace effect: Use shell or fan stitches for a fancier design.
-
Matching accessories: Crochet a matching hat or booties.
🎥 Video Tutorial (Optional Suggestion for YouTube Creators)
-
Part 1: Materials + Yoke
-
Part 2: Separating for armholes and starting body
-
Part 3: Skirt + Edging
-
Part 4: Sleeves, buttons, and finishing
Watch video: