 by
by Absolutely! Let’s make this super clear, beginner-friendly, and detailed so you can knit the simplest fingerless mittens on just 2 knitting needles. These mittens are cozy, quick, and don’t require fancy shaping.

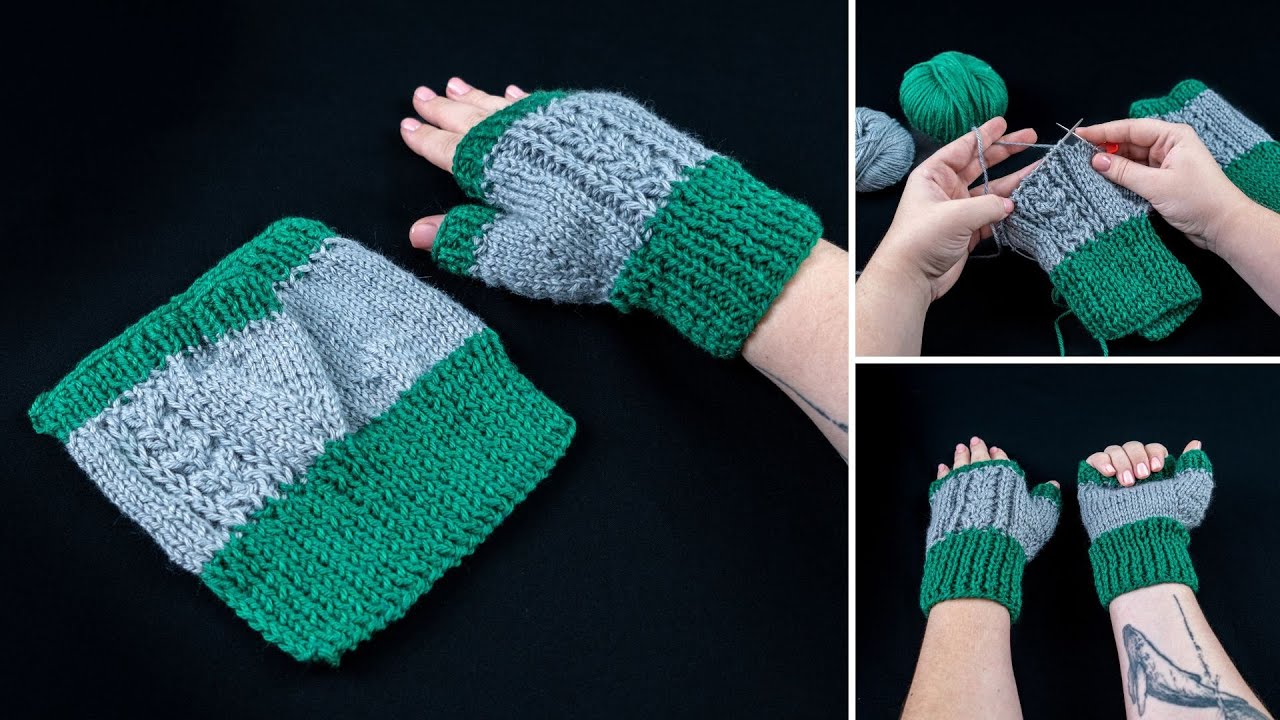
How to Make the Simplest Fingerless Mittens on 2 Knitting Needles
These mittens are knit flat on two needles and then seamed, making them perfect for beginners. They cover your hand but leave fingers free.
Materials You’ll Need
-
Yarn: Medium weight (worsted) yarn works best. Wool or acrylic blends are cozy.
-
Knitting needles: Size 4–5 mm (US 6–8), depending on your yarn.
-
Tapestry needle for sewing seams.
-
Scissors
Optional:
-
Stitch markers to mark the thumb hole
-
Non-slip yarn or grips if you plan to use them for work gloves
Basic Stitches You Should Know
-
Cast on (CO)
-
Knit stitch (K) – garter stitch will be used
-
Bind off (BO)
For simplicity, this mitten will use garter stitch (knit every row).

Step 1: Measure Your Hand
-
Hand circumference: Measure around the widest part of your hand (knuckles, without thumb).
-
Hand length: From wrist to where you want the mitten to end (usually just below fingers).
This will determine how many stitches to cast on and how many rows to knit.
Step 2: Cast On
-
Cast on enough stitches to match your hand circumference comfortably.
-
Example: For adult medium, 30–35 stitches with worsted yarn.
-
-
Knit a few rows for a wrist cuff (optional) – about 5–10 rows in garter stitch.
Step 3: Knit the Hand Section
-
Continue knitting in garter stitch until the mitten reaches just below the base of your fingers.
-
This will be the main body of the mitten.
Step 4: Create the Thumb Hole
Simplest Method for Beginners:
-
When you reach the row where the thumb should go:
-
Knit to where the thumb starts.
-
Cast off 4–6 stitches (depending on hand size) for the thumb hole.
-
Continue knitting to the end of the row.
-
-
On the next row, cast on the same number of stitches you cast off to continue knitting the hand.
This creates a simple thumb opening without complicated shaping.
Step 5: Knit the Fingerless End
-
Continue knitting in garter stitch until you reach the desired length for your mitten (usually ending just below the fingers).
-
Bind off all stitches loosely.
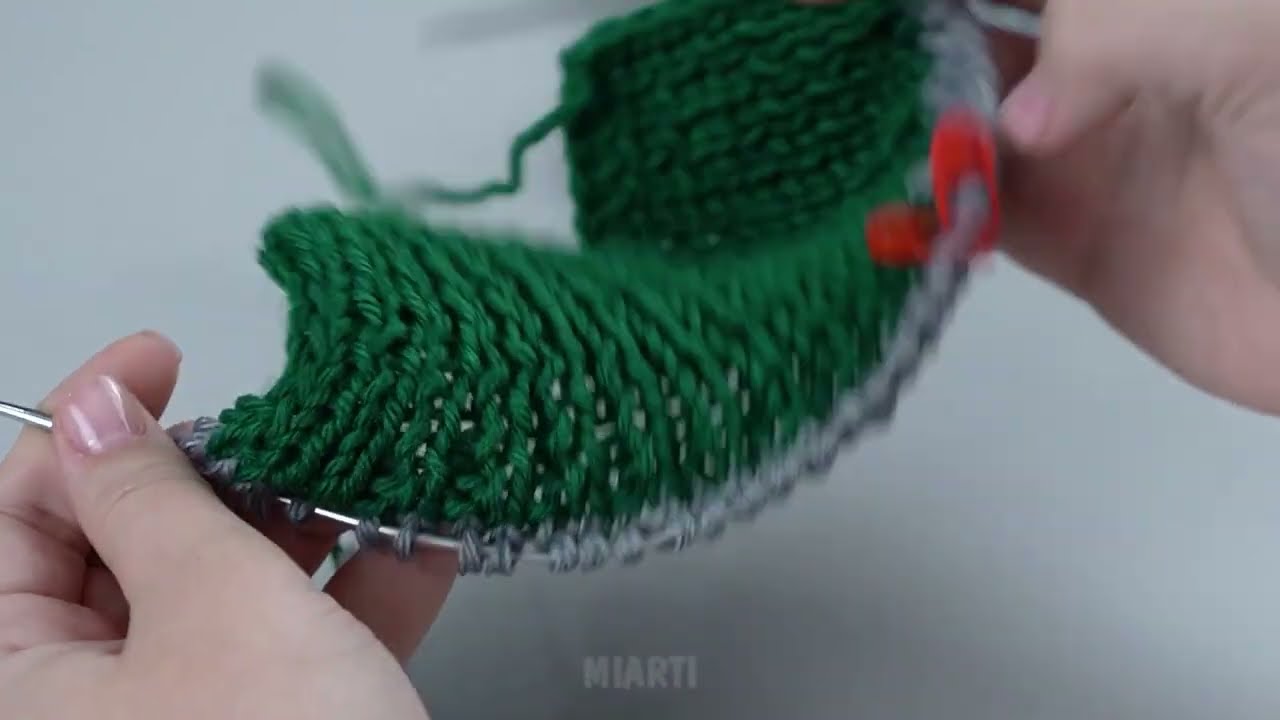
Step 6: Seam the Mitten
-
Fold the mitten flat with the wrong side inside.
-
Use a tapestry needle and yarn to seam the side and wrist using mattress stitch or whip stitch.
-
Make sure to leave the thumb hole open.
Step 7: Optional Thumb
-
You can leave the thumb hole open as is for classic fingerless style.
-
Or, for a small thumb tube:
-
Pick up stitches around the thumb hole.
-
Knit a few rows in garter stitch.
-
Bind off and seam the thumb tip.
-
Tips for Beginners
-
Keep your stitches loose so the mitten stretches easily over your hand.
-
Use stitch markers to mark the thumb hole row for accuracy.
-
Garter stitch is forgiving and hides small mistakes, making it perfect for simple mittens.
-
Use contrasting yarn for the cuff if you want a fun style.
✅ And that’s it! You now have a pair of simple, cozy fingerless mittens that you can knit quickly on just 2 needles.
If you want, I can also create a step-by-step visual diagram for these mittens, showing the thumb hole and seams, so it’s even easier for beginners to follow.
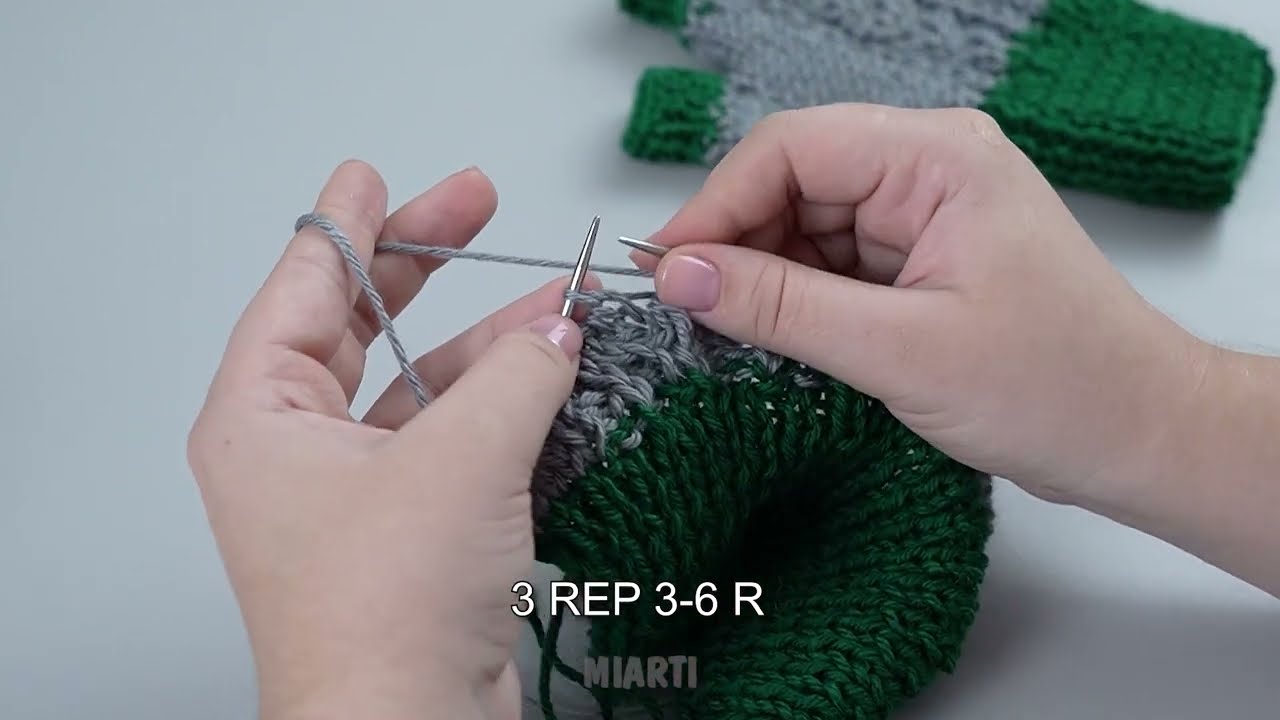
Watch tutorial: