 by
by Below is a clear, detailed, beginner-friendly article you can use for a blog post, pattern description, or tutorial narration.
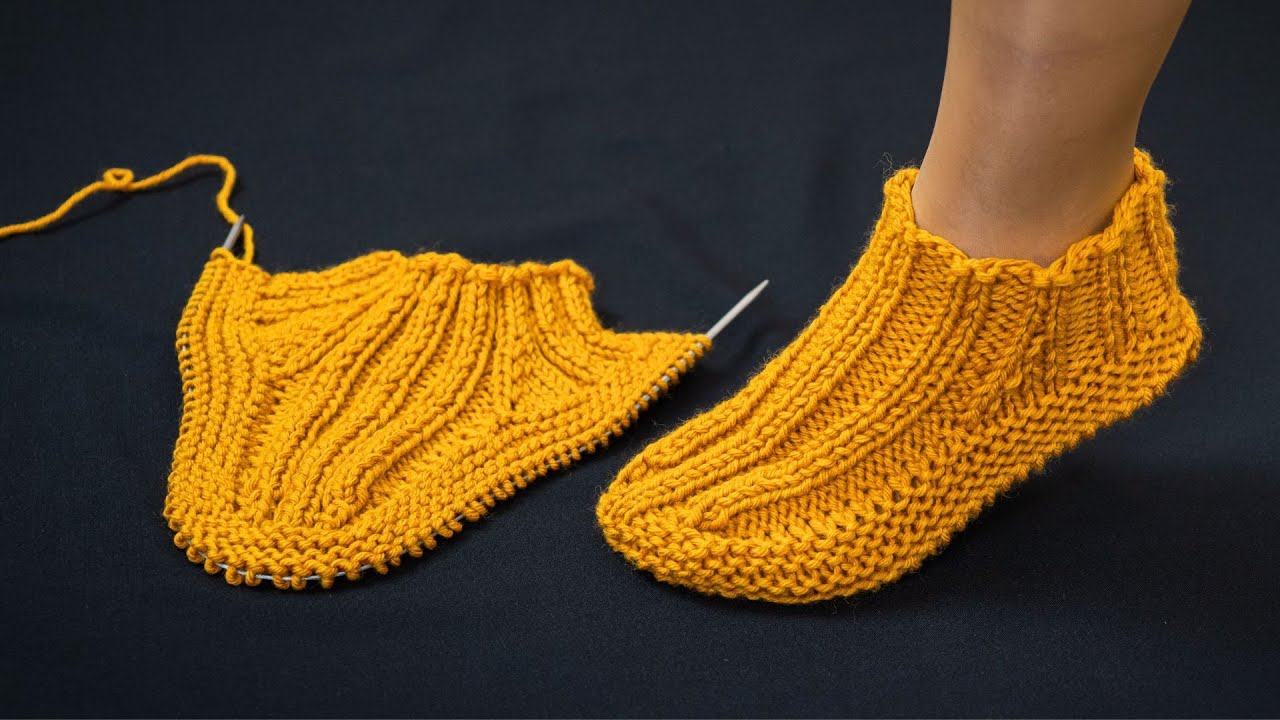
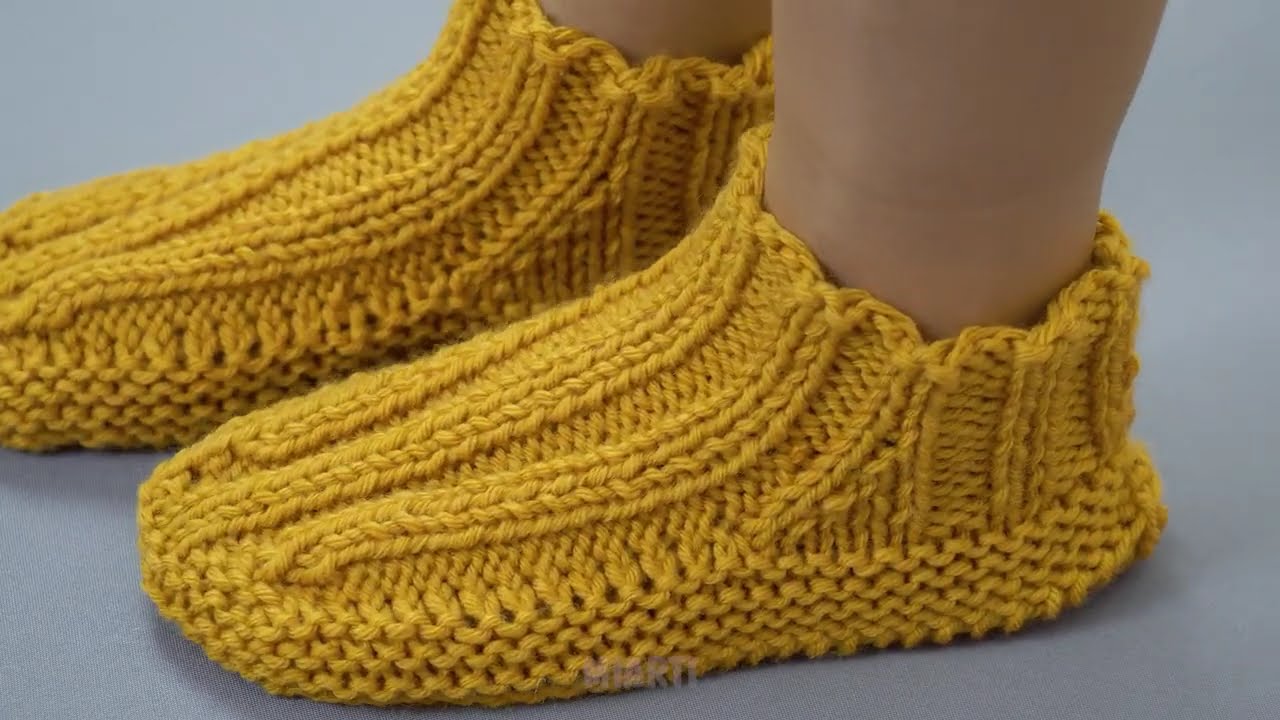
How to Make Very Simple Knitted Slippers Without a Seam on the Sole
Easy, Comfortable, and Beginner-Friendly!
If you want cozy slippers that are comfortable to walk in, avoiding a seam on the sole is key. This very simple knitting method creates slippers with a smooth, seamless sole, making them perfect for everyday home wear. Best of all, the slippers are knitted flat on two needles, use only basic stitches, and are suitable even for beginners.
Why Knit Slippers Without a Sole Seam?
-
✔ No uncomfortable ridge under the foot
-
✔ More durable and long-lasting
-
✔ Cleaner, professional look
-
✔ Easy construction with minimal sewing
-
✔ Perfect for beginners
Materials You’ll Need
Supplies
-
Yarn:
-
Medium or bulky weight yarn
-
Wool or wool-blend for warmth and elasticity
-
About 120–150 grams
-
-
Knitting needles:
-
6–8 mm (US 10–11) straight needles
-
-
Tapestry needle
-
Scissors
Skill Level & Stitches Used
Skill Level
-
Beginner
Basic Techniques
-
Cast on
-
Knit stitch
-
Purl stitch
-
Simple increases and decreases
-
Cast off (bind off)
Step 1: Cast On at the Toe
To keep the sole seamless, the slipper is worked from the toe upward.
Cast on 22–28 stitches, depending on foot size and yarn thickness:
-
Small: 22 stitches
-
Medium: 24–26 stitches
-
Large: 28 stitches
Step 2: Shape the Toe
This step forms a rounded toe without any seams.
-
Row 1 (Right side): Knit all stitches
-
Row 2 (Wrong side): Purl all stitches
-
Increase 1 stitch at each end of every right-side row
-
Continue until you have 36–44 stitches
This gradual increase gives the toe a comfortable, natural shape.
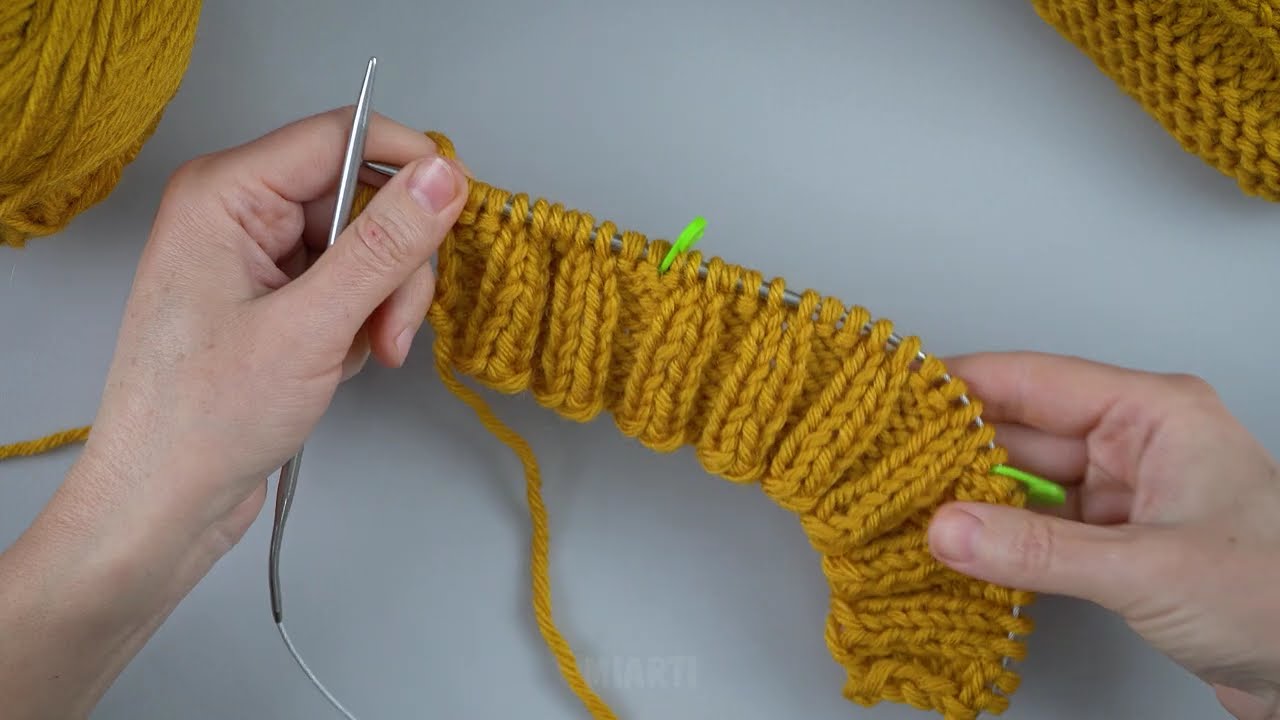
Step 3: Knit the Foot (Seamless Sole)
Once the toe width fits comfortably:
-
Knit in stockinette stitch
-
Right side: Knit
-
Wrong side: Purl
-
-
Continue until the piece measures 7–9 inches (18–23 cm) from toe to heel
This section forms both the sole and the top, completely smooth underneath.
Step 4: Shape the Heel
To create a snug heel:
-
Decrease 1 stitch at each end of every right-side row
-
Continue until you return to the original stitch count
-
This shapes the heel cup while keeping the sole seam-free
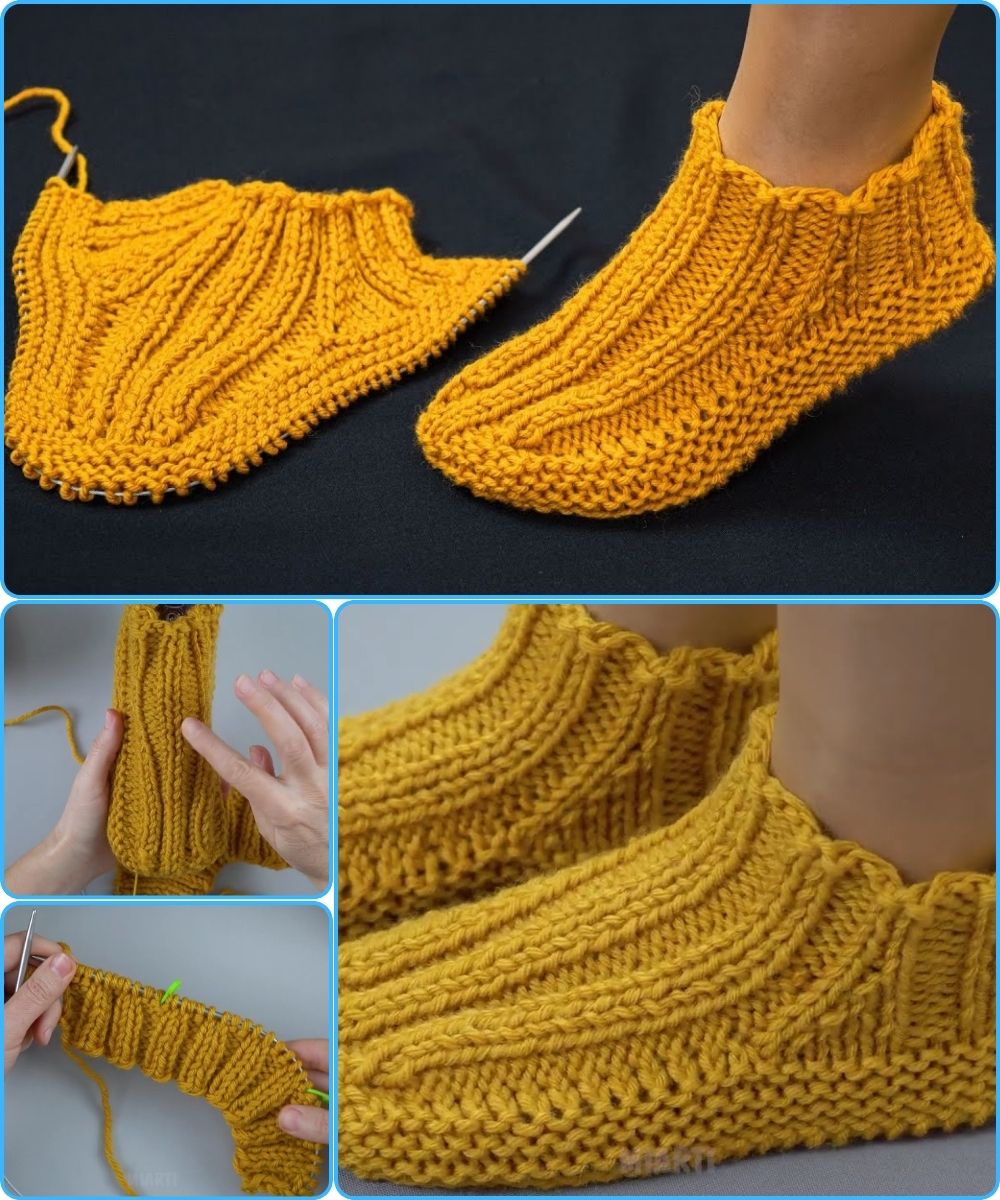
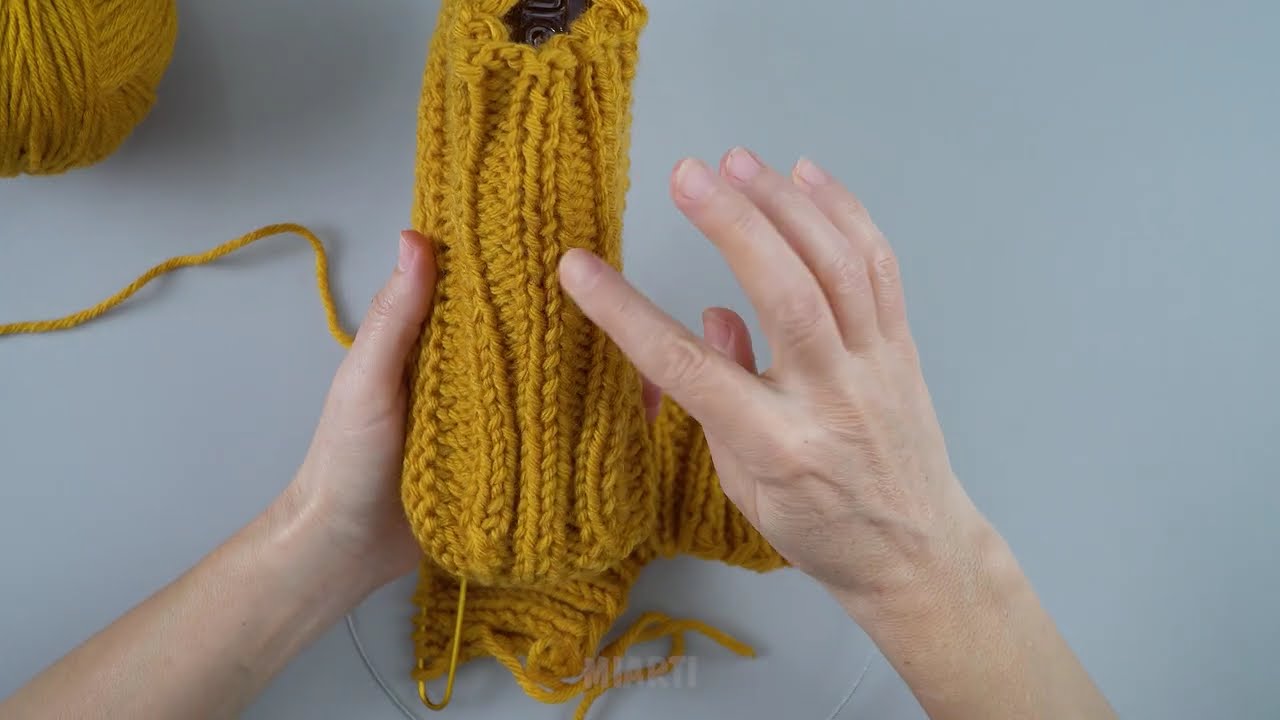
Step 5: Cast Off and Sew the Heel Only
-
Cast off loosely
-
Fold the slipper so the heel edges meet
-
Sew only the back heel seam
There is no seam on the sole, ensuring maximum comfort.
Step 6: Finish the Slipper
-
Weave in all yarn ends
-
Turn right side out
-
Try on and adjust the heel if needed
Repeat all steps for the second slipper.
Optional Simple Enhancements
-
Knit a few rows of ribbing at the opening
-
Add a garter stitch border
-
Decorate with buttons or bows
-
Apply non-slip paint to the sole
Tips for Best Results
-
Choose soft, flexible yarn
-
Keep even tension for a smooth sole
-
Make slippers slightly snug—they will relax with wear
-
Try on while knitting whenever possible
Why This Pattern Is Perfect for Beginners
✔ Very simple shaping
✔ No complicated pattern reading
✔ Minimal sewing
✔ Comfortable and practical
✔ Quick and satisfying project
These very simple knitted slippers without a seam on the sole are cozy, practical, and easy to make. With just basic knitting skills, you can create comfortable handmade slippers that look neat and feel great to wear.
If you’d like, I can also:
-
Create a short printable pattern
-
Adjust it for children, men, or wide feet
-
Write a video tutorial script
-
Add exact stitch counts for all sizes
Watch video: