 by
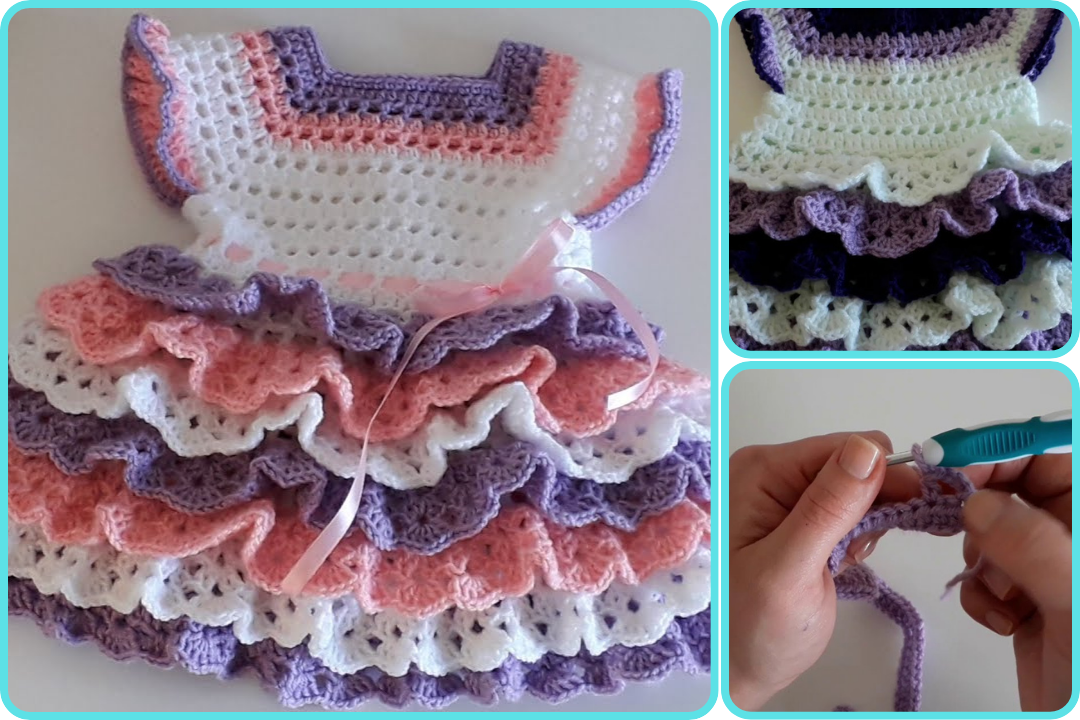
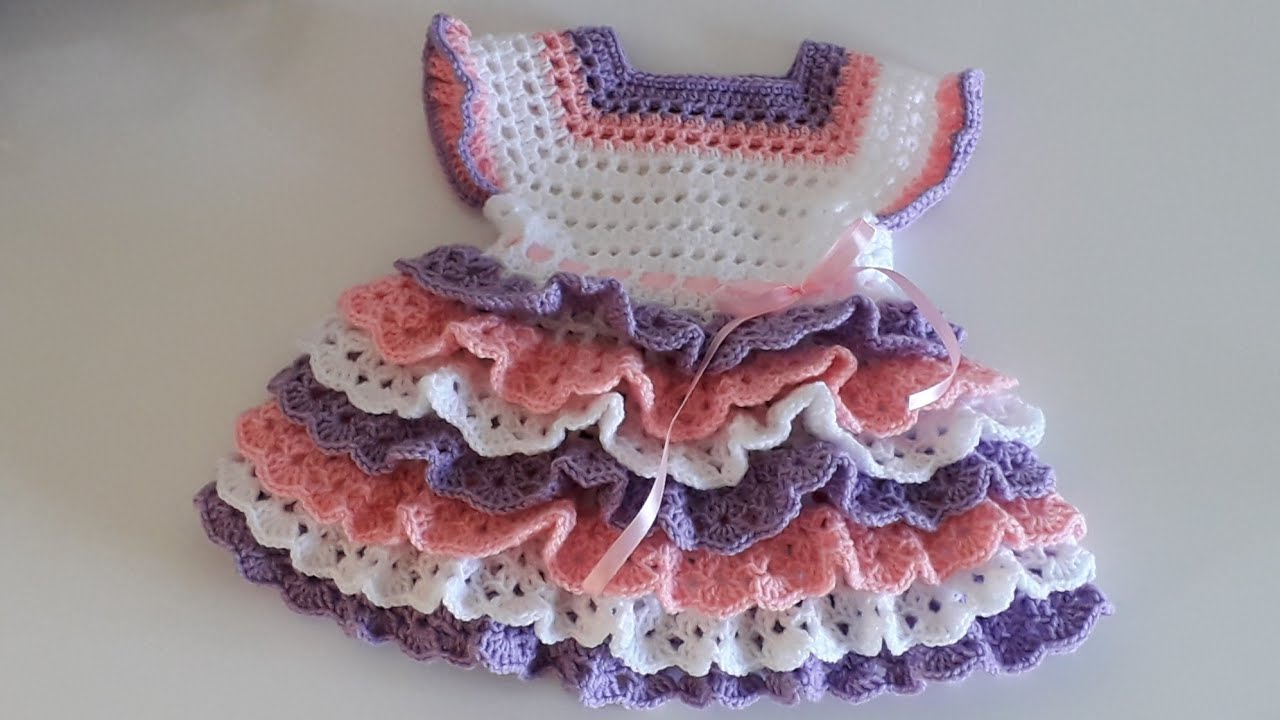
by Sure! Here’s a detailed step-by-step guide on how to crochet a layered baby dress. This tutorial is suitable for intermediate-level crocheters who are comfortable with basic stitches and reading patterns.
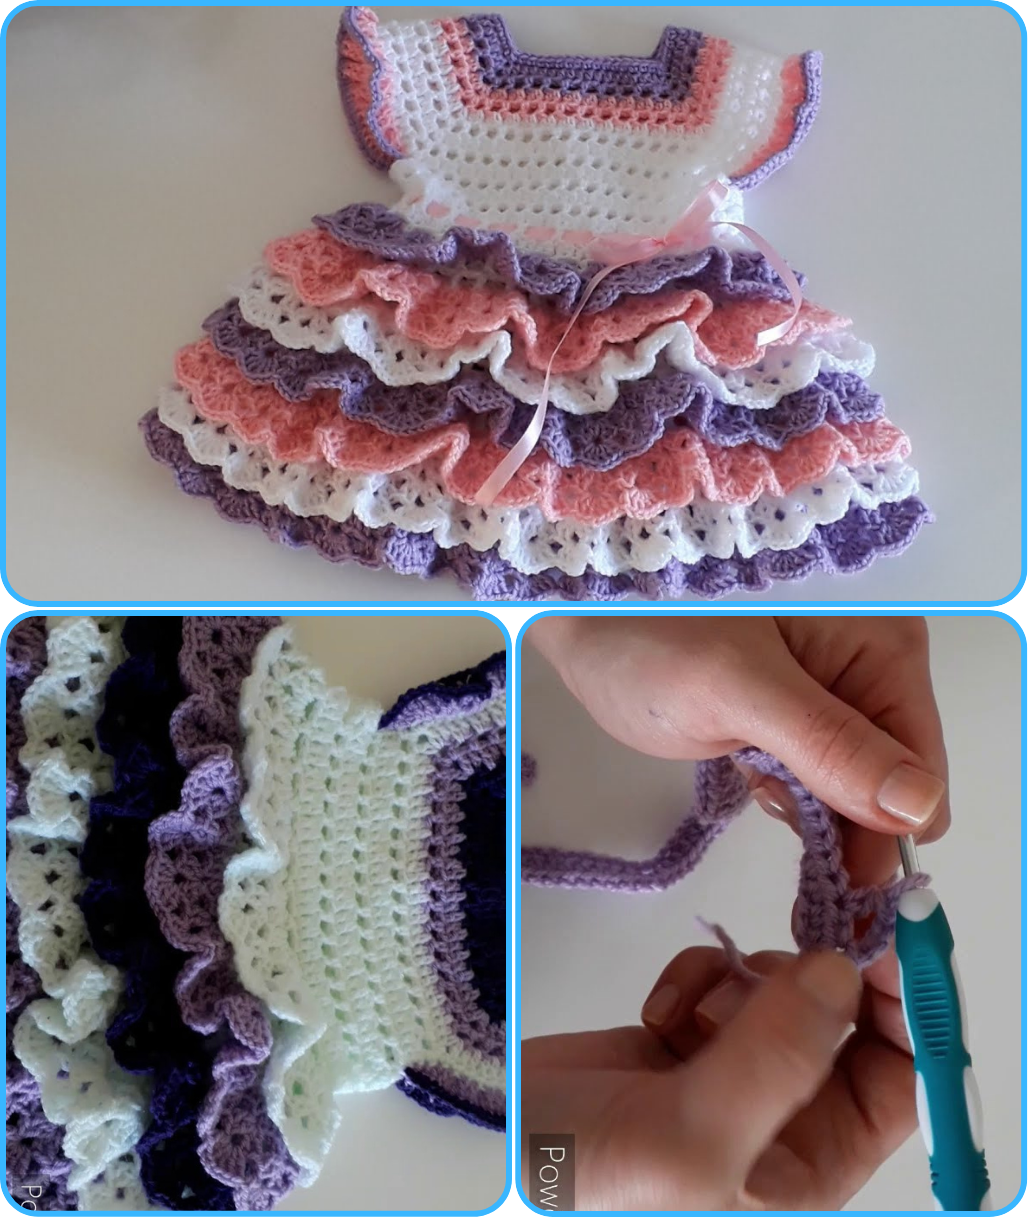
🧶 How to Crochet a Layered Baby Dress (Step-by-Step)
✂️ Materials Needed:
-
Yarn: DK or Light Worsted weight yarn in 2-3 colors (soft cotton or baby-friendly acrylic)
-
Hook: 4.0 mm (G) or size needed for your yarn
-
Stitch markers
-
Yarn needle
-
Scissors
-
Buttons or ribbons (optional, for decoration)
📏 Sizing:
This pattern is for a 6–12 month old baby, but you can adjust by changing hook/yarn size or increasing rounds.
🧵 Basic Stitches Used:
-
ch – chain
-
sc – single crochet
-
dc – double crochet
-
sl st – slip stitch
-
V-stitch – (dc, ch 1, dc) in the same stitch
🪡 Pattern Sections:
🟡 1. Yoke (Top Part)
This is worked in rows or rounds and forms the neckline and shoulder area.
Foundation:
-
Ch 60 (adjust in multiples of 4 if needed for size)
-
Join with a sl st to form a ring (if working in the round), or work flat and join later.
Row 1:
-
Ch 2 (counts as dc), dc in each ch around
-
Join with sl st
Row 2-6:
-
Increase round: (dc in next 2 sts, 2 dc in next) repeat around
-
You can also use raglan-style increases (mark 4 points and increase at each corner)
-
Continue until the yoke measures about 3–4 inches from neckline
🟢 2. Divide for Armholes
Once your yoke is wide enough:
-
Front: Work dc across X stitches
-
Armhole: Skip Y stitches, ch Y to create armhole
-
Back: Continue dc across next X stitches
-
Second Armhole: Skip Y, ch Y
-
Join to beginning with sl st
This creates the basic bodice opening.
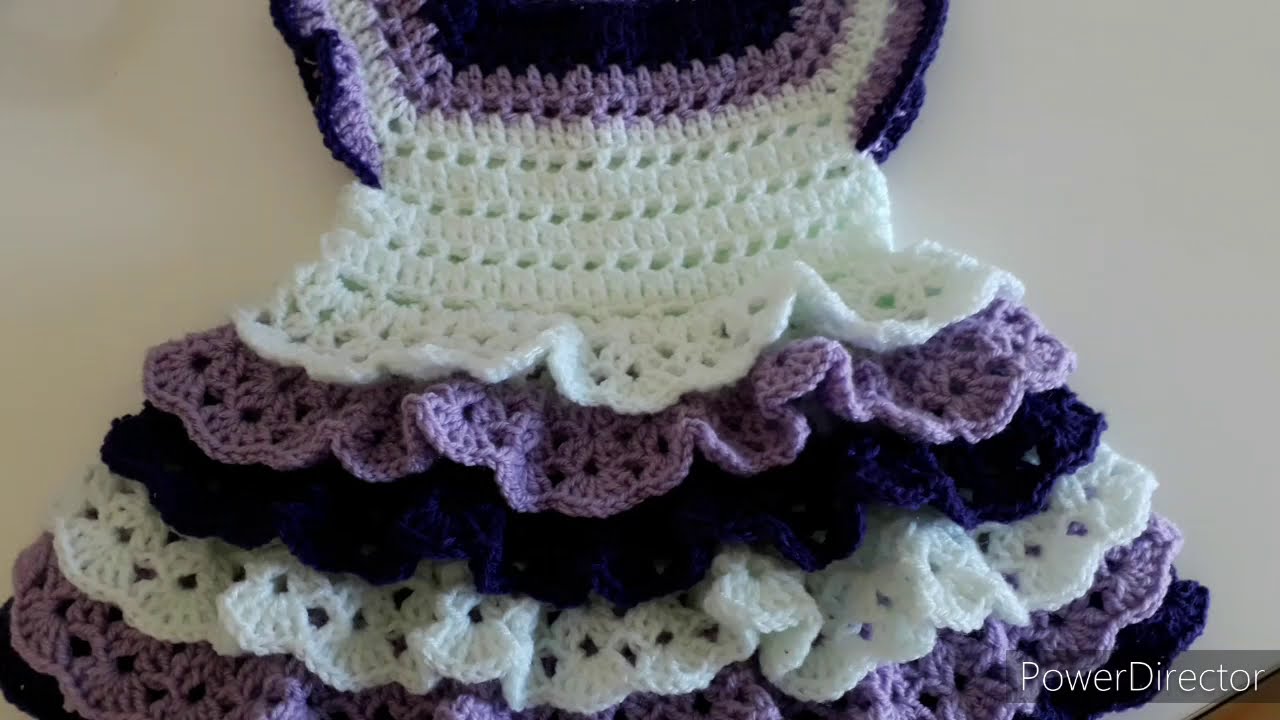
🔵 3. First Layer (Skirt Layer 1)
Switch to your second color if desired.
Round 1:
-
Attach yarn to bottom of bodice
-
Work dc in each stitch around
Round 2:
-
Start shell or ruffle pattern: (dc, ch 1, dc) in next st, skip 1 st, repeat around
-
Continue for 6–8 rounds
Optional Ruffle:
-
Add a row of sc or picot edging for decoration
🟣 4. Second Layer (Overlay Skirt)
Attach to a row 2–3 rounds above the previous skirt layer. Use front loops only from the earlier row to anchor the second layer.
Repeat the same ruffle pattern:
-
Join yarn
-
(dc, ch 1, dc) in next st, skip 1 st, repeat
-
Make this layer shorter for the “layered” look
🟤 5. Third Layer (Optional)
Repeat again for a third tier. You can make this layer even shorter for a tiered effect. Use different color for visual contrast.
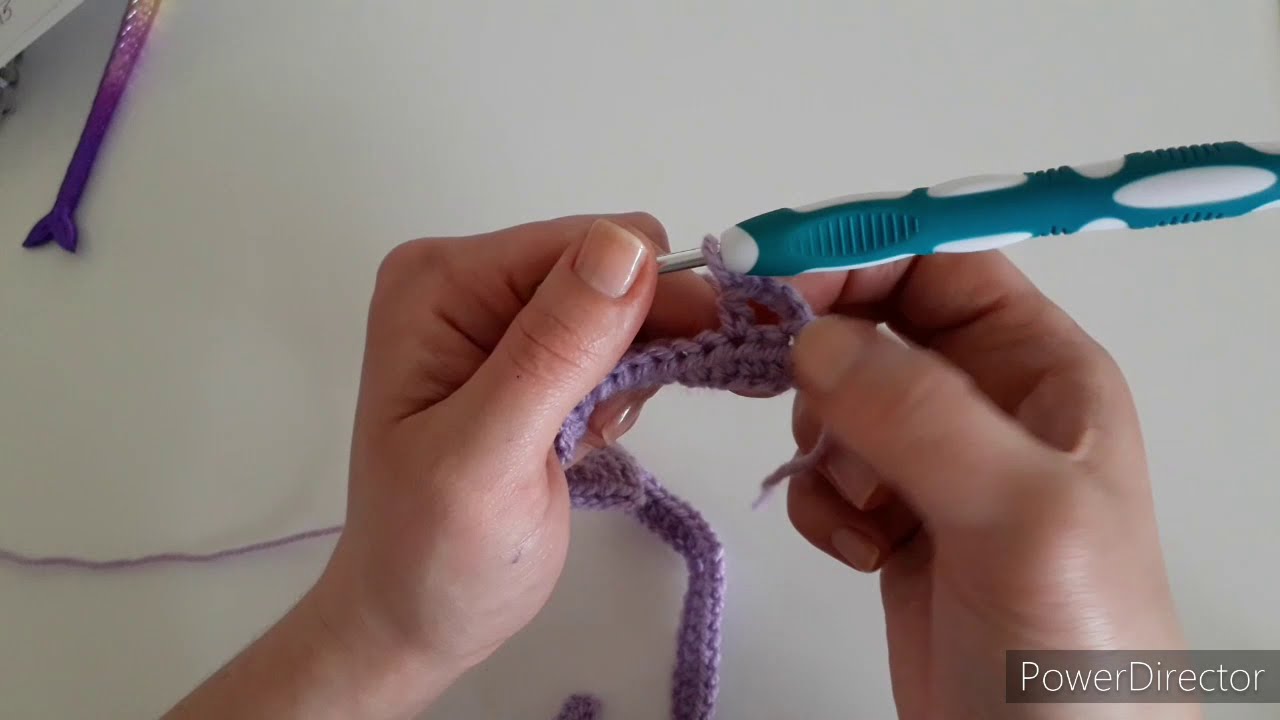
🔴 6. Finishing Touches
-
Add single crochet or decorative edging around neckline and armholes
-
Add buttons to back if you left a back opening
-
Weave in all ends
-
Lightly block the dress to shape it
💡 Tips:
-
Use stitch markers to help track increases and armhole placement
-
Keep yarn colors coordinated for a soft baby look
-
If making for summer, choose cotton yarn to keep baby cool
-
You can use ribbon bows or appliqués for decoration
🖼️ Optional Variations:
-
Use lace yarn for a delicate christening gown style
-
Add sleeves by continuing from the armhole stitches
-
Add matching diaper cover or bonnet for a set
Watch video: