 by
by Below is a detailed, beginner-friendly article written in a clear tutorial style. You can use it for a blog, pattern description, or video narration.
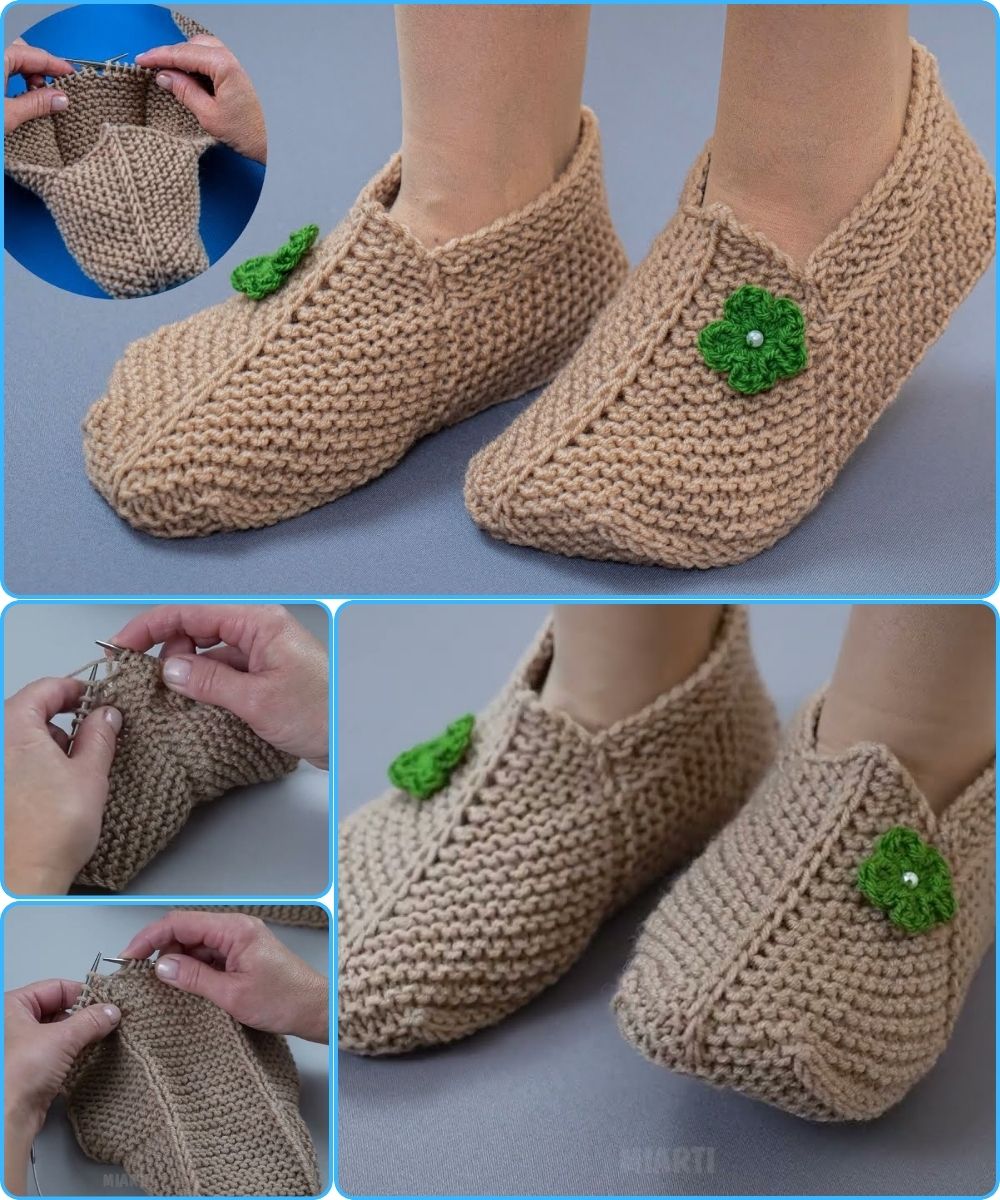
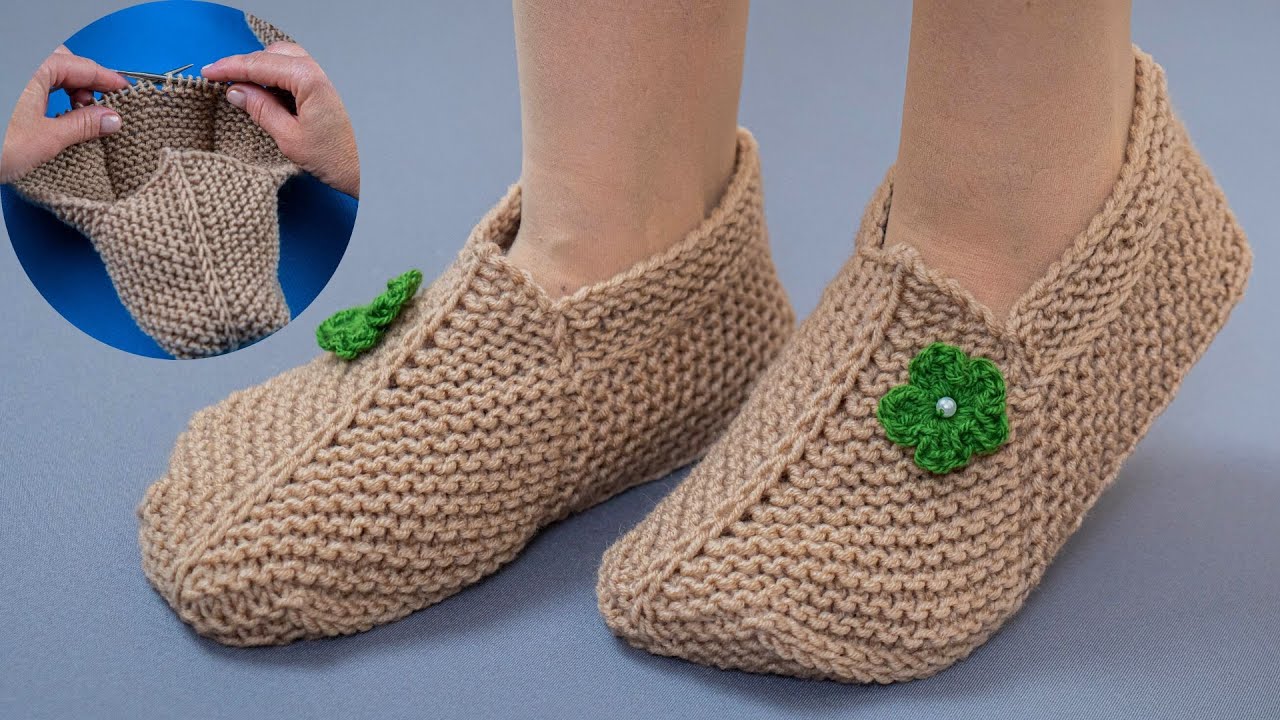
How to Make Comfortable Slippers Without a Seam on the Sole Using 2 Knitting Needles
Simple, Easy, and Perfect for Beginners!
If you want cozy, comfortable slippers with no seam on the sole, this knitting method is perfect for you. These slippers are knitted flat on two straight needles, making them ideal for beginners who want professional-looking results without complicated techniques. The absence of a sole seam makes the slippers extra comfortable and durable for everyday wear.
Why Choose Seam-Free Sole Slippers?
-
✔ No uncomfortable seam under the foot
-
✔ Beginner-friendly construction
-
✔ Knit flat on 2 needles (no circulars needed)
-
✔ Minimal sewing
-
✔ Soft, flexible, and warm
Materials You’ll Need
Supplies
-
Yarn:
-
Medium to bulky weight yarn (worsted or chunky)
-
Wool or wool-blend yarn works best
-
Approx. 120–150 grams
-
-
Knitting needles:
-
6–8 mm (US 10–11) straight needles
-
-
Tapestry needle
-
Scissors

Skill Level & Techniques
Skill Level
-
Beginner
Techniques Used
-
Cast on
-
Knit stitch
-
Purl stitch
-
Simple increases & decreases
-
Cast off
Step 1: Cast On for the Toe
Cast on 20–28 stitches, depending on foot size and yarn thickness.
-
Small: 20–22 stitches
-
Medium: 24 stitches
-
Large: 26–28 stitches
This section forms the toe, and knitting begins from the front of the slipper.
Step 2: Shape the Toe (No Sole Seam!)
To keep the sole seamless, the slipper is shaped from the toe upward.
-
Row 1 (Right Side): Knit all stitches
-
Row 2 (Wrong Side): Purl all stitches
-
Increase 1 stitch at each end of every right-side row
-
Continue until you have 36–44 stitches
This gradual increase creates a rounded, comfortable toe without seams.
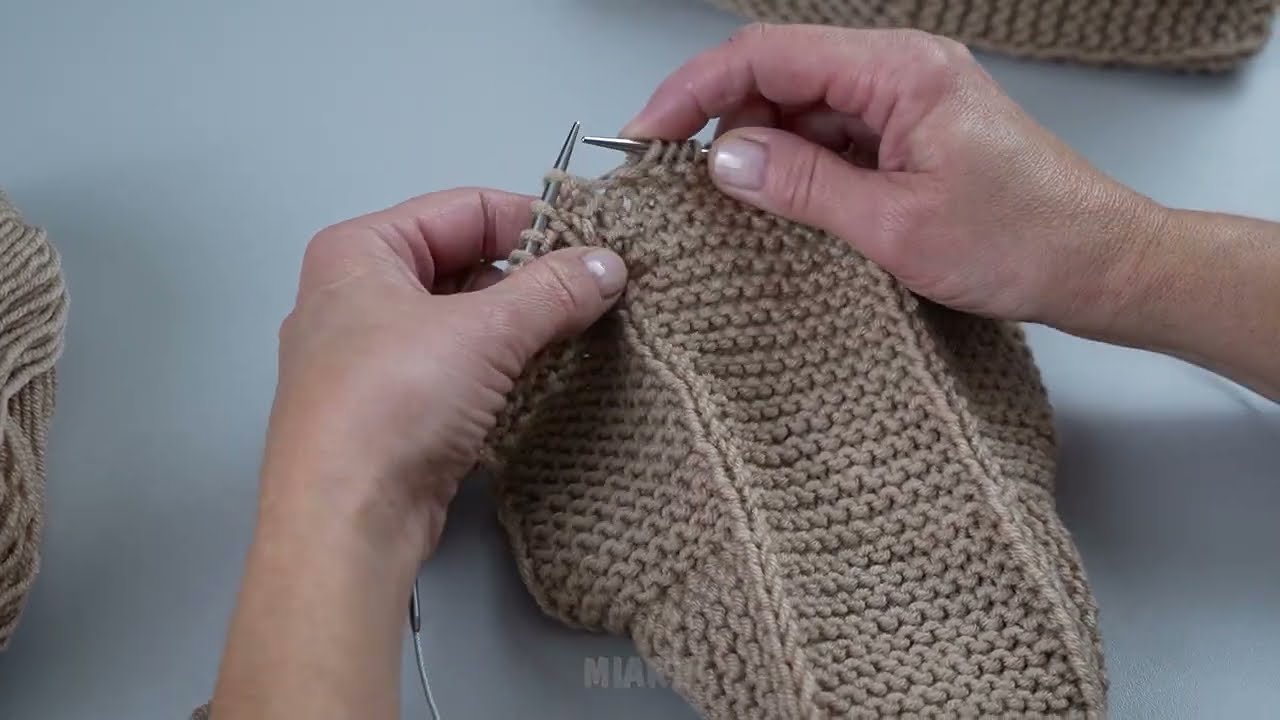
Step 3: Knit the Foot (Flat and Smooth)
Once the toe width fits comfortably around your foot:
-
Knit in stockinette stitch
-
Right side: Knit
-
Wrong side: Purl
-
-
Continue until the foot section measures about 7–9 inches (18–23 cm), depending on foot size
This section forms the sole and top of the foot, completely seamless underneath.
Step 4: Shape the Heel
To create a snug heel:
-
Begin decreasing at both ends of right-side rows
-
Decrease until you return to the original stitch count
-
This forms a gentle heel cup that hugs the foot
Step 5: Cast Off and Close the Heel
-
Cast off loosely
-
Fold the slipper so the heel edges meet
-
Sew only the back heel seam
-
There is no seam on the sole, ensuring maximum comfort
Step 6: Finish the Slipper
-
Weave in all loose ends
-
Turn right side out
-
Try on and adjust if needed
Repeat the same steps for the second slipper.
Optional Beginner-Friendly Additions
-
Knit a ribbed cuff at the ankle
-
Add buttons or bows
-
Use textured stitches on the upper part
-
Apply anti-slip paint to the sole
Helpful Tips for Best Results
-
Choose soft yarn to avoid irritation
-
Keep tension even for a smooth sole
-
Knit snugly so slippers don’t stretch too much
-
Try on as you knit when possible
Perfect for Everyday Wear or Gifts
These seamless-sole slippers are:
-
Comfortable for walking indoors
-
Durable and long-lasting
-
Great handmade gifts
-
Quick to knit—often in under 2 hours
If you’d like, I can also:
-
Write a short printable pattern
-
Adjust this for kids or men
-
Create a step-by-step video script
-
Add measurements for all sizes
Watch video: