 by
by Here is a clear, beginner-friendly, and detailed guide you can use as an article, blog post, or craft instructions.

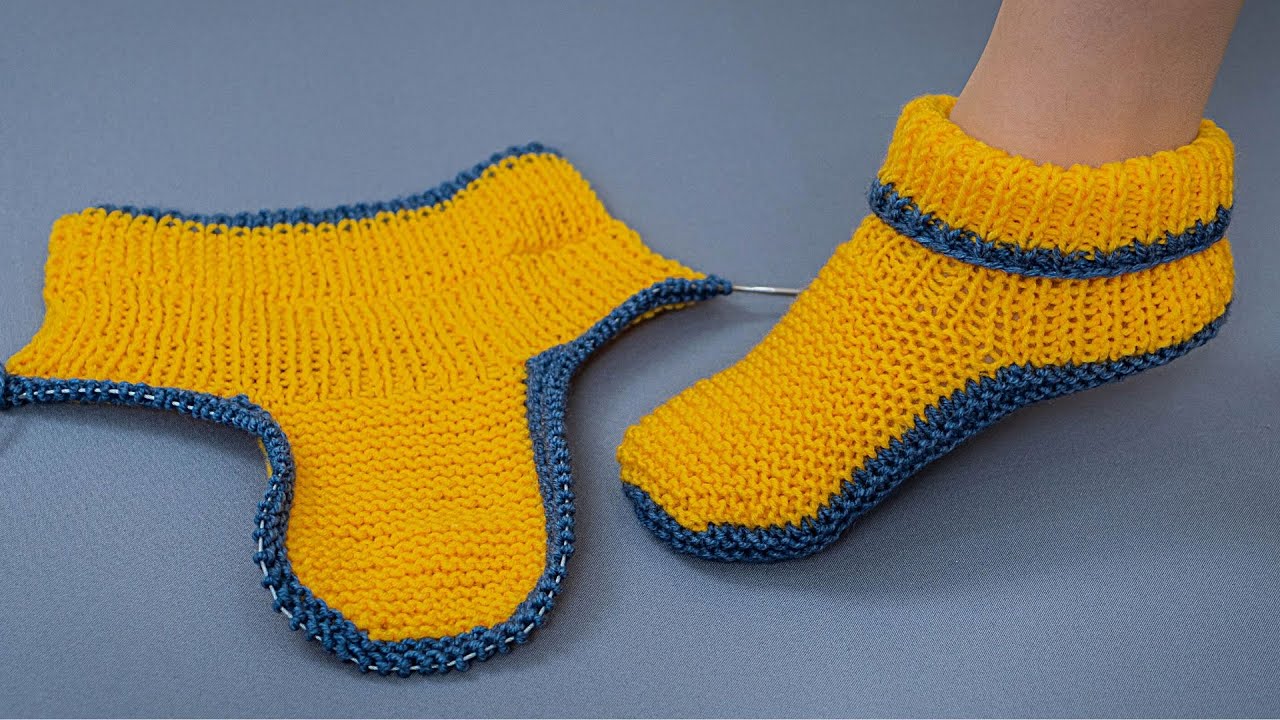
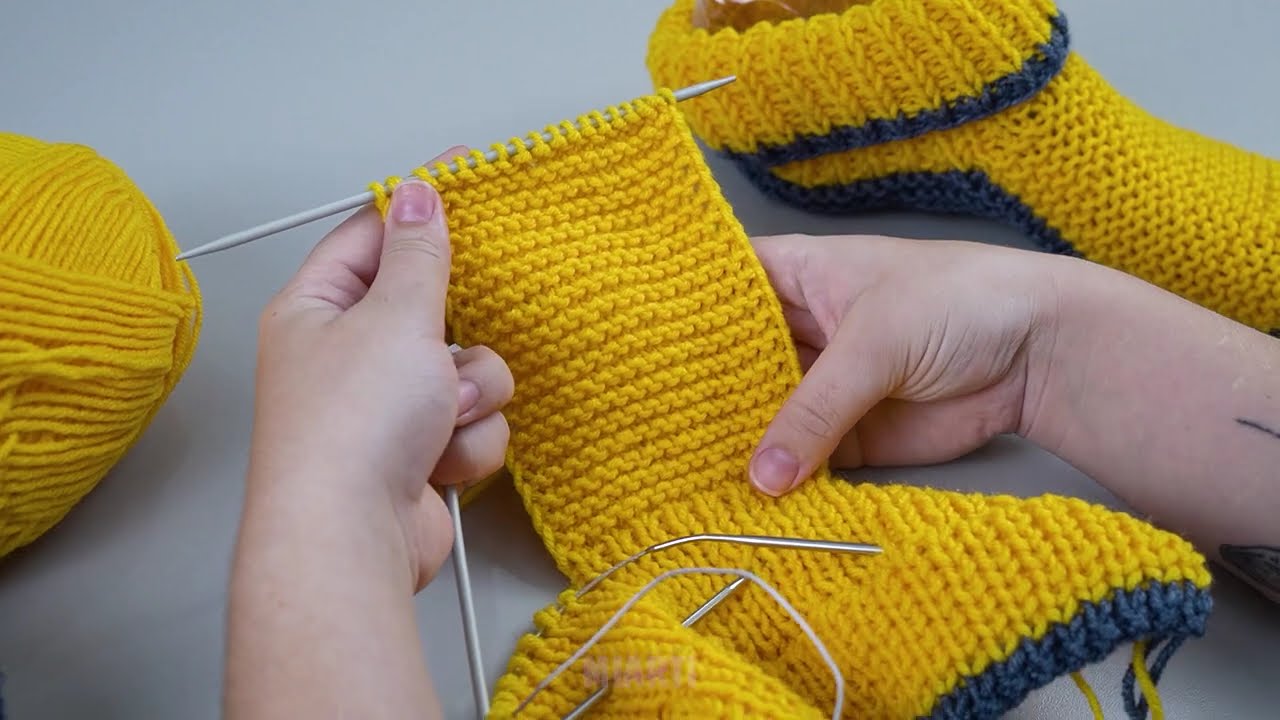
How to Make Simple Knitted Slippers Without a Seam on the Sole
Even a beginner can handle it!
Knitted slippers are a cozy and practical project, and they’re perfect for beginners—especially when there’s no seam on the sole. This method creates comfortable slippers worked mostly in one piece, so you don’t have to worry about complicated shaping or uncomfortable seams under your feet.
Why This Method Is Great for Beginners
-
✔ No seam on the sole (more comfortable and easier)
-
✔ Uses basic knitting stitches
-
✔ Minimal sewing (only at the back or top)
-
✔ Easy to adjust for different foot sizes

Materials You Will Need
-
Medium-weight yarn (worsted or aran works best)
-
Knitting needles (size 4–5 mm / US 6–8)
-
Scissors
-
Yarn needle (for finishing)
-
Measuring tape (optional but helpful)
Choose a soft but durable yarn, especially if the slippers will be worn often.
Basic Skills Required
You only need to know:
-
Casting on
-
Knit stitch
-
Purl stitch
-
Binding off
If you can knit a simple scarf, you can make these slippers.
Step-by-Step Instructions
Step 1: Cast On Stitches
Cast on enough stitches to match the width of your foot, not the length.
For an adult foot, this is usually 30–40 stitches, depending on yarn thickness and needle size.
Tip: The slipper will stretch slightly when worn, so don’t make it too loose.
Step 2: Knit the Sole (Flat Piece)
-
Knit back and forth in garter stitch (knit every row).
-
Continue until the piece measures the length of your foot, from heel to toe.
This flat rectangle will become the sole and sides of the slipper—with no seam underneath.
Step 3: Shape the Toe
Now you will shape the front of the slipper:
-
Knit partway across the row.
-
Turn your work and knit back.
-
Repeat this process, gradually working fewer stitches each time.
This creates a rounded toe shape without cutting or sewing the sole.
Don’t worry if it doesn’t look perfect—knitted fabric is forgiving!

Step 4: Bind Off
Once the toe shape fits comfortably around your toes:
-
Bind off all stitches loosely.
-
Cut the yarn, leaving a long tail for sewing.
Step 5: Finish the Slipper
-
Fold the slipper around your foot.
-
Use a yarn needle to sew the back seam at the heel.
-
Weave in all loose ends securely.
That’s it! The sole remains smooth and seamless.
Optional Customizations
-
Add a ribbed cuff around the ankle
-
Knit with two strands of yarn for extra warmth
-
Attach pom-poms or buttons (decorative only)
-
Use non-slip fabric paint on the bottom for safety
Final Tips for Success
-
Try the slipper on as you go to check the fit
-
Keep your stitches relaxed for comfort
-
Make the second slipper immediately so both match 😄
Conclusion
These simple knitted slippers are a perfect first footwear project. With no seam on the sole and only basic stitches, even a total beginner can create cozy, handmade slippers in just a few hours. Once you’ve made one pair, you’ll want to make more—for yourself, friends, and family!
If you’d like, I can also:
-
Simplify this into short instructions
-
Adjust it for children or baby sizes
-
Turn it into a pattern-style format
Watch video: