 by
by Here’s a clear, friendly, beginner-proof guide for making a very simple, original shirt-front/snood/scarf hybrid — a cozy accessory that slips over the head like a snood, drapes like a scarf, and gives the look of a soft shirt-front under jackets or sweaters. No pattern drafting or advanced sewing skills needed!
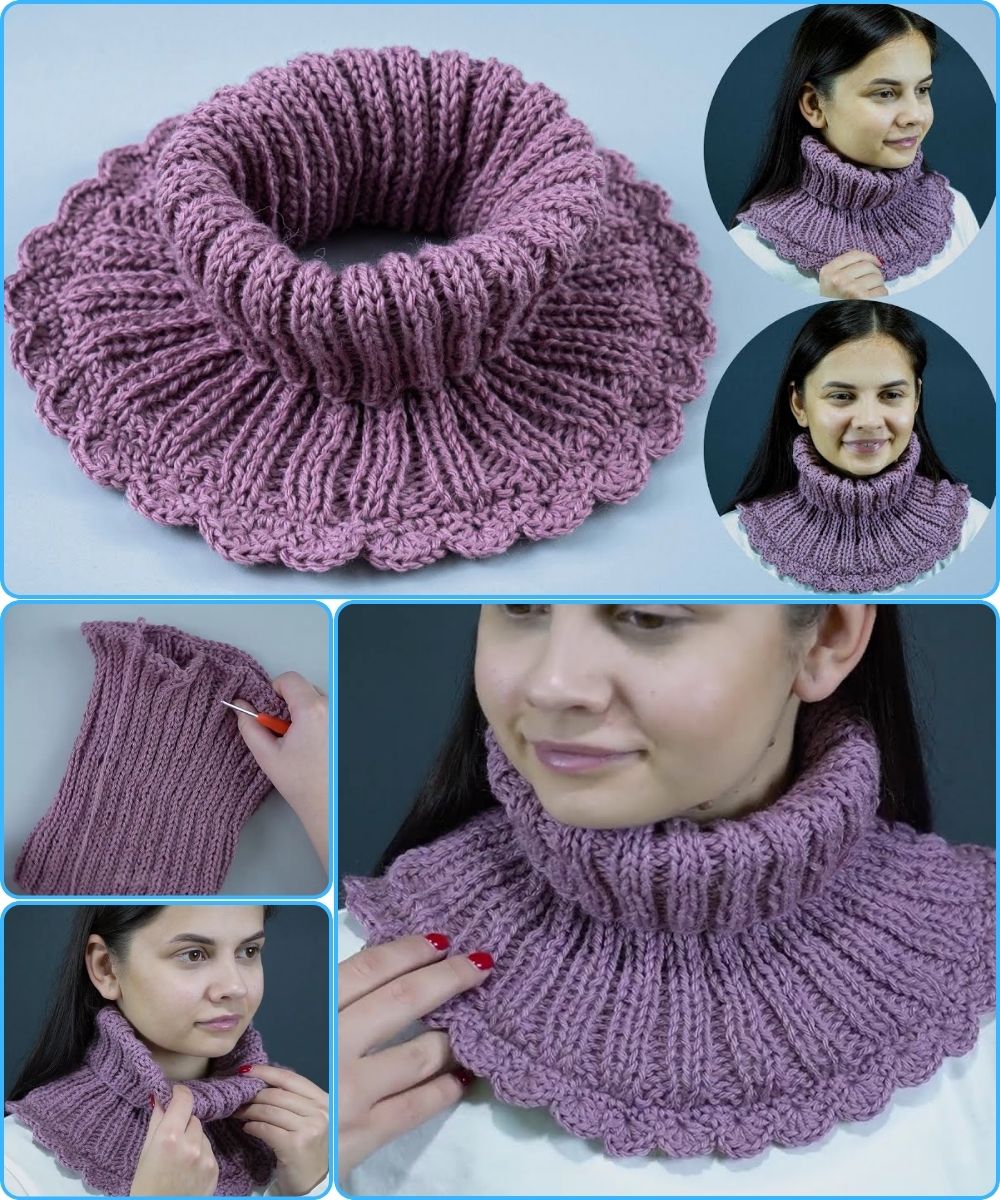
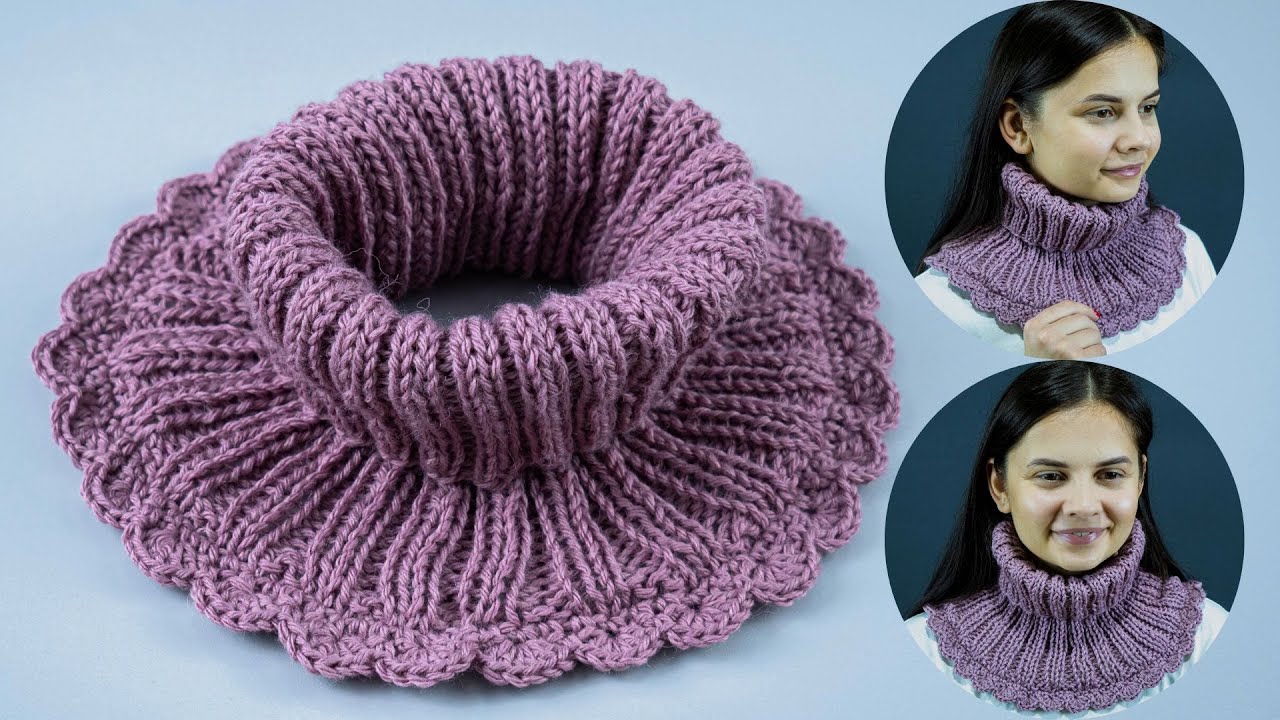
🧵 How to Make a Very Simple & Original Shirt-Front / Snood / Scarf (Beginner Friendly!)
⭐ What This Project Is
This is a single-loop accessory you can wear:
-
Like a snood (pulled up over the head),
-
Like an infinity scarf, or
-
Tucked into a coat like a shirt-front dickey for extra warmth.
It’s essentially a soft tube with a shaped front panel to give it a unique look.
✔️ Materials You’ll Need
-
Fabric (½ yard / 0.5 m)
Best choices: stretchy jersey knit, fleece, rib-knit, sweater knit, or soft cotton. -
Matching thread
-
Scissors or rotary cutter
-
Pins or clips
-
Sewing machine (straight stitch is fine for non-stretch fabrics; zigzag/stretch stitch for knits)
-
Iron (optional)
📏 Measurements
You only need TWO measurements:
-
Neck circumference
Add +4–6 in (10–15 cm) for comfort. -
Desired length (how long you want it on your chest)
10–14 in (25–35 cm) works well.
For most adults, these universal beginner dimensions work beautifully:
-
Width: 24–26 in (60–66 cm)
-
Height: 14–16 in (35–40 cm)
✂️ Cut the Fabric
Cut out:
1. Main Tube Piece
-
26 in wide × 16 in tall (66 × 40 cm)
2. Front “Shirt Panel” (optional but gives originality)
-
A soft rounded triangle or curved bib shape
-
About 10 in tall × 9 in wide (25 × 23 cm)
-
You can cut this freehand — perfection not needed!
Choose a contrasting fabric or same fabric for a minimal look.
🪡 Sewing Instructions (Beginner Safe!)
Step 1: Sew the Tube
-
Fold the large rectangle right sides together, matching the short edges.
-
Sew down the short edge to form a fabric tube.
→ Use a zigzag or stretch stitch for knits.
You now have a big loop.
Step 2: Prepare the Shirt-Front Panel (optional)
-
Fold the curved panel piece right sides together.
-
Sew around the curve, leaving the top edge open.
-
Turn it right-side out and press flat.
This will act like a mini bib that hangs inside the snood.
Step 3: Attach the Panel to the Tube
-
Lay the tube flat with the seam at the back.
-
Decide which spot will be “front center.”
-
Insert the raw edge of the bib into the bottom opening of the tube (on the inside), about 1 inch (2.5 cm).
-
Pin and stitch across to secure it.
This gives your snood a shirt-front look that sits neatly under coats.
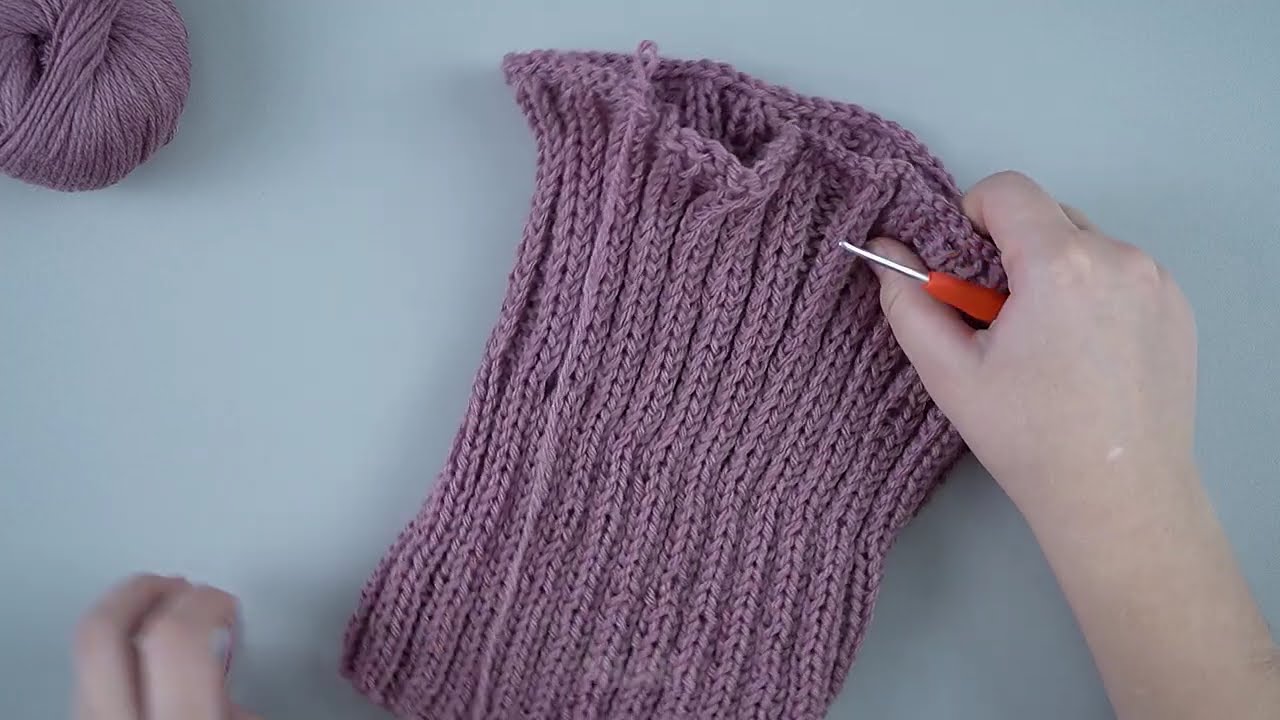
Step 4: Finish Edges
If using knit fabric, you can leave edges raw.
If you want a clean finish:
-
Fold top and bottom edges in ½ in (1 cm)
-
Sew a simple hem with zigzag or straight stitch (for nonstretch fabrics)
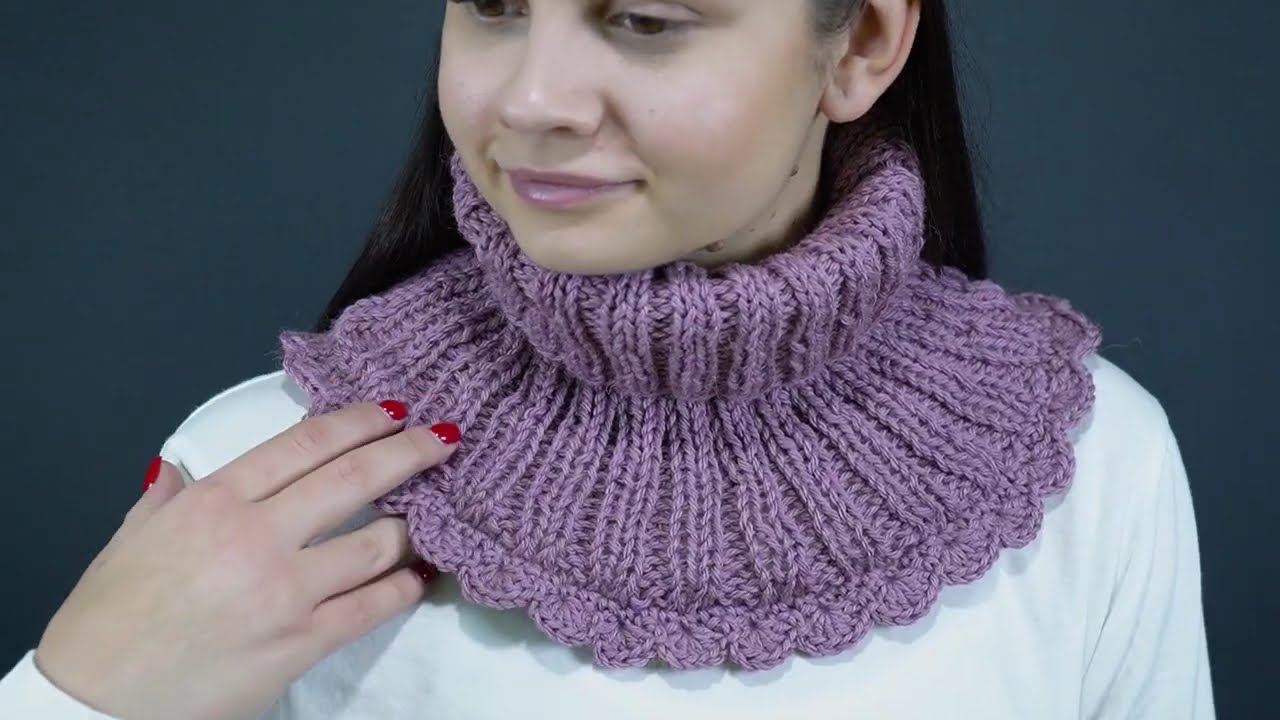
🎉 You’re Done!
Slip it on and wear it:
-
As a soft shirt-front under a blazer or winter coat
-
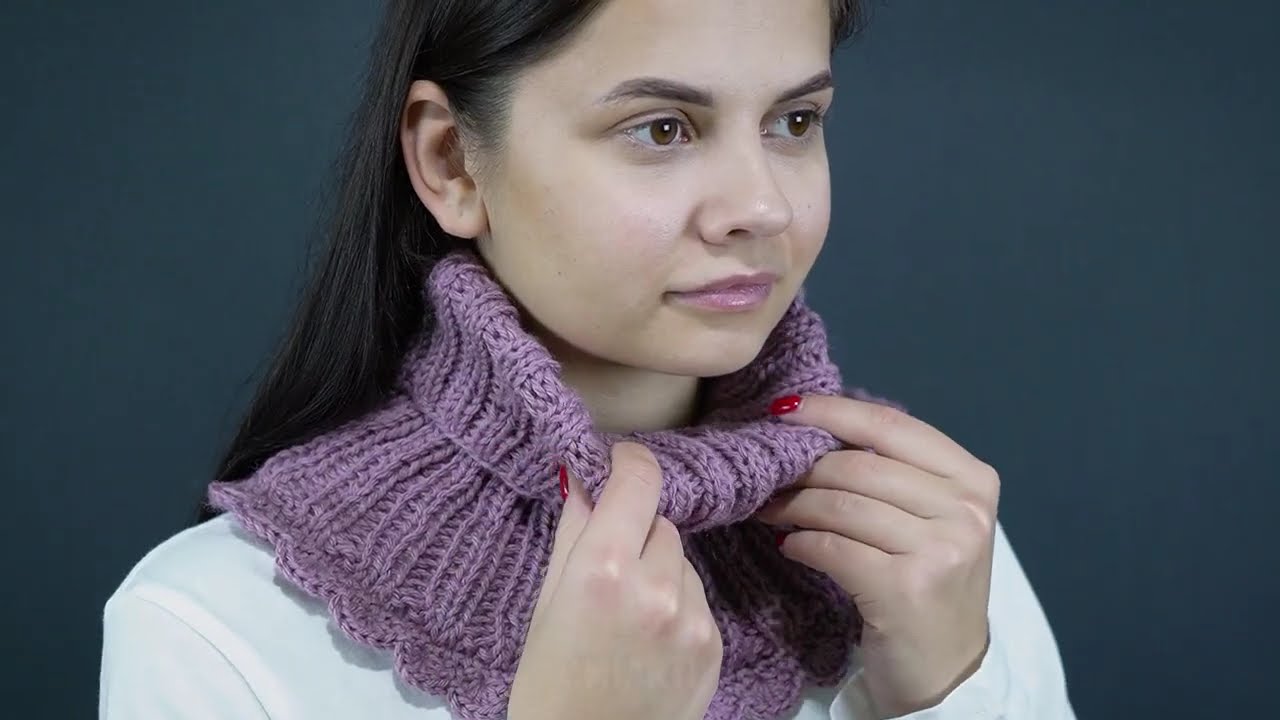
As a snood pulled up around your face
-
As a simple scarf with beautiful drape
It’s simple, cozy, and uniquely yours.
💡 Optional Customizations
-
Add buttons to the front panel (purely decorative)
-
Use two fabrics for a reversible snood
-
Add a small drawstring or elastic at the top for shaping
-
Make it longer for a full infinity-scarf wrap
-
Make the front panel quilted or padded for warmth
If you’d like, I can draw a simple diagram, give you a printable pattern, or adapt the instructions for no-sew, hand-sewing, kids sizing, or super-stylish variations!
Watch video: