 by
by Here is a clear, beginner-friendly guide for making an easy crochet cosmetic bag with a simple 3D pattern. This includes materials, stitches, step-by-step instructions, and helpful tips.
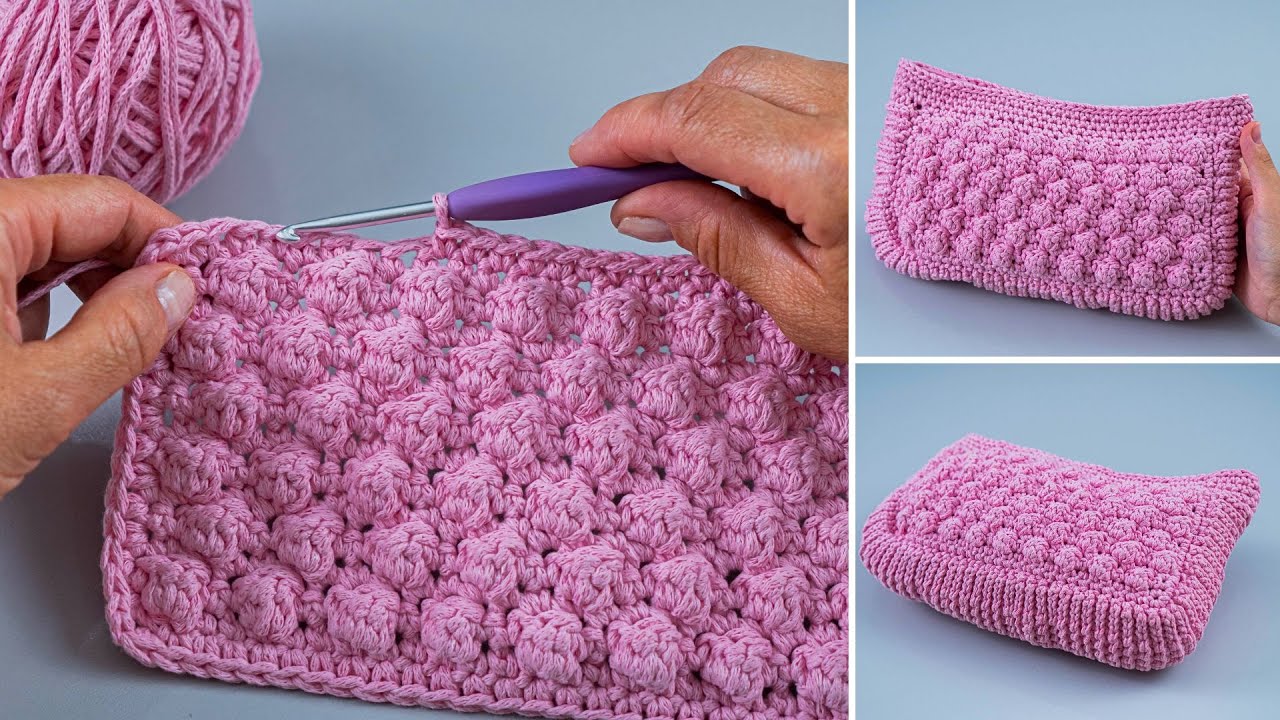
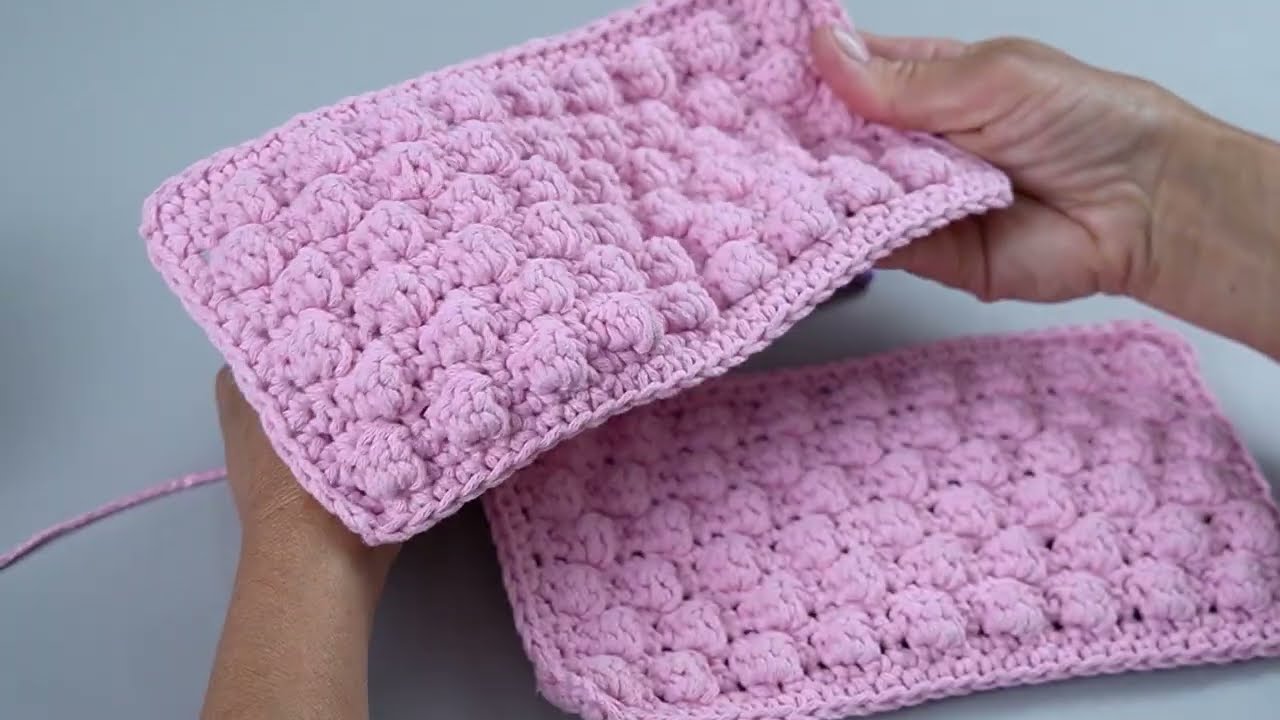
Easy Crochet Cosmetic Bag for Beginners (3D Pattern Tutorial)
This project is perfect if you want something fast, functional, and visually interesting. The 3D texture is created using basic stitches, so even beginners can follow along.
🧶 Materials You Will Need
-
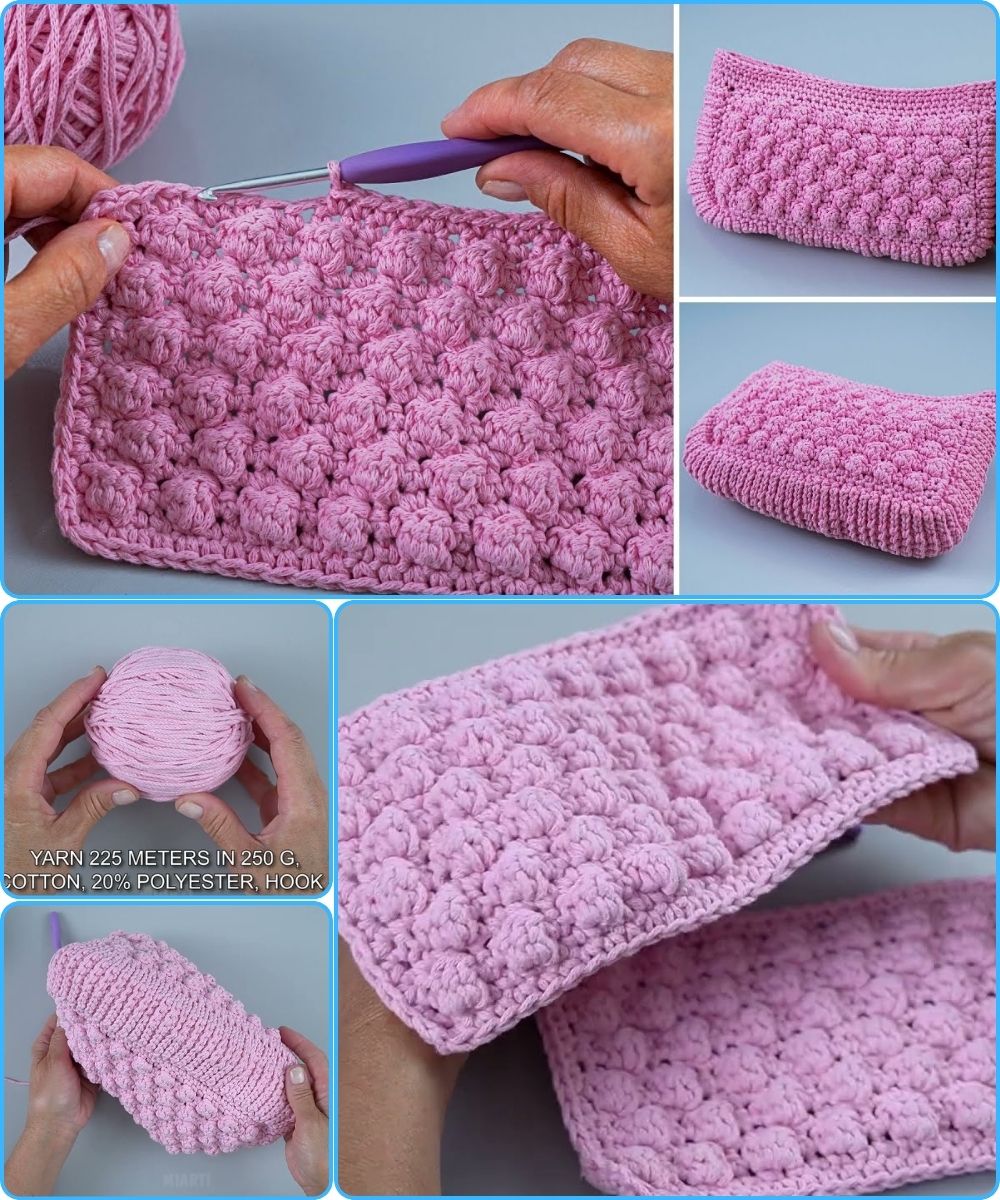
Medium weight (4) cotton yarn – cotton holds shape well for bags
-
Crochet hook 4.0 mm (G) or recommended for your yarn
-
Tapestry needle
-
Scissors
-
Zipper (18–20 cm / 7–8 in)
-
Optional: fabric lining, sewing needle & thread
📏 Finished Size
Approx. 20 cm wide × 12 cm tall (adjustable)
🪢 Stitches Used
Perfect for beginners:
-
Ch – chain
-
Sc – single crochet
-
Dc – double crochet
-
Fpdc – front post double crochet (creates the 3D texture)
-
Sl st – slip stitch
If you’ve never done FPDC, here’s the idea:
Insert your hook around the post of the stitch (from front → back → front), not into the top loops. That’s what makes the raised 3D lines/popcorn textures.

🌸 3D Pattern Explained (Simple Version)
You’ll alternate:
-
1 row of double crochet
-
1 row of front-post double crochet
This creates a textured “ridged” 3D pattern that looks advanced but is very easy.
🧵 Step-by-Step Instructions
1️⃣ Base of the Bag
-
Ch 31 (or any width you want)
-
Row 1: Sc in 2nd ch from hook and across. (30 sc)
This makes the foundation strong and stable.
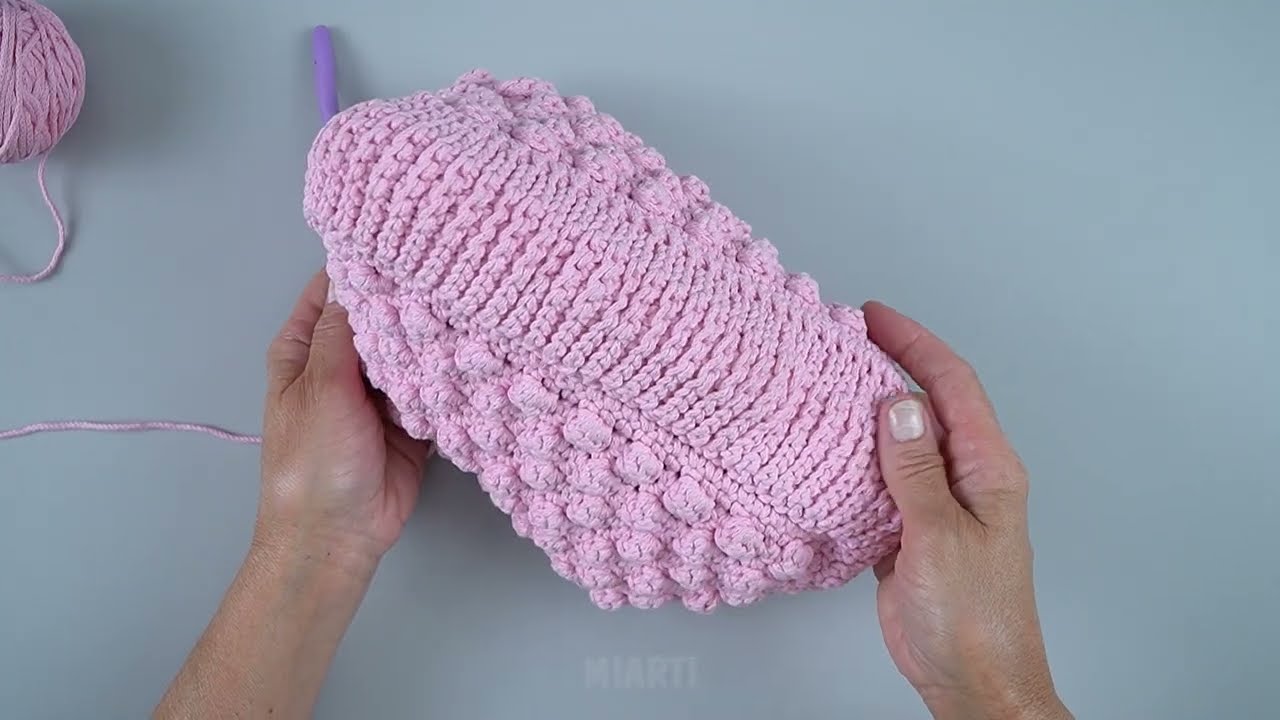
2️⃣ Begin the Body (3D Texture Section)
Row 2 (DC Row):
-
Ch 2 (counts as dc), dc in each stitch across. (30 dc)
Row 3 (3D Row):
-
Ch 2, fpdc around first dc post, dc in next stitch.
Repeat from * to end.
You will alternate: FPDC, DC, FPDC, DC…
This creates “raised bars” that look like ribbed 3D texture.
3️⃣ Repeat Pattern
Repeat Row 2 & Row 3 until the piece measures about 22–24 cm tall, or the height you prefer.
4️⃣ Close the Bag
Fold your rectangle so the front sides face each other.
-
Sl st or sew the two side edges together.
-
Turn it inside out so the seam is hidden.
5️⃣ Add the Zipper
You can attach the zipper in two simple ways:
Easy method (no sewing machine):
-
Use a tapestry needle and yarn.
-
Sew the zipper carefully to the top edges.
-
Make sure the stitches are small and even.
Optional: Add a fabric lining for a cleaner finish.
6️⃣ Add Finishing Touches
-
Attach a small tassel to the zipper pull.
-
Decorate with a charm.
-
Add a wrist strap (crochet a 20-chain strap and attach to one corner).
🎉 That’s it!
You now have a beautiful, beginner-friendly 3D textured crochet cosmetic bag. This project works up quickly, looks professional, and is perfect for gifting or selling.
Would you like diagrams, a printable PDF, or a video-style step list?
Watch video: