 by
by Below is a clear, friendly, and detailed guide you can use for a blog, video script, or step-by-step tutorial on “How to Crochet a Coin Purse with a Simple Pattern – Easy DIY Crochet Purse!”

How to Crochet a Coin Purse with a Simple Pattern Easily – DIY Crochet Purse!
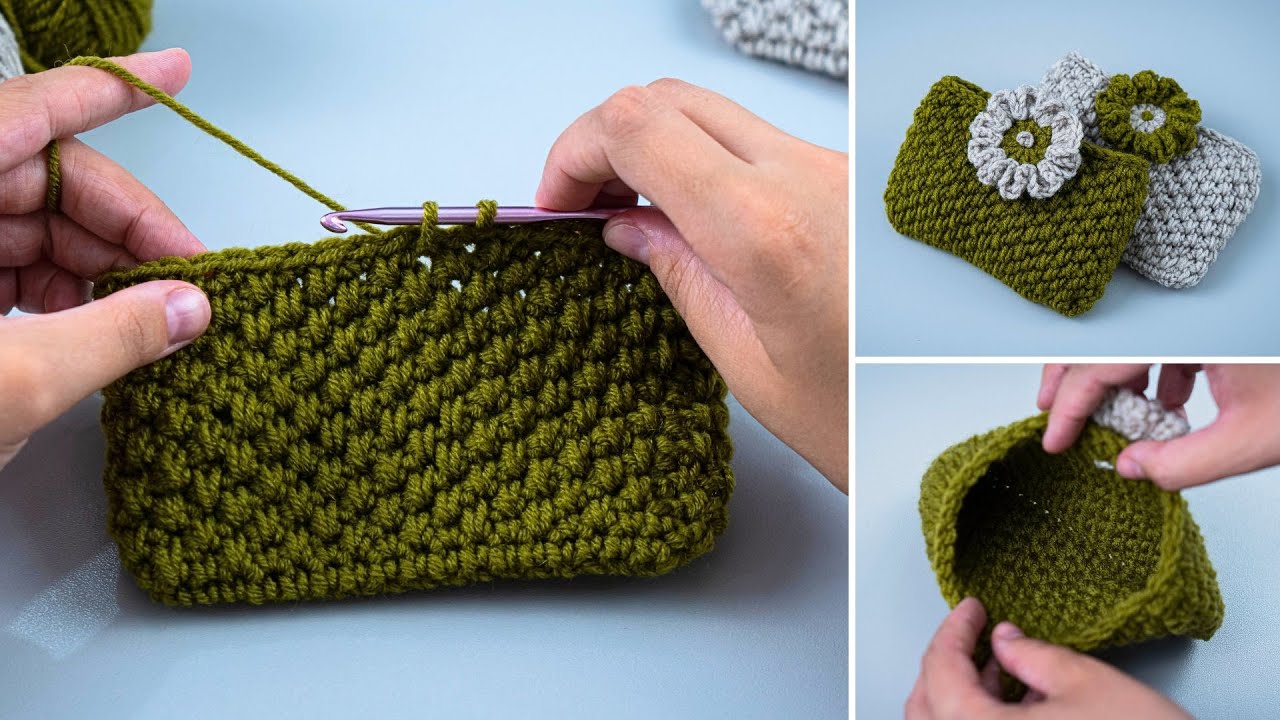
Crocheting a coin purse is a fun, quick, and beginner-friendly project. With just a small amount of yarn and a simple stitch pattern, you can make a cute and functional mini purse for coins, keys, lip balm, or small keepsakes. This tutorial walks you through everything you need—materials, stitches, pattern, assembly, and finishing tips!
✨ What You’ll Need
-
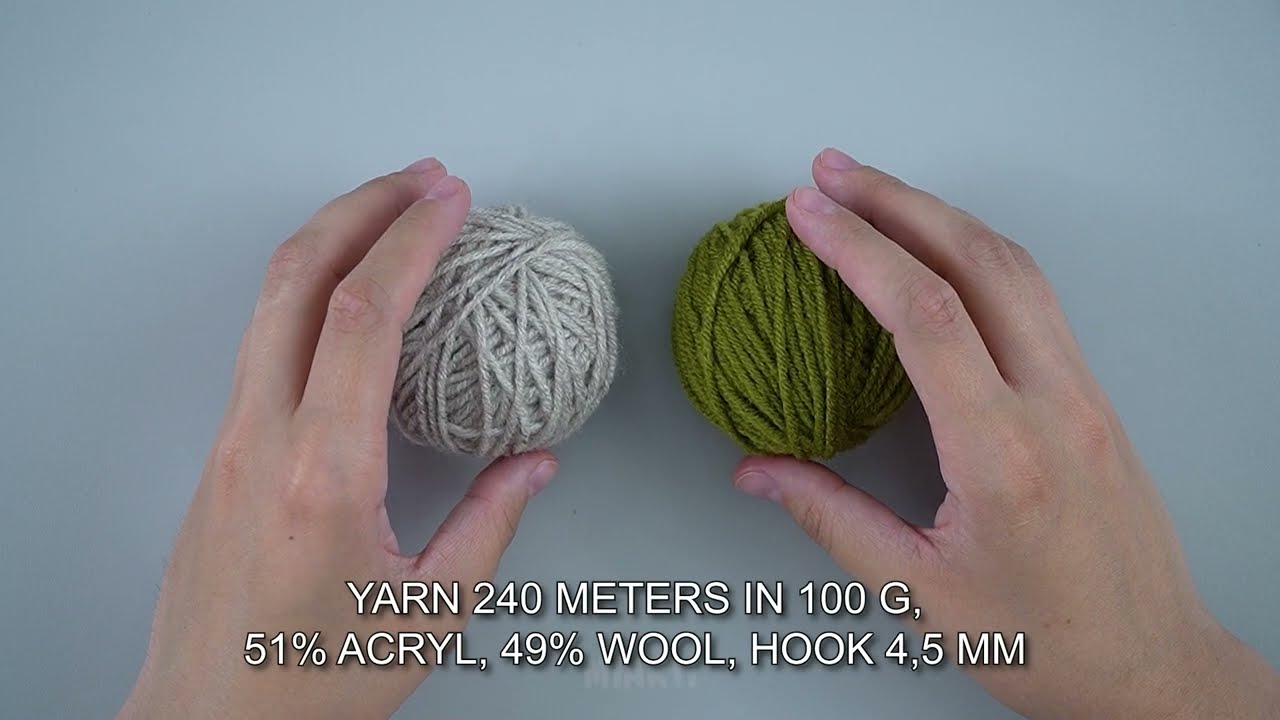
Yarn: Worsted weight cotton or acrylic yarn (small amount)
-
Hook: 4.0 mm (G/6) or a size that matches your yarn
-
Stitch markers (optional)
-
Yarn needle for weaving ends
-
Scissors
-
Zipper or metal clasp frame (10–12 cm wide)
-
Fabric glue (optional if using clasp frame)
-
Lining fabric (optional for a more professional look)
✨ Basic Stitches and Skills
This pattern uses very simple stitches:
-
Chain (ch)
-
Single crochet (sc)
-
Slip stitch (sl st)
-
Working in the round
If you can do these, you’re ready!
✨ Step-by-Step Pattern: Simple Crochet Coin Purse
1. Create the Base
We’ll begin by crocheting an oval base that forms the bottom of the purse.
Round 1:
-
Ch 12
-
Sc in the 2nd ch from hook, sc across (10 sc)
-
Make 3 sc in last chain to turn
-
Continue down the opposite side of the chain with sc (10 sc)
-
Make 2 sc in the last stitch to complete the oval
-
Join with sl st (25 sts)
Round 2:
-
Sc around, increasing by 1 stitch on each end (2 increases total)
-
Join with sl st (27 sts)
Round 3:
-
Sc around evenly, no increases
-
Join with sl st (27 sts)
This creates a flat, sturdy base.
2. Build the Body of the Purse
Now you will crochet upwards to create the walls of the coin purse.
Rounds 4–12:
-
Sc in each stitch around
-
Do NOT increase—this makes the sides curve upward
-
Join each round with a sl st
After several rounds, you’ll have a small pouch about 3–3.5 inches tall.
(If you want a bigger purse, just add more rounds!)

3. Shape the Opening
To give the purse a nice finish:
Round 13:
-
Sl st in each stitch around
This gives the top a neat edge.
Fasten off and weave in ends.
✨ Adding the Closure
Option 1: Metal Clasp Frame (Easy & Cute!)
-
Apply a small amount of fabric glue inside the clasp groove.
-
Insert the crochet edge into the frame, using a small hook or needle to press it in.
-
Let it dry completely.
-
Sew through the holes on the frame (if it has them) for extra stability.
Option 2: Zipper
-
Pin the zipper to the purse opening.
-
Hand-stitch using small, even stitches.
-
Make sure the zipper slides smoothly.

✨ Optional: Add a Lining
Cut a rectangle of fabric the same size as your purse (folded).
-
Sew the sides
-
Insert into purse
-
Hand-stitch to the inside edge of the zipper or clasp
A lining makes the purse sturdier and prevents small items from slipping through stitches.
✨ Customization Ideas
-
Add stripes using leftover yarn
-
Attach a keychain or wrist strap
-
Sew on beads, buttons, or appliqués
-
Use velvet, metallic, or gradient yarn for different looks
✨ Quick Tips for Beginners
-
Keep your tension consistent so the purse looks even
-
Cotton yarn is great because it holds shape well
-
If your opening doesn’t match your clasp width, add or reduce a round before finishing
🌟 Finished!
You now have a handmade, adorable DIY crochet coin purse—perfect as a gift or for everyday use. This project is quick (about 1–2 hours), satisfying, and great for using scrap yarn.
If you want, I can also create:
✅ Printable PDF version
✅ Video-style script
✅ Photo step descriptions
✅ A more advanced pattern with textures or granny squares
Would you like any of these?
Watch video: