 by
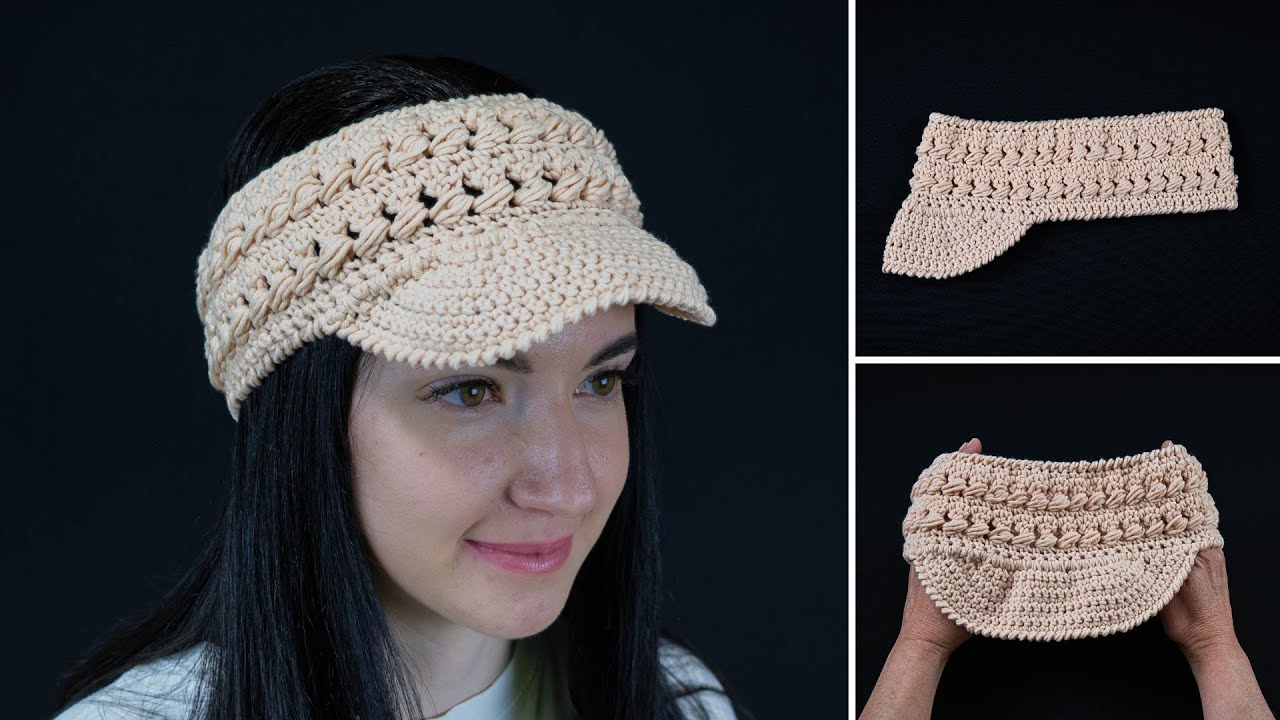
by Below is a clear, beginner-friendly, step-by-step tutorial on how to crochet a simple headband–palm visor (a stretchy crochet headband with a short built-in brim that shades the eyes like a visor). You can use any yarn weight and hook size—this pattern is easily adjustable!
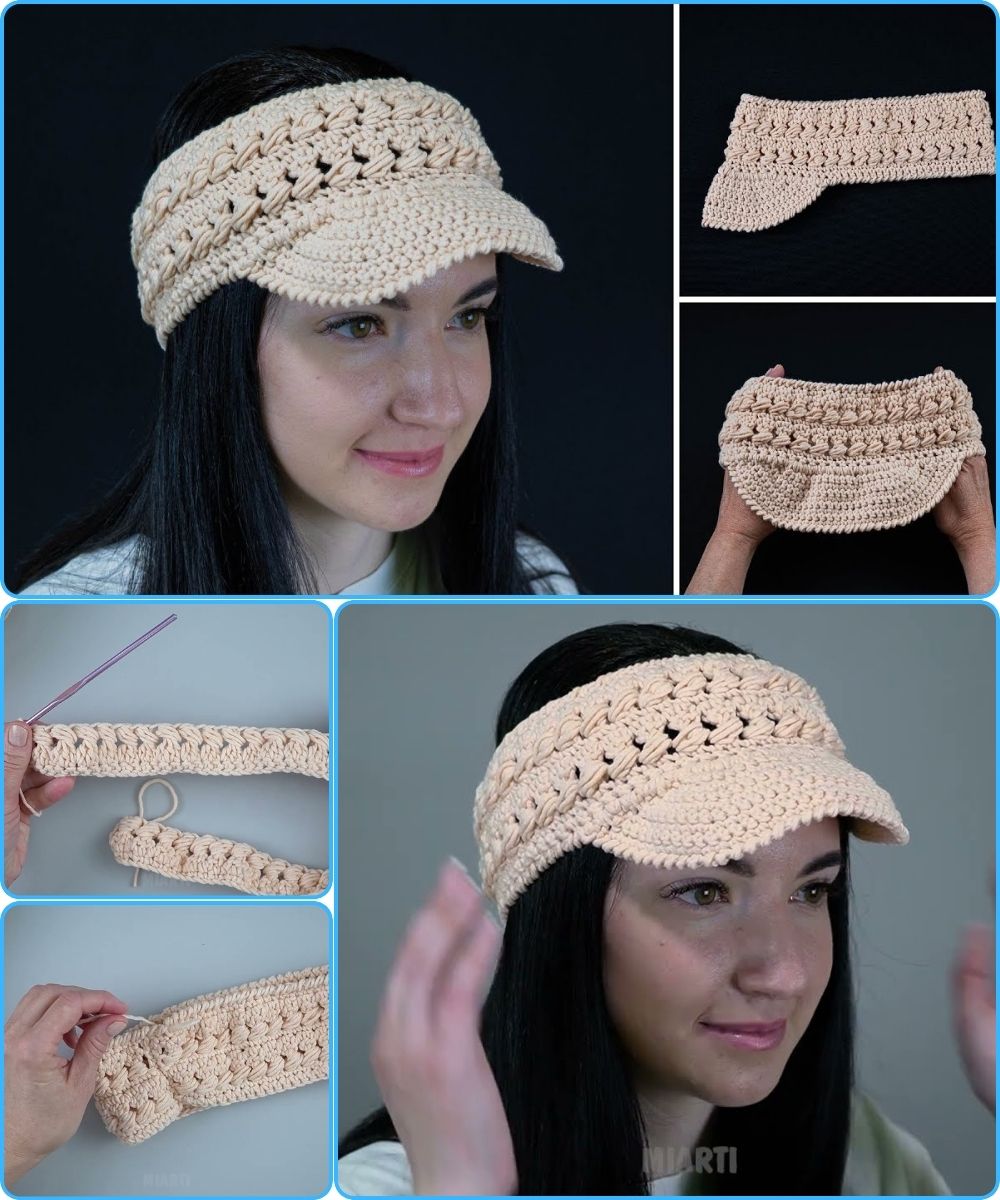
🌴 Crochet Headband–Palm Visor Tutorial
Skill Level: Easy (Beginner-Friendly)
Techniques Used: Chain (ch), Slip stitch (sl st), Single Crochet (sc), Half Double Crochet (hdc)
Construction: Worked in rows for the headband, then brim is added afterward.
🧶 Materials Needed
-
Yarn: Worsted weight (#4) cotton or cotton-blend recommended
-
Hook: 5.0 mm (H) or whatever matches your yarn
-
Tapestry needle
-
Scissors
-
Stitch marker (optional)
📏 Sizing Guide
Measure around your head (typical adult: 21–23 in / 54–58 cm).
Your crocheted band should be 2–3 inches shorter than your head measurement because it will stretch.
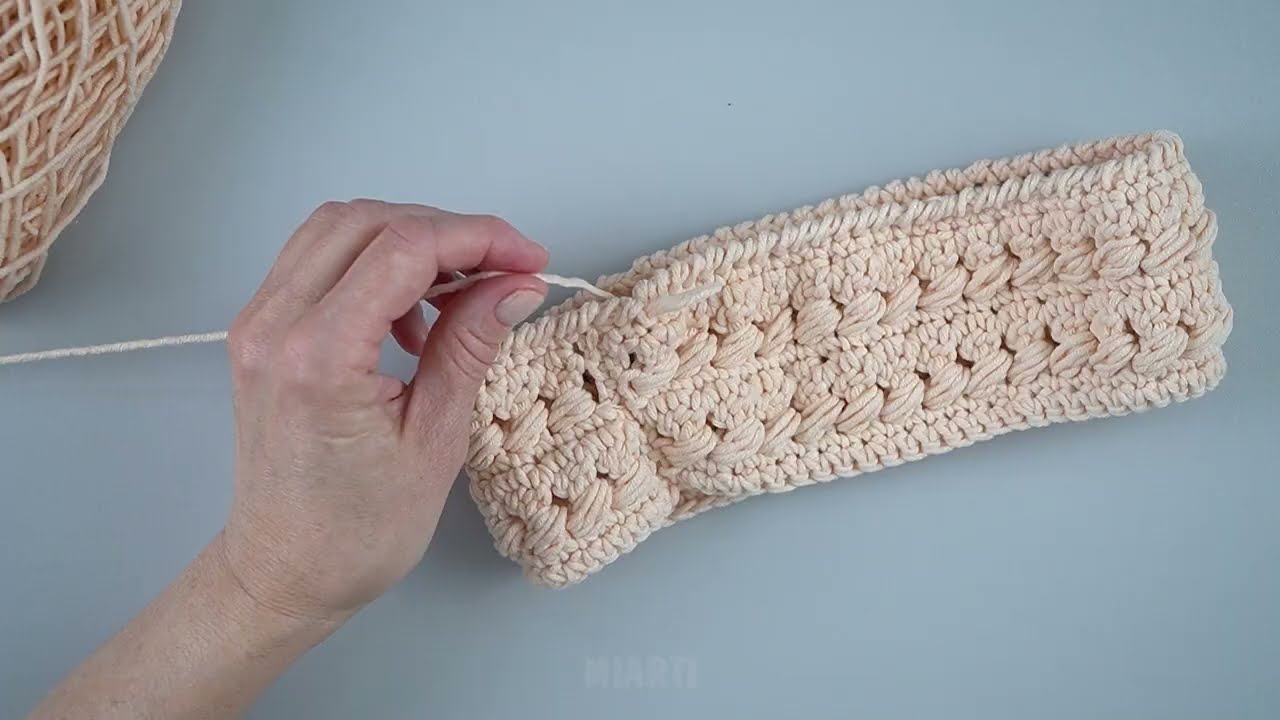
✨ PART 1 — Headband Base
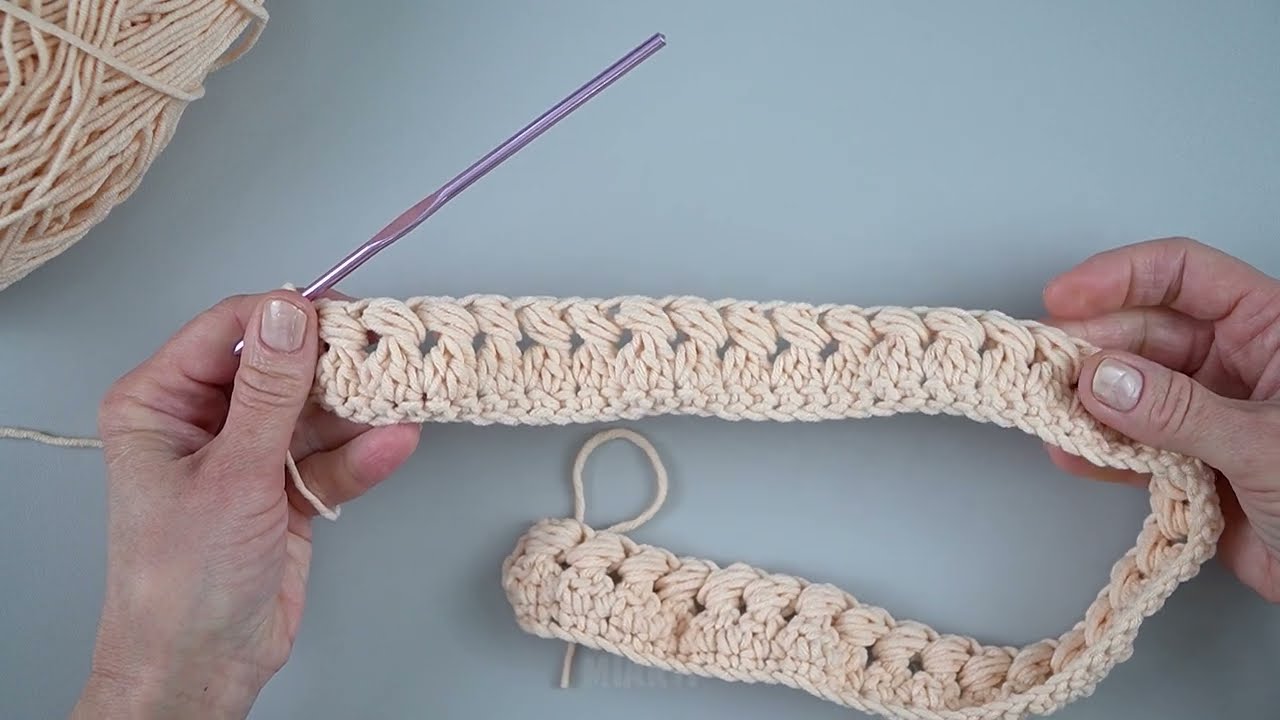
1. Make the Foundation Chain
-
Chain 8–12 stitches (this determines the height of the band; 8 for a thin one, 12 for thicker).
Example:
ch 10
2. Row 1
-
Starting in the 2nd chain from your hook:
sc in each ch across, turn.
3. Rows 2 and onward
You will work back and forth in rows until the strip fits around your head snugly.
-
ch 1,
-
sc in back loop only (BLO) across,
-
turn.
Why BLO? It makes the headband stretchy and ribbed.
Repeat until your strip measures 2–3 inches shorter than your head circumference.
✨ PART 2 — Join the Headband
Seam the Ends
Fold the band so short ends meet.
-
Slip stitch the two ends together through both loops.
-
Tie off.
-
Turn inside out so the seam is hidden.
You now have a stretchy ribbed headband circle.
✨ PART 3 — Make the Palm-Style Visor Brim
The brim is worked directly onto the headband.
1. Positioning
Lay the headband flat.
Find the front center—this is where the brim will go.
Place a stitch marker if needed.
2. Attach Yarn
Attach yarn to one stitch just left of center.
3. Row 1 of Brim
-
hdc in next 18–26 stitches (depending on how wide you want your visor).
A typical amount: hdc 22.
Turn.
4. Row 2
-
ch 1,
-
hdc in each stitch across but stop 2 stitches before the end to start curving the brim.
Turn.
5. Row 3
-
ch 1,
-
hdc across again but decrease at the beginning AND end of the row to shape the curve.
Turn.
6. Row 4
Repeat the shaping:
-
ch 1
-
hdc across
-
decrease at beginning and end
You can stop here for a short visor or continue for 1–2 more decreasing rows for a longer brim.
✨ PART 4 — Edge Finishing
1. Smooth the Brim Edges
To give the brim a clean finish:
-
Attach yarn to one side of brim
-
sc evenly along the entire curved edge, around the brim, and back to the starting point.
-
This creates a neat palm-visor look.
Turn.
2. Optional Extra Round
For a thicker, firmer visor:
-
Do one more sc round around the brim.
✨ PART 5 — Palm Decoration (Optional)
To get the “palm visor” aesthetic, you can add:
🌴 Palm Leaf Appliqué
-
Ch 9
-
Sl st in first ch,
-
(sc, hdc, dc, dc, dc, hdc, sc, sl st) into each chain — this forms a simple leaf.
Make 3–5 leaves and sew them to one side of the headband.
🌞 Natural Look
Use raffia yarn or tan cotton to create a beachy, woven visor feel.
✨ Final Step — Weave in Ends
Use a tapestry needle to weave in all tails securely.
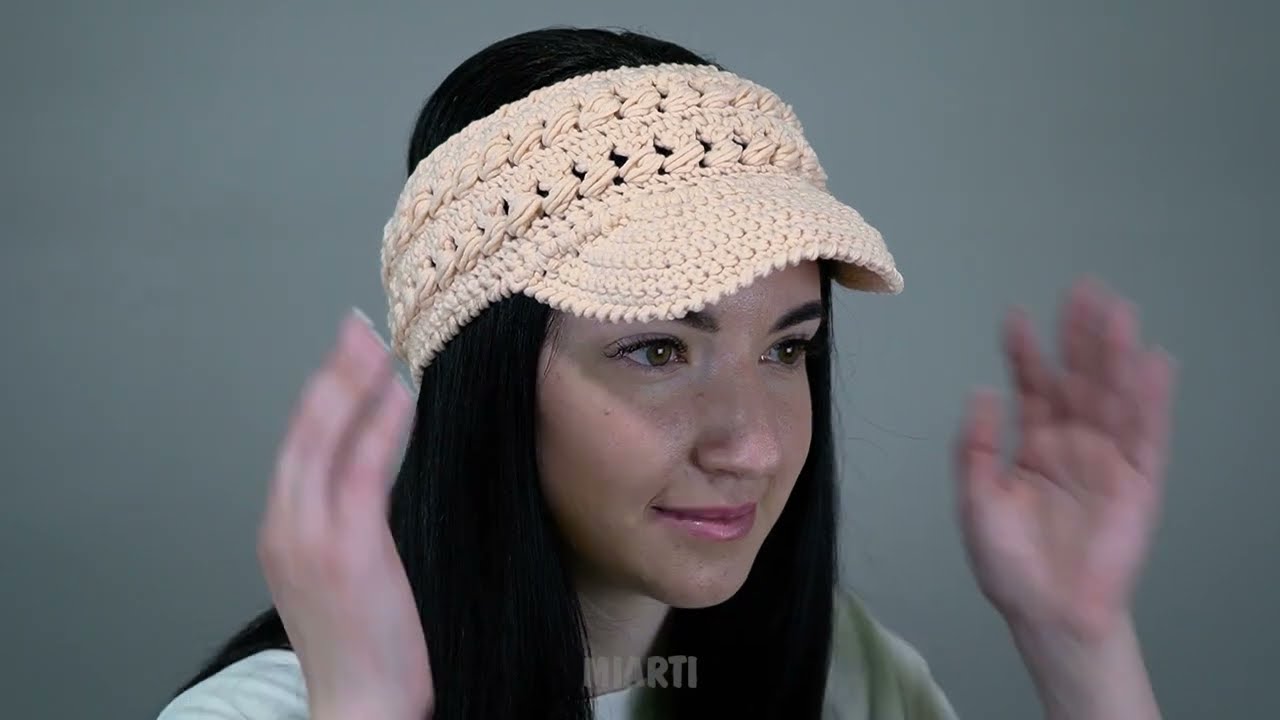
🎉 Your Crochet Headband–Palm Visor is Ready!
You now have a lightweight, stretchy, stylish crochet visor perfect for:
-
Outdoor walks
-
Beach days
-
Summer festivals
-
Bad-hair mornings
⭐ Want a printable pattern or diagram?
I can create a print-ready PDF, stitch chart, or visual step-by-step images—just tell me!
Watch video: