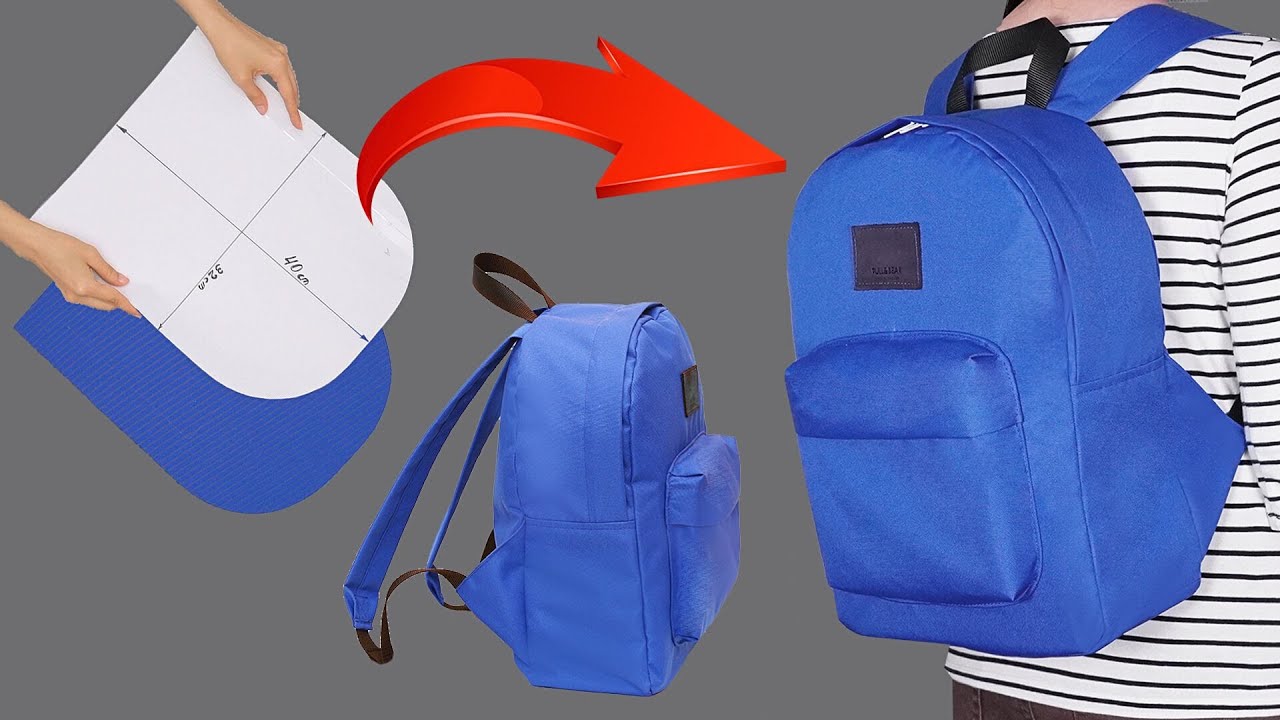
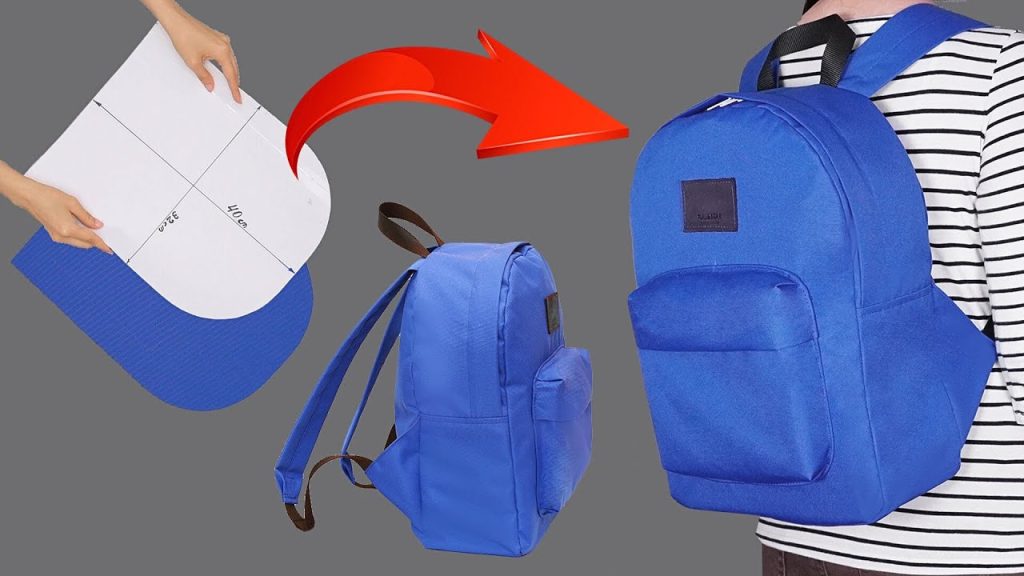
Hello, students, commuters, and sewing enthusiasts! Are you looking for a practical, sturdy, and stylish backpack that can safely carry your laptop, books, and essentials? I’m excited to share the pattern for the Commuter Campus Backpack—a structured, rectangular design that is surprisingly easy to sew, even with its multiple pockets and professional finish.
Inspired by a fantastic tutorial on easily sewing a school backpack, this design focuses on clean lines and smart organization. It features a main zippered compartment, a large external zippered pocket, a padded laptop sleeve, and comfortable, adjustable straps.
Grab your heavy-duty fabrics, your zippers, and let’s craft a durable bag ready for the busiest days!
Why You’ll Love Making This Backpack:
- Structured Shape: Built with heavy interfacing to hold its shape whether empty or full.
- Organizational Pockets: Includes a separate front pocket and a dedicated inner laptop sleeve.
- Simple Gusset Construction: Uses a single long strip for the sides and bottom, simplifying the 3D construction.
- Professional Look: Fully lined with enclosed seams for a clean, shop-bought finish.
What You’ll Need:
- Main Fabric (Outer): 1.5 yards of heavy cotton canvas, cordura, or heavy twill.
- Contrast Fabric (Base & Accents): 1/2 yard of vinyl, faux leather, or heavy canvas (optional).
- Lining Fabric: 1.5 yards of lightweight cotton or nylon lining fabric.
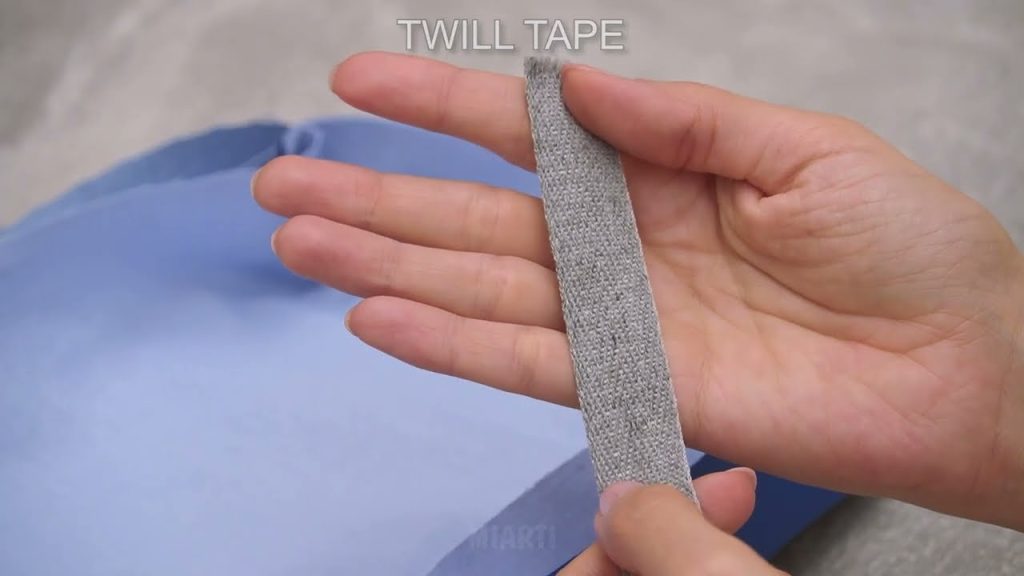
- Fusible Foam or Heavy Interfacing: 1.5 yards of heavy fusible fleece or foam interfacing (essential for structure and padding).
- Zippers:
- Main Zipper: 24 inches (60 cm) long.
- Front Pocket Zipper: 14 inches (35 cm) long.
- Webbing/Straps: 2.5 yards (2.2 meters) of 1.5-inch wide cotton or nylon webbing.
- Hardware:
- 2 x 1.5-inch rectangular rings (D-rings are also acceptable).
- 2 x 1.5-inch slide adjusters (tri-glides).
- Tools:
- Sewing Machine (with heavy-duty needle and zipper foot).
- Iron, Ruler, and Fabric Marker/Chalk.
- Pins and heavy-duty clips.
Measurements & Cutting List
The final bag size will be approximately 13 inches wide x 17 inches high x 5 inches deep. All measurements include a 1/2-inch (1.2 cm) seam allowance.
| Piece | Fabric | Dimensions (Width x Height) | Quantity | Interfacing/Foam? | Notes |
| A: Main Body Panels | Main Fabric | 14 in. x 18 in. | 2 | Yes (Fusible Foam) | Front and back. |
| B: Main Gusset Strip | Main/Contrast Fabric | 50 in. x 6 in. | 1 | Yes (Heavy Interfacing) | Sides, bottom, and top framing. |
| C: Front Pocket Panel | Main Fabric | 14 in. x 9 in. | 1 | Yes (Heavy Interfacing) | Bottom panel of the front pocket. |
| D: Zipper Pocket Panel | Main Fabric | 14 in. x 4 in. | 1 | Yes (Heavy Interfacing) | Top panel of the front pocket. |
| E: Laptop Sleeve | Lining/Main Fabric | 14 in. x 15 in. | 1 | Yes (Heavy Interfacing) | Internal pocket. |
| F: Lining Body Panels | Lining | 14 in. x 18 in. | 2 | No | Front and back lining. |
| G: Lining Gusset | Lining | 50 in. x 6 in. | 1 | No | Sides and bottom lining. |
| H: Carry Loop | Webbing | 6 in. x 1.5 in. | 1 | N/A | Top carry handle. |
| I: Strap Anchors | Webbing | 4 in. x 1.5 in. | 2 | N/A | Bottom loops for hardware. |
| J: Straps | Webbing | 35 in. x 1.5 in. | 2 | N/A | Main adjustable strap length. |
Construction: Building the Commuter Campus Backpack
Part 1: Preparing Panels and Front Pocket
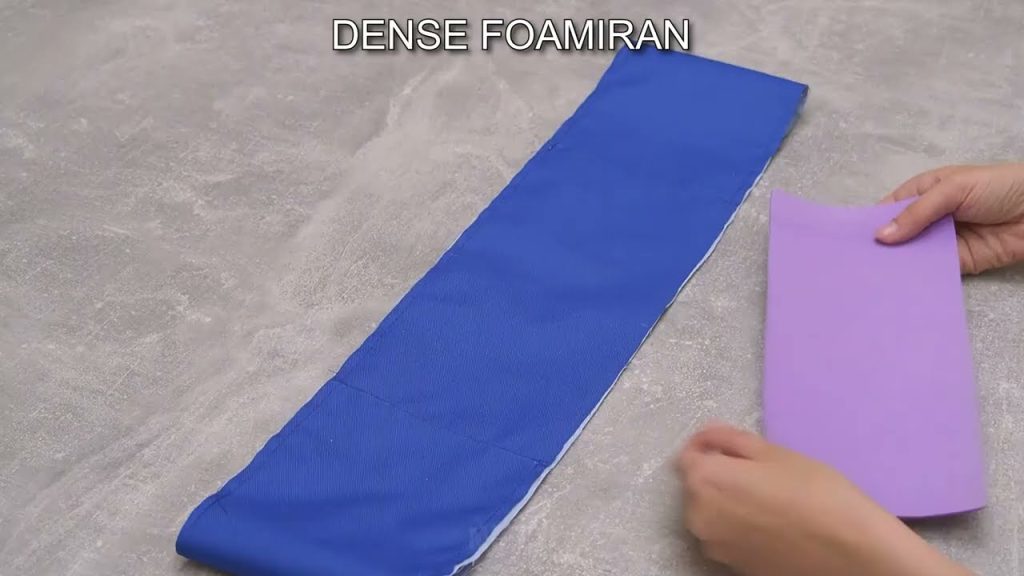
- Fuse and Pad: Apply fusible foam/interfacing to the wrong side of (A), (C), (D), and (E). Apply heavy interfacing to (B).
- Sew Front Pocket:
- Take the Front Pocket Zipper (14 inches). Pin the (D) Zipper Pocket Panel to one side of the zipper (right sides together). Sew with a zipper foot. Press and topstitch.
- Pin the (C) Front Pocket Panel to the other side of the zipper (right sides together). Sew, press, and topstitch. This creates the Front Pocket Face.
- Attach to Front Panel (A): Pin the completed Front Pocket Face onto one (A) Main Body Panel (this is the Front Panel). Line up all the edges. Baste the pocket edges to the main panel, creating one unified piece.
- Sew Laptop Sleeve (E): Fold the top edge of (E) down by 1/2 inch twice to create a hem. Stitch hem. This is the inner laptop sleeve. Pin it to the center of the other (A) Main Body Panel (the Back Panel), aligning the bottom and side raw edges. Baste securely.
Part 2: Assembling the Outer Shell
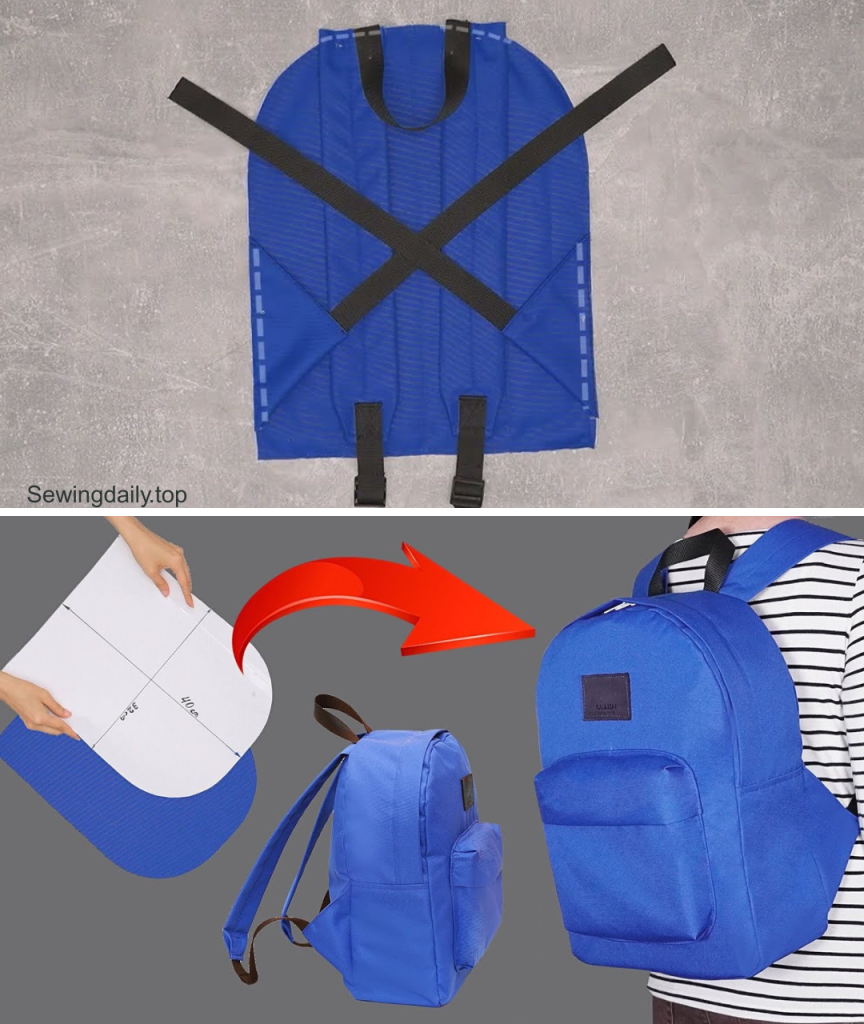
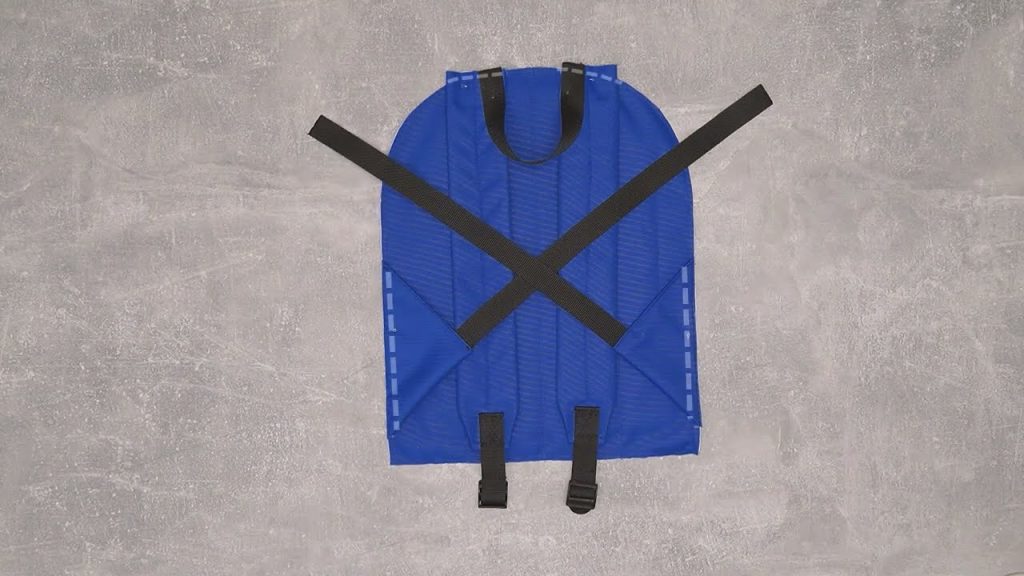
- Attach Bottom Anchors (I): Take the two (I) Webbing Anchors. Loop one end through a rectangular ring. Fold the webbing over and stitch down to secure the ring. Pin the raw ends of the anchors to the bottom edge of the Back Panel (A), approximately 3 inches from the side edges. Baste securely.
- Attach Carry Loop (H) and Main Zipper:
- Take the Main Zipper (24 inches). Pin the zipper to the top curved edge of the (B) Gusset Strip, starting 10 inches from the end. Sew with a zipper foot.
- Fold the (H) Carry Loop in half. Pin the raw ends of the loop to the gusset/zipper seam at the center-back position. Baste securely.
- Complete Gusset Loop: Sew the two short raw ends of the (B) Gusset Strip together to form a large loop, with the zipper in the center top.
- Attach Gusset to Body: Pin the long (B) Gusset Loop to the perimeter of the Front Panel (A), starting at the bottom center. Sew all the way around, carefully turning the corners. Repeat, pinning and sewing the other side of the gusset loop to the Back Panel (A).
Part 3: Final Assembly with Lining
- Sew Lining Shell: Repeat the assembly process from Part 2 with the Lining Pieces (F and G). Do not use the zipper, and do not attach the carry loop or strap anchors. Crucial: Leave a 6-inch (15 cm) opening along the bottom gusset seam (G) for turning the bag later.
- Attach Straps (J): Attach the unsecured ends of the two (J) Webbing Straps to the top edge of the Back Panel (A) (just below the zipper), approximately 3 inches from the center. Baste securely.
- Nest and Sew: Turn the Outer Shell right-side out. Insert the Outer Shell into the Lining Shell (still inside out), aligning the top zippered opening perfectly. Pin securely all around the zipper perimeter.
- Final Seam: Sew the top perimeter seam all the way around the zipper opening, joining the outer shell and the lining.
- Turn Right-Side Out: Reach into the 6-inch opening in the lining gusset. Gently pull the entire bag through this hole.
- Close and Topstitch: Stitch the lining hole closed. Tuck the lining neatly inside the Outer Bag. Press the zipper area flat and perform a final topstitch around the zipper opening for a professional finish.
Part 4: Assembling the Adjustable Straps
- Connect Hardware: Thread the two (J) Webbing Straps through the slide adjusters, then the rectangular rings at the bottom anchors (I), and back up through the slide adjusters.
- Secure Ends: Sew the ends of the webbing straps down firmly using a square or X-box stitch to complete the adjustable straps.
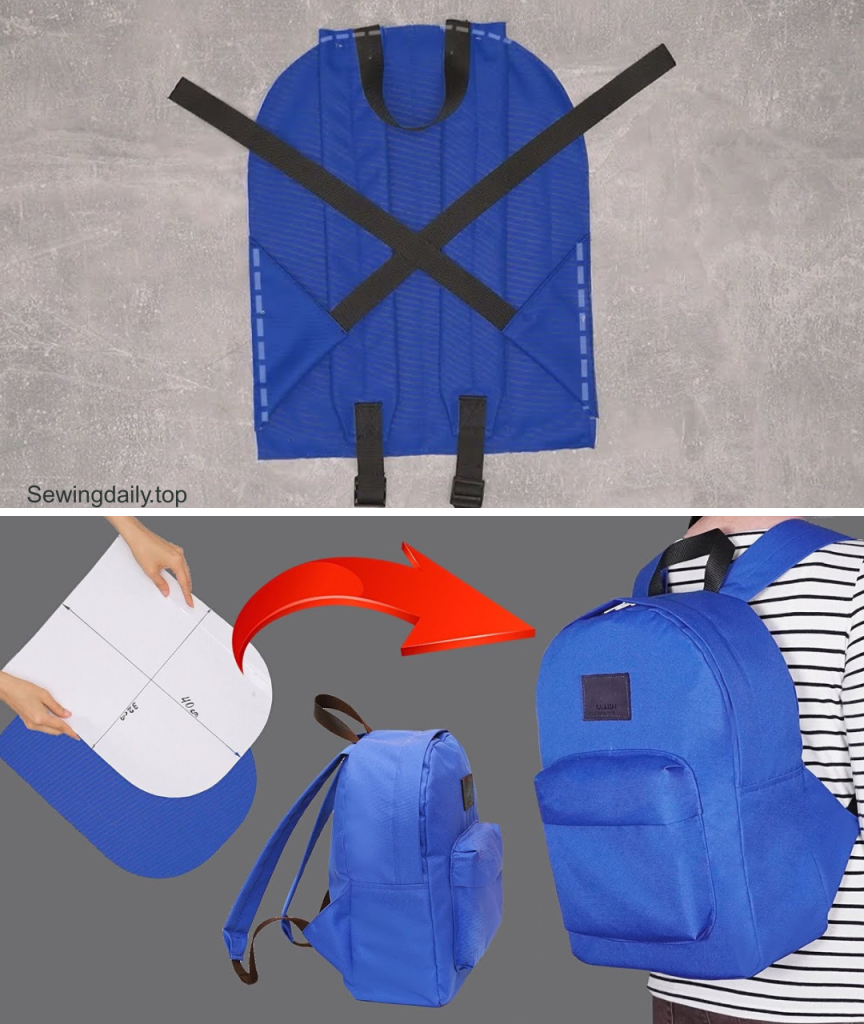
Congratulations! Your structured Commuter Campus Backpack is complete—a durable, organized, and professional-looking bag ready to handle your heaviest load!
Video tutorial:
