by
by Below is a clear, beginner-friendly, detailed tutorial on how to make a new knitted slipper model with an elastic band. It includes materials, sizing notes, step-by-step instructions, shaping, assembly, and customization tips. You can knit this pattern flat (on two needles) or in the round—here I give you the flat version, which is easiest for beginners.
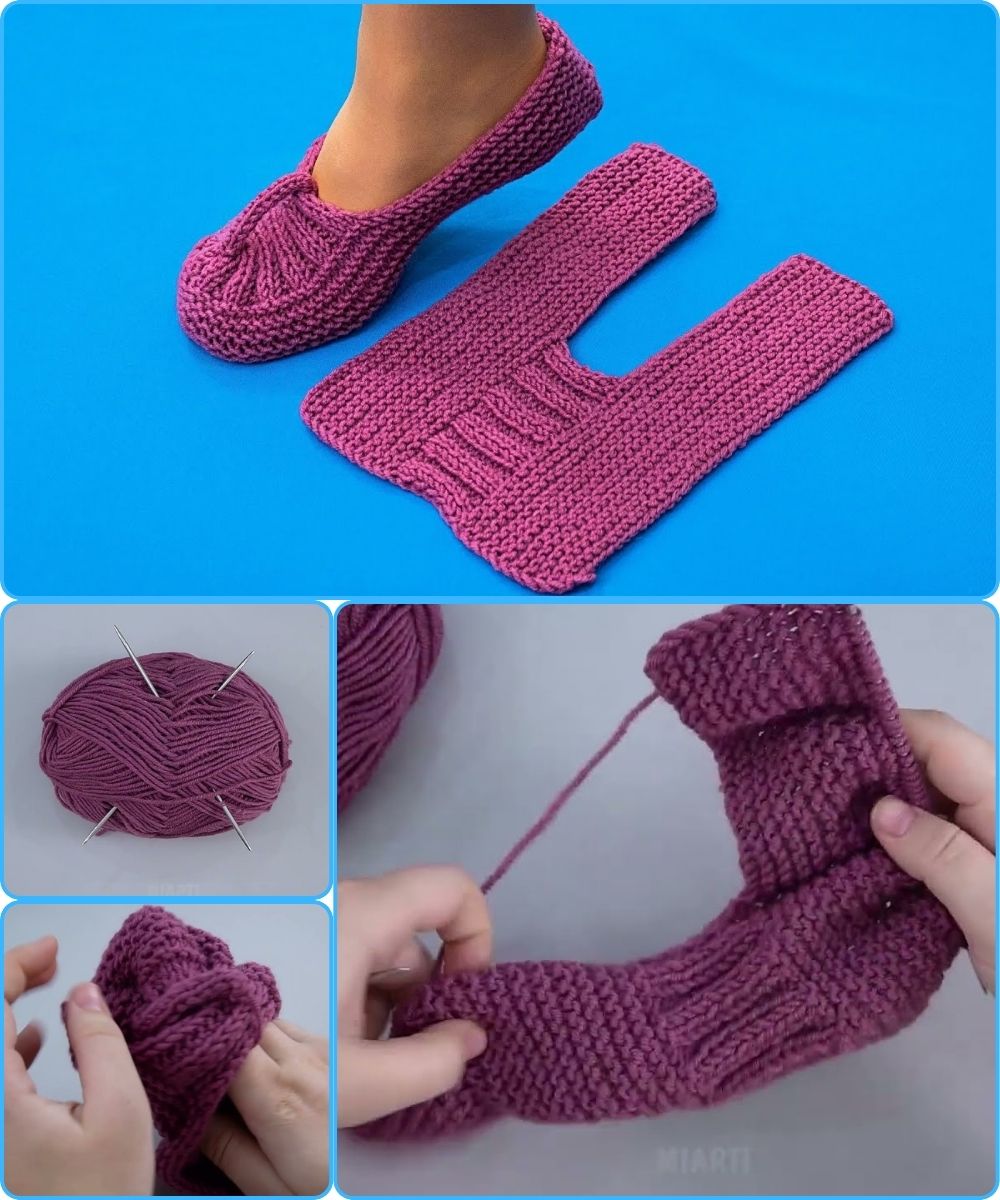
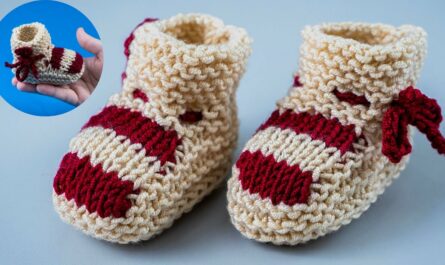
🧶 Knitted Slippers with Elastic Band – Easy & Detailed Tutorial
These slippers are soft, stretchy, and stay firmly on the feet because of the built-in elastic band section. They are ideal for beginners who know basic knit and purl stitches.
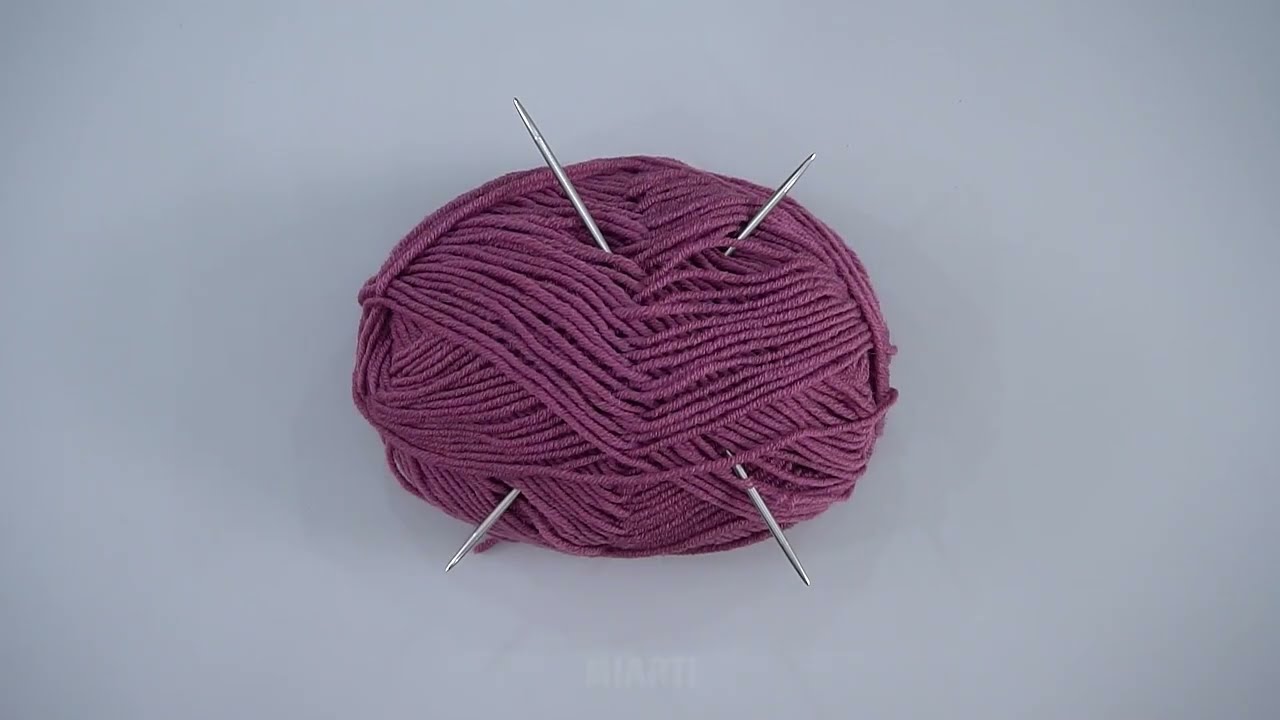
✅ Materials Needed
-
Yarn: Medium weight (Category 4) acrylic, wool, or cotton blend
(50–80g per pair depending on size) -
Knitting needles: 4–4.5 mm (US 6–7), straight needles
-
Elastic band: 1–1.5 cm wide soft elastic (measure to fit around ankle)
-
Tapestry needle for sewing seams
-
Scissors
-
Measuring tape
-
Optional: Decorative buttons or pom-poms
📏 Sizing (Adult Medium)
You can adapt the slipper to any foot size.
Here are suggested cast-on stitches for flat knitting:
| Foot Size | Cast On |
|---|---|
| Small (EU 35–37 / US 5–6.5) | 32 stitches |
| Medium (EU 38–40 / US 7–8.5) | 36 stitches |
| Large (EU 41–43 / US 9–10.5) | 40 stitches |
Below instructions are based on 36 stitches—adjust as needed.
🪢 Step-by-Step Instructions
1️⃣ Cast On
Cast on 36 stitches (or your chosen size).
2️⃣ Knit the Toe Section
This part forms the front/top of the slipper.
-
Row 1: Knit all stitches.
-
Row 2: Purl all stitches.
Repeat Rows 1–2 for 20 rows, or long enough to cover the front half of your foot.
This creates a smooth stockinette fabric.
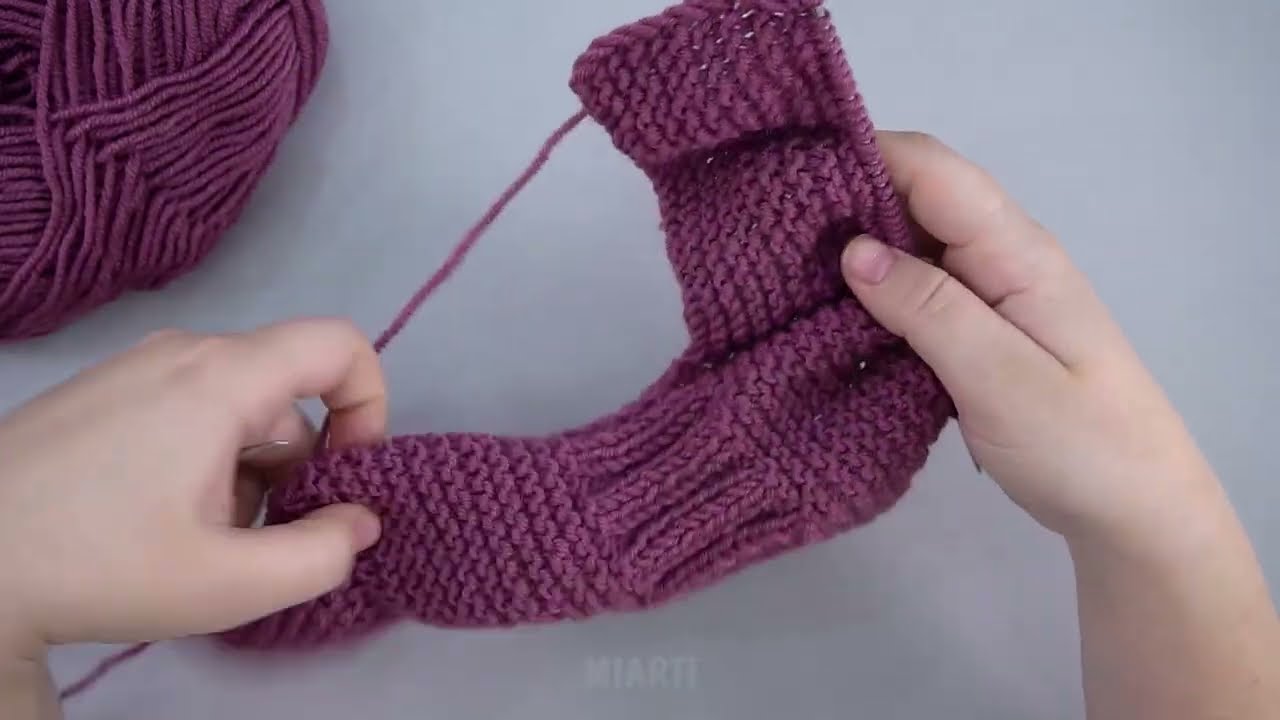
3️⃣ Create the Elastic Band Section (Garter Stitch)
This is the top area where the elastic will sit.
Garter stitch stretches naturally, and inserting elastic gives extra grip.
Switch to garter stitch:
-
Row 21–35: Knit every row (15 rows total)
✔ This creates a stretchy, sturdy band across the instep.
4️⃣ Knit the Heel Section
Switch back to stockinette:
-
Row 36: Knit
-
Row 37: Purl
Repeat until you reach a total slipper length equal to the foot length minus 2 cm (to allow snug fit).
For most adult feet, knit 18–22 more rows.
5️⃣ Bind Off
Bind off all stitches loosely.
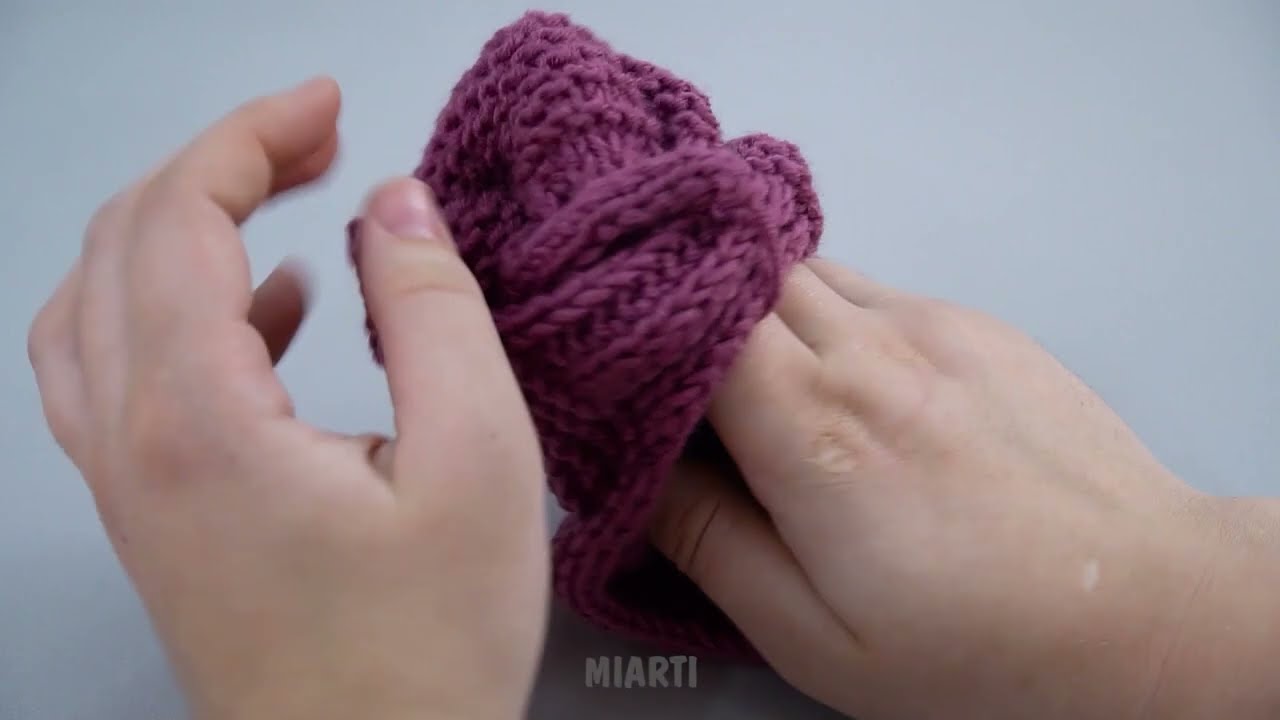
🧵 6️⃣ Sew the Slipper
Turn your work inside out.
Sew the Toe
Fold the knitted piece in half width-wise.
-
Sew the first short edge completely—this becomes the toe seam.
Sew the Foot Length
From the toe, sew along the side edges until you reach the garter band.
Sew the Heel
Sew the remaining back edges together.
Turn right side out — it should now look like a slipper shape.
🪡 7️⃣ Add the Elastic Band
Cut a piece of elastic that fits comfortably around the wearer’s ankle:
-
Not too tight
-
Not too loose
-
Generally 2–3 cm shorter than the ankle circumference
Attach:
-
Position elastic inside the garter band section, on the wrong side of the slipper.
-
Stretch the elastic slightly as you sew it around.
-
Use small whip stitches or zigzag hand stitches to secure.
✔ When done, the garter band gathers gently and hugs the foot securely.
🧽 8️⃣ Finishing Touches
-
Weave in all ends.
-
Add a small decoration (optional)
-
Buttons
-
Bow
-
Pom-pom
-
Embroidery
-
Your knitted slippers are ready!
👍 Customization Options
✔ Ribbed Toe
K2, P2 instead of stockinette for a firmer toe.
✔ Thicker Soles
Sew felt or anti-slip fabric to the bottom.
✔ Two-Color Design
Knit the toe in color A, band in color B, heel in color A.
✔ Make Them More Snug
Reduce cast-on stitches by 2–4 or knit with smaller needles.
🧶 Would you like a row-by-row written pattern, a diagram, or a crocheted version as well?
Watch video: