 by
by Making crocheted shoes for winter is a great way to create cozy, warm, and personalized footwear. Whether you’re a beginner or an experienced crocheter, there are many different patterns and techniques you can use. The key is to choose the right materials and construction methods to ensure your shoes are comfortable, durable, and perfect for cold weather.
Key Considerations for Winter Crochet Shoes
1. Yarn Selection: The yarn you choose is crucial for warmth and durability.
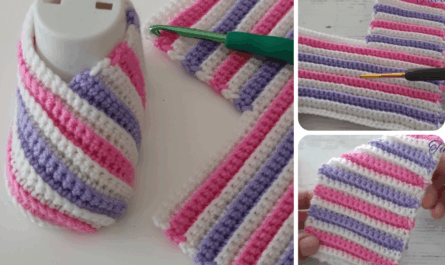
- Super Bulky or Bulky Weight Yarn: This is a popular choice because it works up quickly and creates a thick, plush fabric. Many patterns for winter slippers and boots specifically call for this weight of yarn.
- Wool or Wool Blends: Wool is naturally warm, breathable, and has excellent insulating properties. A wool blend with acrylic can provide the best of both worlds—the warmth of wool with the durability and washability of acrylic.
- Acrylic: A good option for its affordability and durability. Look for a soft, chunky acrylic that will create a comfortable and warm shoe.
- Holding Two Strands Together: Some patterns suggest holding two strands of worsted-weight yarn together to create a thicker fabric, similar to a bulky yarn. This is a great way to use up your stash and create a very dense, warm material.
2. Sole Construction: The sole is the foundation of your shoe and needs to be sturdy and non-slip. There are a few common options:
- Crocheted Sole: You can crochet a sole by working in the round, creating an oval shape that fits your foot. Some patterns will have you make a double-thick sole by crocheting two layers and stitching them together. This works well for indoor slippers.
- Adding a Non-Slip Sole: To make your crocheted shoes safer on hard floors, you can add a non-slip treatment. This can be done with:
- Puffy Paint or “Socks Stop”: You can apply a few large dots or a pattern of puffy paint to the bottom of the crocheted sole and let it dry. This creates a textured, grippy surface.
- Leather or Suede Patches: For a more professional finish, you can sew pieces of leather or suede onto the bottom of your crocheted sole. This provides excellent grip and durability.
- Using a Pre-made Sole: For more structured shoes, you can crochet directly onto a pre-made sole. This is a great option for creating shoes that can be worn outside or that have a more defined shape. Popular choices include:
- Flip-flop soles: You can trim the straps off a pair of inexpensive flip-flops, poke holes around the edge, and then crochet your upper shoe directly into the holes. This provides a supportive, durable, and waterproof base.
- Rubber or leather soles: You can find these at craft stores or online and attach your crocheted upper to them.
3. Pattern and Design: The style of shoe you choose will depend on your skill level and desired look.
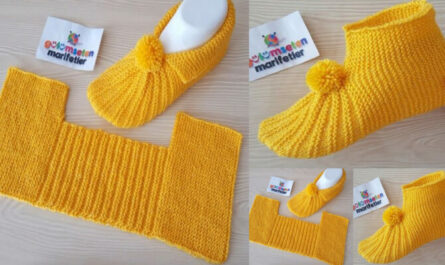
- Slippers from a Rectangle: This is a great pattern for absolute beginners. You simply crochet a rectangle, fold and sew it in a specific way, and it forms a simple, cozy slipper.
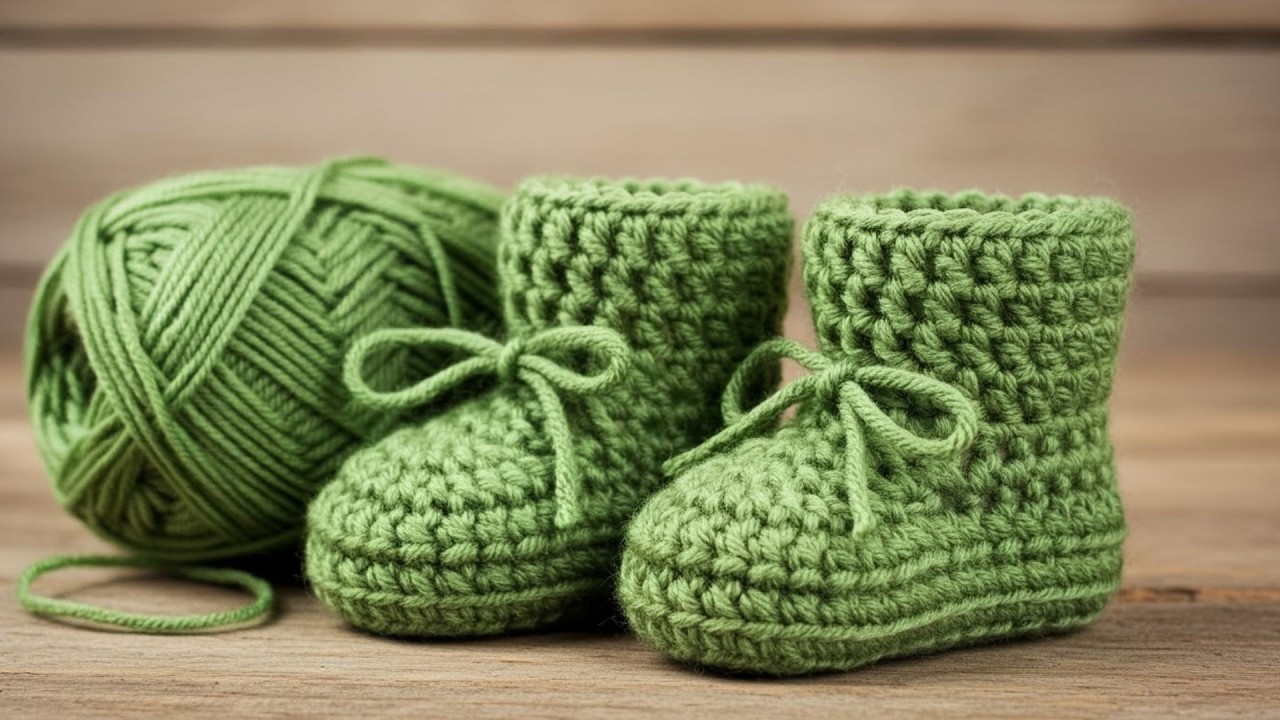
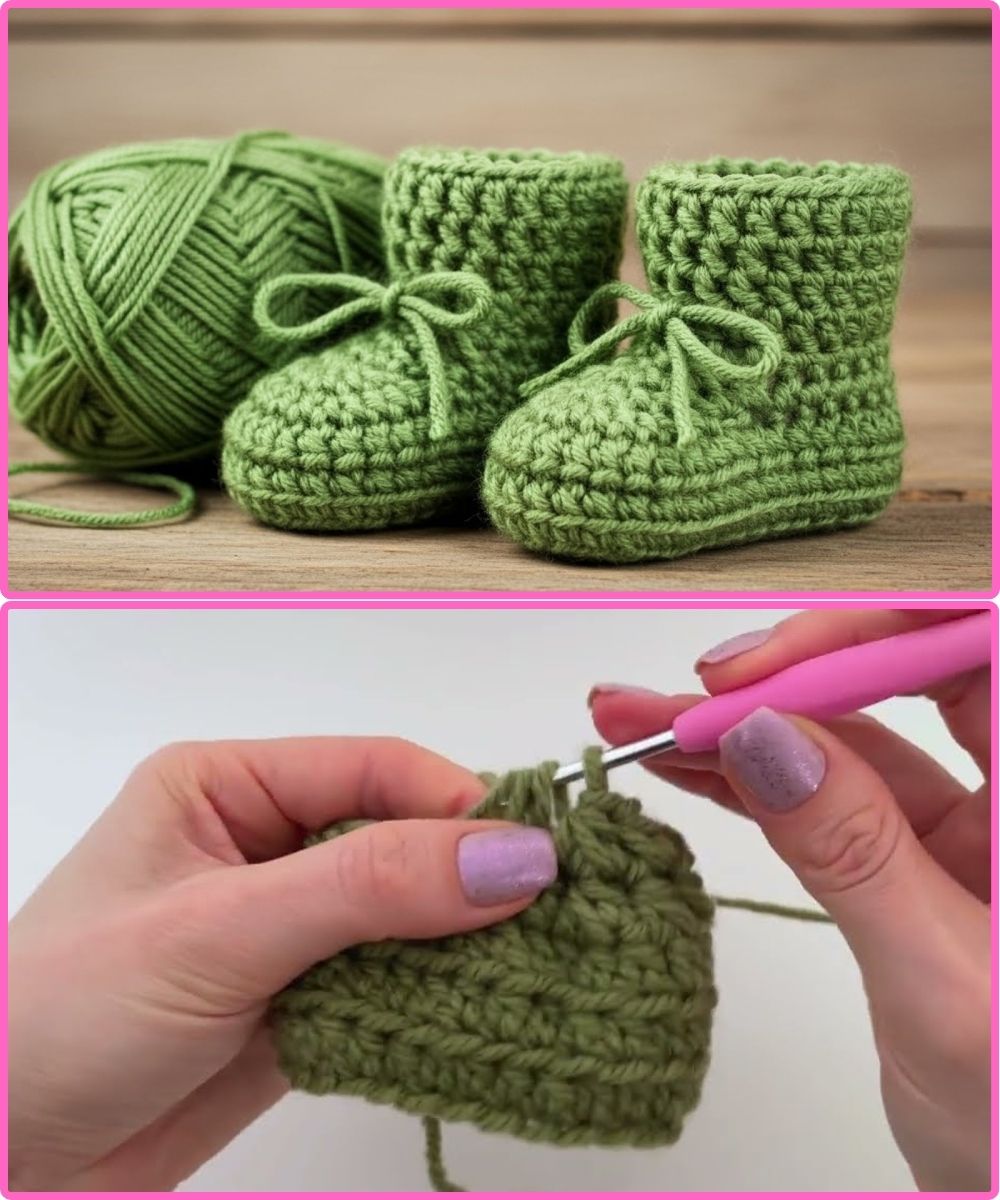
- Slipper Boots: These are a very popular and warm option for winter. They typically have a crocheted sole, an upper that covers the foot, and an ankle or tall shaft that can be ribbed for a snug fit.
- Loafers or Moccasins: These are great for a more traditional shoe shape. They often involve working the sole and then building the sides and top of the shoe with increases and decreases to create the desired shape.
- Advanced Patterns: For more experienced crocheters, there are patterns that incorporate more complex stitches like the front post double crochet (fpdc) and back post double crochet (bpdc) to create textured, cable-like designs.
General Steps for Making Winter Crochet Shoes
- Gather Materials: Select your yarn, crochet hook (make sure it matches the yarn weight), scissors, and a tapestry needle. If you’re adding a non-slip sole, have your chosen material ready.
- Make a Gauge Swatch: This is an important step to ensure your finished shoe will be the correct size. The pattern will tell you how many stitches and rows per inch (or centimeter) you should have. Adjust your hook size if necessary to match the gauge.
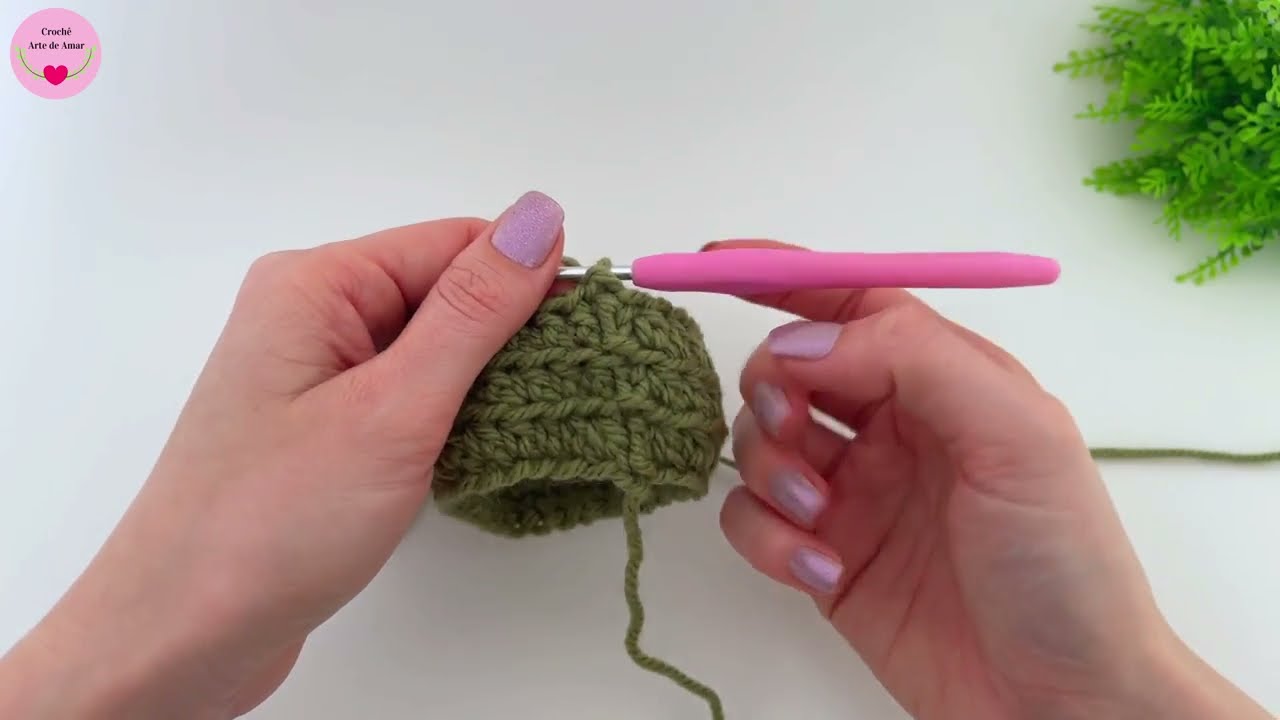
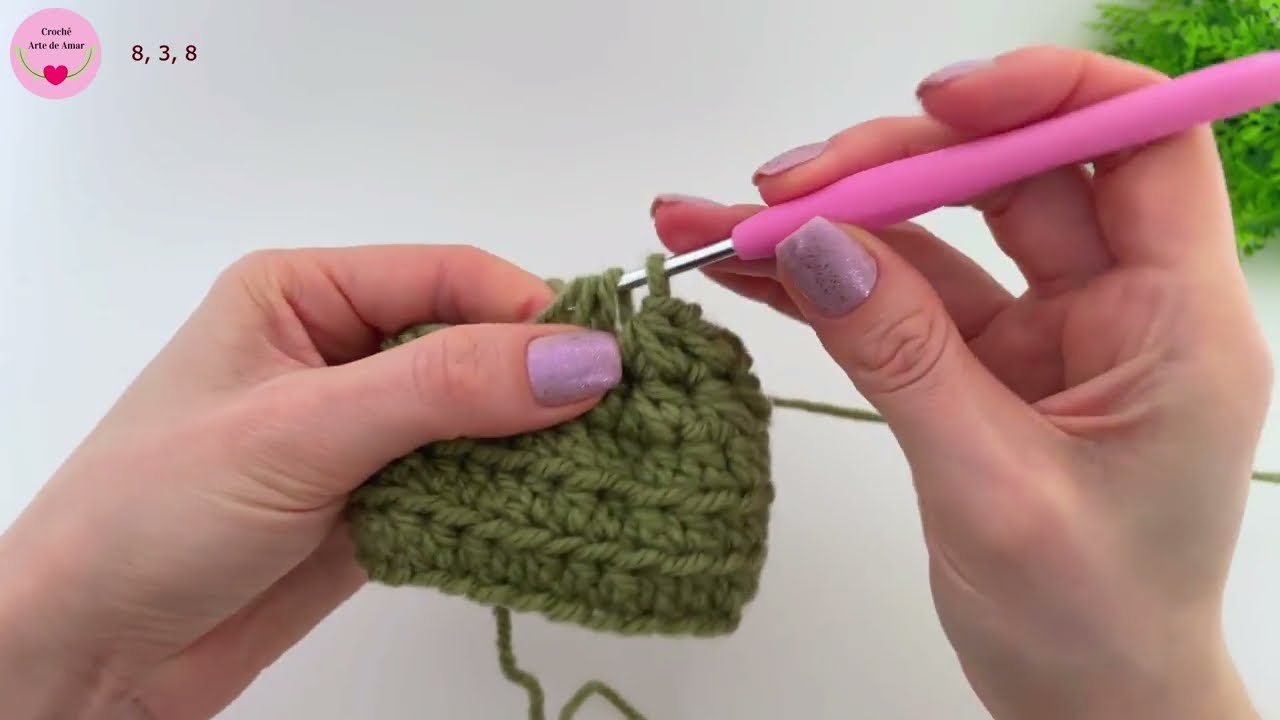
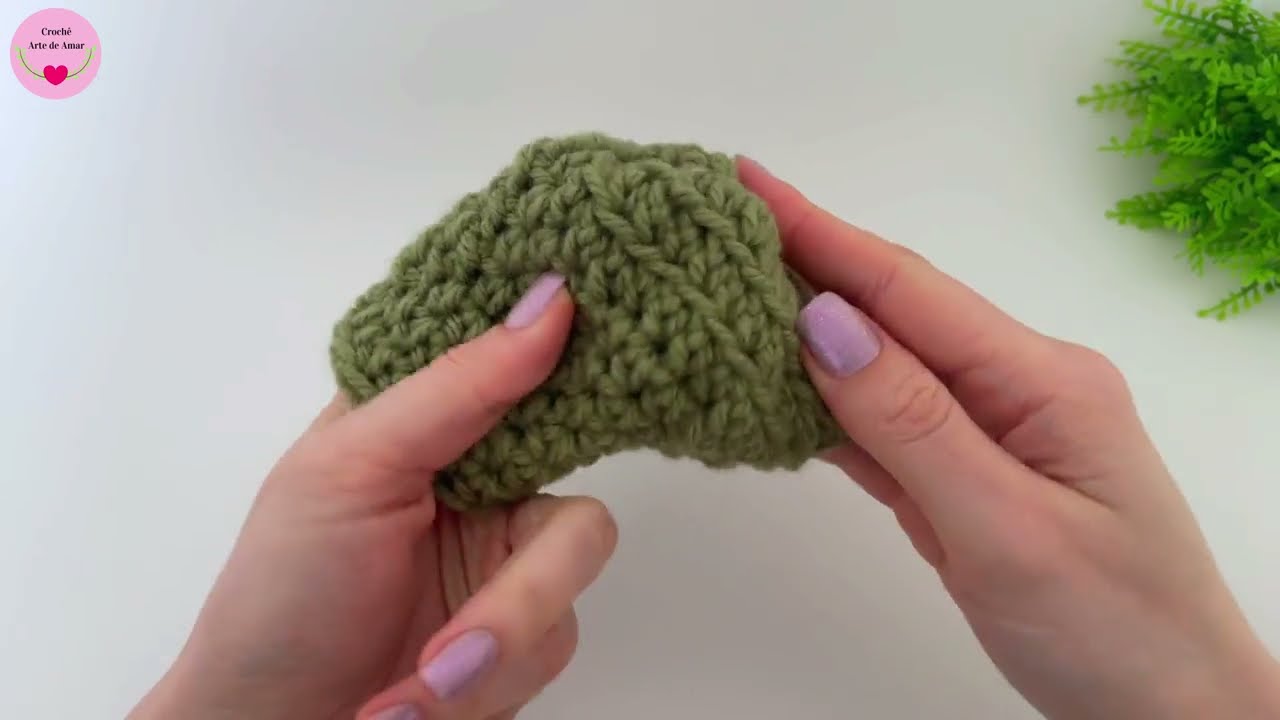
- Crochet the Sole: Follow your chosen pattern to create the sole. This usually involves working in the round to create a flat, oval shape.
- Work the Upper: Once the sole is complete, you’ll begin working up the sides of the shoe. This is often done by working in a spiral or joining rounds. The pattern will guide you on where to place stitches and how to shape the toe and heel.
- Add the Ankle and Cuff (if applicable): For slipper boots, you will continue working up the ankle. You can add a ribbed cuff for extra warmth and a snug fit.
- Finishing Touches: Weave in all your ends securely. You can add decorative elements like buttons, pom-poms, or tassels.
- Add a Non-Slip Sole: If you’re using puffy paint or a similar product, apply it to the bottom and let it dry completely. If you’re sewing on leather or suede, stitch it on at this point.
By following these detailed steps and choosing a pattern that suits your skill level, you can create a pair of cozy, perfect-for-winter crochet shoes that will keep your feet warm all season long.
Watch video: